

liquify

Copy link to clipboard
Copied
hello im trying to make a profile picture for my youtube channel I am looking for this kind of bubbly liquify as you can see in the image I searched the whole google but I couldn't find it:-;
image source "minah"


Explore related tutorials & articles
 4
Replies
4
4
Replies
4
Copy link to clipboard
Copied
i just wanted to know how can i make it in photoshop


Copy link to clipboard
Copied
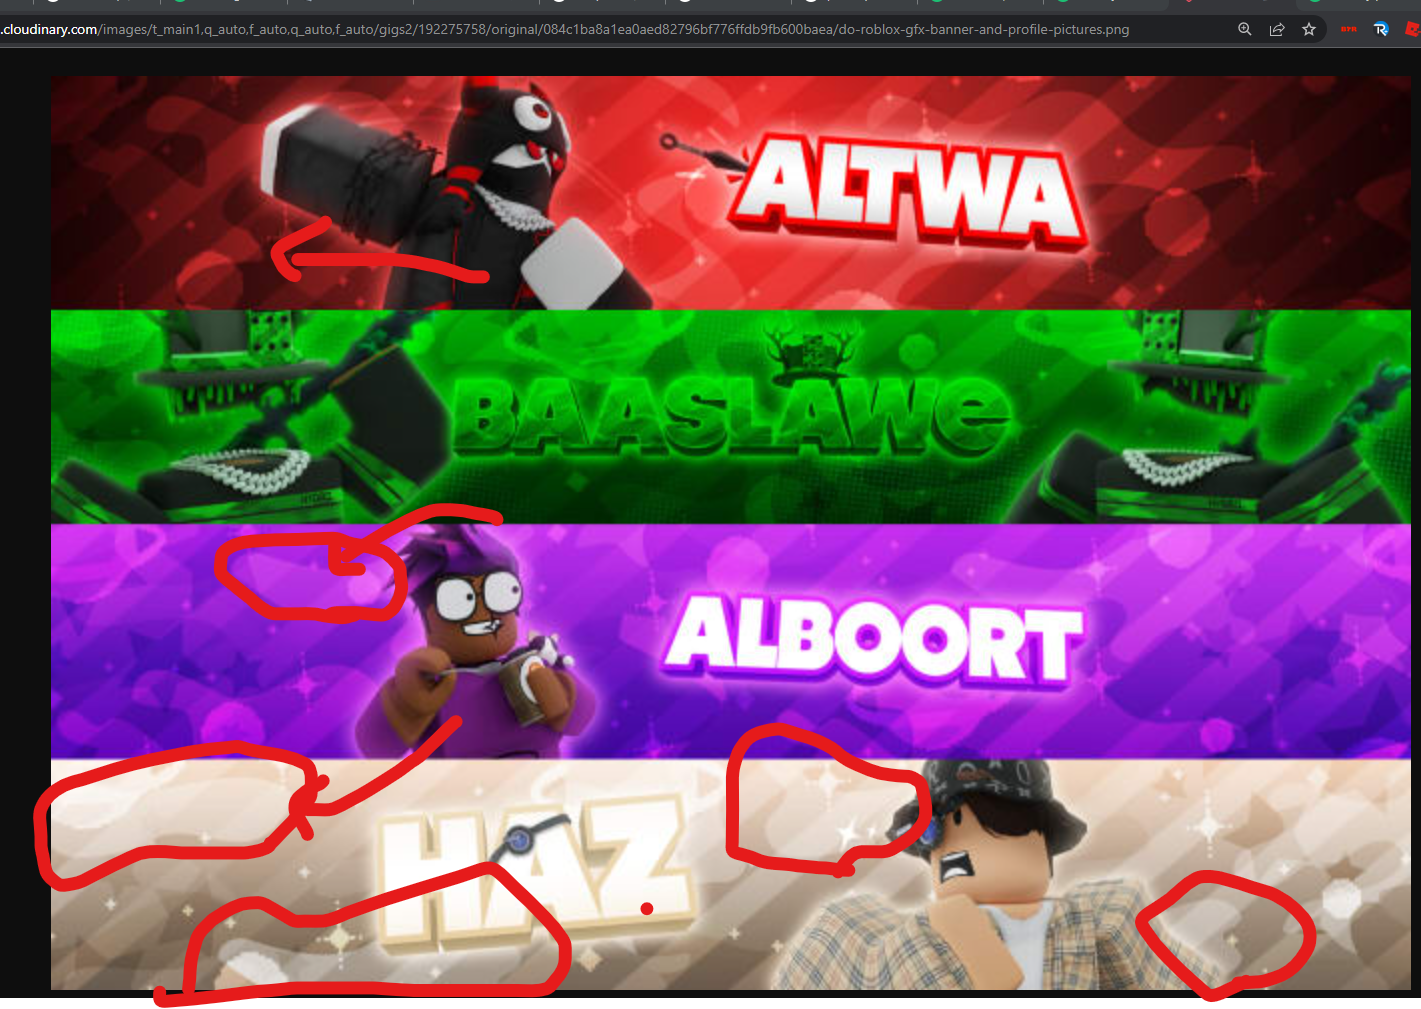
Are you referring to the backgrounds?
There are two things going on that I can see. The 45° ridges, and flare like circles.
Are you hoping to create eith or both?
Copy link to clipboard
Copied
yes the background of these things
I have outlined some of them

Copy link to clipboard
Copied
There is plenty of things gouing on there:
But this is what I see
a one colour background or a background with a slight gradient (bright red to dark red for eaxmaple)
so either a solid colour adjustment layer or a gradient adjustment layer will be your first layer.
Then build upon it with various shapes (circles, stars, stripes), they can be shape-like brushes, or just something you draw directly with the brush tool on a transparent new layer above the background layer. There is likely to be at least 2 different layers containing different kind of shapes (1 layer per different shape). These new layers will be filled with shapes in a different colour than the background and their blending mode set to overlay or screen (depending the colour used), and their opacity lowered to something like 50%. It will give this effect of shapes interacting/overlaying each others.
Then you can add a vignette by add a new level or curves adjustment layer, make the whole image darker,and mask the center with a very soft brush, to hide the center, thus darkening only the edges.
see how it looks here:

I am sure there will be some refinement (blur the shapes a little?) but the general idea is this>
I have done the circles and flowers with the "fx brushes" from Kyle webster's packs, some of them are available within Photoshop, some of them you'll have to download:
hit the F5 to open the brushes panel and click on the hamberger menu, choose "get more brushes"

for help using the adjutsment layers, try that:
https://helpx.adobe.com/uk/photoshop/using/adjustment-fill-layers.html
Of course, like everything in Photoshop, there is more than one way to do things, but this one works 🙂

 AdChoices