Copy link to clipboard
Copied
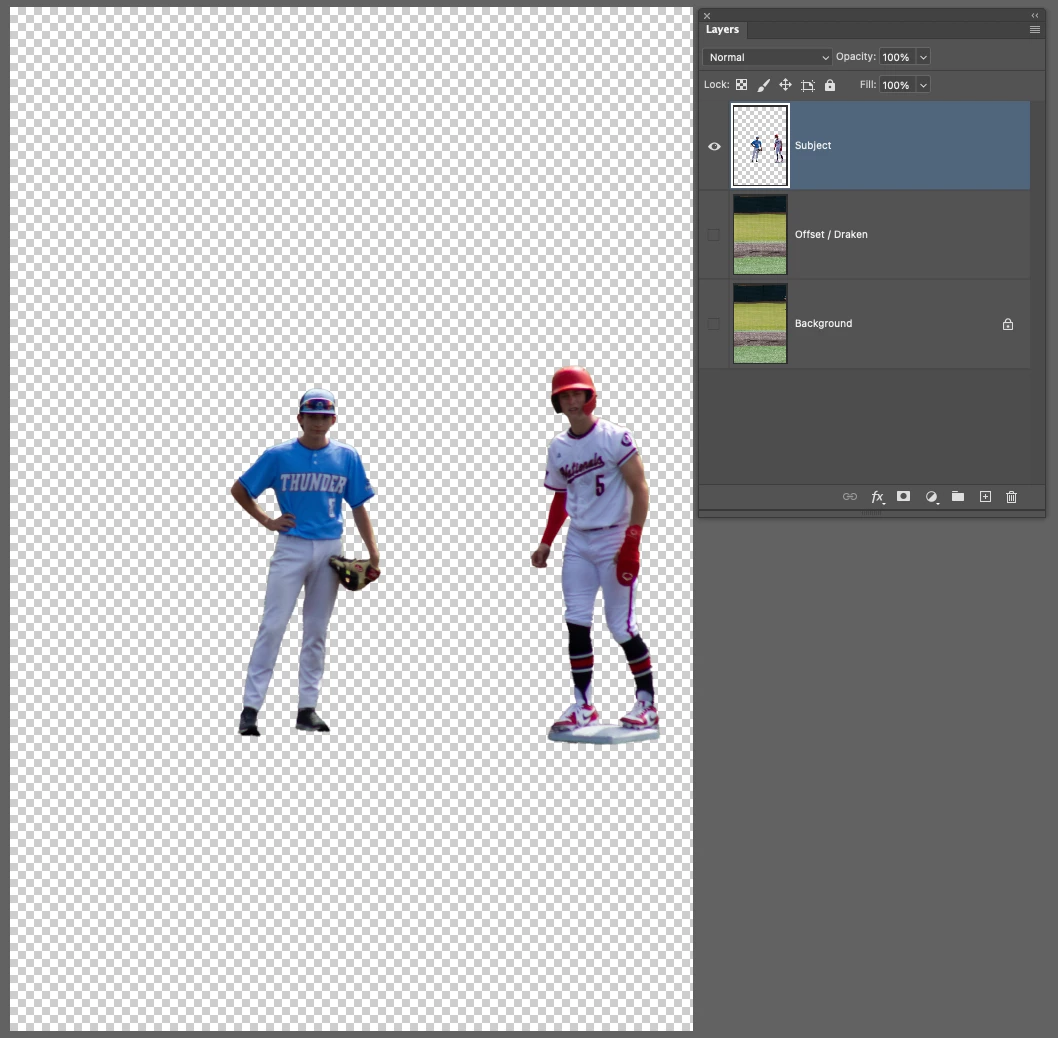
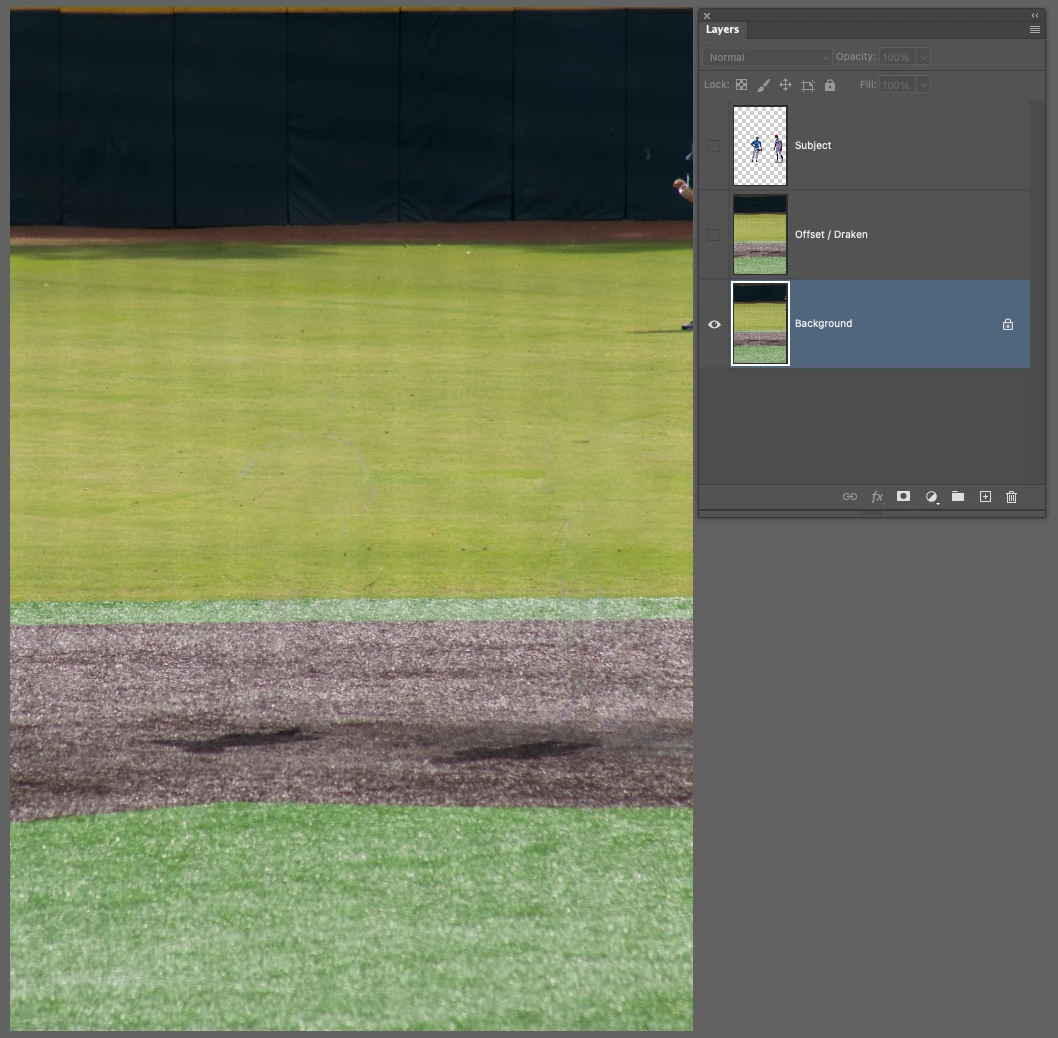
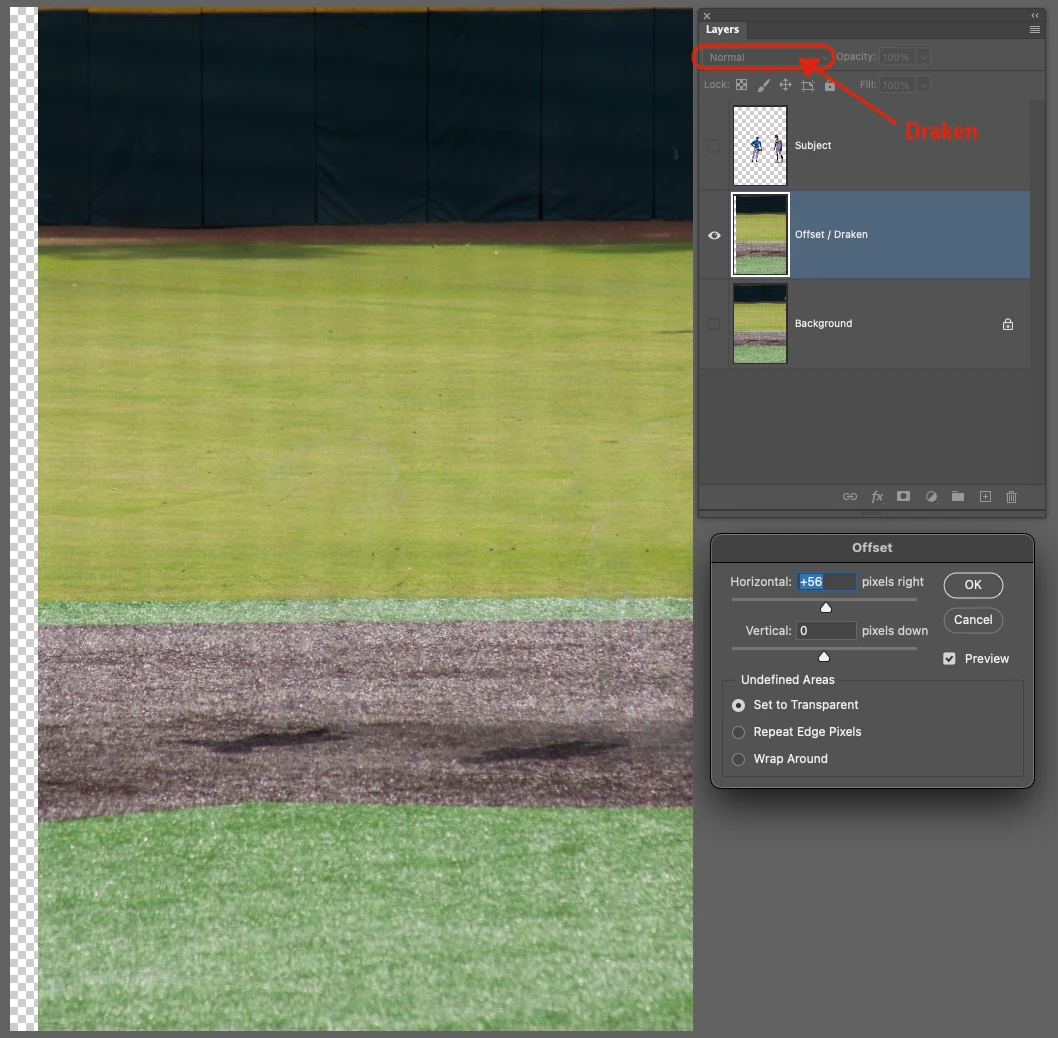
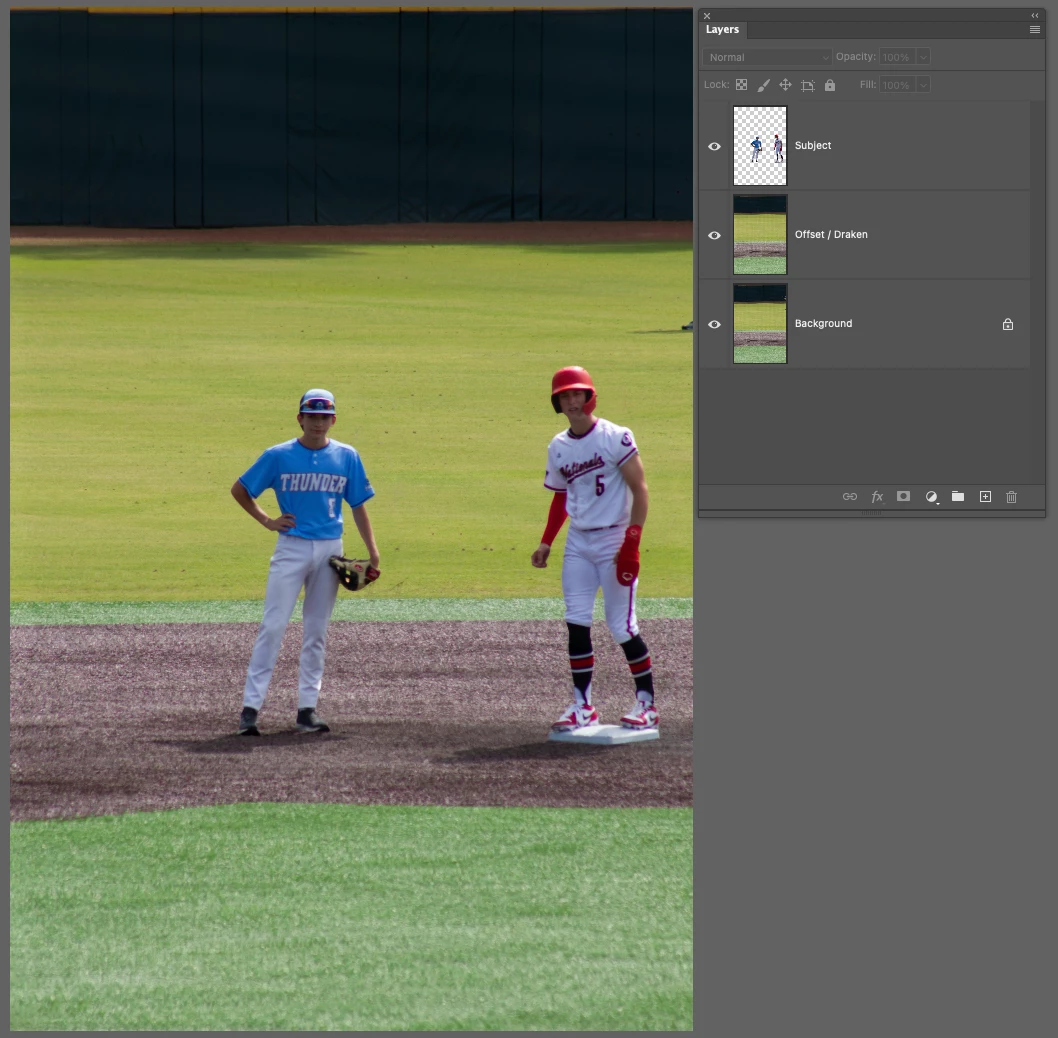
Hi, I am looking for ideas on the most efficient way to remove the white banding on this picture. It's there because I was shooting behind a net at the baseball field. They aren't great pictures, as the focus is off, but I'd love to know for future reference how I could go about removing the lines. I have done masking and manual adjustments in Lightroom and that seemed to work the best, but not perfect. I have also tried painting over the lines in Photoshop using either the brush tool set to color mode or by adding a blend layer set to color and painting over them using color selection from the darker lines. I am sure I could go in and use the clone tool or patch tool and slowly reduce the lines but that would take forever. Any ideas?
Copy the background and erase everything except the subject.
For the Background layer, remove the subject and fill it with "Content-Aware Fill...".
For the second layer, copy the background layer and select "Filter / Other / Offset" and set the layer mode to "Darken".
Please fill in the transparent parts with "Content-Aware Fill...".
Remove any trash from the grounds.
Copy link to clipboard
Copied
You may want to look into Fast Fourier Transform.
Copy link to clipboard
Copied
ok thanks
Copy link to clipboard
Copied
If I were takling this, I'd probably first try selecting the darker lines, excluding the people, then using Content Aware Fill and see what result that gave me. Would probable need some additional tweaking after that, but I think it would be doable.
Copy link to clipboard
Copied
Did you try blend modes by using creating dublicat layer from the same image?
Copy link to clipboard
Copied
thanks I was trying to use the AI tools but didn't try content-aware fill. I will try that.
Copy link to clipboard
Copied
oops replied to the wrong response, but yes I was trying to do it with a duplicate layer and blend modes based on a youtube video I saw but couldn't get it to work.
Copy link to clipboard
Copied
oops replied to the wrong response, but yes I was trying to do it with a duplicate layer and blend modes based on a youtube video I saw but couldn't get it to work.
Using duplicate layers of an image set to Blend Mode »Multiply« (or others) is a bit of a waste of space.
An unedited Adjustment Layer works just as well but allows for easy touch-up on the original Layer (or a separate Layer below the Adjustment Layer) without having to duplicate it again afterwards.
Copy link to clipboard
Copied
Copy the background and erase everything except the subject.
For the Background layer, remove the subject and fill it with "Content-Aware Fill...".
For the second layer, copy the background layer and select "Filter / Other / Offset" and set the layer mode to "Darken".
Please fill in the transparent parts with "Content-Aware Fill...".
Remove any trash from the grounds.
Copy link to clipboard
Copied
this is great. Thanks so much!
Find more inspiration, events, and resources on the new Adobe Community
Explore Now