- Home
- Photoshop ecosystem
- Discussions
- Re: Lost [How to improve this photo and make it po...
- Re: Lost [How to improve this photo and make it po...
Copy link to clipboard
Copied
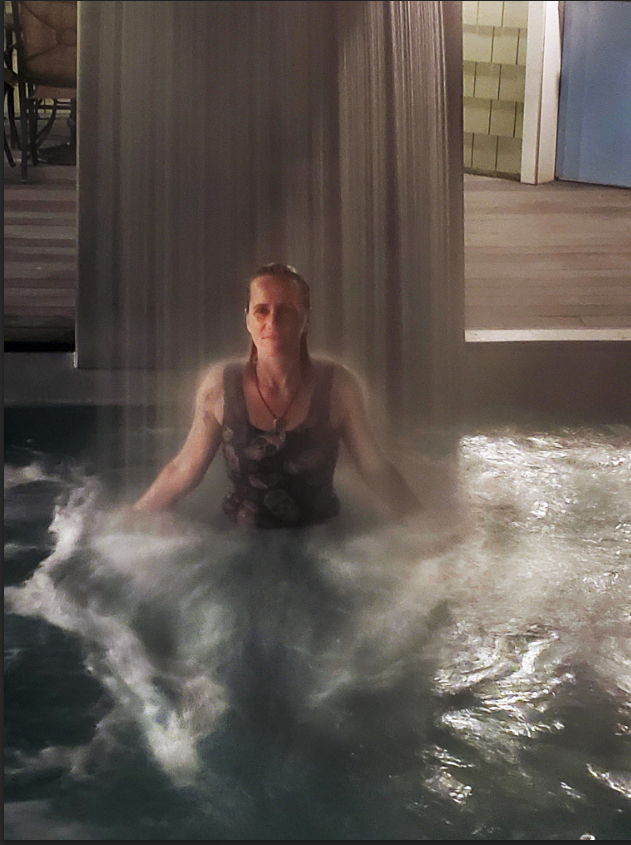
I have searched many forum and online videos. I have a shot of a woman under a waterfall but its dim outside. Maybe bad photo, but I like to bring her out more and tried different techniques, but want the water effect on her too. I tried bringing out the skin and the water blurred, tried the select tool and it messes up. Any suggestions? 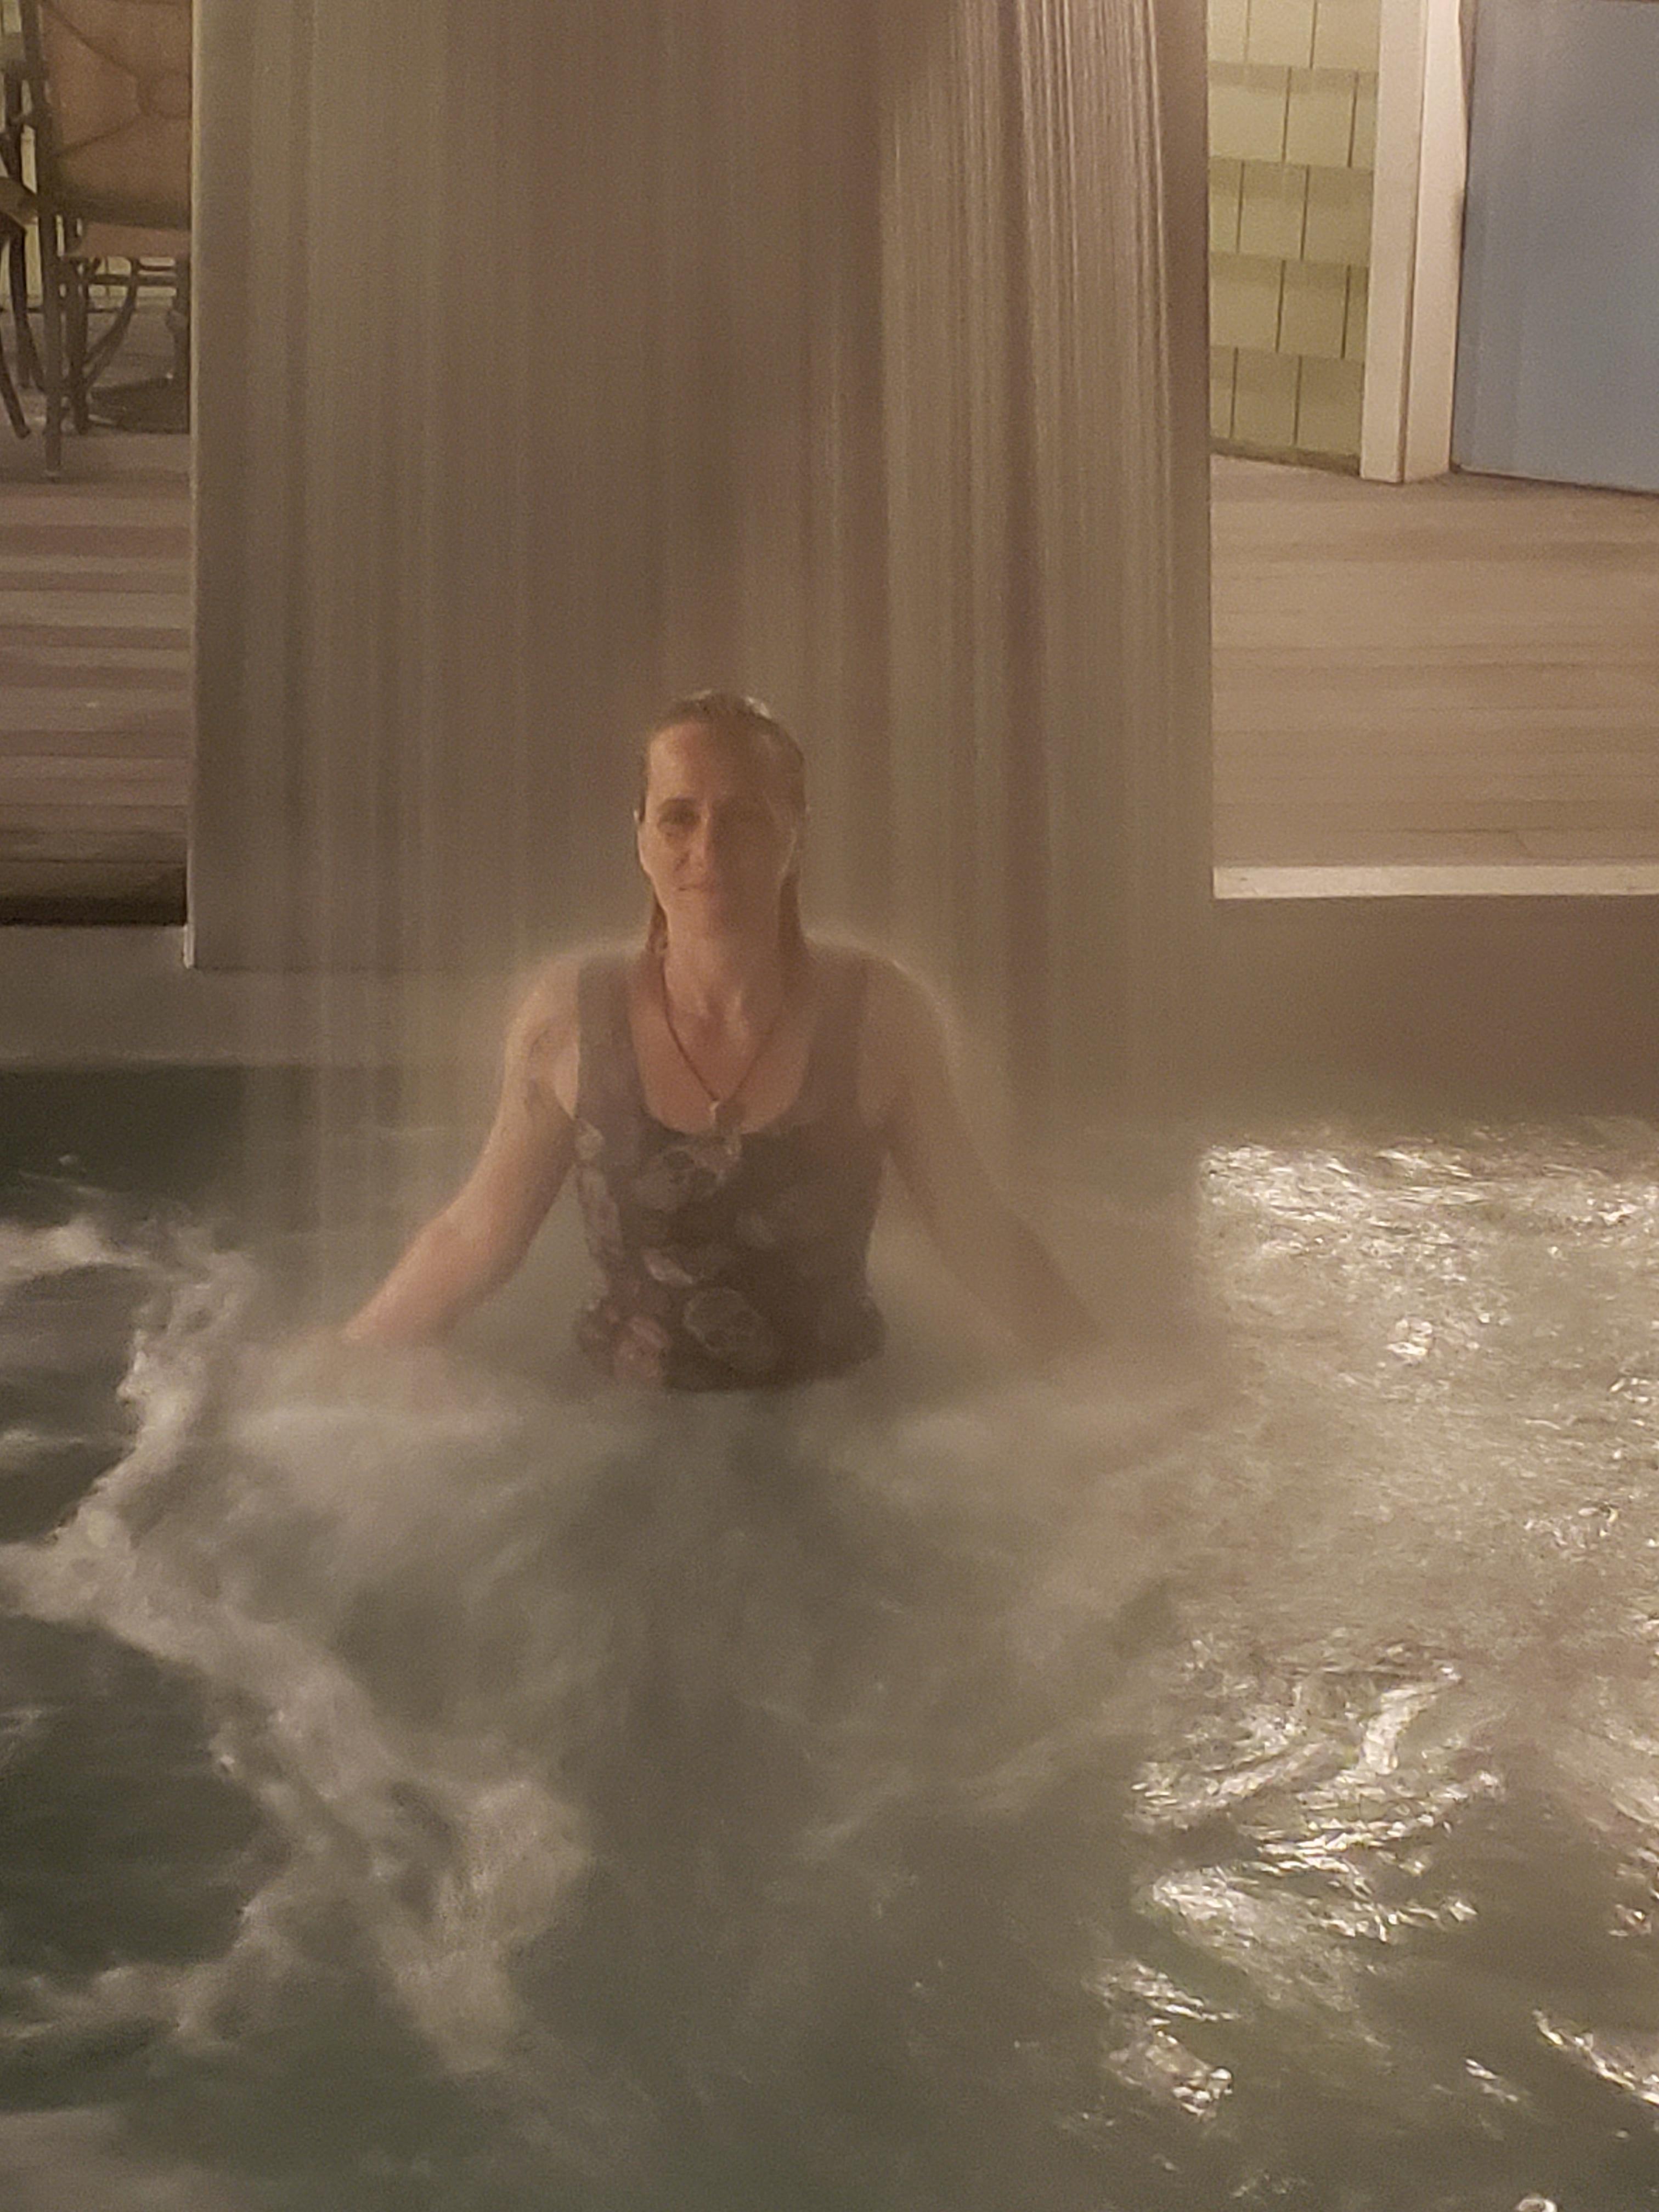
 1 Correct answer
I think I'd use the 'shoot it again' filter. The noise looks more like bad RAW conversion artefacts, or and image that's been pushed too far perhaps. That chunky and irregular noise is what I am talking about.

I'm guessing that the exposure was quite slow because the water is blurred where you'd expect most movement.
Other than that, the black point is very loose, and than can be fixed. I used Topaz DeNoise, which helped with the noise, but compromised already poor detail.
It's interesting that
...Explore related tutorials & articles
Copy link to clipboard
Copied
Have you got it as a raw or dng file?
Copy link to clipboard
Copied
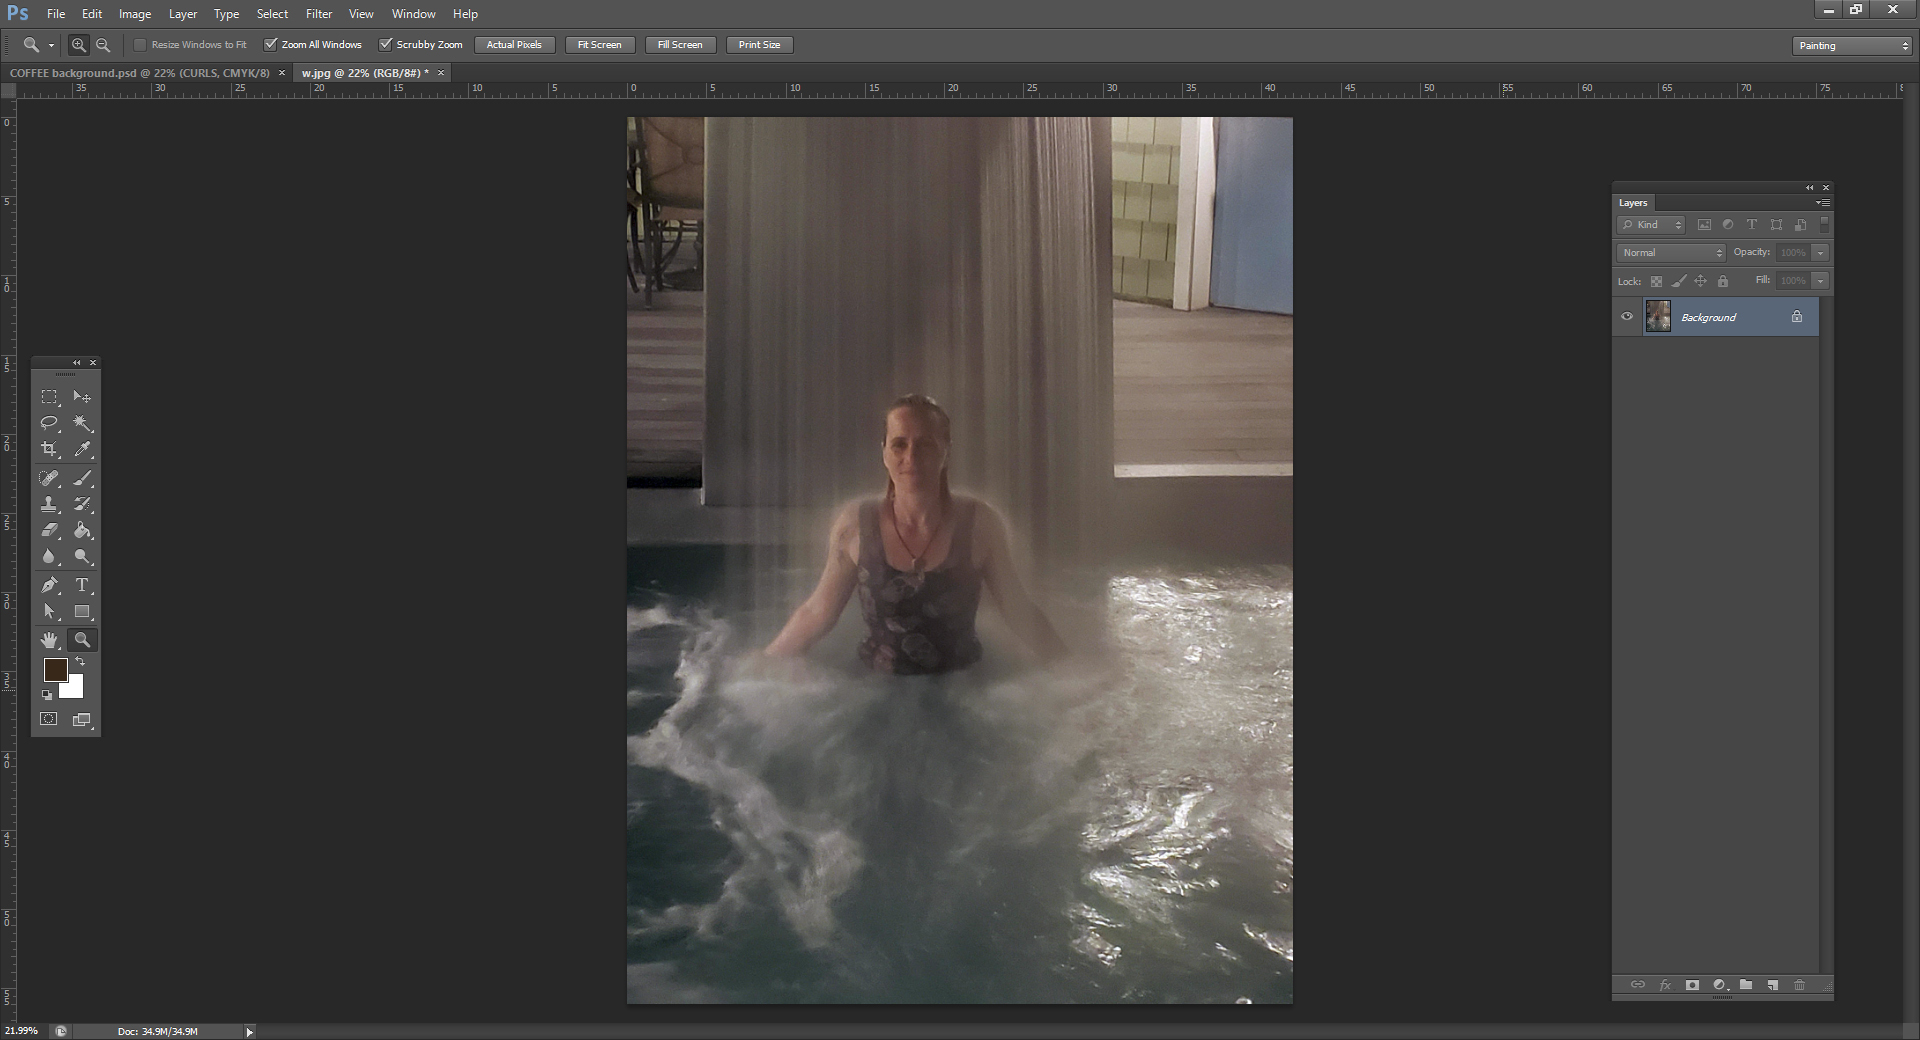
Here are the steps I took, but the photo has a lot of digital noise and will never be really clean. Anyway here goes (before applying a new effect, I always duplicate the previous layer and work on that, preserving all the prior versions):
1. auto-tone:
...........................................................
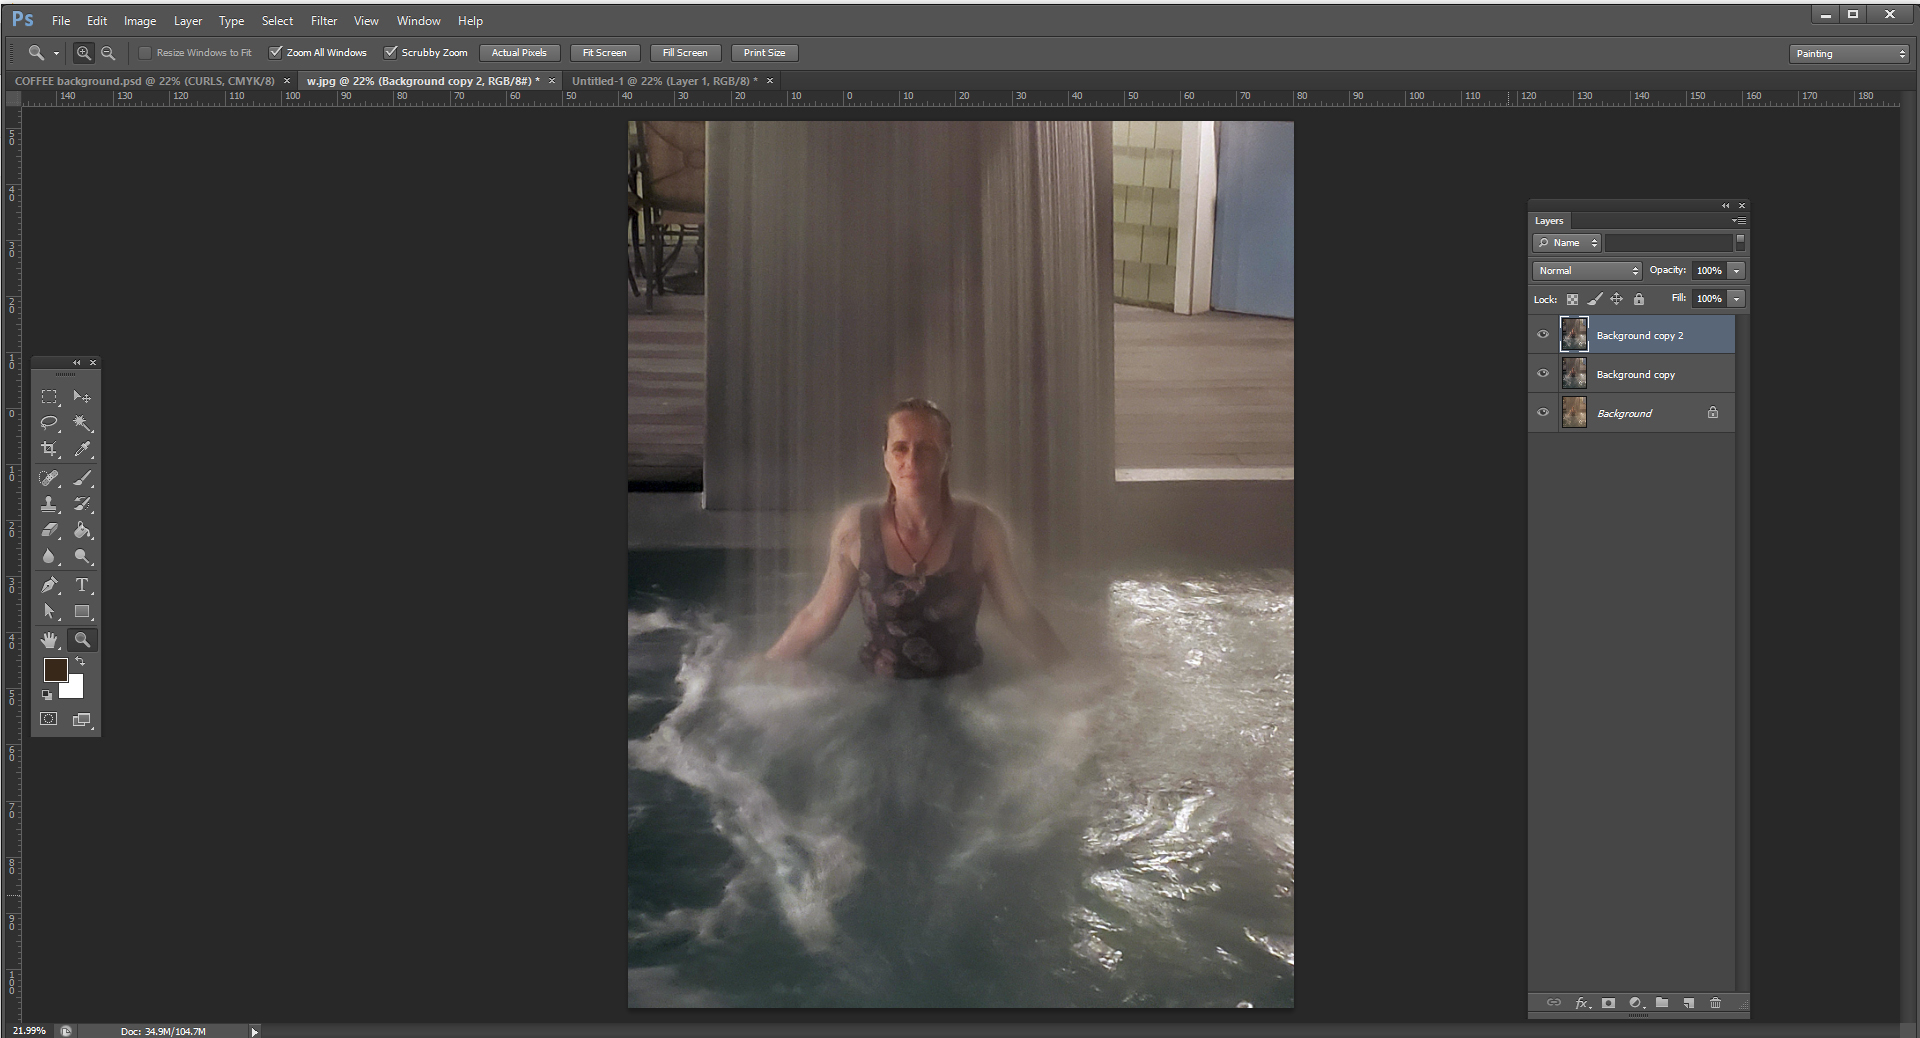
2.Dodge tool (large soft brush, around 35-40% but you be the judge) on white foam in the water, her face and shoulders, white parts of her suit:
......................
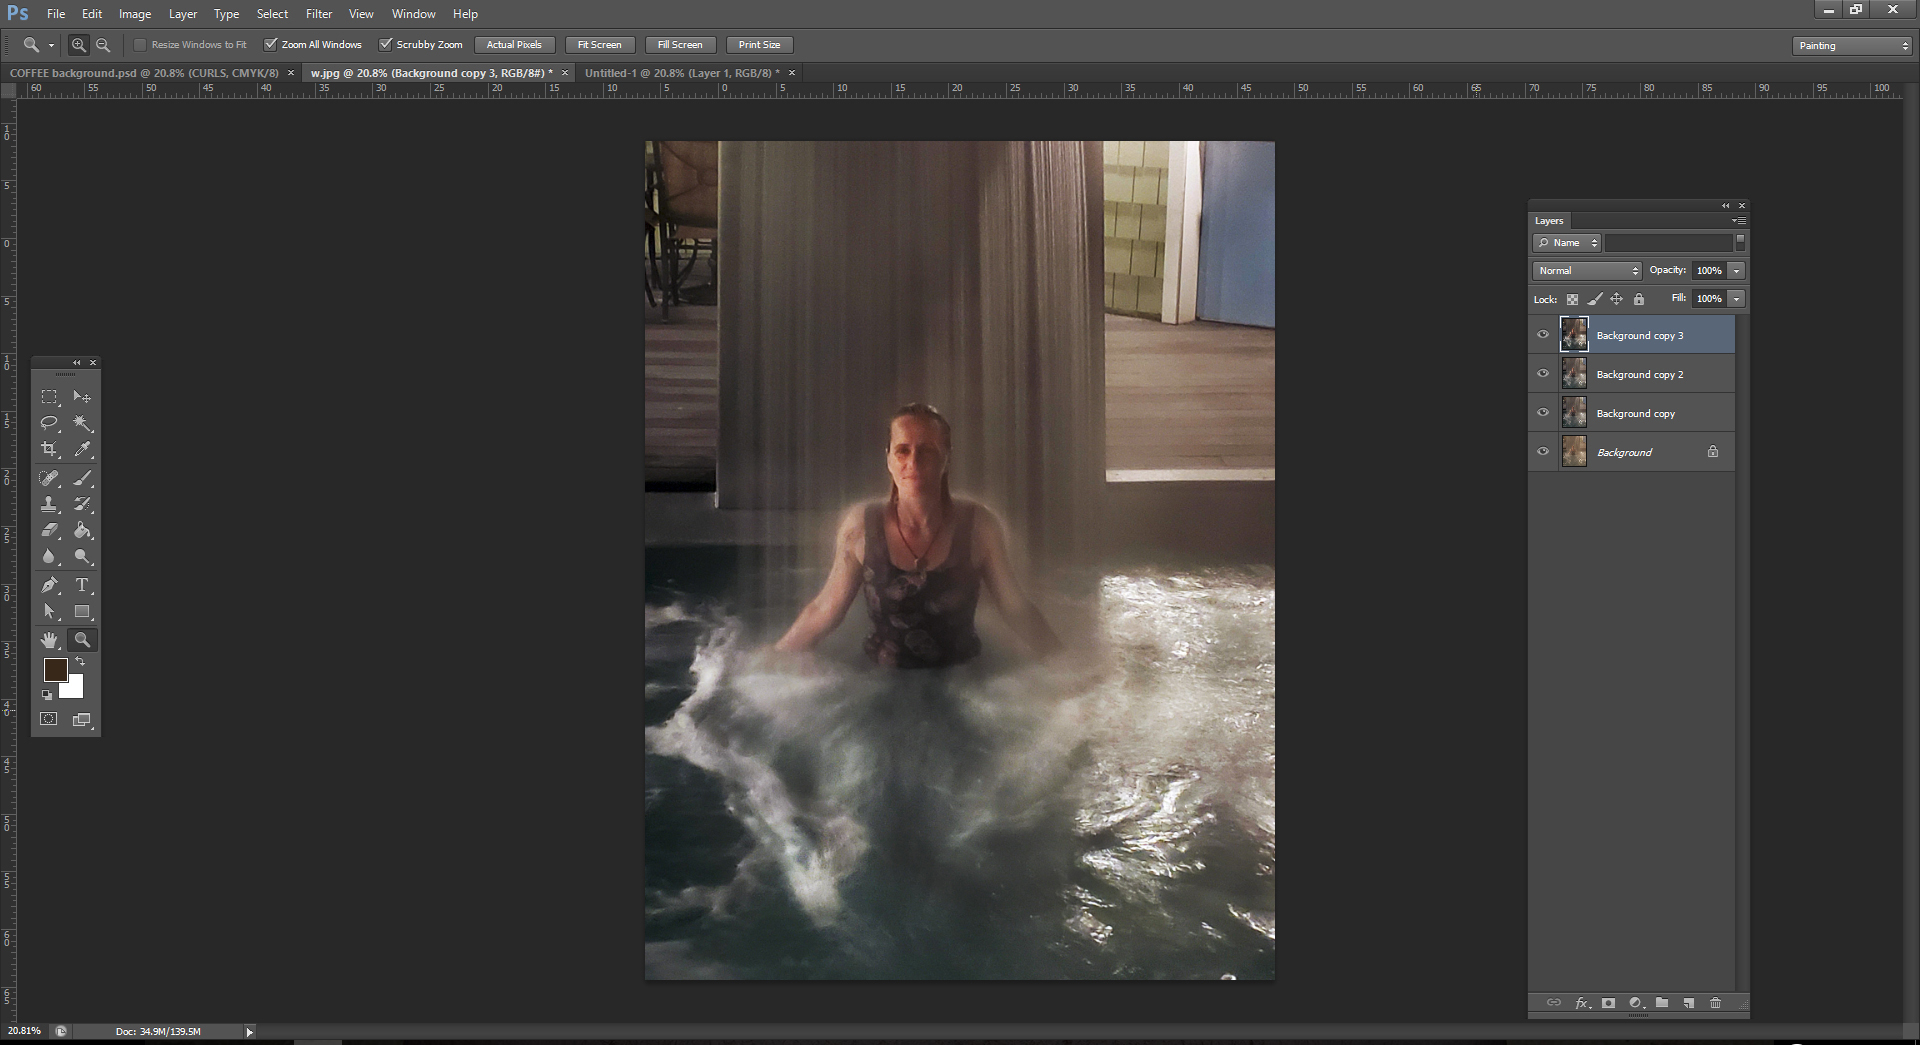
3. Burn tool (large soft brush set to around 30-40%) for more contrast on the water and on her suit. RE the percentages of the dodge tool and the burn tool, it's best to start low and increase as needed. Remember it's Dodge and Burn, not slash and burn:
...............................................
,,,,,,,,,,,,,,,,,,,,,,,,,,,,,,,,,,,,,,,,,,,,
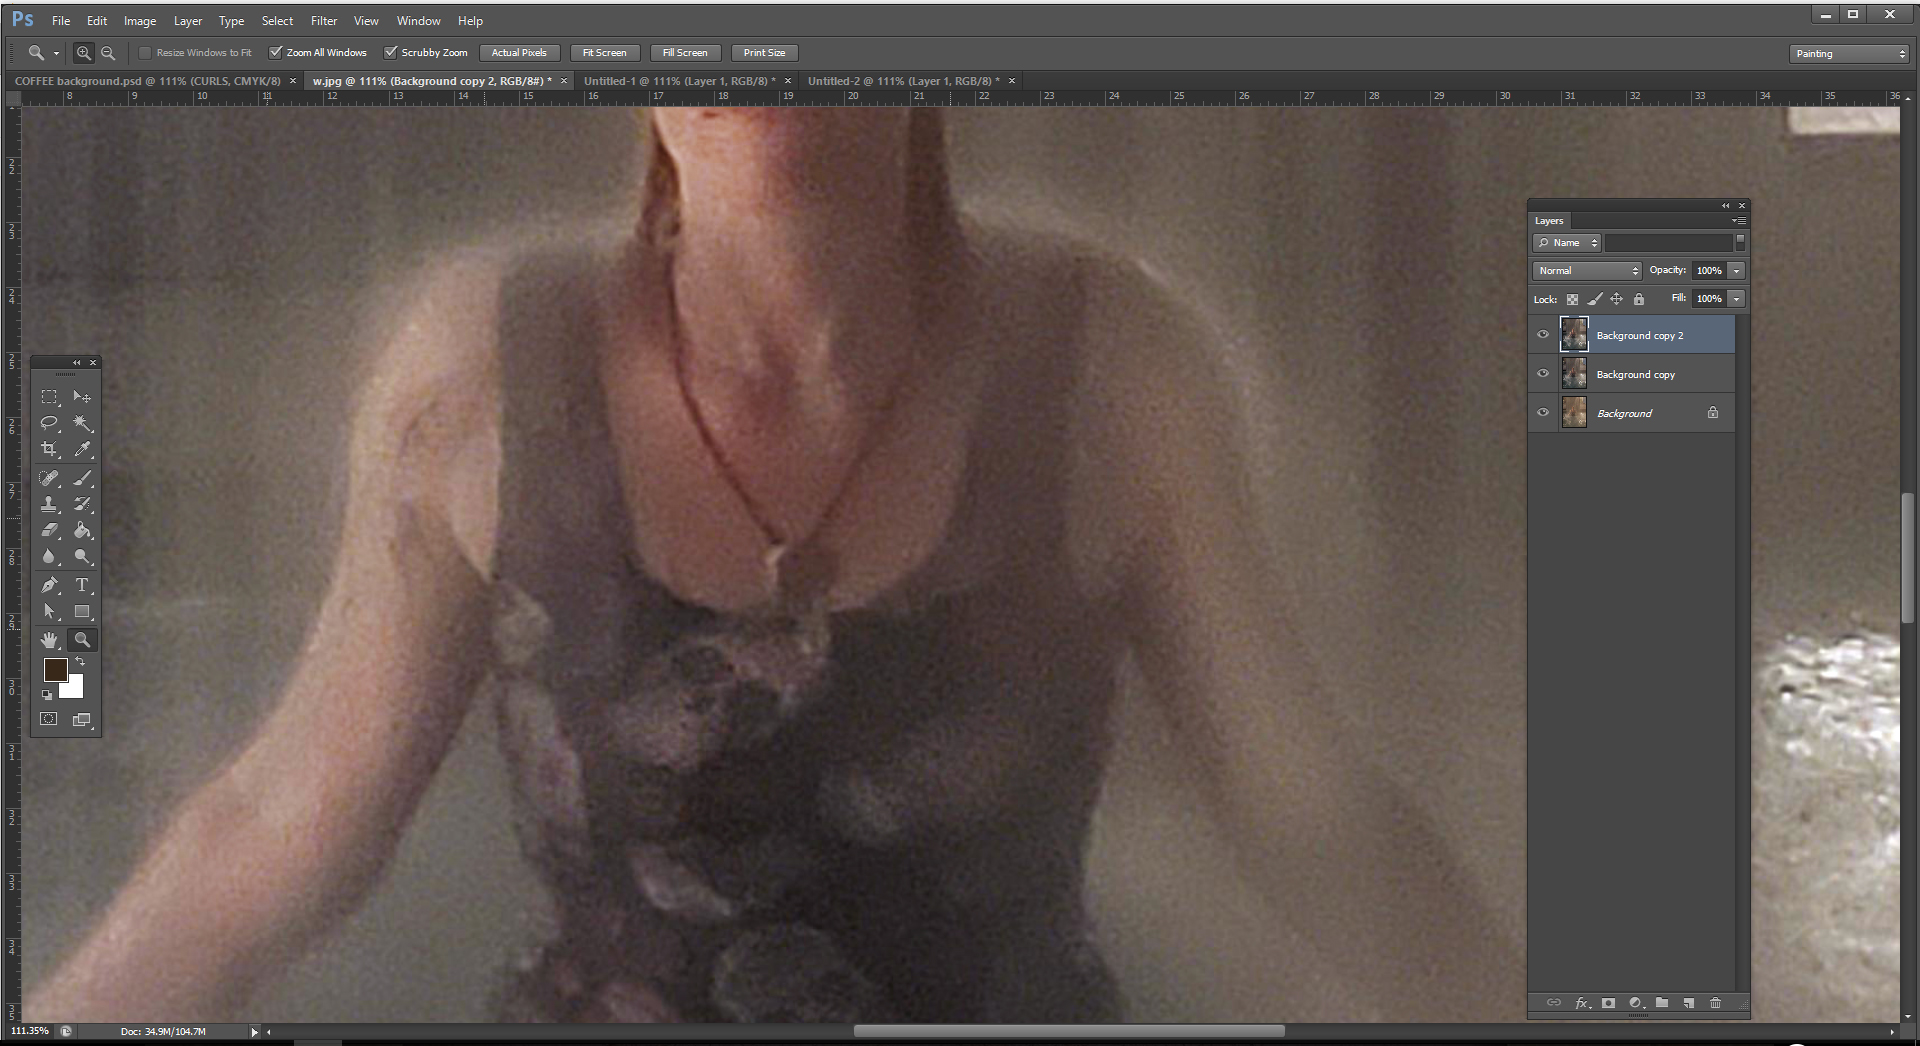
4. Here is a closeup of the digital noise I mentioned earlier. This issue is best resolved before you click. Good lighting is essential. There is noise-reduction software, and Photoshop has ways to reduce it too (filter/noise/reduce noise and filter/noise/despeckle), but it usually just results in too great a loss of detail.
Copy link to clipboard
Copied
You can also pay with the Brightness/Contrast sliders (Image//Adjustments//Brightness/Contrast)
Copy link to clipboard
Copied
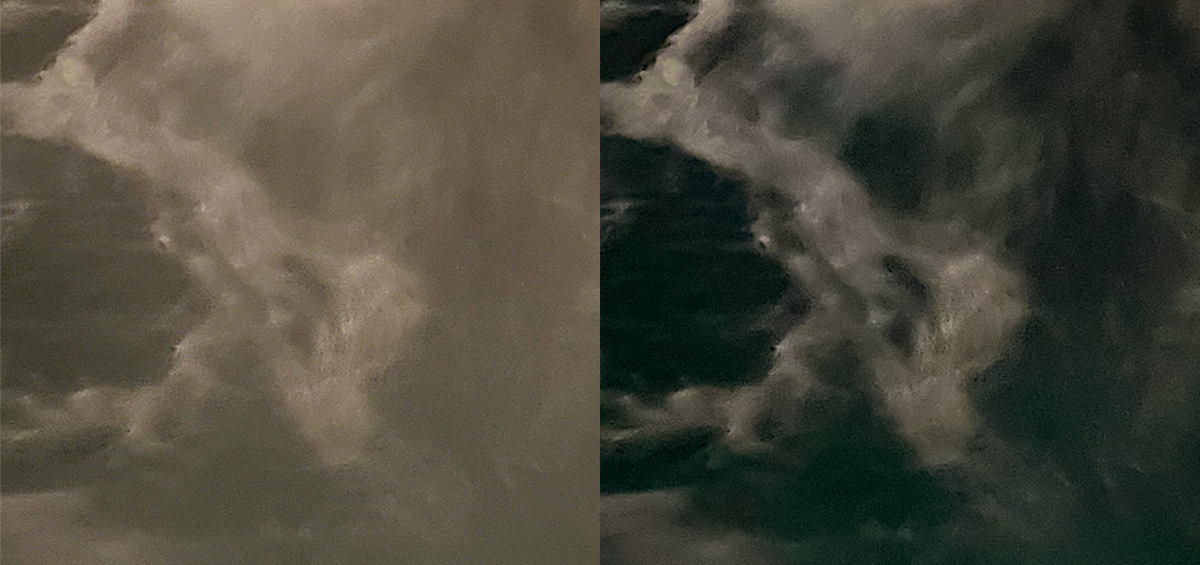
A couple of quick slider changes in the Camera Raw filter go a very long with this image. Convert the image to a Smart Object and then apply the Camera Raw filter from the Filter menu. The example below is the before and after of dragging the Dehaze slider all the way to the right (plus a little noise reduction and sharpening).
Copy link to clipboard
Copied
I think I'd use the 'shoot it again' filter. The noise looks more like bad RAW conversion artefacts, or and image that's been pushed too far perhaps. That chunky and irregular noise is what I am talking about.

I'm guessing that the exposure was quite slow because the water is blurred where you'd expect most movement.
Other than that, the black point is very loose, and than can be fixed. I used Topaz DeNoise, which helped with the noise, but compromised already poor detail.
It's interesting that I had to go much stronger than usual with High Pass sharpening, because there are so few areas of contrast for it to work on


