- Home
- Photoshop ecosystem
- Discussions
- Re: Make solid color transparent
- Re: Make solid color transparent
Make solid color transparent

Copy link to clipboard
Copied
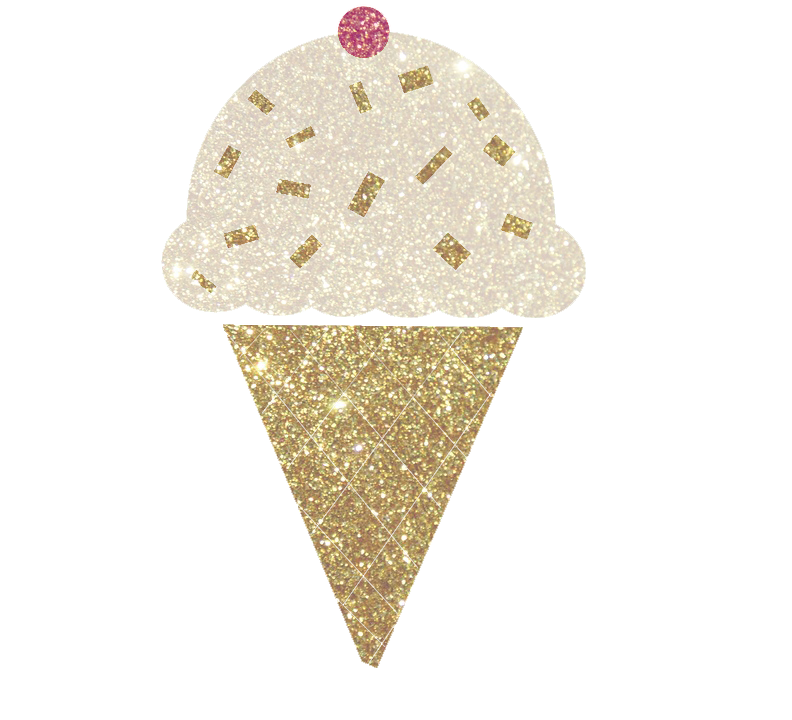
I am trying to make the white background of the following image transparent ..

Explore related tutorials & articles
Copy link to clipboard
Copied
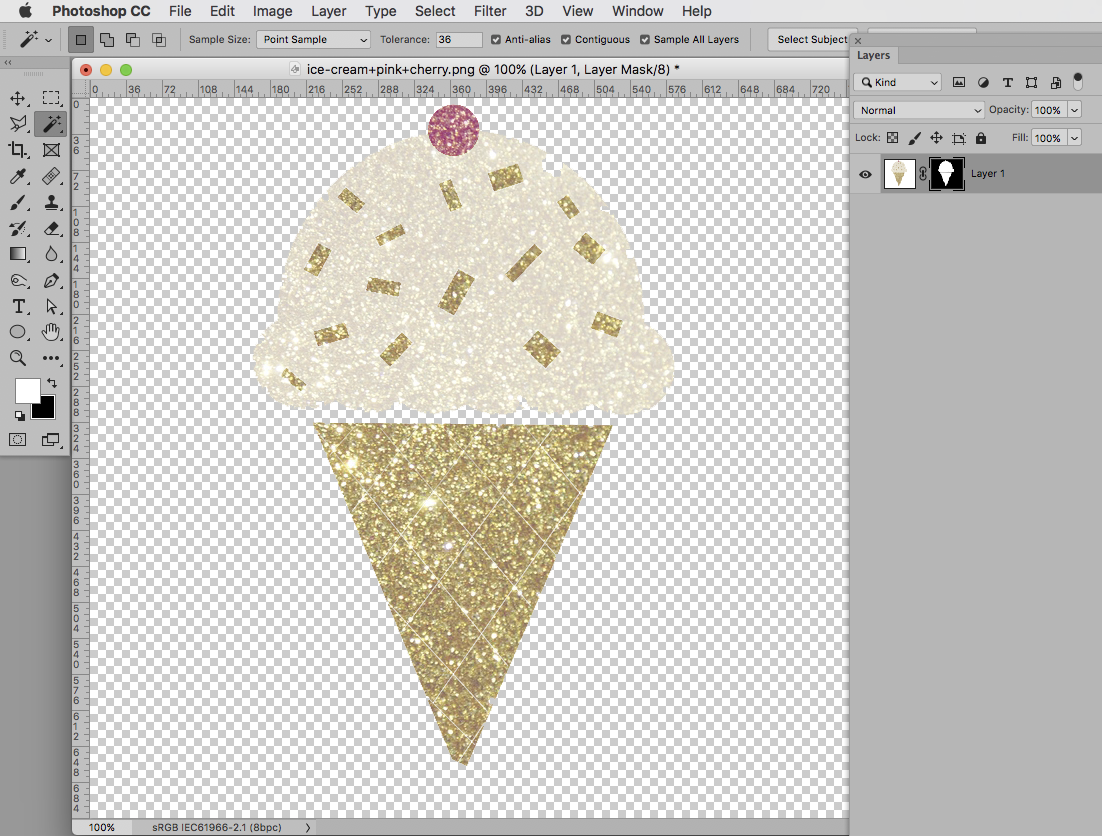
In a case like this even the Magic Wand Tool might almost suffice.
Select the background, Layer > Layer Mask > Hide Selection.

At the top right a part of the »ice-cream« is affected, that can be amended by brushing on the Layer Mask.
Copy link to clipboard
Copied
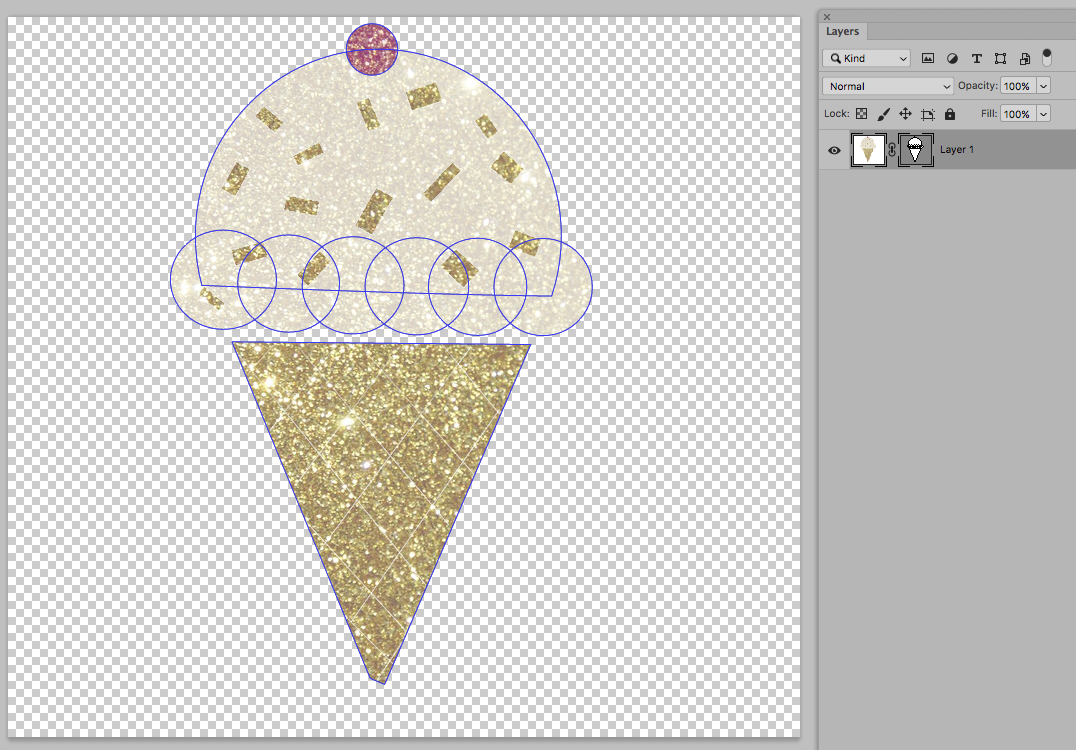
A better choice would probably be a Vector Mask (created with the Pen Tool, Ellipse Tool,…).

Copy link to clipboard
Copied
maybe Selecy Magic Wand Tool (W) and click on white Background - it should selects whole background
Use Select > Inverse to inverse selection and this way select icecream
Use Select > Select & Mask (Or Refine Edge i older version of PS) command to adjust selection of your creams
Finally use CTRL+J command to move image onto new layer and close original background (use eye buton)
Select file as PNG image

Copy link to clipboard
Copied
As of now, no transparency .. I did it the other day sooooo easily .. pretty much the color was selected and I made it transparent .. I have no idea how I did it.
As for ..
A better choice would probably be a Vector Mask (created with the Pen Tool, Ellipse Tool,…).
Thank you so much, I appreciate your help. I am a total newb and need a walk-through essentially (don't expect that!) Just always confused when people that know the software try to explain it.
Copy link to clipboard
Copied
As of now, no transparency .. I did it the other day sooooo easily .. pretty much the color was selected and I made it transparent
Probably the Magic Wand Tool or the Quick Selection Tool then.
But in this case the almost white glitter-regions may chomp into the outline.
Copy link to clipboard
Copied
need a walk-through essentially
The Pen Tool is used to create vector paths that consist of PathPoints. The curvature of the path connecting two points is determined by the points’ bezier handles.
And Paths can be applied as Vector Masks to Layers (Layer > Vector Mask > Current Path).
Read this
Draw with Pen tools in Photoshop
and give the Pen Tool a try if you got the time.
Copy link to clipboard
Copied

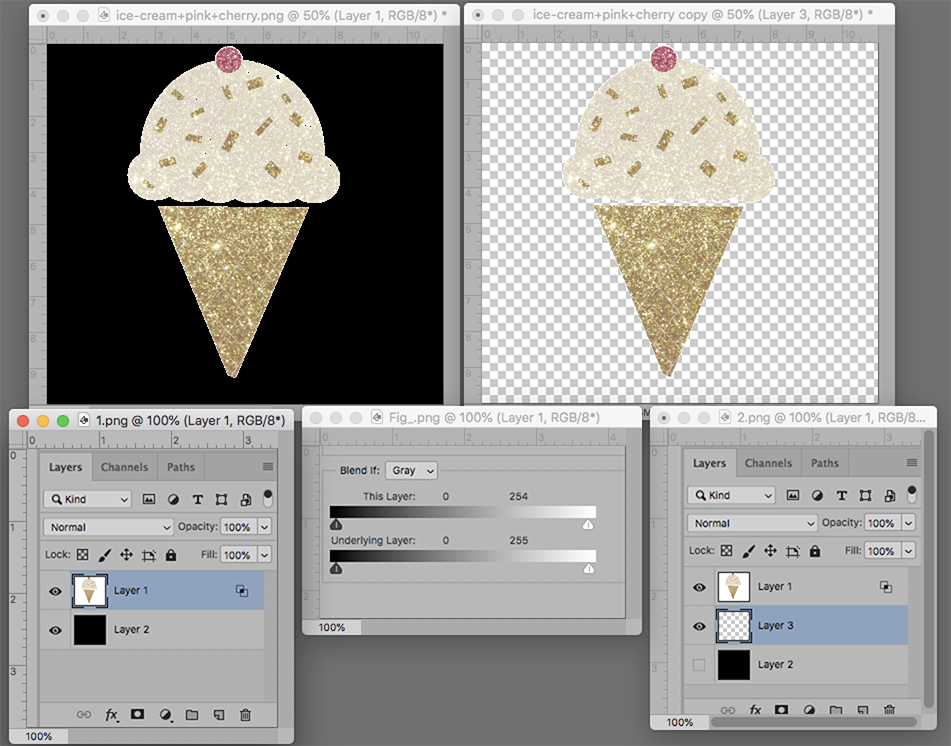
Before suggesting a solution, a check was made to confirm that the white within the illustration was the same value of white as the surround.
Placed a layer below the image filled it with black.
Double clicked on the image layer to bring up Layer Style
Moved the top right slider of Blend If to 254. Found the background was lighter than in image lightest value.
Added a blank layer below the image layer and turned off the black layer.
Deleted the black layer and chose Layer > Merge Down to complete the.composite
Copy link to clipboard
Copied
When you were able to make the selection really quickly, you might have used Select Subject. That option only appears when you have the Quick Selection Tool or Magic Wand Tool selected. The tricky part is that if you try Select Subject with your image, it keeps the white in between the ice cream and the cone. So then you'd have to figure out how to select it, which may get you into more complex methods of selection. Instead, split your image into 2 parts and then use Select Selection:
- Duplicate the layer (with the layer selected, use Ctrl + J on a PC or ⌘ + J on a Mac)
- On one layer, select just the ice cream scoop with the Rectangular marquee (It doesn't have to be perfect--just separate from the bottom) and delete the cone
- On the other layer, invert the selection (Select > Inverse) and delete so that it's just the cone
- Now select the Quick Mask Tool so that Select Subject appears in the control panel, select a layer, then click Select Subject
- Add a layer mask (3rd icon from the left at the bottom of the Layers panel) or delete the selection
- Repeat for the other layer
Get ready! An upgraded Adobe Community experience is coming in January.
Learn more

