- Home
- Photoshop ecosystem
- Discussions
- Mottled effect to undo monotony of a uniform colou...
- Mottled effect to undo monotony of a uniform colou...
Mottled effect to undo monotony of a uniform colour...how ?
Copy link to clipboard
Copied
Hi,
CS6.
Looking at some artwork for aircraft skins for flight sims, what would be otherwise a perfectly uniform artifical looking area of colour has had a subtle mottled weathered look applied, like the clouds on a 10/10 cloudy day.
How best can this be achieved on a colour dumped with alt backspace from the colour palette into a layer ?
Ideally an ability to drag sliders to alter size of the mottle, variation in shades, introduction of a second similar colour maybe, etc.
On a side note, I also often need to add in the 'noise' we see when photographing a uniform colour and zooming in on it, as adding a colour to a photo edit, looks false, until the existing 'noise' is matched. A different method no doubt but again how is it done ?
Merlin
Explore related tutorials & articles
Copy link to clipboard
Copied
Hi Merlin
Layer Style > Bevel & Emboss > Texture does what you describe. You can adjust the scale and depth and chose from a vast array of different textures. It is also non destructive. The down side is that you can't transform the texture for perspective.
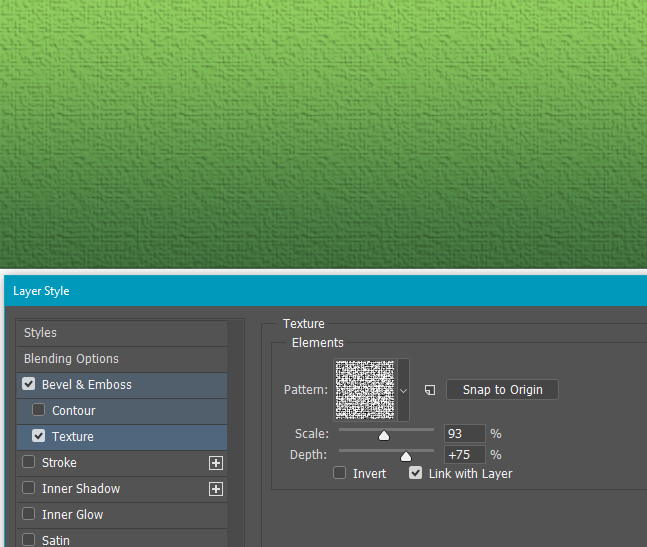
From the drop down, click on the little cog icon to load additional textures. These are are all what come as standard.

Copy link to clipboard
Copied
Hi Trevor
mottled : spotted, speckled, dappled, stained, splotchy.
I dont think a Texture + Bevel & Emboss is right for a Jet Plane. ??
Maybe adding some "stain" with a brush ??
Pierre
Copy link to clipboard
Copied
Or perhaps some irregular shapes filled in with gradients of different values?
Copy link to clipboard
Copied
Hi
For a large file, a layer of "Render > Difference Clouds" with some blending and a Mask could do it too.
I think the Op is working on a "flat" image file that would be use as a texture in a 3D software or a flight simulator like X-Plane.
I did some "skin" modifications years ago for my Dad "X-Plane", planes. As he always said : "Fly Blue Upside Down". ![]()
Pierre
Copy link to clipboard
Copied
Or just plain vanilla clouds. If your foreground and background colors are close, the effect can be nice and subtle. And remember, if you run Clouds on a doc that's a multiple of 256 pixels square, it will seamlessly tile, so you can save it as a pattern.
Copy link to clipboard
Copied
Hi
Right. And if the OP want's to have fun, I used to be a fan of Mister Retro
Like, MACHINE WASH
Pierre
Copy link to clipboard
Copied
postrophe wrote:
Hi
I used to be a fan of Mister Retro
Like, MACHINE WASH
Pierre
For that Grunge on Acid look. ![]() And then they invented 'bad' HDR and the internet became full of horrible pictures.
And then they invented 'bad' HDR and the internet became full of horrible pictures.
Copy link to clipboard
Copied
Hi
Well .. As they say, drink Acid with moderation. ![]()
I wish you the best for 2017. Me ? I'm still in 2016 with 2 feet of snow and freezing. ![]()
Pierre
Copy link to clipboard
Copied
postrophe wrote:
Hi
Well .. As they say, drink Acid with moderation.
I wish you the best for 2017. Me ? I'm still in 2016 with 2 feet of snow and freezing.
Pierre
In a really bad winter, we might get snow down to about 500 metres, but never remotely close to snowing on the valley floor. What we do get here is wind, and lots of it. This is now.

There is a huge scout Jamboree going on in Marlborough right now, and every now and then, one of them flies past our window. It was lucky we had the drone up when this one went past! They are game little buggers — I'll say that for them. My Chris is just glad not be at work having to patch them up. Would you believe the hospital genuinely increased staff levels for while the jamboree is on? We don't do PC, wrap them up in cotton wool here. Send them out with a bag of 'Harden-Up' pills, and tell them not to come back un-bloodied.
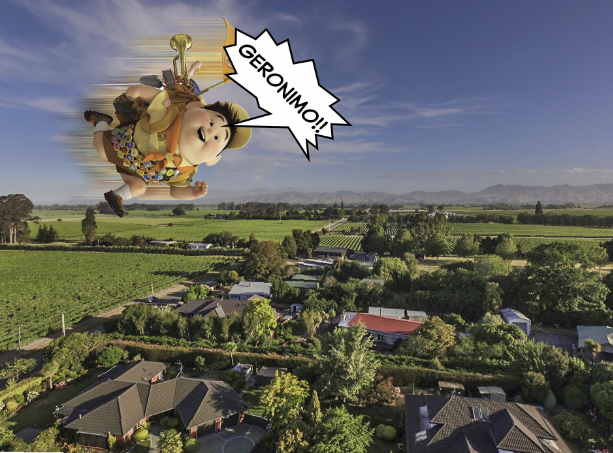
Happy new year everyone. I'm looking forward to seeing Dave's 3D fireworks. ![]()
Copy link to clipboard
Copied
Hi
Seem we dont need a Dr. Brown anymore. ![]()
Check the weather where I live : Montréal, Québec, Canada. It's not so bad now (just 2 feet of snow in my backyard). I bet in 2 months it will be 6/8 feet deep of snow. I keep a shovel by the front door, so that we can safely exit the house.
My wife is the CEO of a group of 3 private medical clinics (Internationally renowned), she usually increase her staff after full moon.
The challenge for Dave would be to do it in AE, like a rotating fly over a city. (good luck Dave)
Pierre
Trevor.Dennis a écrit:
postrophe wrote:
Hi
Well .. As they say, drink Acid with moderation.
I wish you the best for 2017. Me ? I'm still in 2016 with 2 feet of snow and freezing.
Pierre
In a really bad winter, we might get snow down to about 500 metres, but never remotely close to snowing on the valley floor. What we do get here is wind, and lots of it. This is now.
There is a huge scout Jamboree going on in Marlborough right now, and every now and then, one of them flies past our window. It was lucky we had the drone up when this one went past! They are game little buggers — I'll say that for them. My Chris is just glad not be at work having to patch them up. Would you believe the hospital genuinely increased staff levels for while the jamboree is on? We don't do PC, wrap them up in cotton wool here. Send them out with a bag of 'Harden-Up' pills, and tell them not to come back un-bloodied.
Happy new year everyone. I'm looking forward to seeing Dave's 3D fireworks.
Copy link to clipboard
Copied
Haha
No 3D today Trevor (and no AfterEffects Pierre) - too fragile after last nights celebrations ![]()
Besides - you have to be careful playing with firework pictures - you could get burnt !

All the very best for 2017.
And for the OP - I would use the clouds filter as others have said
Dave
Copy link to clipboard
Copied
Hi,
Gosh a sudden snow storm of replies, thanks, even if some are 'off-piste'. UK here so nothing to make the festive scene, though better for travelling.
Its the skin on a WW2 aircraft for a flight sim. Just tried Render>Cloud and thats a start, if only I could reduce the contrast between the see through bits and the cloudy bits. There are no sliders or variables to control it at all. I need to control both the difference and also the scale of it.
I could I suppose make a channel from it, applying it to a black fill, then play around with contrast brightness, levels etc. On a much larger separate artwork then transform > scale it.
Surprised there are no controls over this filter.
Ctrl F varies it in a next option steppy sort of way, what in fact is Ctrl F designed to do ?
Alt Ctrl F makes it too contrasty, the opposite direction I ned to go.
I need the cloud splodge patches much smaller and subdued, just to break up the otherwise monotonous uniform colour with darker and lighter shades of it. keep it subtle.
I have by the way 2048x2048 image (px) which is 8 x 256.
Merlin
Copy link to clipboard
Copied
Hi Merlin
Control it by applying it to a separate layer then use the layer blending options and opacity controls, to control how it impacts your existing image texture.
Dave
Copy link to clipboard
Copied
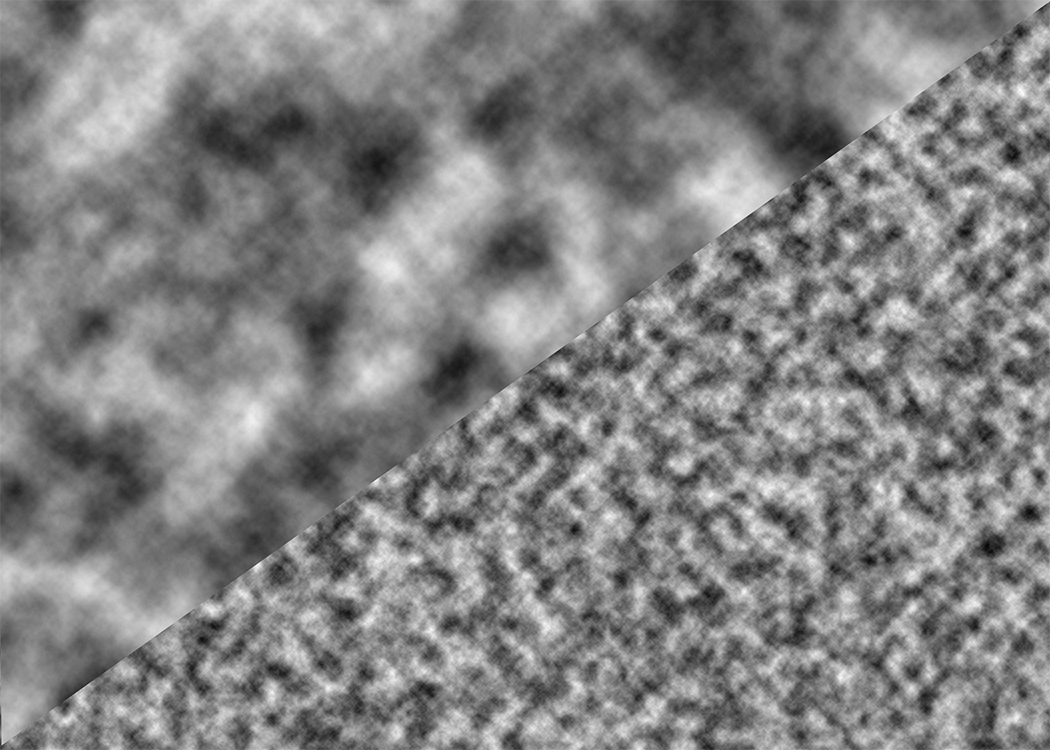
You pretty much adjust the contrast of Clouds by your choice of Foreground and Background colors, and control the "density" of the effect by the size of the area you apply it to. You can then scale this up or down without much ill effect, since it's really just noise. To get the density really tight, it can help to open a new doc the same size as you're working on, scale it up via Image Size, run Clouds, scale it back down, and copy and paste into your working doc. Not very immediate, to be sure.
Here is straight Clouds and scaled up 400%, Clouds, and down to 25%
Copy link to clipboard
Copied
I am ashamed to say that this thread has got so far before I read the OP properly, and can see that I missed the point completely. Peter Jackson's Aviation Heritage Centre is a 15 minute drive from me, and we have the Classic Fighters extravaganza every two years here, so there is no problem getting pictures of WW1 and WW2 aircraft.
We call Render Clouds and Fibers 'Fractal Noise' and they are the mainstay of creating texture. I made this quick and dirty illustration of a spitfire using Clouds, and you can achieve whatever level of contrast you need by choosing your colours (as said back up the thread) and use of adjustment layers. It's pretty basic stuff.

Copy link to clipboard
Copied
We call Render Clouds and Fibers 'Fractal Noise' and they are the mainstay of creating texture.
Or to use the Eponymous name of this award-winning filter, Perlin Noise.
Copy link to clipboard
Copied
Semaphoric wrote:
We call Render Clouds and Fibers 'Fractal Noise' and they are the mainstay of creating texture.
Or to use the Eponymous name of this award-winning filter, Perlin Noise.
I started reading that and thought 'Way too heavy', but it turns out to be fascinating stuff. You have got me wondering what name lays behind your Adobe user name now. ![]()
Ken's vase was apparently made entirely with Photoshop textures, and we can see both Clouds (in the irregular background colours) and Difference Clouds (in the marble streaks).

I have to admit to getting a bit lazy nowadays, and using Eye Candy 7 to get the streaks (lightning) textures. Eye Candy makes an excellent job of doing the blood vessels in the whites of the eyes.
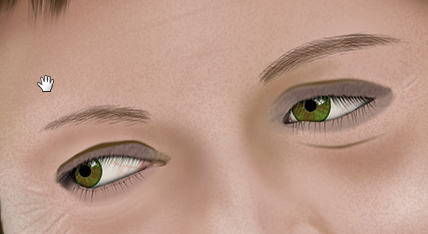
Ken's so called Hypertextures are both fascinating and inspirational. I love the furry ball

I made this with a modified brush from Castrochew's Hair and Skin texture set by adding foreground background colour jitter. It is great for beards and wild hair.

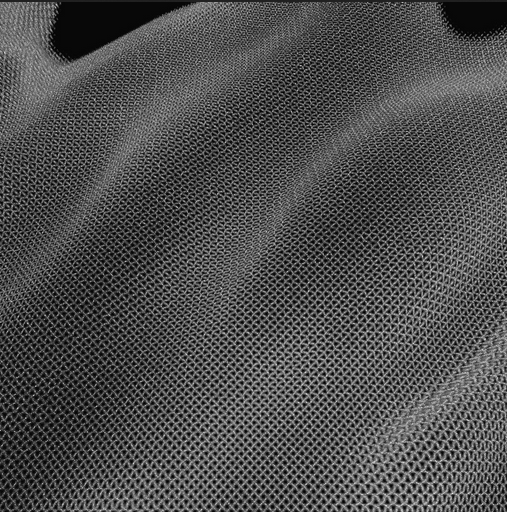
Ken's cloth texture is very convincing, and I'm guessing that a Displacement Map was used. I know that is an area of interest to you Semaphoric which has me wondering some more what your background is?
I stopped reading by the last paragraph, but not before getting a bad headache!
Copy link to clipboard
Copied
Hi,
I am not after the clouds effect as much as just wishing to impart some subtle colour changes to un-monotone the colour, so the dk green on a spitfire would appear subtly different and not one uniform rgb value when viewed at pixel level, the variations not being a repeat pattern either. Pipette set to one pixel sampling would see rgb values vary by a few digits at most.
Merlin
Copy link to clipboard
Copied
You might start with a gradient map adjustment layer and see if that does what you're looking for.
Gradient Map Adjustment Layer in Photoshop « Julieanne Kost's Blog
Copy link to clipboard
Copied
Semaphoric wrote:
And remember, if you run Clouds on a doc that's a multiple of 256 pixels square, it will seamlessly tile, so you can save it as a pattern.
Hey, I didn't know that. Nice one.
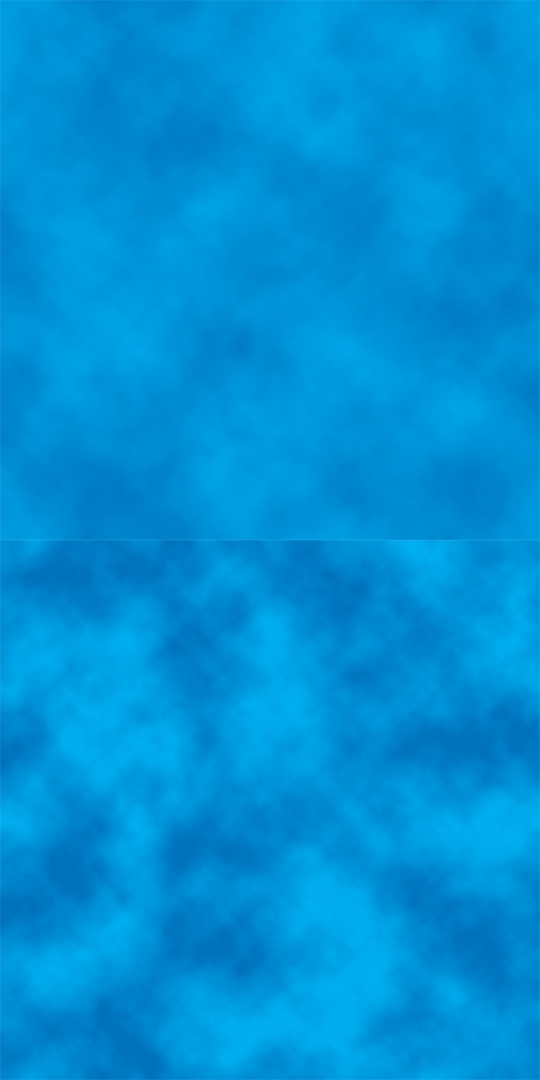
I'll add after rendering clouds, use the Alt key with Ctrl f to give you a more contrasting texture.
Copy link to clipboard
Copied
I didn’t know that either (I’ll trust the OP as I don’t have time to check now)… Which sort of rains on my intended parade, this is an oldie but a goodie for more than one reason:
Copy link to clipboard
Copied
As always, it would help enormously to see a screen shot. Otherwise, we can only guess. The biggest problem with B&E > Texture, is as I said above, it can't be distorted to match shape and perspective. I've been using Displacement Maps to fit textures to clothing in the illustrations I am doing at the moment, (when FT > Warp can't get a good fit).
This is especially important with something like a hessian or canvas texture that has an underlying rectangular pattern. Erik Johansson demonstrates how to do this very effectively in his Cut & Fold behind the scenes video.


