/t5/photoshop-ecosystem-discussions/neck-joint-ghost-mannequin-photoshop/td-p/9636005Jan 21, 2018
Jan 21, 2018
Copy link to clipboard
Copied
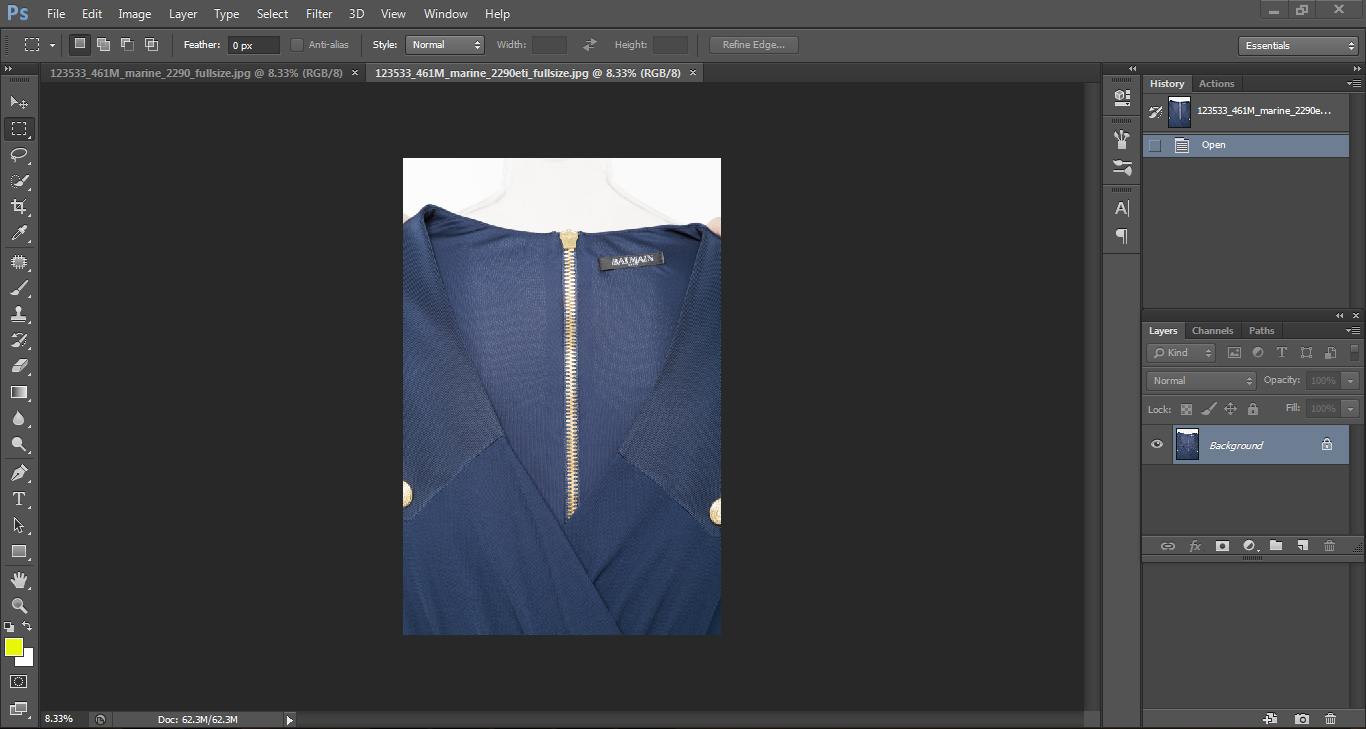
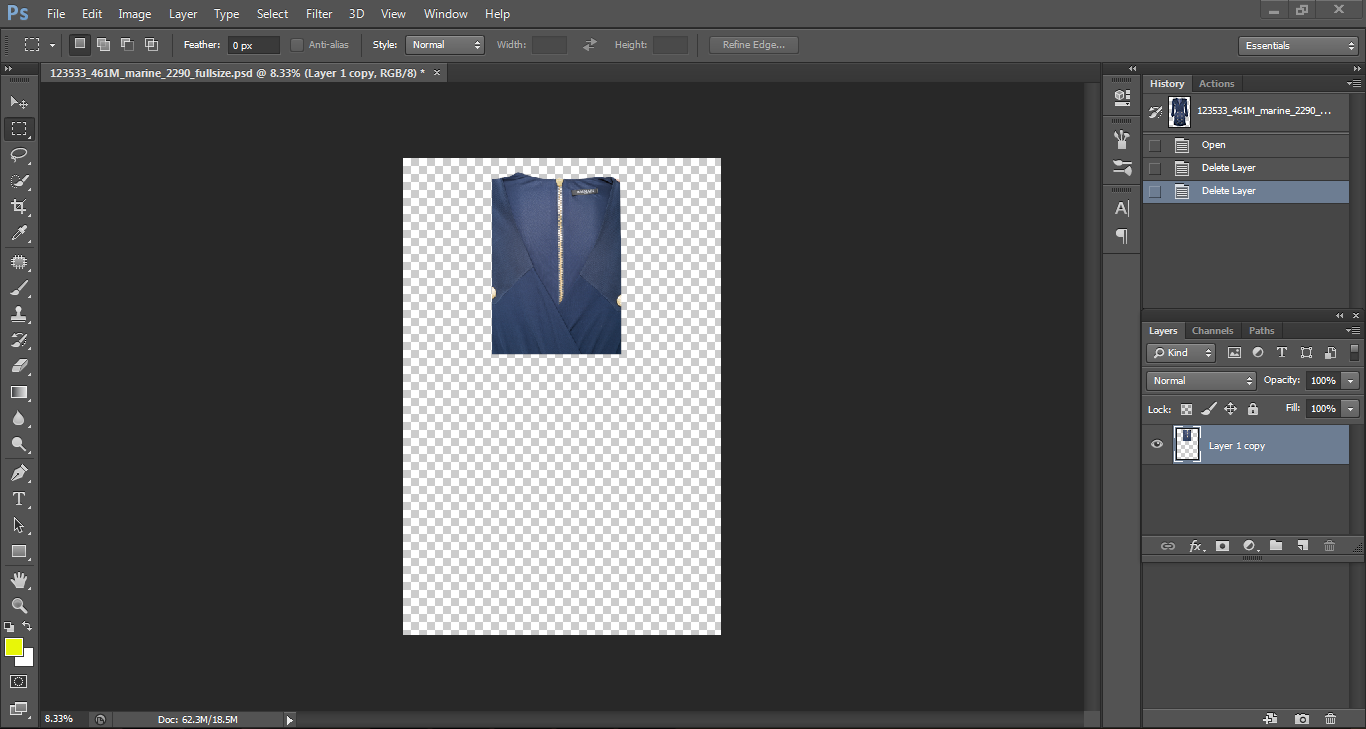
Now a day the photographers, eCommerce site, and any other photo graphical user don’t highlight the original Neck Joint Photoshopof the image. Now we want to describe about Neck Joint in graphic design. Neck Joint means joining two images to create a dedicated image so that it seems the image was previously look like the same after we create the final output of Neck Joint. It is shown that product photographers and eCommerce business developers always trade their product online with a very poor quality of Neck Joint Photoshop image. We assure a quality service of image Ghost mannequin Photoshop. When photographers shot image for Neck Joint they have to take 4 to 5 shot and two layer of that image to create quality Neck Joint image. Neck Joint is generally cloth and wear based image service. Mannequin for clothes is widely used to improve the display products and photographers use dummies or dolls to take the shot so that it seems alike when the cloth or wear was on a human body. Neck Joint is the procedure of removing the dummies or dolls from the image to show the product as natural as on human body. To make natural Neck Joint the photographers have to take especial care of the product vice and after that they have to contact graphics design company to create Nick Joint of the dedicated product. When Nick Joint is created the behind products or inside undesired details should be discarded.
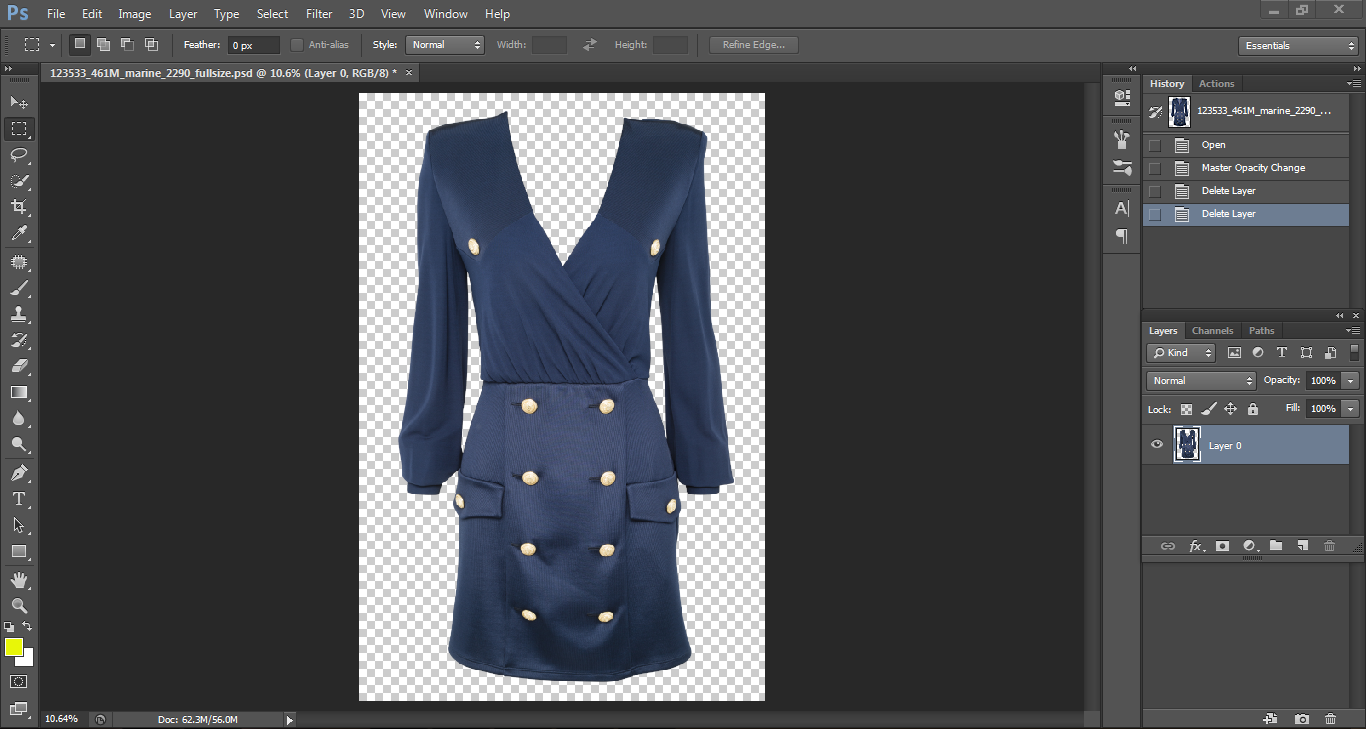
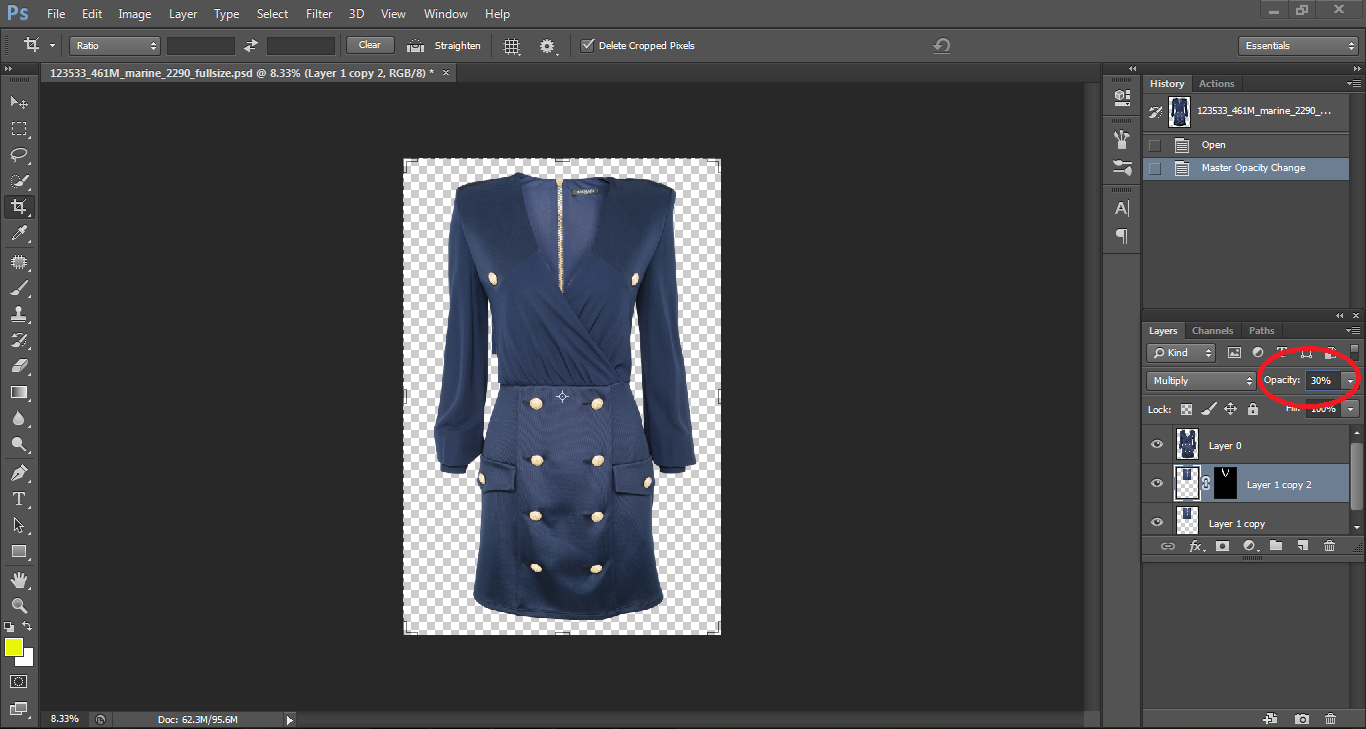
I have worked with a picture for Photoshop neck jointadministration. Some architect referred to this too Photoshop phantom mannequin benefit. I need criticism about this item. My activity is finished by specialists planner. Do I have to enhance more before convey this activity to my customer?
Chuck Uebele • Community Expert, Jan 21, 2018Jan 21, 2018
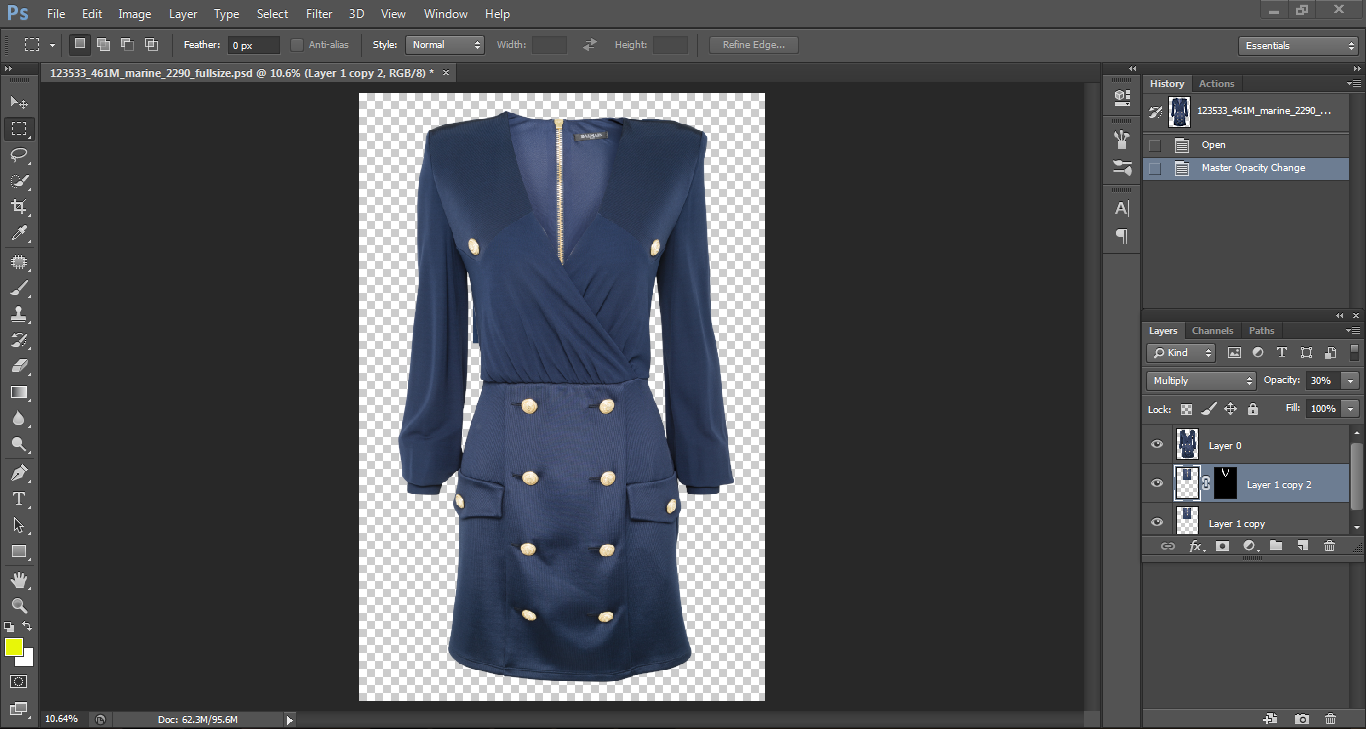
Personally, I would darken the inserted back of the dress. Since it's inside the dress, it should not get as much light as the main dress. Plus, your eye tends to go to the lightest areas, and that is lighter than the rest of the dress, so your eye is drawn to it rather than the dress.
/t5/photoshop-ecosystem-discussions/neck-joint-ghost-mannequin-photoshop/m-p/9636006#M144413Jan 21, 2018
Jan 21, 2018
Copy link to clipboard
Copied
Personally, I would darken the inserted back of the dress. Since it's inside the dress, it should not get as much light as the main dress. Plus, your eye tends to go to the lightest areas, and that is lighter than the rest of the dress, so your eye is drawn to it rather than the dress.


 3
Replies
3
Replies


 AdChoices