Copy link to clipboard
Copied
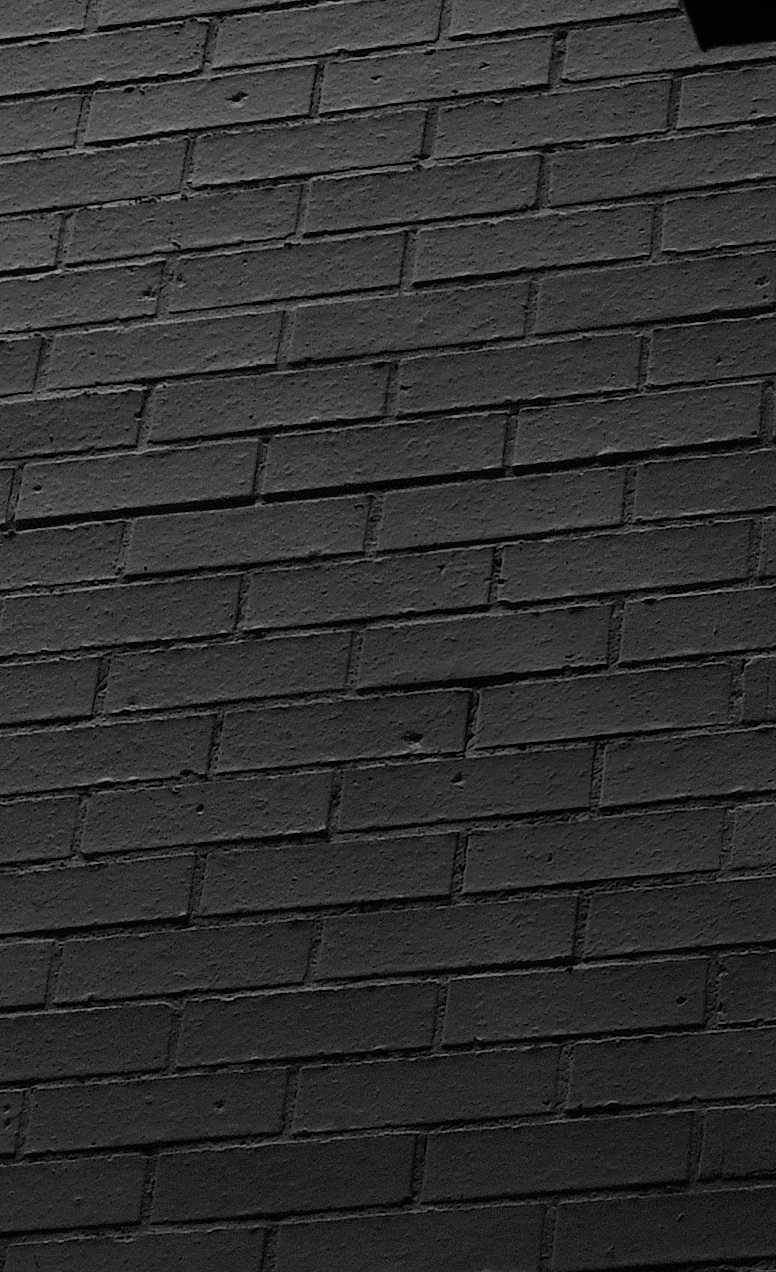
I did it by using a "burn" technique that uses Curves and Saturation, applied with a soft brush at 1% flow to gradually apply the effect without leaving brush strokes. (I had to first convert the image from Grayscale to RGB).
There are many variations of this technique, including the built-in Burn tool in Photoshop, you may have to play around with them to find the one you are comfortable with.
Copy link to clipboard
Copied
Great result, Rafael. I'll try it. Thank you.
Copy link to clipboard
Copied
I would probably use a soft-edged selection and Curves.
Copy link to clipboard
Copied
I'll try that one too, Lumigraphics. Thank you
Copy link to clipboard
Copied
The Dodge and Burn tools have the advantage of being able to affect specific tonal ranges. So using the burn tool set to Midtones in the Options bar with a soft brush set to 50% or lower, will let you build the effect.
A Curves Adjustment layer also lets you work on just the tonal range required. If you create a curves layer and click on the little hand icon in the top left corner of the Properties panel, and hover the cursor over the area you want to affect, you will see a point on the curve for that tonal range. If you left click, a point will be placed there.
You need to place more points on the curve above and below to lock those values and adjust the curve for best effect. This will still affect the entire image, so invert the curves layer mask, and paint thew area back in with a soft white brush.
A popular non destructive approach is to use a layer filled with 50% Grey with its blend mode set to Overlay. At 50% this has no effect on the layers beneath it, so if you use a fullky soft, low opacity black brush (10%) you can build up the effect while not touching the original layer. You can use this trick for all sorts of things. Adding noise for instance.
Copy link to clipboard
Copied
Trevor, I'm so appreciative of the trouble you've gone to. It seems really expert advice. And the graphics you've included are so useful. I'm a relative beginner with Photoshop and you've given me what I was looking for. What I put in my original query was just a crop. The full image is definitely pretty good, just spoilt by that light patch of reflected sunlight. I'm going to work through as you've suggested. Cheers, Lloyd
Get ready! An upgraded Adobe Community experience is coming in January.
Learn more