
Photoshop Camera Raw Filter is slightly different from Adobe Camera Raw - Should it be?
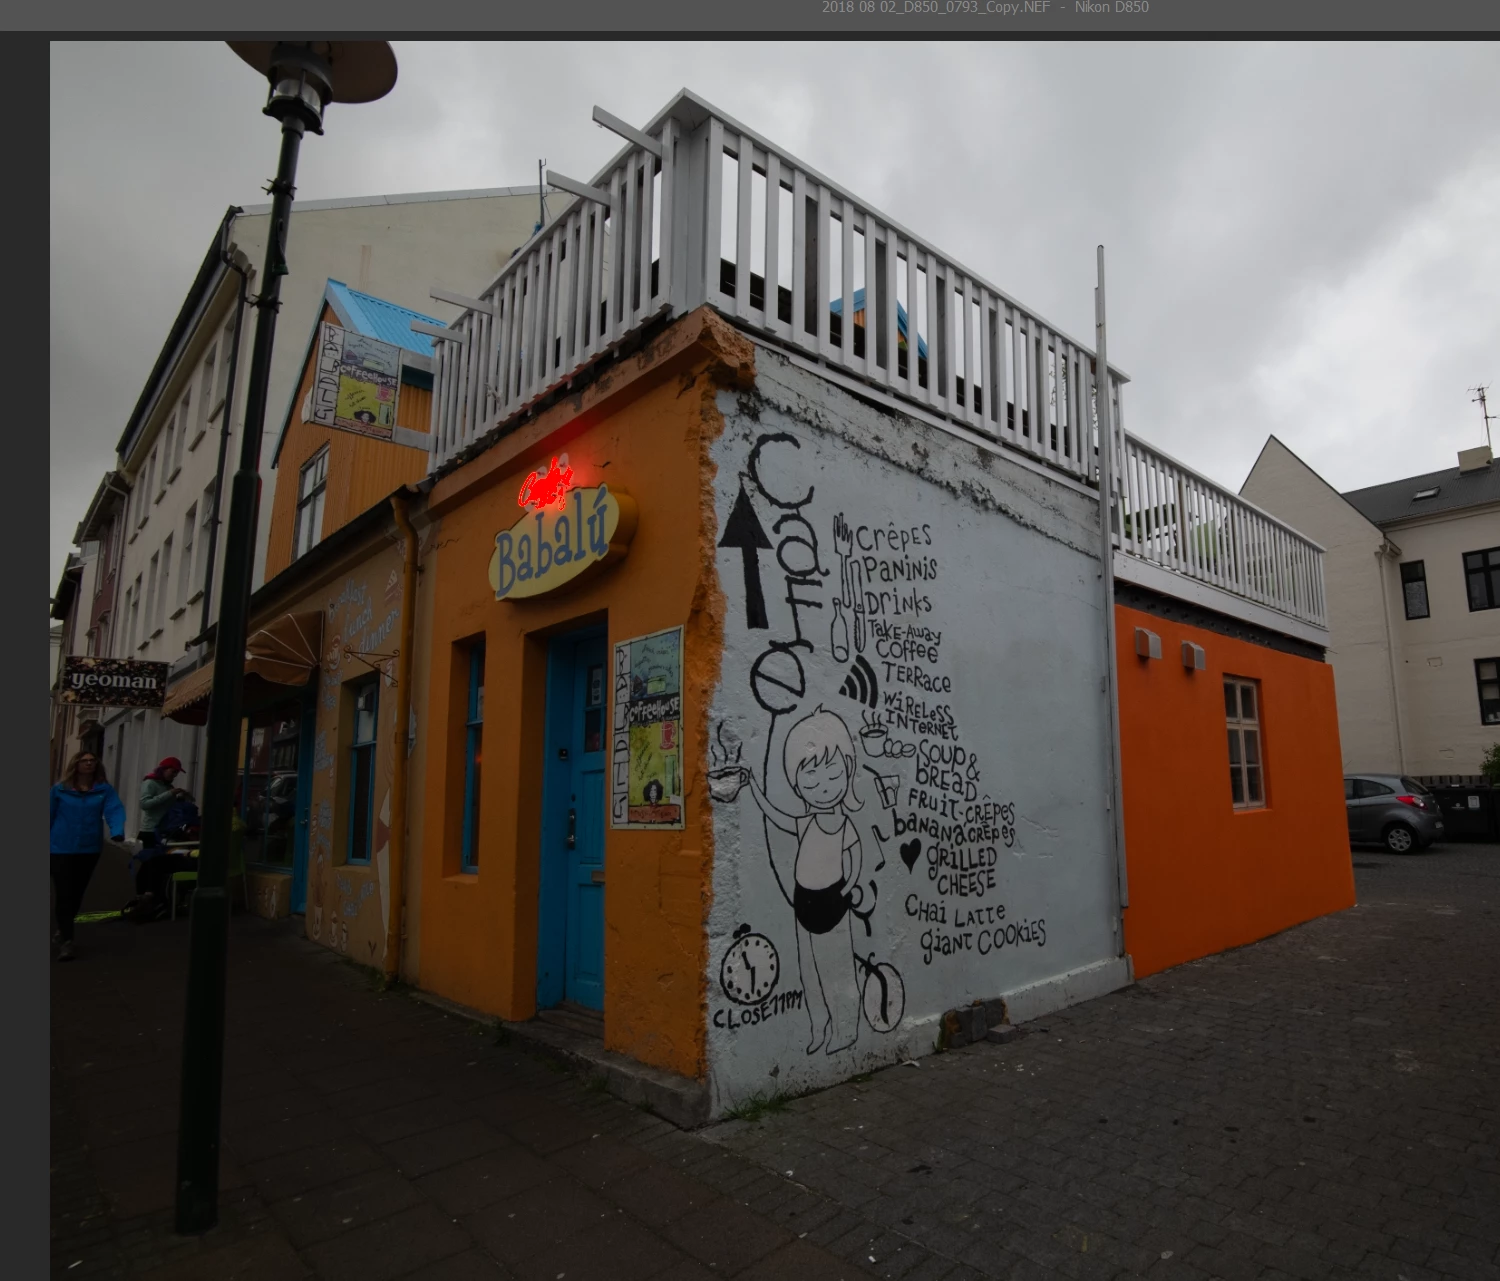
This is an image made with my Nikon D850 with a 16 to 35 mm zoom lens. No adjustments have been applied. At this point the lighting is not very good. I'll fix that later. The image shown below is being viewed in Adobe Camera Raw without any changes being made. Notice that the light pole on the left side has a noticeable curvature to it. Some of the image on the right side is not being shown.
This next visual is what the image looks like after I go to the Optics Tab in Camera Raw and check the box “Use profile corrections.” I’m assuming that Camera Raw has looked at the file’s meta data and determined what camera and lens were used, then applied a correction based on that knowledge. Notice that ACR did a nice job and the image has been corrected to make the light pole straight, although it’s still slanted toward the right. Removal of the curvature is a good thing that I was trying to achieve. Changing perspective can be handled with other tools. Still within ACR, the next step I’d take would be to adjust brightness, contrast, etc. found in the Lights Tab. After all of that is done I would open the image in Photoshop and make additional fine tunings. The only problem with doing it this way is that the changes made in ACR before opening the image in Photoshop have been made destructively which I really want to avoid doing.
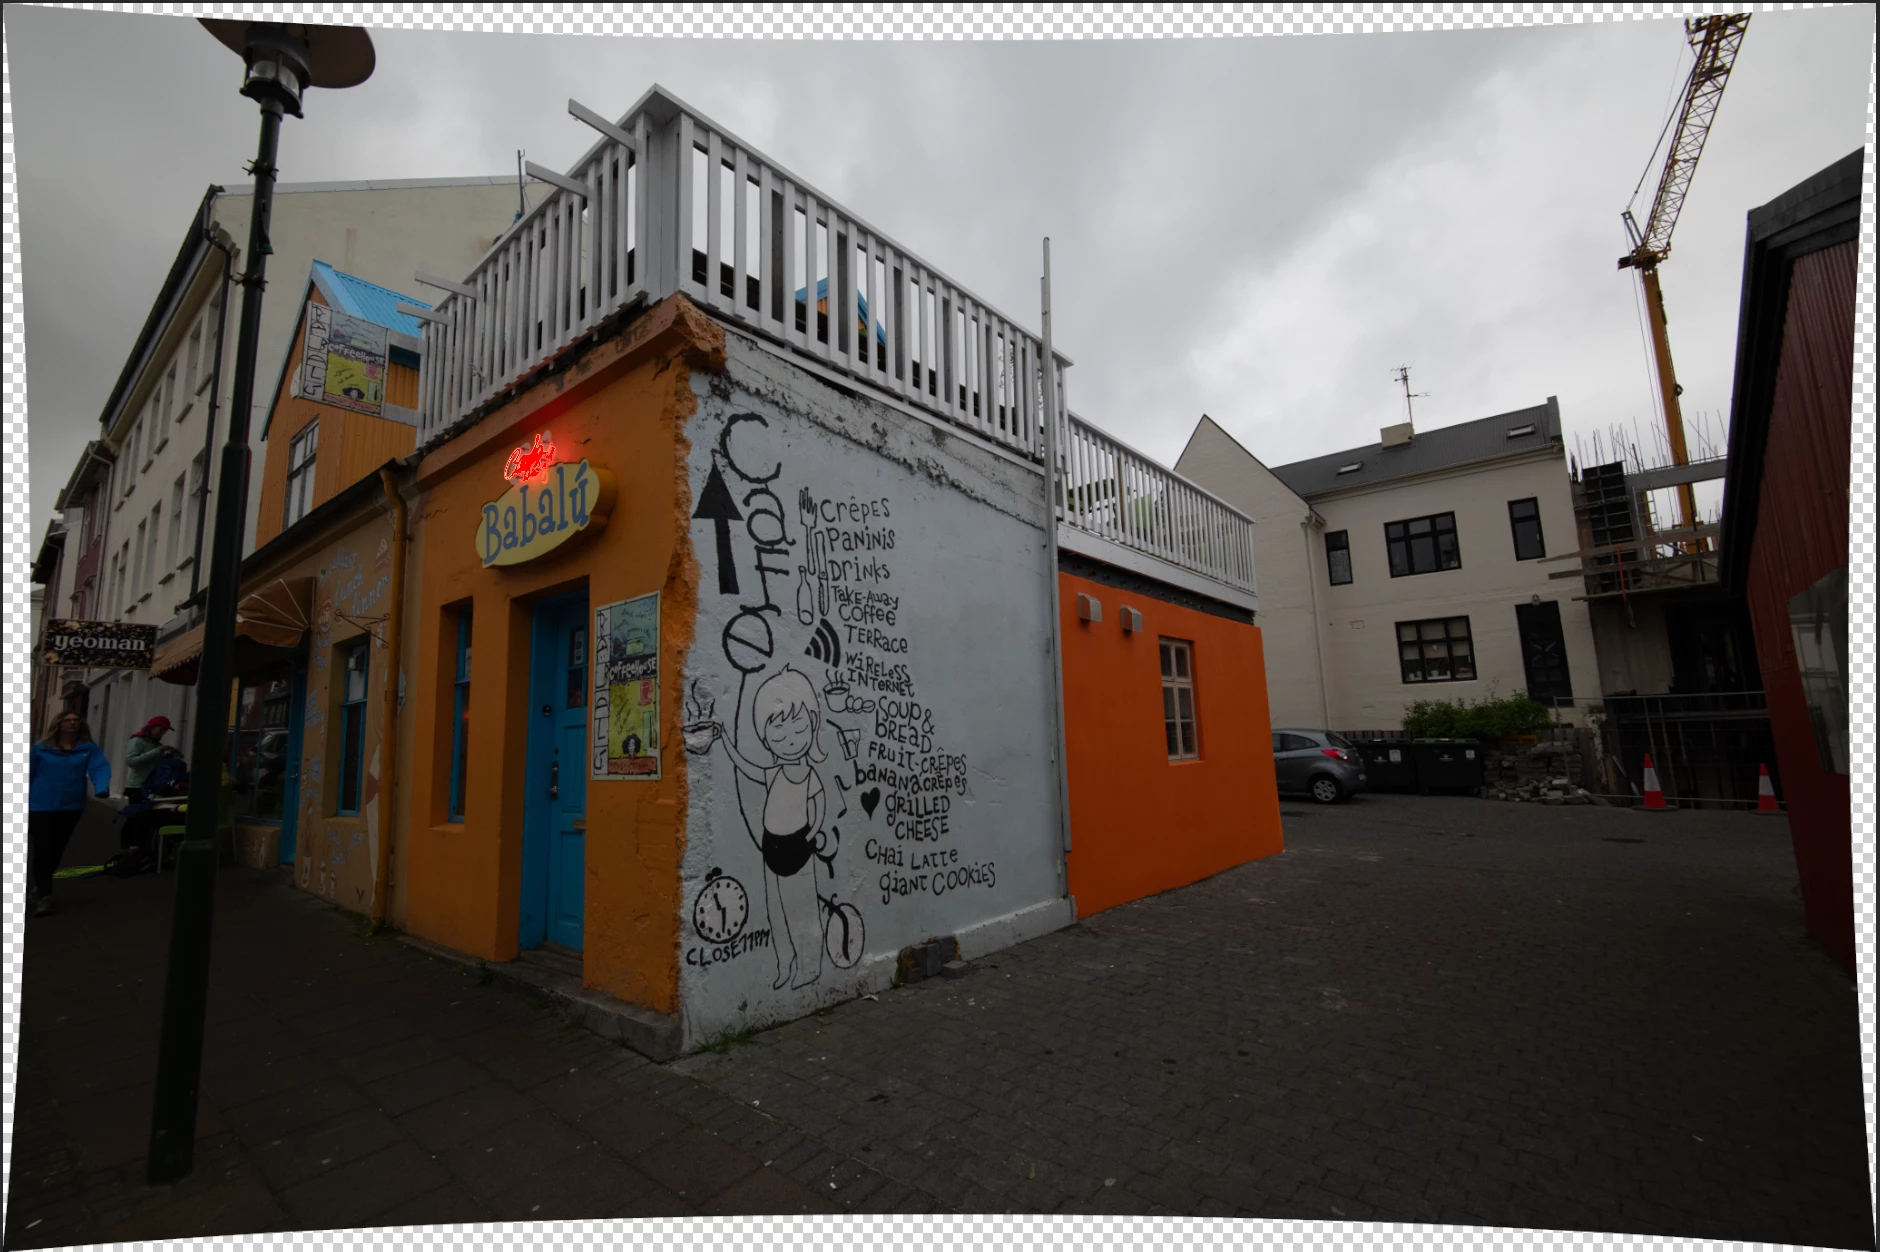
So, in most cases I will open the image directly in Photoshop, making sure that no Adobe Camera Raw adjustments are made as the file is opened. With the raw image loaded in Photoshop and no adjustments having been made, I then set Layer 0 to be a Smart Object. At this point I go to Filter > Camera Raw Filter. When it opens it gives me the adjustment options menu on the right side, the same as it does when ACR is used to open the image. Selecting Optics gives me a slightly different set of options from what was available for the Optics adjustments when ACR was invoked on its own. What’s missing is the check box for “Use profile corrections.” (A check box for Remove Chromatic Aberration is also missing) In its place is a different adjustment labeled Distortion which will let me shrink the width and height of the center part of the image, thus compressing the middle part of the image thus adjusting image curvature. The light pole on the left can be made straight, but this also leaves blank pixels in arcs along all four sides. See the following image:
While this does achieve a non-destructive correction of the spherical distortion caused by the short focal length lens, I have no way to know if there might have been other things adjusted by the lens profile when used directly with ACR that are not adjusted when the Camera Raw Filter is used in Photoshop. When I crop the image to get rid of the blank areas I don’t quite get the same amount of the original image that I had when the lens adjustment was done initially with ACR. While the differences are not likely significant in this case, I suppose there could be instances where something right on the edge of the frame is compromised by using the Camera Raw Filter within Photoshop.
Is there anyone out there who can explain why there are some differences between Camera Raw V 16.2 and the version used as the Camera Raw Filter within Photoshop V 25.5.1 I’m a person who really likes to have consistency across a suite of applications.
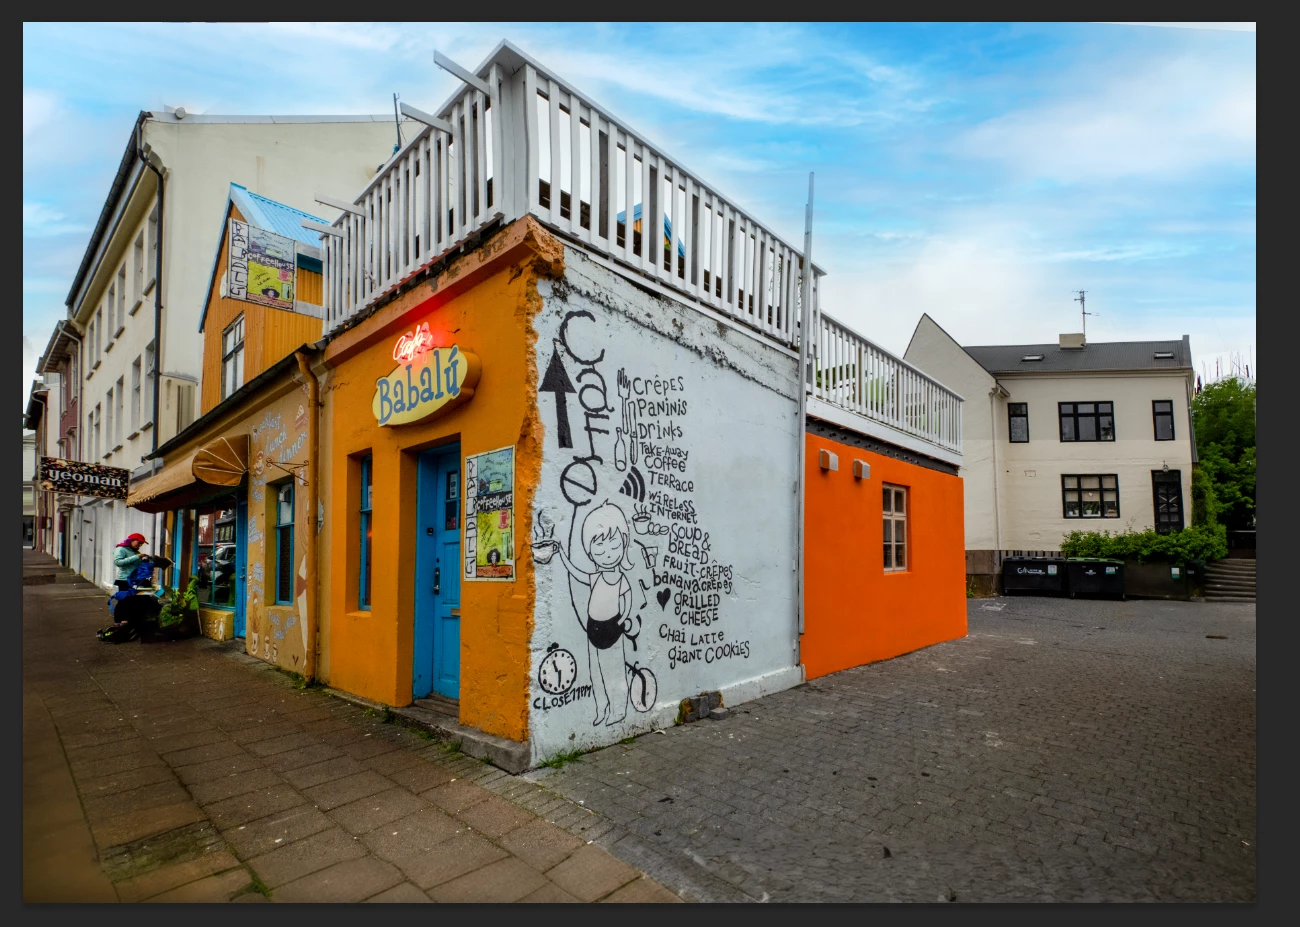
On a related note, Photoshop does have a Lens Correction Filter in the Filter tab. The first thing that I notice is that this filter is able to find the lens used, but does not correctly associate it with the camera used. It picks a NIKON D3X and does not have an option for a NIKON D850 which was used for this photo. Applying the lens correction using the Lens Correction option in the Filters list does remove the curvature. It also appears to crop the image and as I mentioned above this is not an issue with this image, but might be for some images where something appearing on or near the edge could disappear. Using the Custom adjustments and the scaling option can solve some of the issues by preventing undesirable affects along the outside boundary of the image. Other times when it needs to create new pixels to fill blank areas it has major problems. In my situation I fixed those issues with Generative Fill. After some additional work here’s what I ended up producting:
There's always the possibility that I'm not using the tools in the best way possible. Any comments or suggestions are certaily welcome.
Bill Junk