JulyCastle
Participating Frequently
October 23, 2018
Answered

Photoshop Color Pixels Glitch

  • October 23, 2018
  • 3 replies
  • 9077 views

Hey everyone,

I have two issues that arose from the 2019 update:

  1. When "Dodging & Burning", after I add a "Black and White" adjustment layer or a "White color fill", and then proceed to dodge&burn, color pixels appear where I'm using the brush. Looks glitch-like. When using the brush, the colored glitching moves around the brush, as if I was massaging them around.

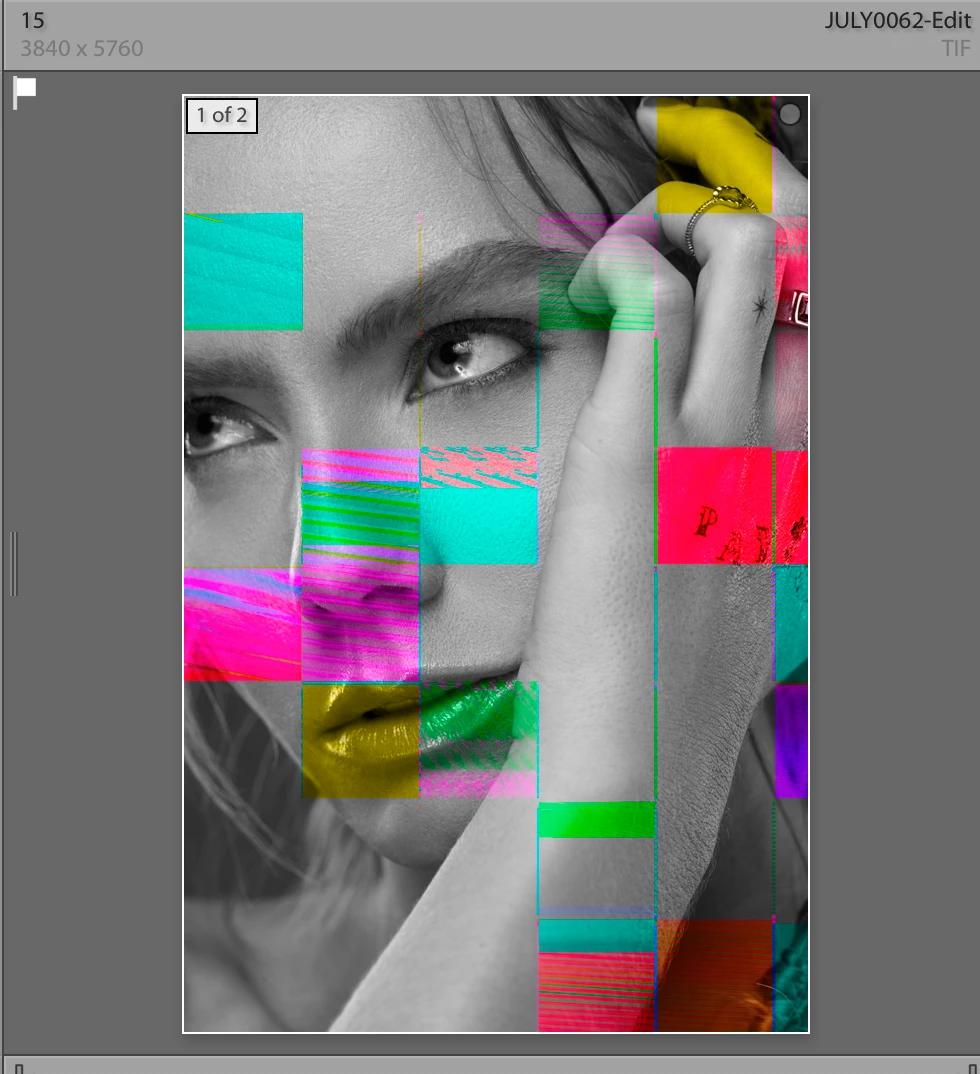
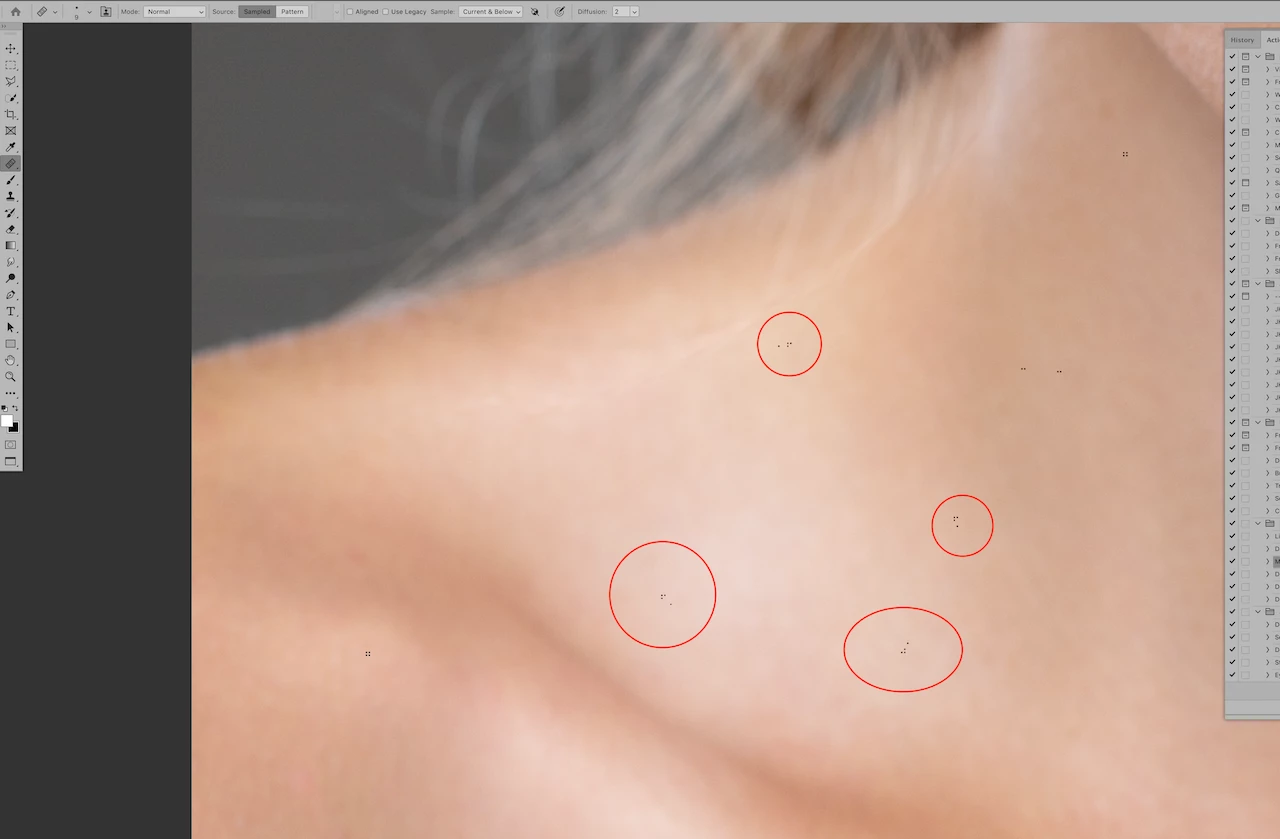
2. When using "liquify", after the adjustments have been made and I commit to changes, discolored pixels appear where liquify was used. I had to Heal them out.

Hopefully, something can be corrected!

Best!

JulyCastle.com

Moderator: Moved from Adobe Creative Cloud to Photoshop

This topic has been closed for replies.
Correct answer

Hi

Try enabling this option and restarting Photoshop

You don't mention what OS your on but if it's Mojave take a look here

Known issues - Running Photoshop CC on macOS 10.14 Mojave

3 replies

davescm
Community Expert
Community Expert
October 23, 2018

Hi

The liquify issue looks like a known bug with Mojave

Known issues - Running Photoshop CC on macOS 10.14 Mojave

Dave

Correct answer
October 23, 2018

Hi

Try enabling this option and restarting Photoshop

You don't mention what OS your on but if it's Mojave take a look here

Known issues - Running Photoshop CC on macOS 10.14 Mojave

JulyCastle
Participating Frequently
October 23, 2018

Hey,

Thank you for your help. I am running Mojave 10.14.

I'll give your option a try and post the results

Cheers,

Norman Sanders
Legend
October 23, 2018

There is an alternate Dodge & Burn technique that avoids the current color problem and offers the opportunity to edit the tone adjustments without compromising the original image.

1. Load a file to be retouched and add a blank layer.  The blank layer is Layer 1.

2. Choose Edit > Fill and from the options of the Use field, choose 50% gray. Then click OK. The image area will become gray overall.

3. Change the Blending mode in the Layers panel from Normal to Overlay. The Background image will return although you will be working on Layer 1.

4. Do not use the Dodge and Burn tools. Choose the Brush tool and adjust its size and hardness. Set the Opacity of the Brush in the Options bar at about 10%.

5. Painting in white will Dodge the area, Black will Burn the area. Dab or stroke with the Black to slowly add density.

Although the image will reflect the changes, they are being recorded on Layer1 and may be viewed by turning off the eye in the Background layer. Best of all: to undo any tone adjustment and return the area to its original value, simply return that area to 50% by cloning from an adjacent unretouched area in Layer 1.

AxelMatt
Community Expert
Community Expert
October 23, 2018

Did you try turning off GPU? If not give it a try.

My System: Intel i7-8700K - 64GB RAM - NVidia Geforce RTX 3060 - Windows 11 Pro 25H2 -- LR-Classic 15 - Photoshop 27 - Nik Collection 8 - PureRAW 6 - Topaz Photo AI
JulyCastle
Participating Frequently
October 25, 2018

Thank you, I gave it a try. I'll see if it stops the pixels when liquifying!