• Global community
    • Language:
      • Deutsch
      • English
      • Español
      • Français
      • Português
  • 日本語コミュニティ
    Dedicated community for Japanese speakers
  • 한국 커뮤니티
    Dedicated community for Korean speakers
Exit
0

photoshop cs6 family portrait

New Here ,
Nov 16, 2016 Nov 16, 2016

Copy link to clipboard

Copied

I want to create a family portrait of my son.  I took a picture of him and want to put him in a background I uploaded.  I was able to create a nice shadow to make it look more realistic, but I need a tutorial on lighting because right now he really stands out and the picture doesn't look good.  I tried looking on the internet for tutorials but I wasn't able to find a good one.  Can anyone point me in the right direction or show me a tutorial I can follow to achieve what I want to achieve?  I just need his image, which I cropped out, to blend seamlessly(or as seamlessly as possible) to the background I have.  Thank you

Views

539

Translate

Translate

Report

Report
Community guidelines
Be kind and respectful, give credit to the original source of content, and search for duplicates before posting. Learn more
community guidelines
Adobe
Community Expert ,
Nov 16, 2016 Nov 16, 2016

Copy link to clipboard

Copied

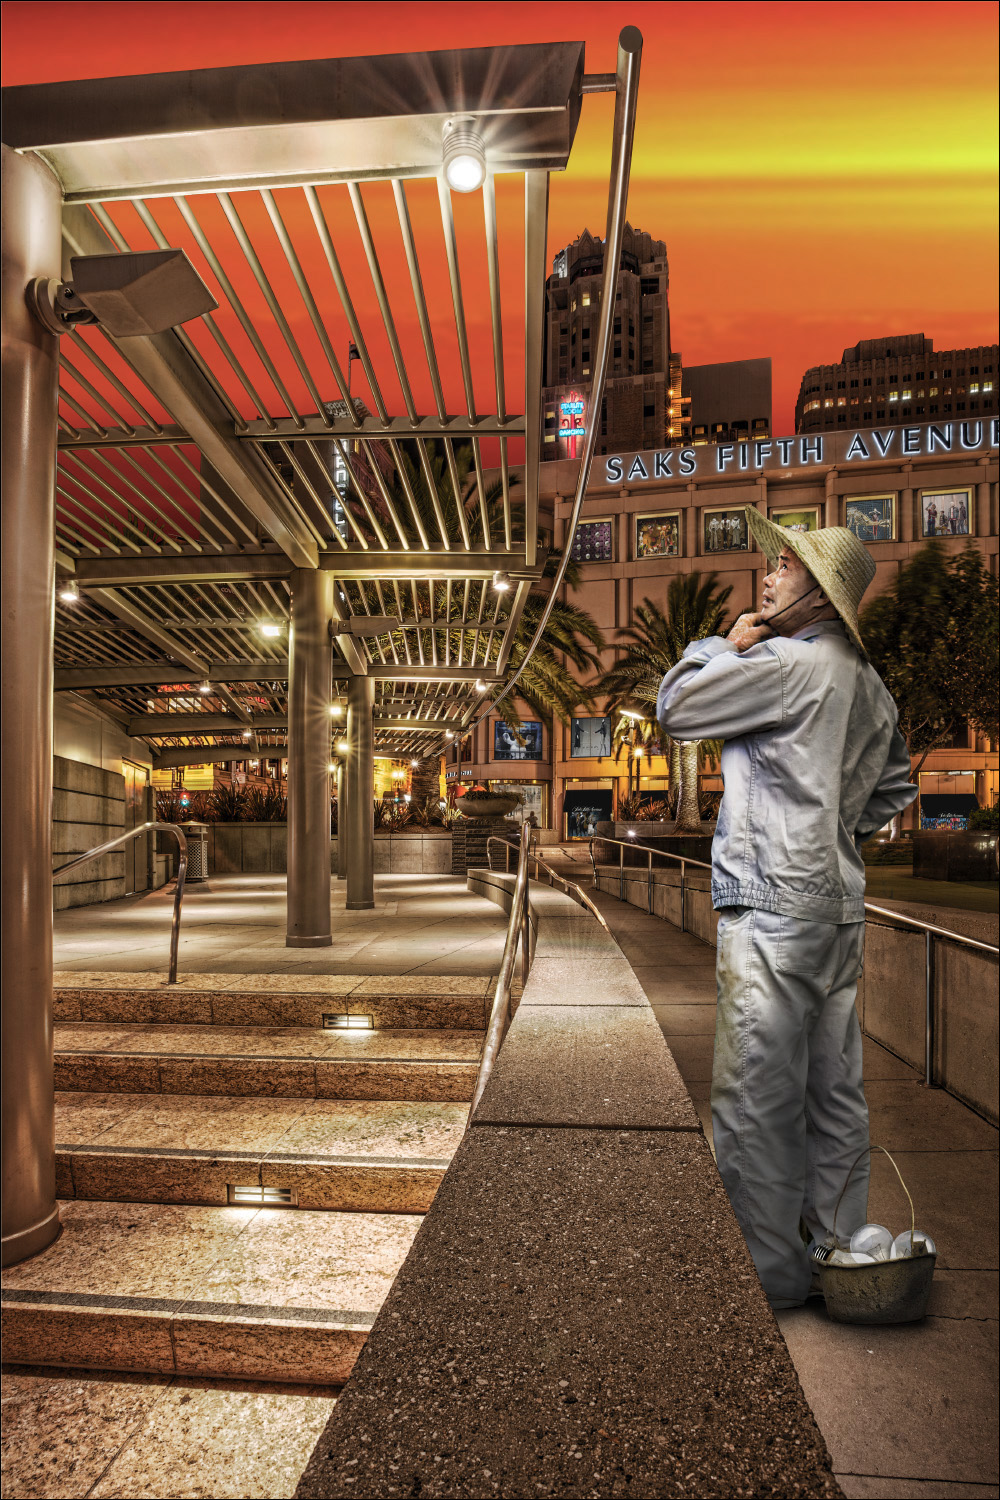
Without seeing the actual foreground and background we can only talk generally, but to make a composite blend nicely look at the following.

1. The colour of the lighting on the subject vs the background. Use a curve adjustment layer to match the warmth or coolness.

2. The direction of the lighting - a background lit from the right and a foreground lit from the left does not look natural. You may need to use a layer mask to introduce new shadows. You can also consider flipping the background.

3. Soft edges (such as hair) usually take some colour from the background. You can brush over such edges with a low opacity brush set to "Color" blending mode

4. The foreground will sit more naturally with a slightly feathered edge. If it is too late and you have already cut out or masked, run round the edge of the cut out (or mask) with the blur tool

5. Also consider whether any shadows would fall on your subject (not just the background)

Hope that helps

Dave

Votes

Translate

Translate

Report

Report
Community guidelines
Be kind and respectful, give credit to the original source of content, and search for duplicates before posting. Learn more
community guidelines
Community Expert ,
Nov 16, 2016 Nov 16, 2016

Copy link to clipboard

Copied

There seem to be hundreds or thousands of Photoshop tutorials on lighting effect on the web are you stating thay are all bad.

https://www.google.com/search?num=50&newwindow=1&q=tutorials+lighting+effects+%2BPhotoshop&oq=tutori...

JJMack

Votes

Translate

Translate

Report

Report
Community guidelines
Be kind and respectful, give credit to the original source of content, and search for duplicates before posting. Learn more
community guidelines
Community Expert ,
Nov 16, 2016 Nov 16, 2016

Copy link to clipboard

Copied

If the lighting of your son and the lighting in the image you are pasting him into is very different, it's going look like crap - no matter what you do. Can you post a screenshot? Photoshop isn't magic...

Melissa Piccone | Adobe Trainer | Online Courses Author | Fine Artist

Votes

Translate

Translate

Report

Report
Community guidelines
Be kind and respectful, give credit to the original source of content, and search for duplicates before posting. Learn more
community guidelines
Community Expert ,
Nov 16, 2016 Nov 16, 2016

Copy link to clipboard

Copied

Find a different background that matches the lighting of your son.

If the location is important, find another picture of the location that matches the lighting of your son.

If the light direction is wrong, would flipping the background make it a better fit?

Look at editing the background image to match the portrait of your son, or at least meeting it half way.

Take another portrait of your son in conditions similar to the background.

But if you really need the two existing images to fit together, then curves, dodging and burning are the tools to use.

Shanghai Man.jpg

Bulb Changer.jpg

Votes

Translate

Translate

Report

Report
Community guidelines
Be kind and respectful, give credit to the original source of content, and search for duplicates before posting. Learn more
community guidelines
Community Expert ,
Nov 16, 2016 Nov 16, 2016

Copy link to clipboard

Copied

Wow, Trevor. Your selection and lighting skills are really sharp. Chinatown and Union Square (SF) are not that far apart either.

Votes

Translate

Translate

Report

Report
Community guidelines
Be kind and respectful, give credit to the original source of content, and search for duplicates before posting. Learn more
community guidelines
Community Expert ,
Nov 17, 2016 Nov 17, 2016

Copy link to clipboard

Copied

LATEST

Gene, the Chinese gentleman was actually shot in Shanhai, but while the two locations are far apart in terms of distance, it was only three weeks in terms of time, as we used them as stopovers at each end of a trip back to the UK.

I forgot to mention that another way to light something, is to copy the selection, and set the new layer to Screen.  That works particularly well IME, and avoids the muddy tonal artifacts you can get with the Dodge tool if you forget to set it to the appropriate target tonal range in the Options bar.  That was yet another trick I learned from Bert Monroy.

Votes

Translate

Translate

Report

Report
Community guidelines
Be kind and respectful, give credit to the original source of content, and search for duplicates before posting. Learn more
community guidelines