Copy link to clipboard
Copied
Dear Readers,
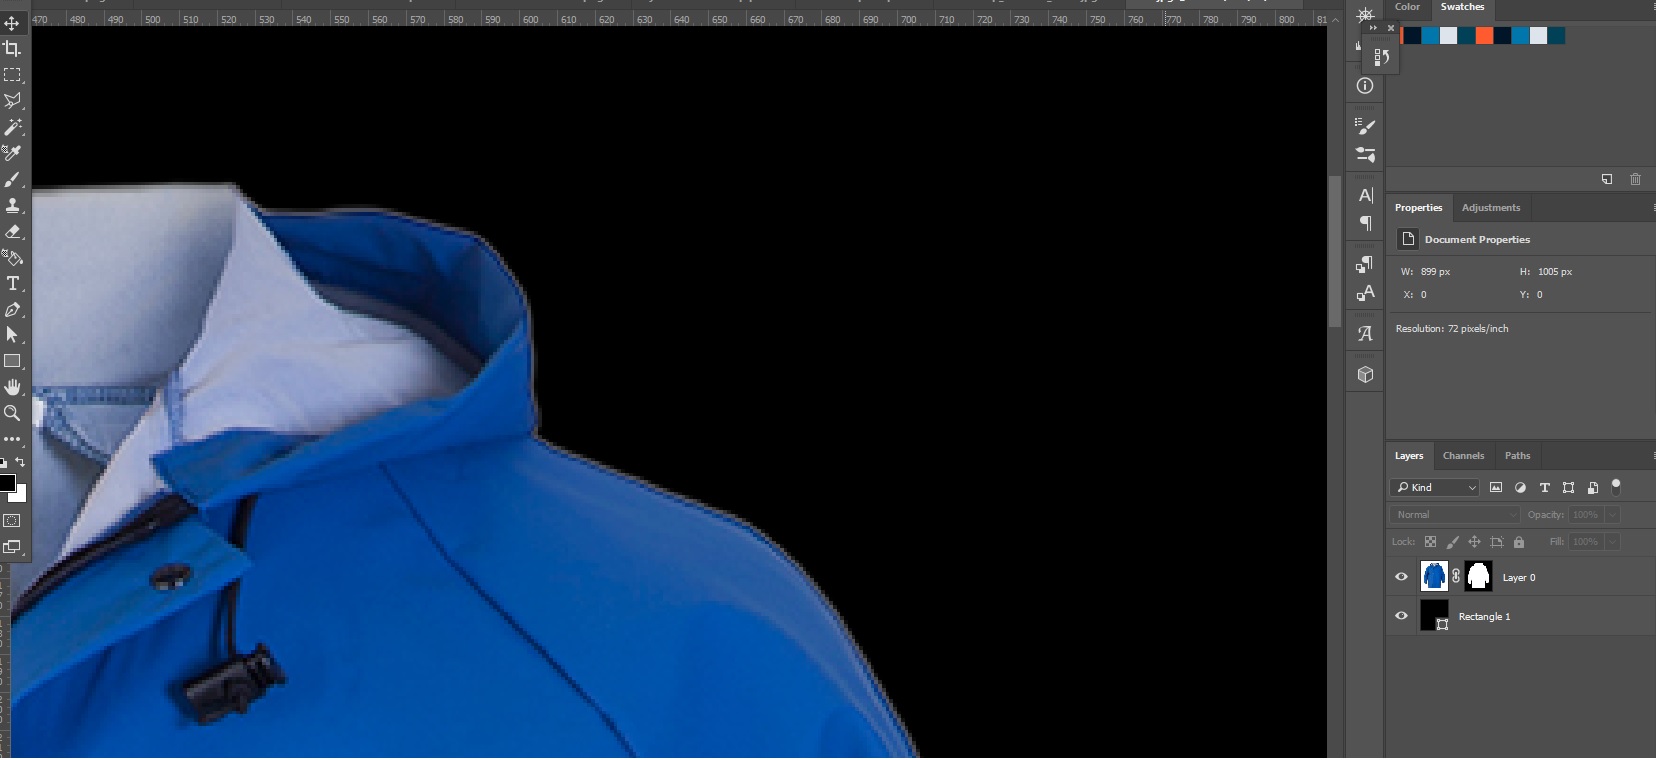
I'm using the cool "Select and mask tool" alot. Recently i have a strange glow around all my selection.
Can anyone please tell me what i'm doing wrong, and how to fix this issue:D
Its looks like a need a negatieve feathering?


 1 Correct answer
Hi
The effect that you are seeing against the black mask is there in the original image so is not really a shortcoming of the mask.
Your original at 100% zoom shows these very light grey edge pixels

Using "Select Subject" is including those pixels in the "wanted" area

Using Shift edge takes them out


At 100% zoom, after shifting the edge:

If you want to continue and take out the reflection from the white background on the surface of the material, add a new layer and clip it to the masked coat layer (Al
...Explore related tutorials & articles
Copy link to clipboard
Copied
Hi
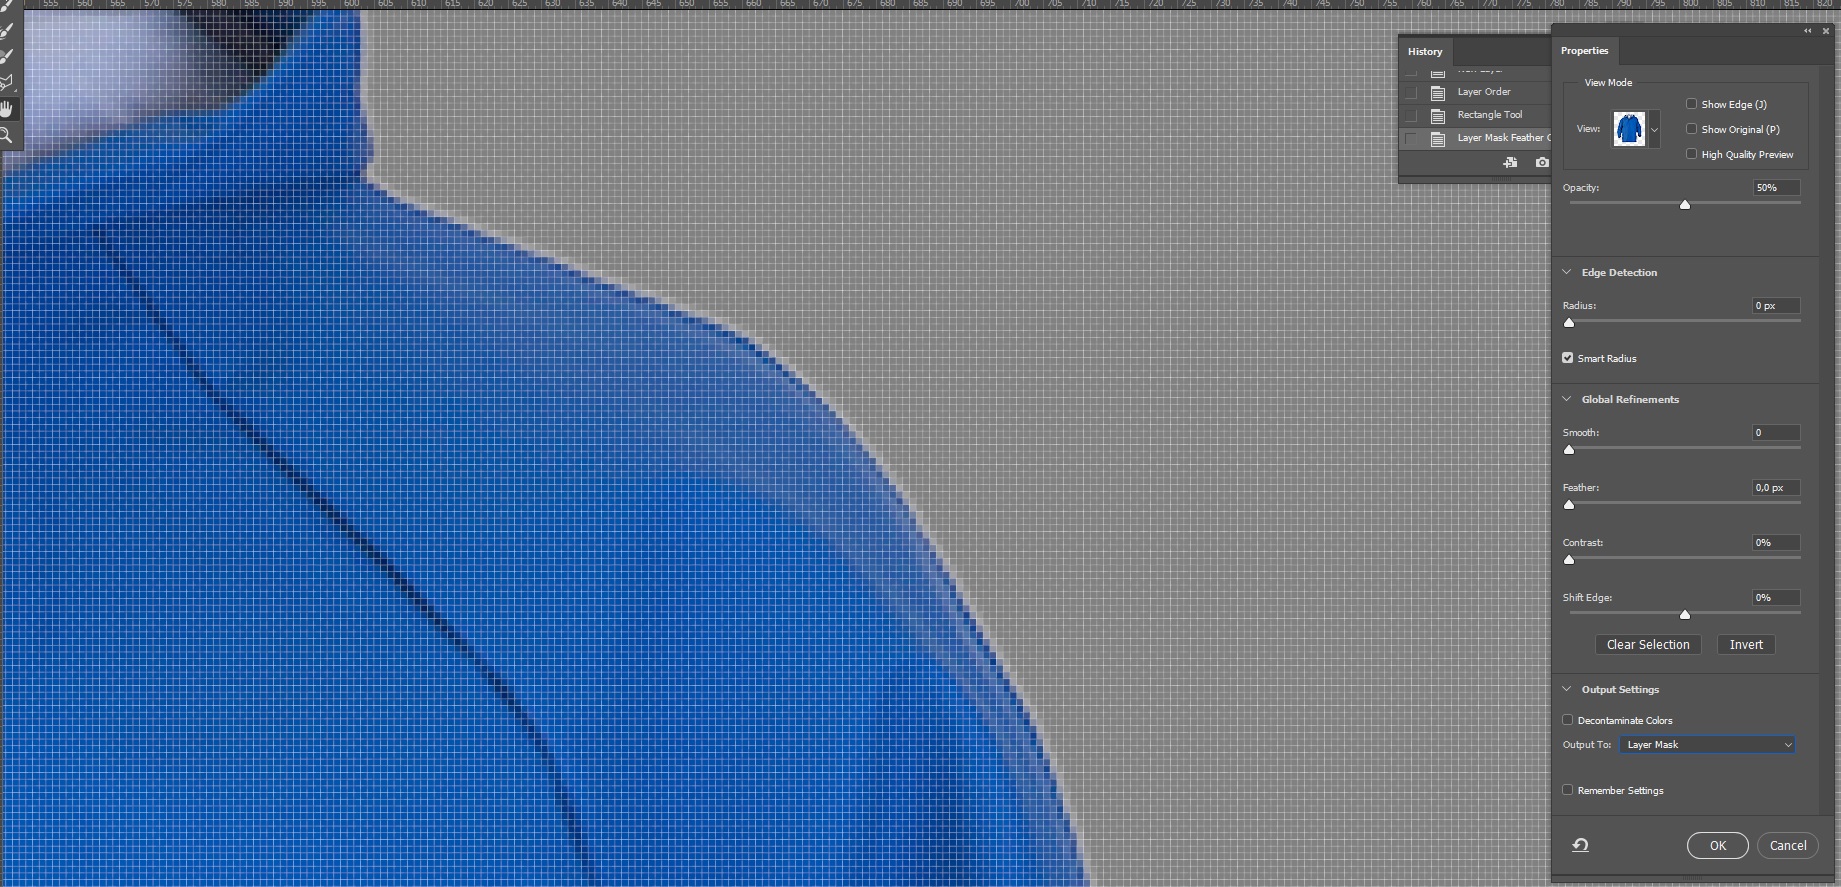
It looks like you have some semi transparent pixels around the edge which is not unusual when you are zoomed in that far (you are showing the pixel grid, so are zoomed in to at least 400%).
If it is causing problems in real life at 100% zoom the try Shift Edge to bring the mask in slightly
Dave
Copy link to clipboard
Copied
Hi Dave,
Thanks for the fast reply. Its also shows up at < 100%. Before the mask tool works great.
Is there anything else you would recommend to change, without shifting the egde?
Copy link to clipboard
Copied
Hi
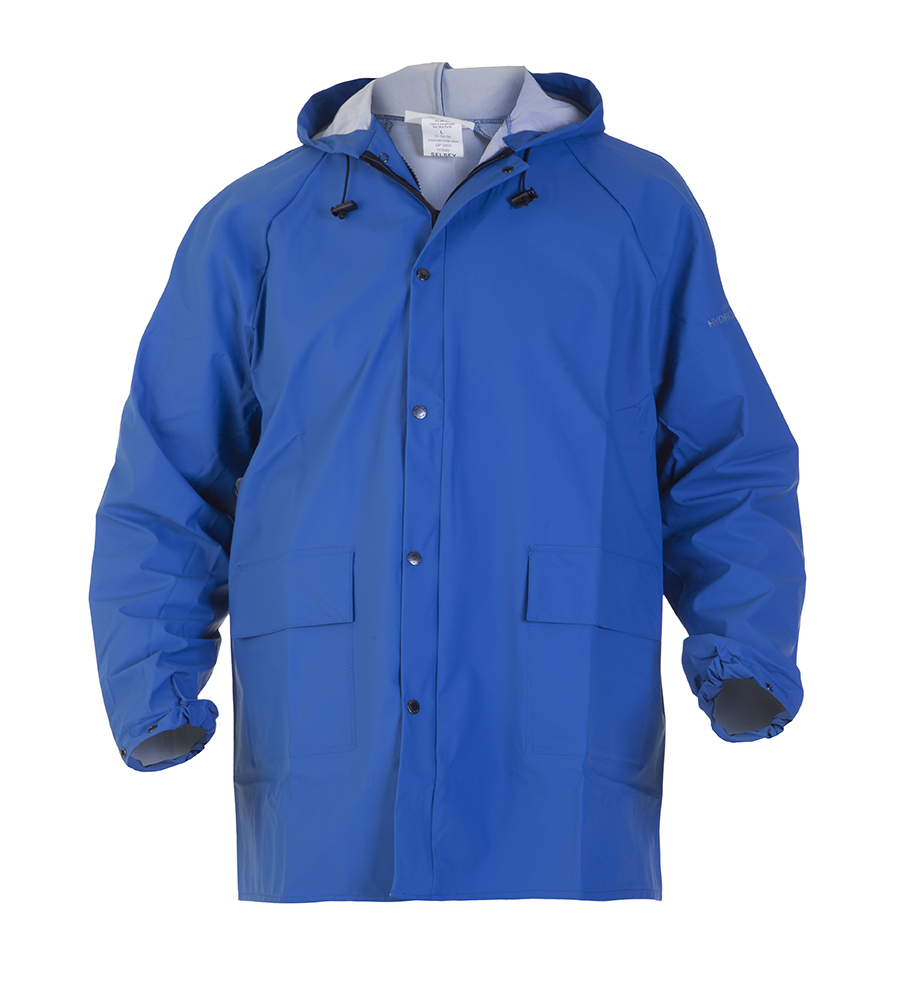
Without seeing the original (before masking) it is hard to advise on the best way to mask it. Can you post the original (or a section of it) at 100%.
Dave
Copy link to clipboard
Copied

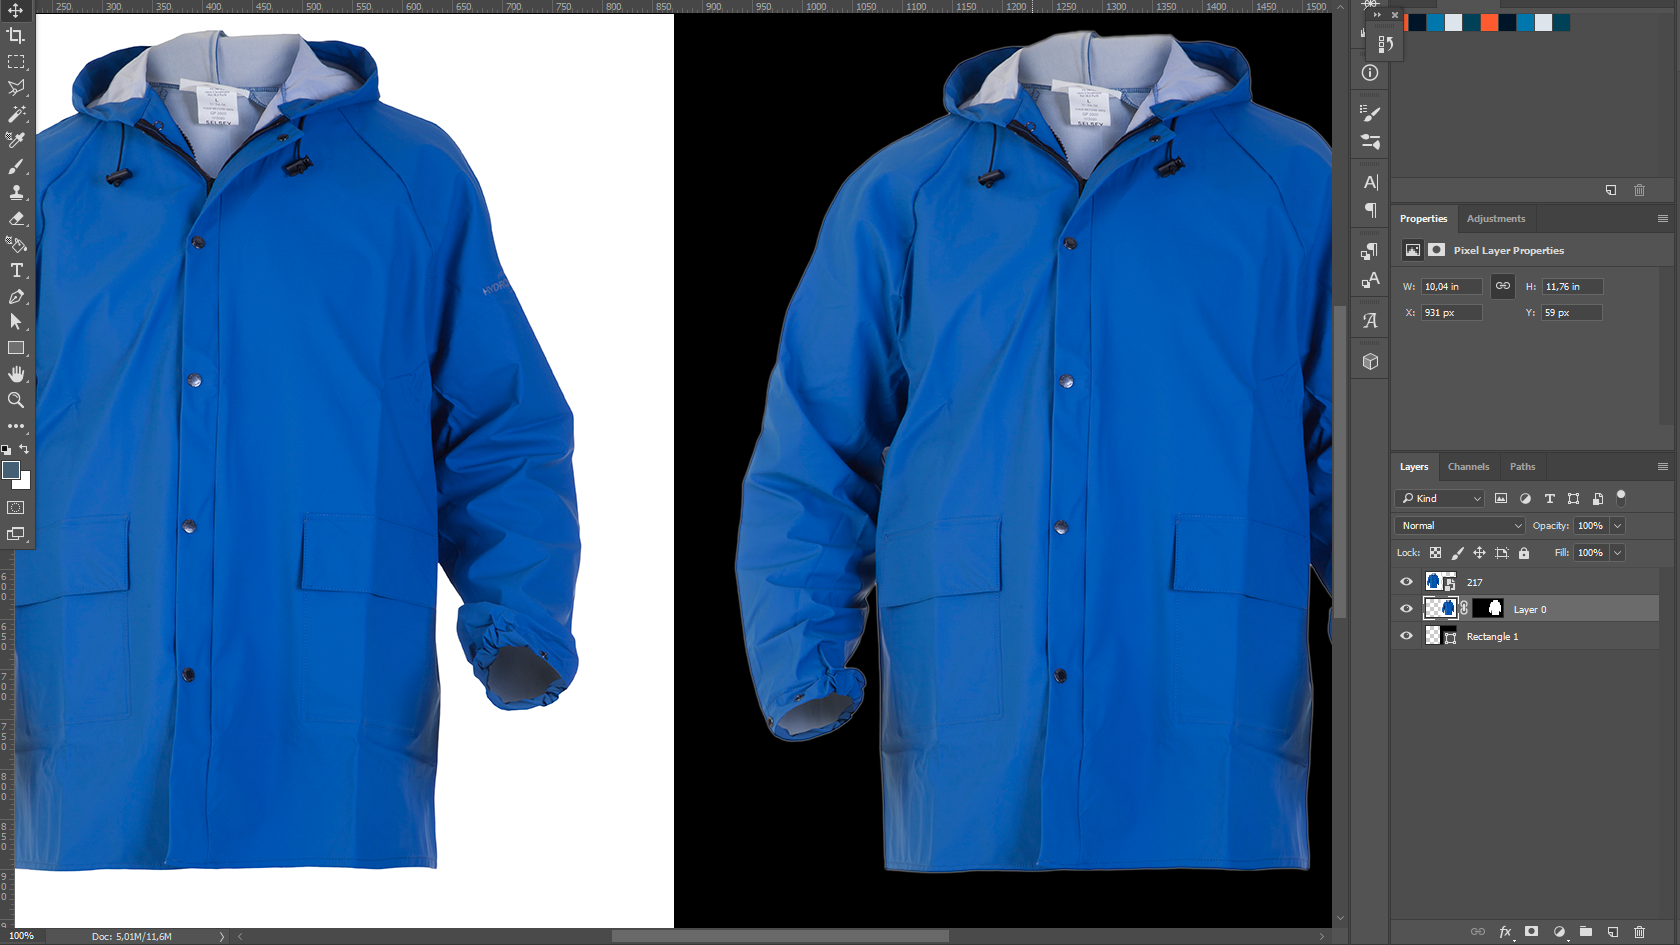
White = before black with mask
I use the select an mask -> automatch bursh (first one).
Also tryd colorrange, but the egdes didnt turn out as sharp as i wanted.
Copy link to clipboard
Copied
Sorry,
I meant please post a section of the actual image at 100% - I will try masking it here for you, to see if there are any issues.
Aside from the mask edges, going from white to black sometimes leaves some edge pixels on the wanted image that are too light. Similar to colour contamination only with luminosity.
Dave
Copy link to clipboard
Copied

Copy link to clipboard
Copied
Hi
The effect that you are seeing against the black mask is there in the original image so is not really a shortcoming of the mask.
Your original at 100% zoom shows these very light grey edge pixels

Using "Select Subject" is including those pixels in the "wanted" area

Using Shift edge takes them out


At 100% zoom, after shifting the edge:

If you want to continue and take out the reflection from the white background on the surface of the material, add a new layer and clip it to the masked coat layer (Alt-Click on border netween the two in the layers panel). Set the blending mode to Darker Colour and use a soft brush to pick up colour from the coat and brush over those light reflections.


Dave
Copy link to clipboard
Copied
You're Awsome Dave, tnx for looking at my problem, and the extra tips, great!
Copy link to clipboard
Copied
You're welcome ![]()
Dave