MahaB82A
Legend
July 5, 2024
Question

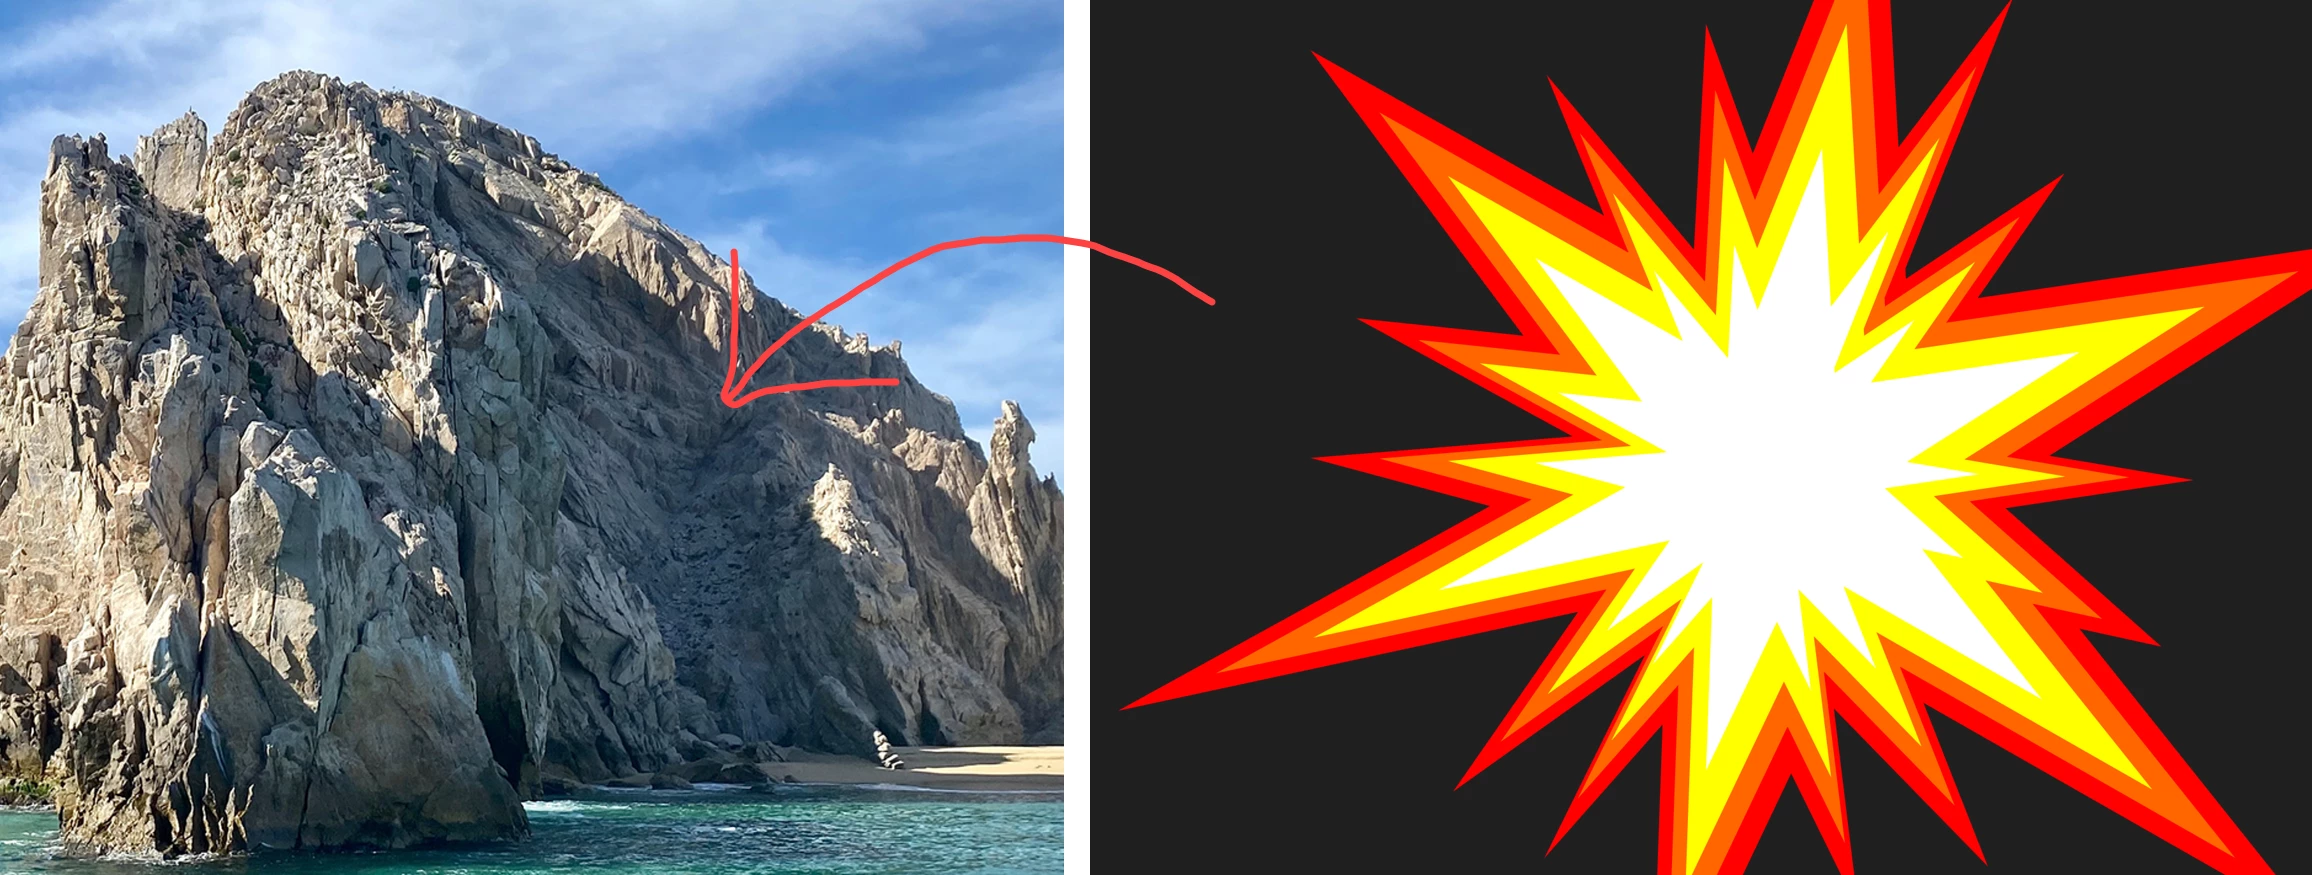
Placing image on uneven surface

  • July 5, 2024
  • 2 replies
  • 2309 views

This a mountain with uneven surface. Is it possible to place the image on this uneven surface so that image also will take the shpe of the uneven surface? image also attached. if it is a flat surface I can use vanishing point.


This topic has been closed for replies.

2 replies

Bojan Živković11378569
Community Expert
Community Expert
July 6, 2024

Copy the logo, create a new layer, and access the Vanishing Point filter. Define the perspective, paste the logo, and position it accordingly. Confirm the changes, and your logo will now be on a separate layer. Proceed to apply the Displace filter to the layer containing the logo as previously instructed.

MahaB82A
MahaB82AAuthor
Legend
July 6, 2024

Do you mean this one by Displace filter? because it does not come.


Trevor.Dennis
Community Expert
Community Expert
July 6, 2024

You have to make a map for the Displacement map to work on.

You could either do this manually painting white and black strokes — black to make the shape bend down, and white to bend up.  Or you could use a copy of the background to fudge it and get you started.


I have copied the cliff, made it B&W and increased its contrast.

You then right click and Duplicate to a New Document, and save that as a .psd file.  We'll call it 'Cliff Map'

Note: It is uber important that backward compatability is set to Always in Preeferences > Files (I think).  It won't work otherwise.


Place your shape and use Free Transform to get the perspective about right


Select the shape layer and go Filter > Distort > Displace

It opens this dialog box. When you hit OK it will ask you to load a map, so find and select Cliff Map


This is actually my second go.  I decided to add Gaussian blur value 2.0 to the map and save it again


I have used a tiny bit of Puppet Warp and ended up with this

What I like to do is place two copies of the map layer above the displaced layer and clip them to it.

Set one to Multiply, and one to screen, and adjust opacity to suit.  This gives us some shading, but we lose some contrast.


So to finish off, I've combined the displaced shape and the two shading layers as a Smart Object.

I have clipped a curves layer to that SO and given it some contrast.

Last of all I have clipped a 50% grey layer set to Overlay, and used dodge and burn (or a low opacity black or white brush) to reinfoce shadows and highlights.  It took me much longer to type this than to do it, so you'll be able to make a way better job if you take more time over it.


Good luck.


Here's the clever bit.  Notice I made the shape layer a Smart Object.

This means you can double click Displace  which reopens the dialog box so you can adjust the values.

You can also fine tune the map and save it again, or Save As with a different name.

Stephen Marsh
Community Expert
Community Expert
July 6, 2024

Apart from the perspective/angle, you are looking for the Displace Filter, with a "displacement map" (Google it).


https://helpx.adobe.com/au/photoshop/using/applying-specific-filters.html