 Adobe Community
- Home
- Photoshop ecosystem
- Discussions
- Re: Processing of Scanned / Photographed Pen & Pap...
- Re: Processing of Scanned / Photographed Pen & Pap...
Processing of Scanned / Photographed Pen & Paper Drawings in Photoshop

Copy link to clipboard
Copied
Hello,
Wondering if there are users who use Photoshop (Illustrator as well?) to process drawings made by a Pen / Pencil on a paper?
Maybe even just writing text on a paper.
Do you encounter issues to clean up non uniformity of the Paper?
How do you handle that? What's your workflow?
Could anyone share the Scanned Image and the Processed Image?
Thank You.


Explore related tutorials & articles
 18
Replies
18
18
Replies
18

Copy link to clipboard
Copied
How big are the drawings? Too big to fit in a flatbed scanner?
If yes, how do you light the drawing when photographing?
Are they line drawings or do they have shades of grey, or are they coloured?
Can you paste an example to this thread?
Copy link to clipboard
Copied
Trevor.Dennis wrote
Can you paste an example to this thread?
Actually the purpose is to see some examples of drawings digitized by a camera or scanning and the result of processing them in Photoshop.
The idea is to see if there is a room for improvement by utilizing other approaches.
Are there users on the forum which use Photoshop for those purposes?

Copy link to clipboard
Copied
Photographing them will give much higher quality and more control. With a proper setup, and a good flat-field macro lens (like e.g. the inexpensive but excellent Micro-Nikkor 60/2.8), there should be very little need for any post-processing at all, Photoshop or otherwise. Set the desired white point and black point, and you should basically be done.
Put the drawing on a flat surface, and place a mirror on top. This lets you position the camera at a perfect right angle: when you see the lens at dead center of the viewfinder, it's good.
Put two point light sources at 45 degrees to each side, as far away as practically possible to ensure even distribution. Point lights minimize the possibility for reflections (unless you want to go all the way with cross-polarized lighting).
Many camera tripods have a built in 90 degree boom function nowadays. An old enlarger can be rebuilt to make a splendid repro stand.
If you need accuracy, a ColorChecker Passport is not all that expensive. Every patch has a standardized Lab value that you can replicate in Photoshop (although you'll probably just need the six gray patches. I wouldn't worry about the color patches).
Yes - a flatbed scanner is much more convenient. But it can be difficult to control clipping points and tone curve, and general quality will be much better by photographing. It all depends on your requirements for final quality.

Copy link to clipboard
Copied
There are so many users doing what you want to do and so many example and tutorials on the web that use different methods. Which method will work the best would depend on the actual Scan being processed. You should post an example of what you will be working on if you want a tailored reply for your situation. With 8,410,000 Google hits you should be able to find all the examples you need and tips on processing them..

Copy link to clipboard
Copied
JJMack, What I'm looking for is the problems other encounter doing this.
So I'm after people in this forum which can share the unprocessed scanned image (Or Photographed), the workflow and the result.
I'm not after list of guides how to do so.
Copy link to clipboard
Copied
I'm sure you can find problems others have had discussed on the web as well. If you search you will get more information then asking a general question that does not detail what you are seeking. With you its like pulling teeth you not doing anything new the is a wealth of knowledge on the web.
Copy link to clipboard
Copied
JJMack, Have you thought I'm after interaction with those people instead of just watching?
Give me the credit I know how to search for static information.
What I want here is to start a dialogue with users who are doing it daily.
I want to learn if the idea I have could solve those issues or
Hence pay attention this was not marked as a question, hence I;'m not after an answer. I'm after a conversation and dialogue.
So I will ask you, Are you digitizing you drawings with a camera or a scanner and use Photoshop to process them?
If you do, I will ask you to share more information. If you don't, please don't refer me to other places.
norman.sanders, The problem I'm trying to tackle is the non uniformity of the scanned image.
It can be caused either by the non uniformity of the paper, the lightning or the sensor.
I'm trying to understand what are people doing when they encounter this and are they happy with the results they achieve with Photoshop.

Copy link to clipboard
Copied
If that is your goal I suggest that you post a typical image. The degree non-uniformity and your standards are just two elements to be considered. But, sight unseen, I suggest you explore these these four options, for starters:
1. Dodge and burn methods
2. Modified luminosity masks
3. Blend If command coupled with replacement of the background
4. Lab Color Curve adjustment of the L channel
...each of which may be used independently or in combination with others.
Copy link to clipboard
Copied
The problem I'm trying to tackle is the non uniformity of the scanned image.
Add an adjustment layer (Levels or Curves) that fully corrects the most affected part. Or even overcorrects it.
Then use a soft brush at low opacity, and gradually paint the correction in.
It may help to put an extreme Curves layer on top, just to exaggerate while you work. Discard when satisfied.
Copy link to clipboard
Copied
https://forums.adobe.com/people/Fixel+Algorithms wrote
What I want here is to start a dialogue with users who are doing it daily.
I want to learn if the idea I have could solve those issues or
If the is what you want I would suggest that you participate dialogues are normally two way you have been asked more the once to participate.
If you have ideas contribute them.
Copy link to clipboard
Copied
JJMack wrote
If the is what you want I would suggest that you participate dialogues are normally two way you have been asked more the once to participate.
If you have ideas contribute them.
That's pretty much what I was thinking. I'm out of here...
Copy link to clipboard
Copied
JJMack wrote
https://forums.adobe.com/people/Fixel+Algorithms wrote
What I want here is to start a dialogue with users who are doing it daily.
I want to learn if the idea I have could solve those issues or
If the is what you want I would suggest that you participate dialogues are normally two way you have been asked more the once to participate.
If you have ideas contribute them.
I haven't seen any dialogue from you. You just referred me to Google.
The idea is a Math concept. Extracting pencil / pen lines form the scan.
Again, I'm looking for someone who can share Before and After and show if there is something missing on Photoshop for him to encounter the issues of scanning (Specifically Text or drawing).
There are great answers about "I have a scan how can I process it?". But this is not what this thread is all about.
I'm after people who are doing it and willing to share examples.
If I'm not choosing the the correct words to describe it, please assist me to write it better.
Thank You.
Copy link to clipboard
Copied
Copy link to clipboard
Copied
I have found that some flat bed scanners have inconsistent light transmission across the scanner head (probably related to scanner cost.) The variation is small but, when oversized art is scanned in sections to be assembled later, this consistency can be obvious and a headache. To get around that problem there is a handy maneuver that eliminates the problem. Spin the second scan.
Illustration of art scanned in two passes, with an overlap (shown in red) to assist in aligning the separate files in Photoshop.
To repeat, the variation is across the scanner head.
The left column shows that, if the art is moved laterally after the first scan, in order to position the second scan the midpoint of the art to be butted will be scanned by a different part of the scanner head and show the tonal or color variation where the two halves joined.
The right column shows the spin. After scanning the first half of the art, spin it so that the area of the scanner head handling the center of the art is the same for the second scan.
(Side note: This alert is the result of a lifetime of exacting graphic arts camerawork where periodically the camera copyboard to film plane were checked for a common distance of the four corners using a steel rod with micrometer tip. Even lighting was confirmed regularly by meter reading not at the copy board but at the film plane (via a check of the ground class) to account for light falloff that included art-to-lens and lens-to-film. (It resulted in overnighting at the periphery of the art very sightly.) Our cameras took film up to 30" held in place with vacuum to assure flatness. In spite of all that, just to be safe, if the art was oversized, we used the method shown above. ) So much for the. old days.

Copy link to clipboard
Copied
A good reference for this is David Blatner's book Real World Scanning and Halftones.
Copy link to clipboard
Copied
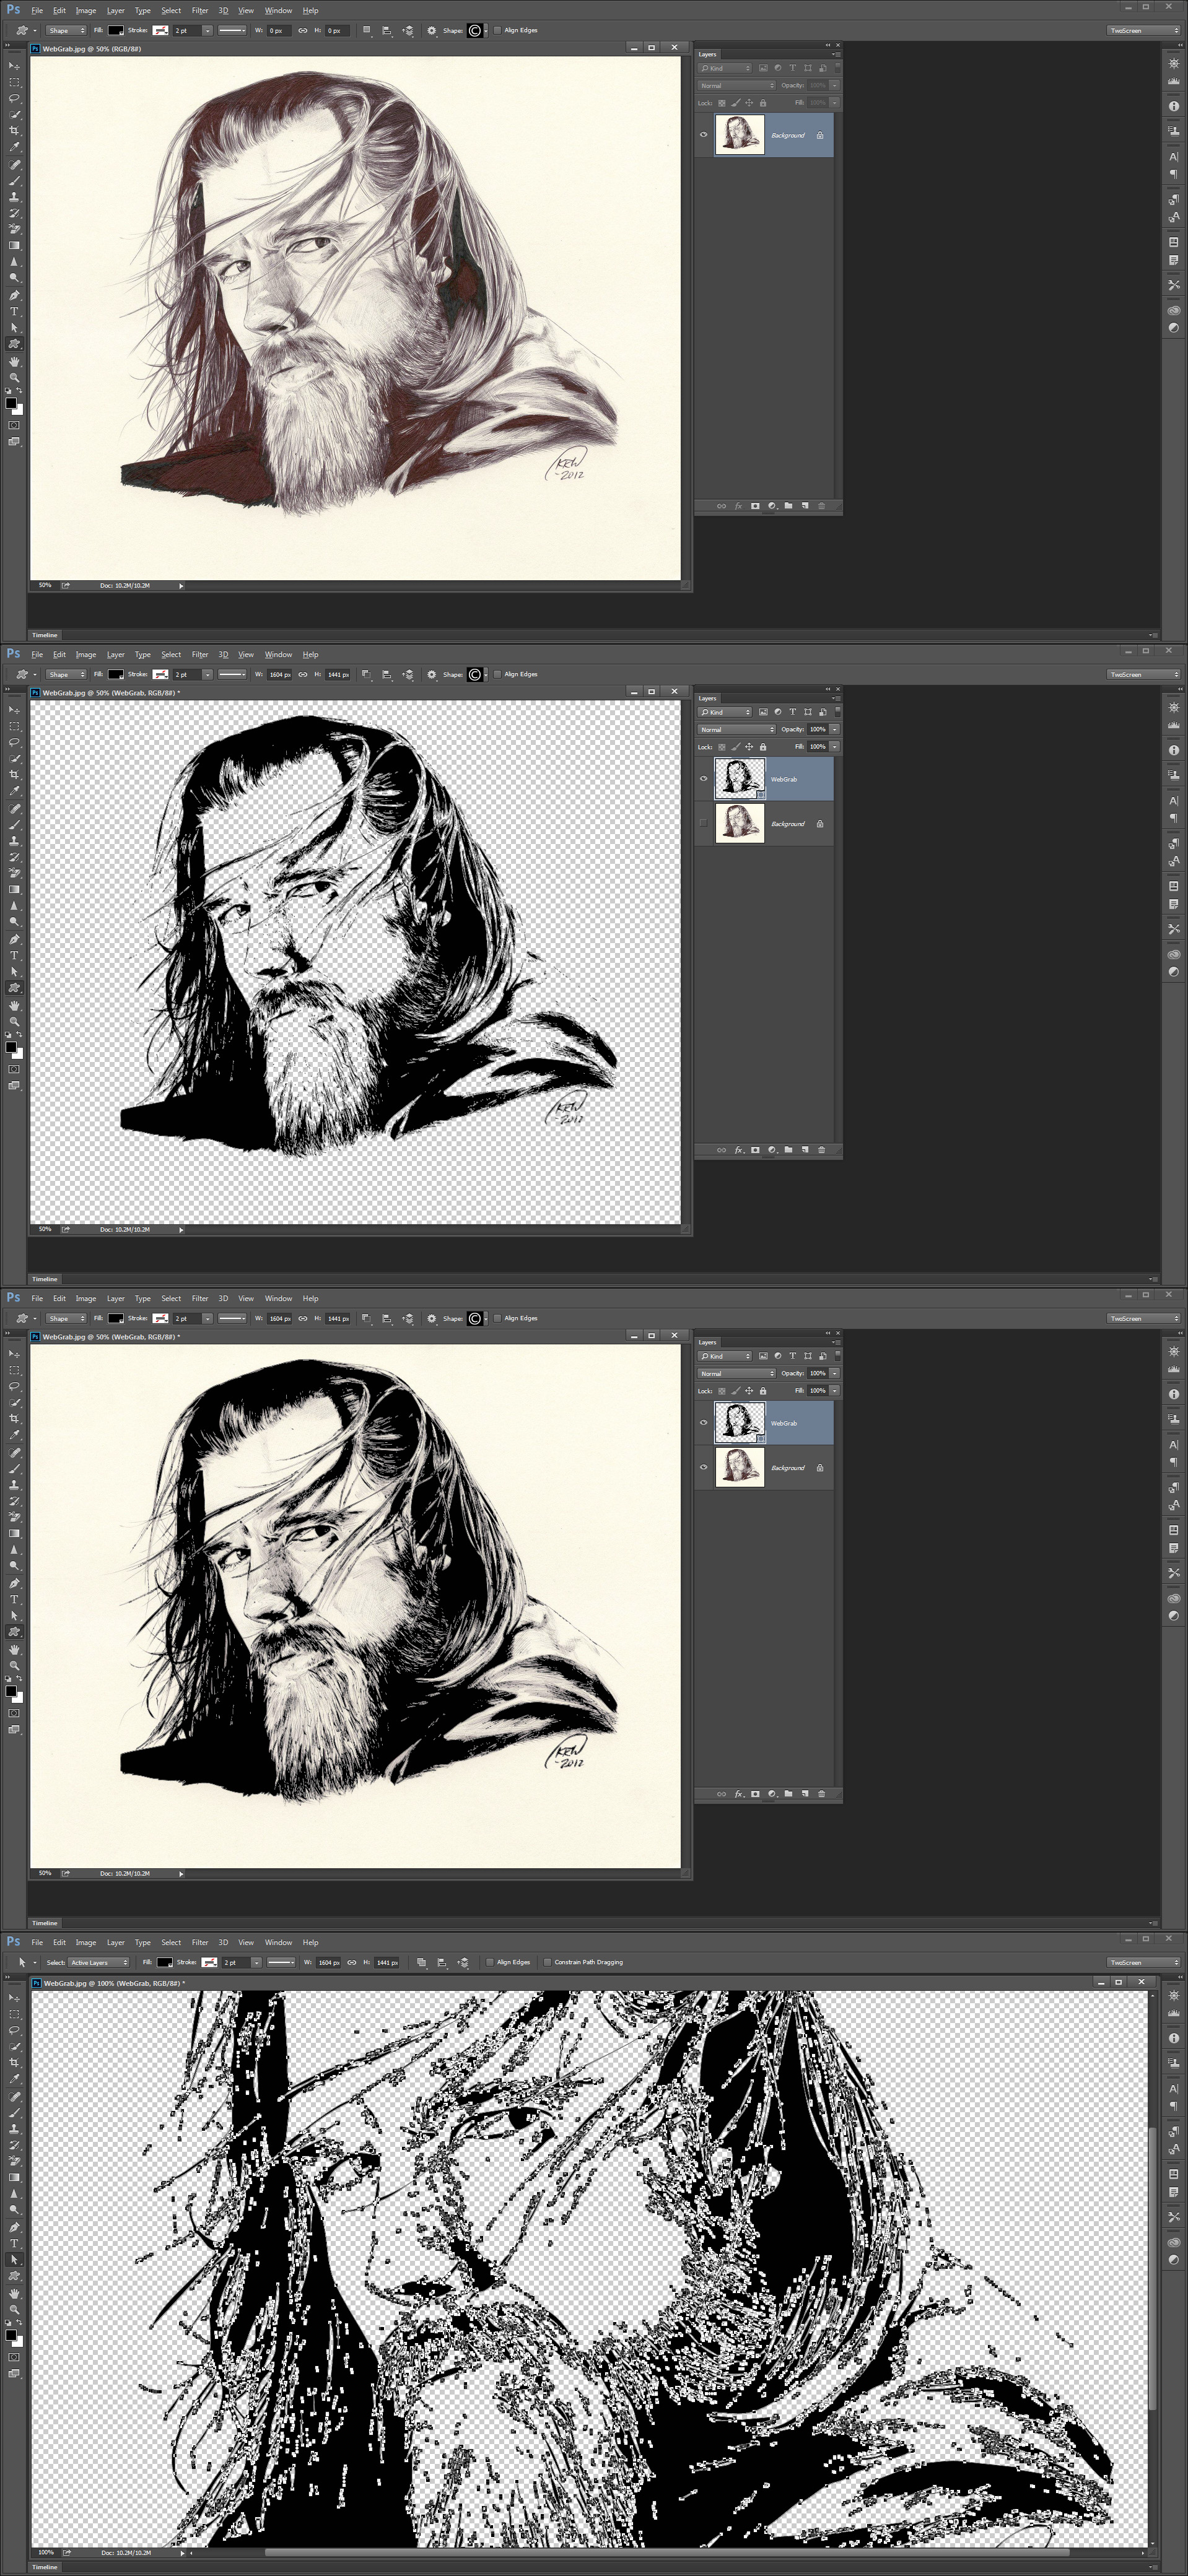
Here is an example to the suggested idea.
I took the image from Smoothing out rough lines? (Details in post) by chewingcow.
This is the result:
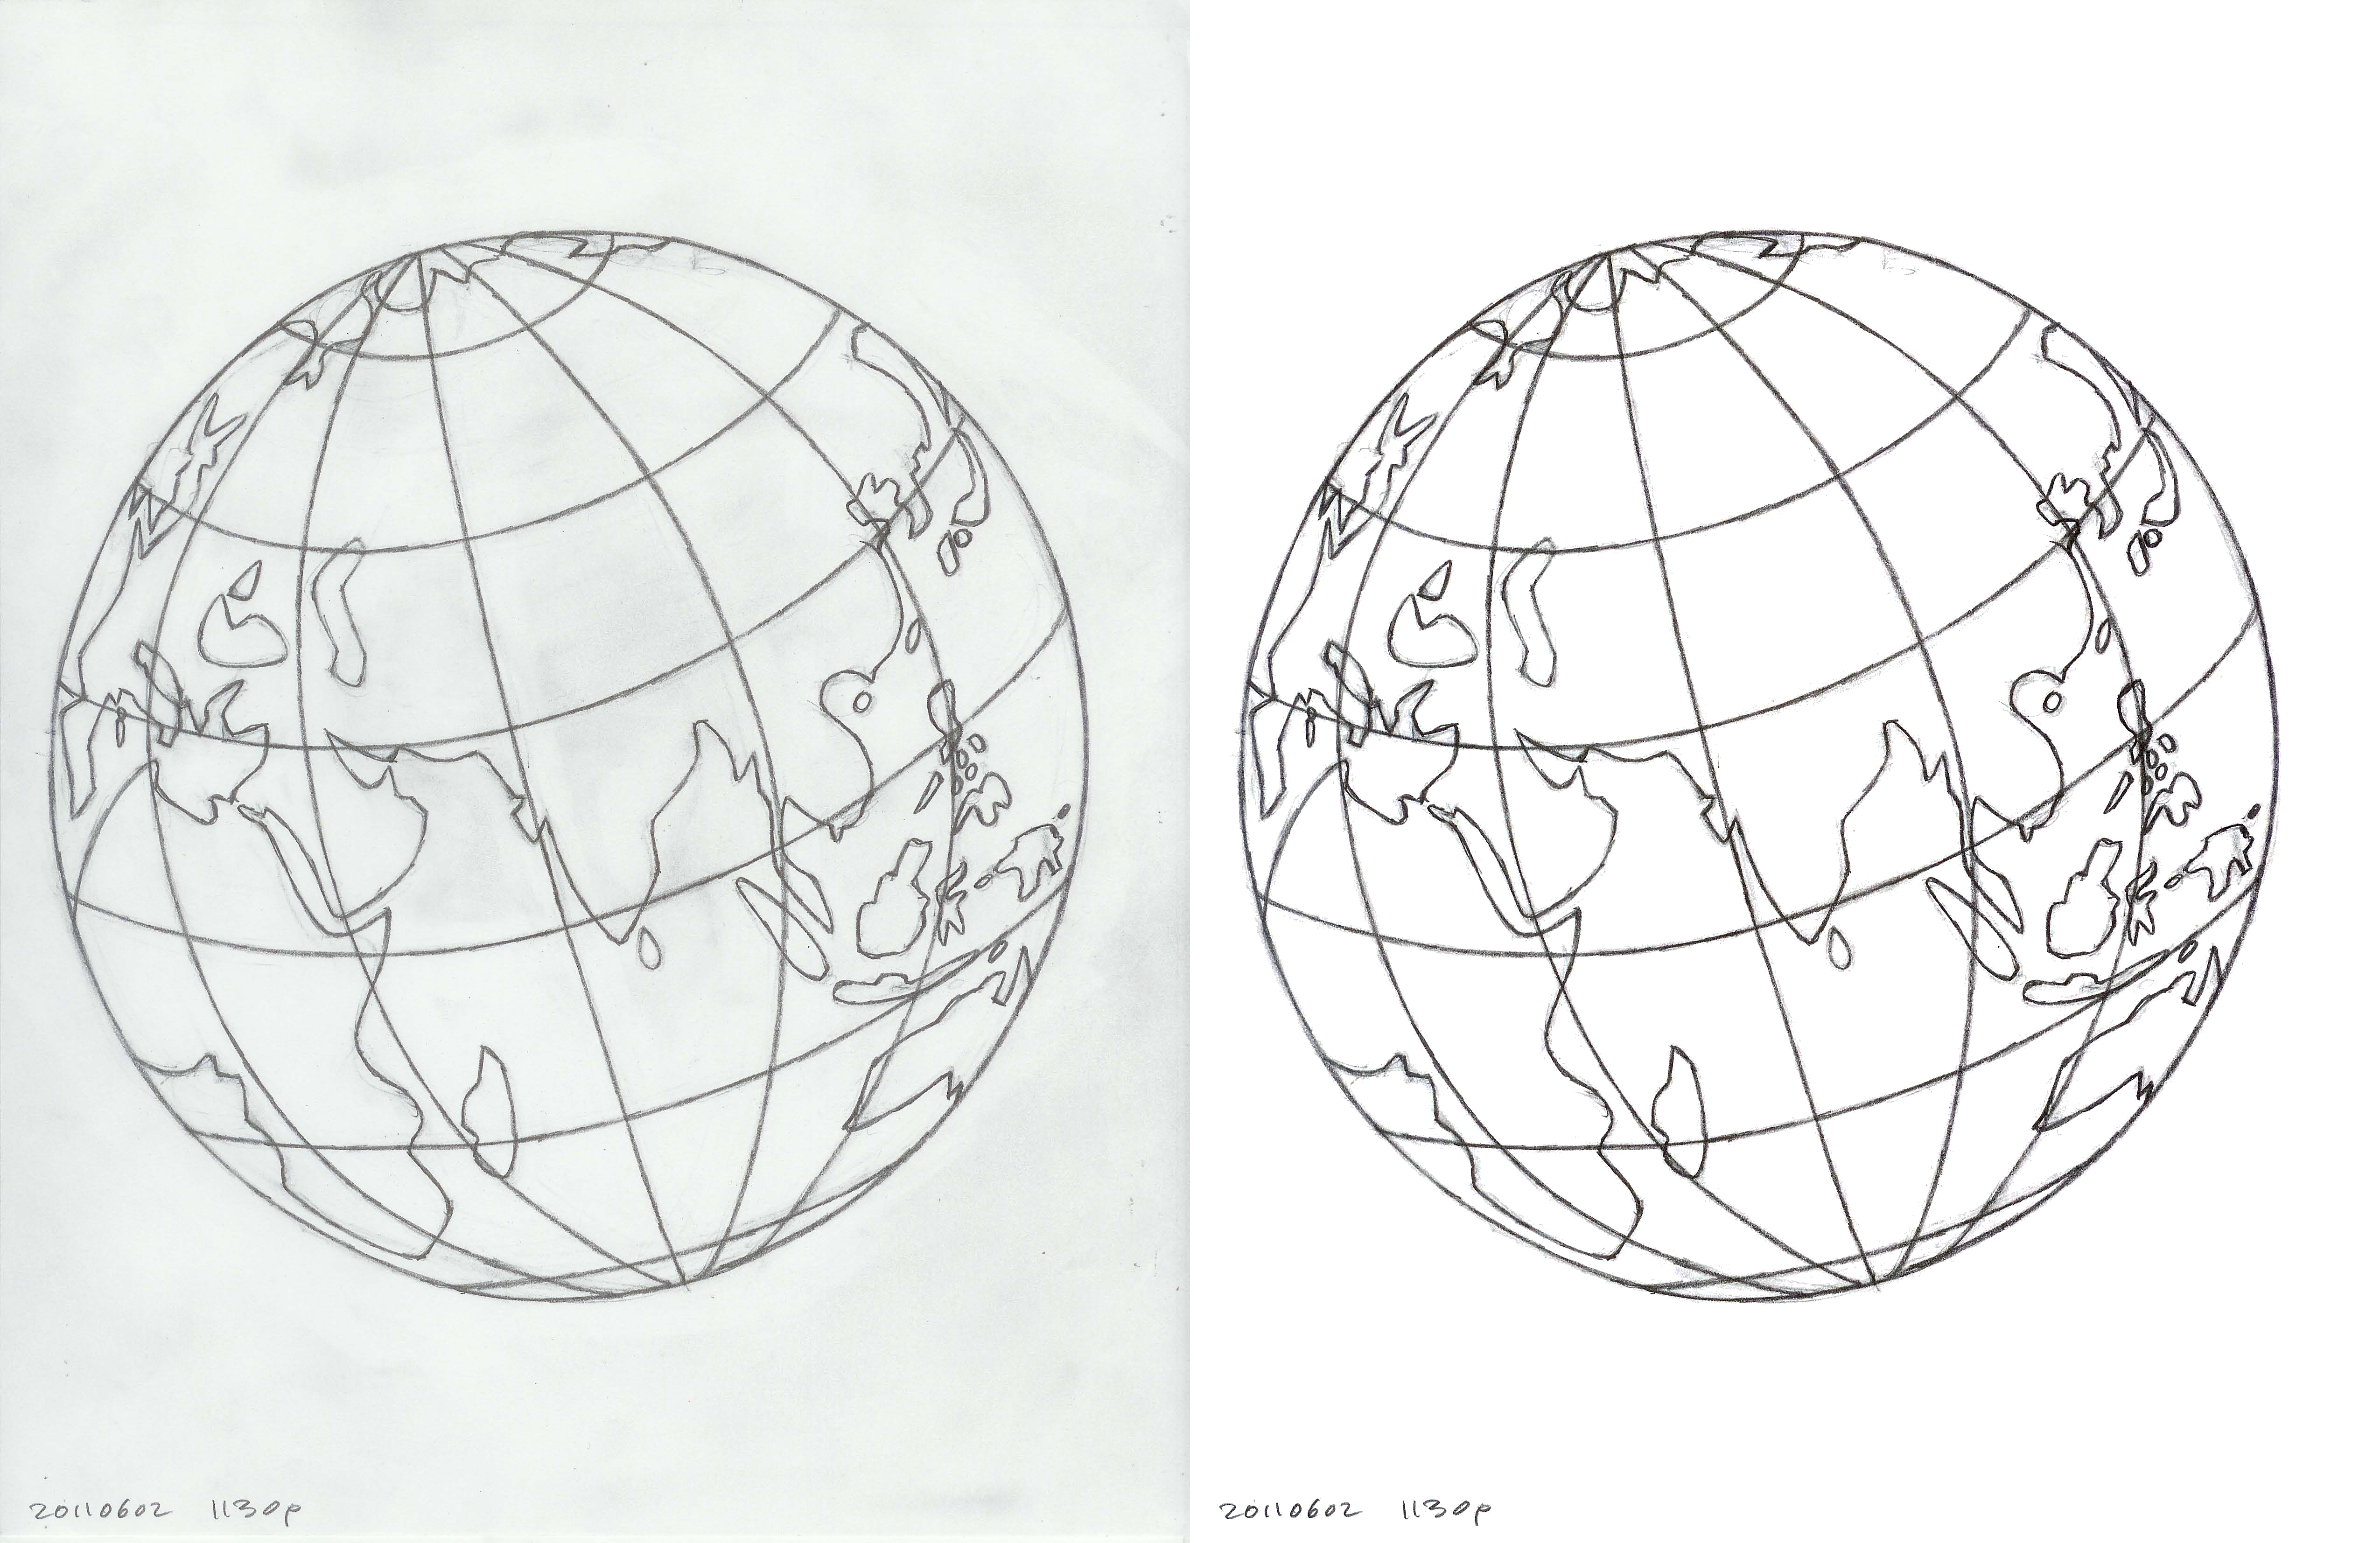
What do you think about this result?
Could anyone share another image to test and compare to Photoshop?
Copy link to clipboard
Copied
I see a lot of dialog example ideas and different results in the thread you posted a link to. Mainly about creating vector shapes. Though no vectors files were posted. Vectorizing that image is a much better ]approach then your raster png file. Which could use a lot more cleaning when you look ate you png file actual pixels.

Perhaps you should try to revive that thread. A vector version will be much cleaner and can be scaled to any size you need. Only small scaled down versions were posted in that thread,

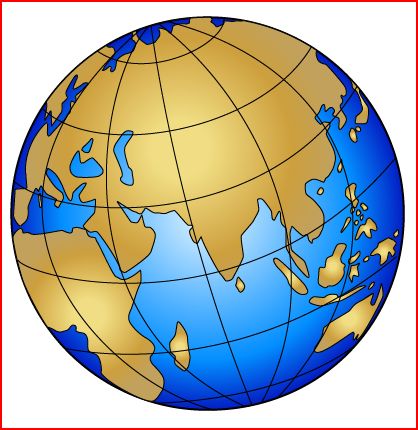
A cleansed up raster version may might to be traces with a program and have good paths created. Your png will not be traced well.
clean image can be traced quite well
Copy link to clipboard
Copied
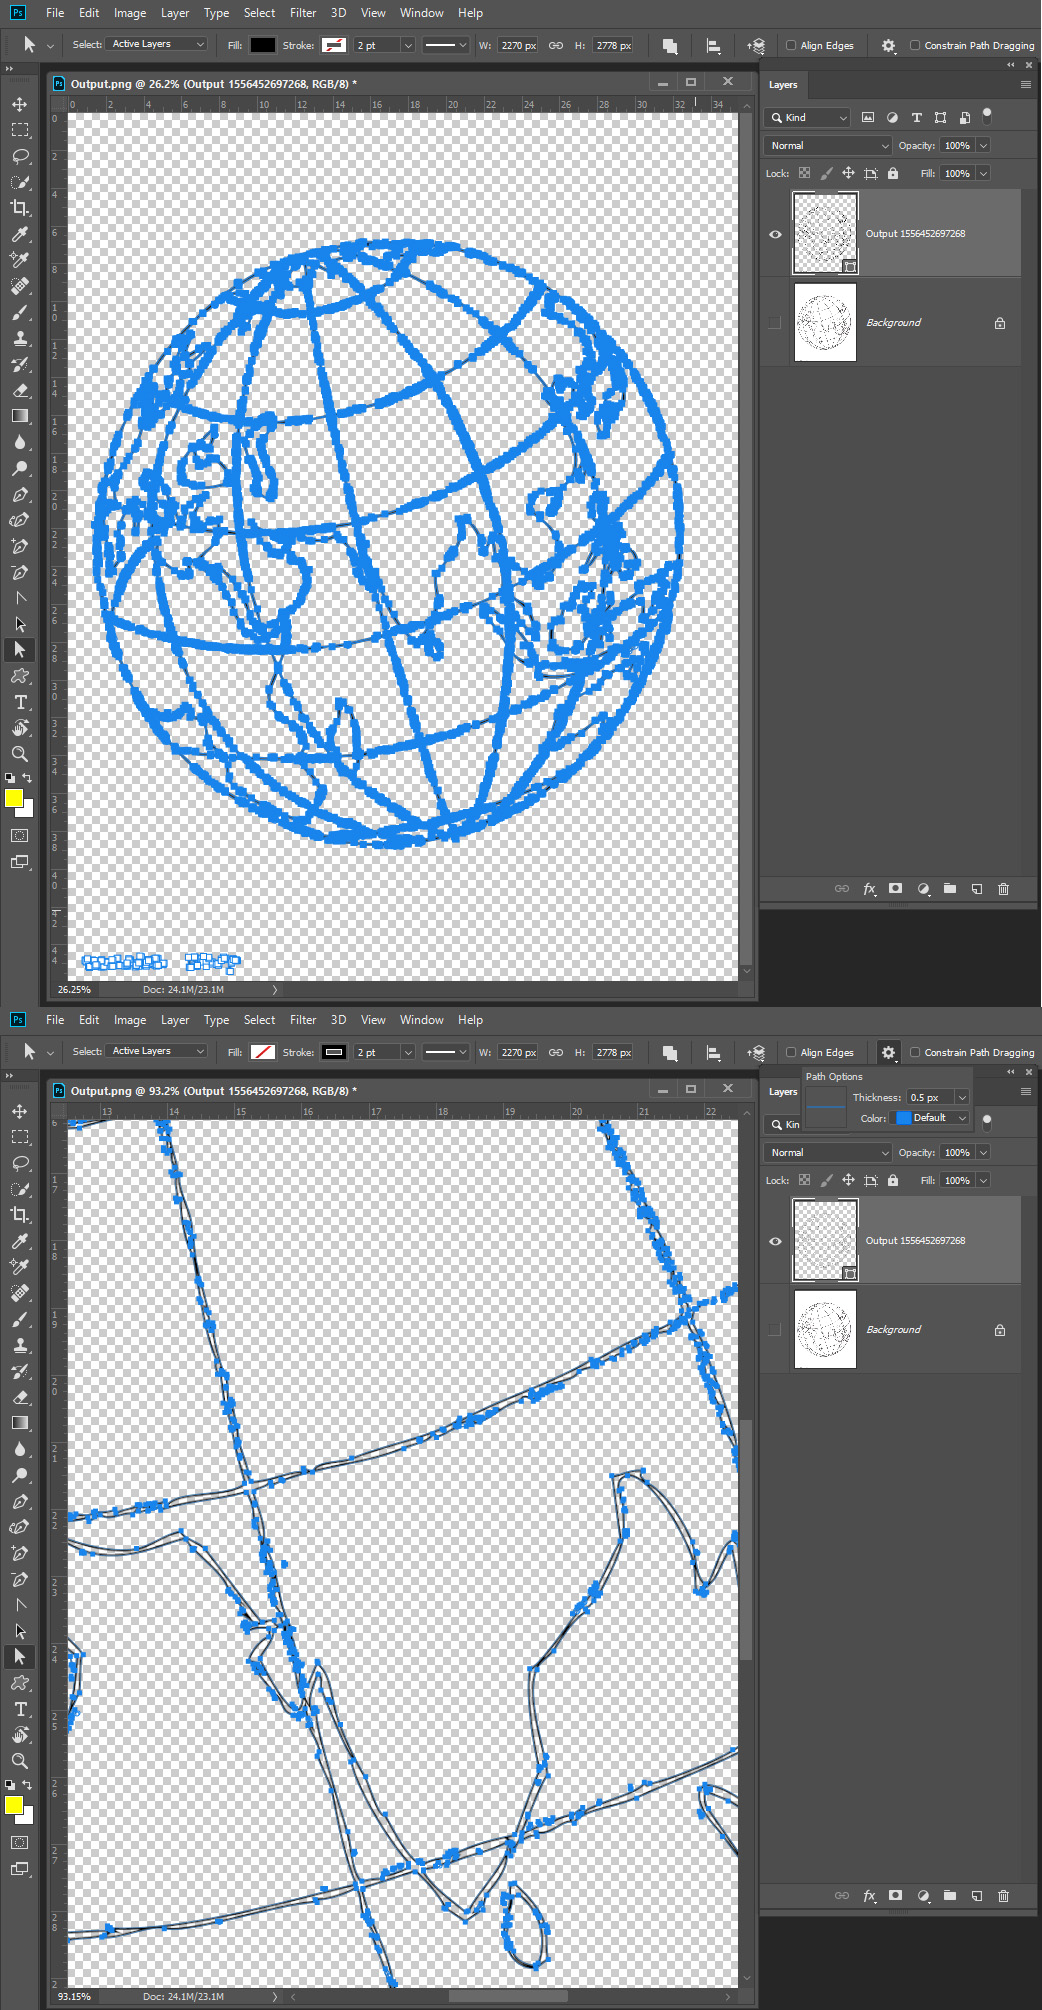
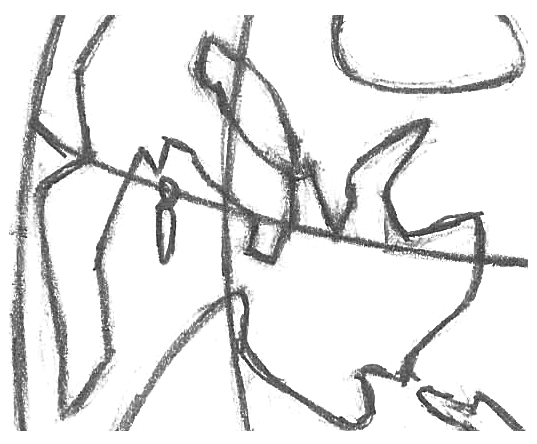
In order to judge your work you might check it at 100% of size. At that setting, this is your result:
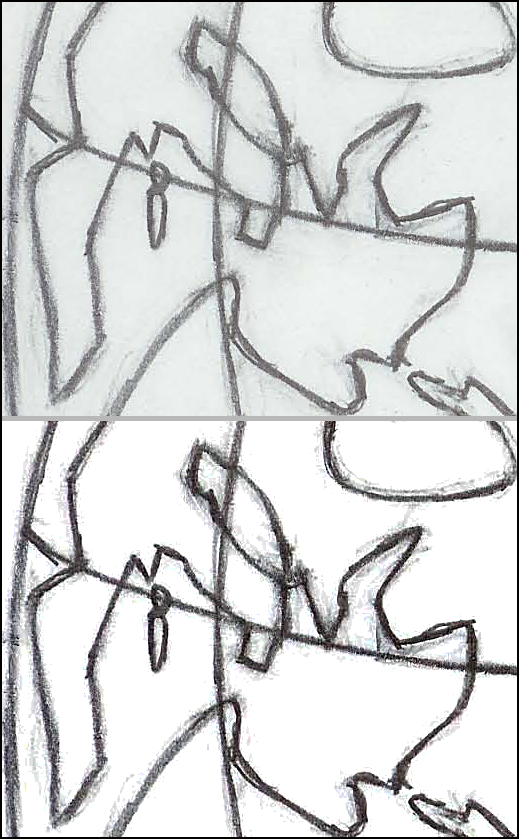
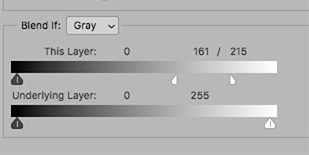
Using the Blend If command can clean up much of the (I assume) unwanted tone, maintain the character of the pencil texture and avoid a heavy-handed effect, will take you this far. The balance will require brushwork.

 AdChoices