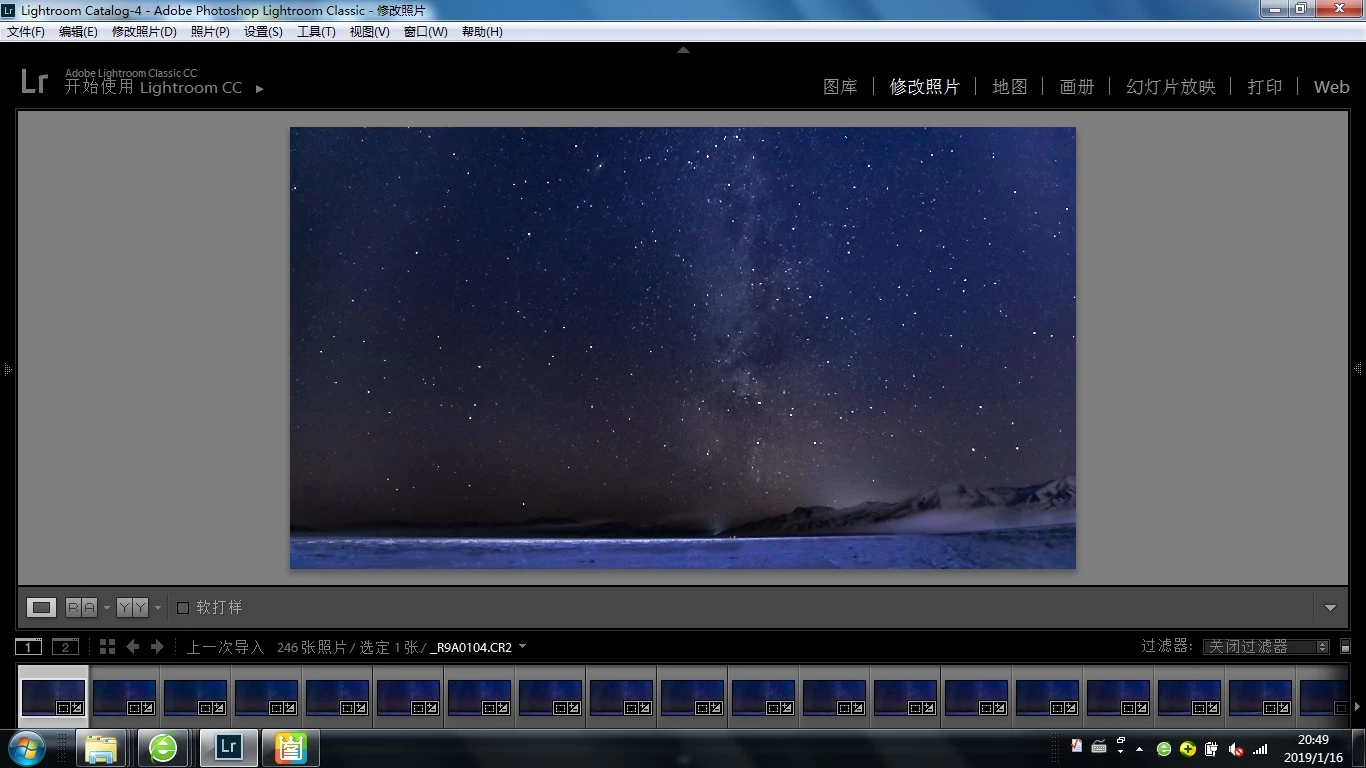
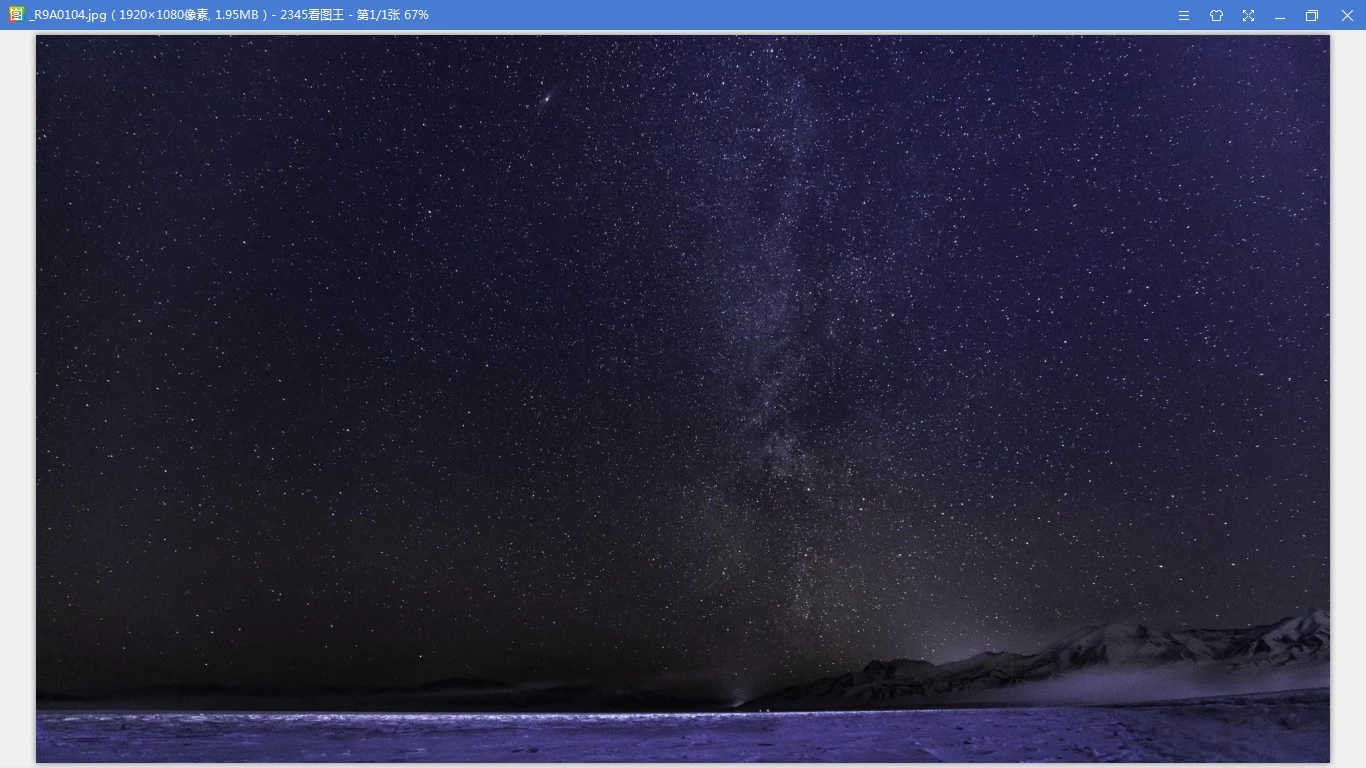
Known Participant
January 17, 2019
Answered

Quality difference of the photo being displayed in ACR and photo opened in PS after ACR processing

  • January 17, 2019
  • 4 replies
  • 677 views

There is big quality difference of the photo being displayed in ACR and photo opened in PS after ACR processing, Why?

Same question exists of photo being displayed in LR and photo exported in JPG format .

The folloing picture 1 is screen copy in LR and ACR;  picture 2 is JPG picture exported from LR, which is same as poicture displayed in PS after ACR processing.

This topic has been closed for replies.
Correct answer davescm

Hi

You can flick between the two zooms when adjusting but just bear in mind that when you see a difference it is the 100% zoom that is accurate.

I would adjust and keep that full size as a master.

Then, when you need a smaller version, downsize and be prepared To readjust because the downsizing will introduce changes in an image like yours.

In your particular case where you want to do a large batch you could try on an image then make those same adjustments before resizing. Check again and if you are happy, sync to the others then export.

The 8 bit preview is not a bug. It was a decision made many years ago when PCs were not as powerful and is wired in to the core of Photoshop. Could it be changed now? I am not a developer so I do not know how hard it would be, but what is obvious is that it would impact the whole of Photoshop.

Regardless of that, displaying any image at other than a 1 to 1 relationship between image and screen pixels has to involve some interpolation or combining of pixels.

Dave

4 replies

Known Participant
January 22, 2019

Hi Dave and Fosse,

You have shown deep profession so far, and what you answered has help me lot. Thanks a lot to you both.

A possible relevent question: Any suggestion or advice to do adjustment with 100% zoom size, in this scenario, you can only see a very small part, how to balance the local and the whole picture to get a final ideal adjustment?

Thanks again.

Xudong Yan

davescm
Community Expert
davescmCommunity ExpertCorrect answer
Community Expert
January 22, 2019

Hi

You can flick between the two zooms when adjusting but just bear in mind that when you see a difference it is the 100% zoom that is accurate.

I would adjust and keep that full size as a master.

Then, when you need a smaller version, downsize and be prepared To readjust because the downsizing will introduce changes in an image like yours.

In your particular case where you want to do a large batch you could try on an image then make those same adjustments before resizing. Check again and if you are happy, sync to the others then export.

The 8 bit preview is not a bug. It was a decision made many years ago when PCs were not as powerful and is wired in to the core of Photoshop. Could it be changed now? I am not a developer so I do not know how hard it would be, but what is obvious is that it would impact the whole of Photoshop.

Regardless of that, displaying any image at other than a 1 to 1 relationship between image and screen pixels has to involve some interpolation or combining of pixels.

Dave

Known Participant
January 22, 2019

Hi,

To be very clear, Would you please detail the following setence in bold  in more detail?

, when you need a smaller version, downsize and be prepared To readjust because the downsizing will introduce changes in an image like yours.

In your previous answer, you also mentioned the following:

4 Use Image > Image size in Photoshop to resize to your final required pixel dimensions for export

5. Check at 100% zoom whether any further adjustments are required to make the image work at that size

My question here is the abovementioned readjustment(or further adjustment) will be done on original version or downsized version, and the abovementined Check at 100% zoom refers to original version or downsized version

Thanks!

Known Participant
January 18, 2019

Dave and Fosse,

You are talk almost the same thing, and I almost get it.

How can I solve it? As you can see, with ACR or LR, I adjust the picture to my ideal one, the size is about 15.5% at this moment, and it is almost the same size of my laptop screen which is also my target screen. Anyhow, I need to export it to Jpeg and replay in this screen, how can I get the same picture as shown in ACR or LR. Even with color managable viewer such as windows picture view, the forseeable problem here is the Jpeg would be around 15.5% size (or little bigger ) to be fully displayed in my screen and far less than 100%, so the display would be much different with the ideal one in ACR or LR.

Then what is best solution? What come into my mind is to try different Jpeg size and dpi, Is it the right direction? what is consolidated way to do it if it is right, or otherwise what is right direction?

Thank a lot.

Yan

davescm
Community Expert
Community Expert
January 18, 2019

If your destination is a screen size for viewing on screen then I would do the following (I use this workflow regularly) :

1. Make your adjustments in Lightroom and zoom in to check you are happy.
2. Use Lightroom's  Edit in Photoshop and carry out any pixel editing.

3. Save a full size PSD or TIFF file with your edits / layers intact (this will be seen in the Lightroom library and will be your master file for future exports)

4. Use Image > Image size in Photoshop to resize to your final required pixel dimensions for export
5. Check at 100% zoom whether any further adjustments are required to make the image work at that size

6. Use Export - Save for Web - and export as a jpeg to use for screen viewing (ensuring that covert to sRGB and Embed colour profile are both checked)

Note : After resizing don't resize the master - that will always be at the original size and will be the starting point for any future exports.

Dave

Known Participant
January 21, 2019

Thanks for sharing.

According to your workflow, most work will be done in PS, but what attracts me most in LR is batch processing/inport/export. In my case, I want to make a star timelaps, so i need to handle more than hundreds of pictures alike. Any ideas?

Further more, the main step of your approach is resizing the picture to final dimension then to view and edit it in 100% size, could you detail a little bit about the final dimension related to screen size?  My understanding is that 100% size equals the screen size after resizing, otherwise, there seems no way to assure to get a perfect display in final screen even you have done with a perfect picture in 100% size(after resizing).

Thanks

D Fosse
Community Expert
Community Expert
January 17, 2019

Here's a very simple and basic illustration of what happens when you zoom out and view at less than 100% zoom. Nothing has been done to the central square except scaling it down:

If you now add adjustment layers, the preview is calculated based on this downsampled version - which, as you can see, contains a lot of intermediate gray values that aren't there in the original. This is done for performance reasons. Watch what happens as I shift color balance all the way over:

Which is why you always need to check at 100% before drawing any conclusions.

davescm
Community Expert
Community Expert
January 17, 2019

Hi

A few things at play here.

1. When viewing image "quality" compare at 100% zoom. This is doubly important with an image such as yours with lots of sharp points of light. At 100% zoom the image is shown on the screen with 1 image pixel mapped to 1 screen pixel. At lesser zoom levels the image is interpolated and at less than 66.7% the image previews switch to 8 bits per channel  and compositing is done with those 8 bits rather than 16 bits.

2. At 100% zoom you should not see colour shifts between LR/ACR and Photoshop.

3. When exporting a jpeg for viewing elsewhere you should convert it to sRGB and embed the colour profile. If you then view it in a colour managed application it will look correct. In a none colour managed viewer all bets are off, but teh safest is an sRGB image.

Dave