Quick Steps! Create a snowflake
Create a snowflake asset in Photoshop to use in projects

❶ Open the app and create a new document
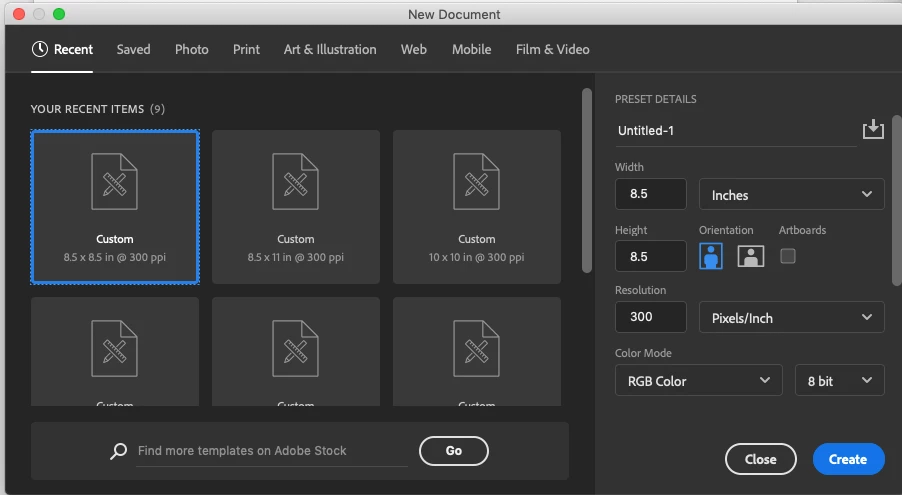
- Launch Photoshop your desktop and create a new document by selecting file-new from the menu
- You can specify the width and height, resolution, color mode, and name
❷ Select the background color
- I will be making a white snowflake on a black background, so first I will fill the background layer with black color to create contrast so my showflake will show up
- Hold the shift key and tap the delete key (or using the menu, you can choose edit-fill) and select black for the contents. Leave mode: normal and Opacity: 100%
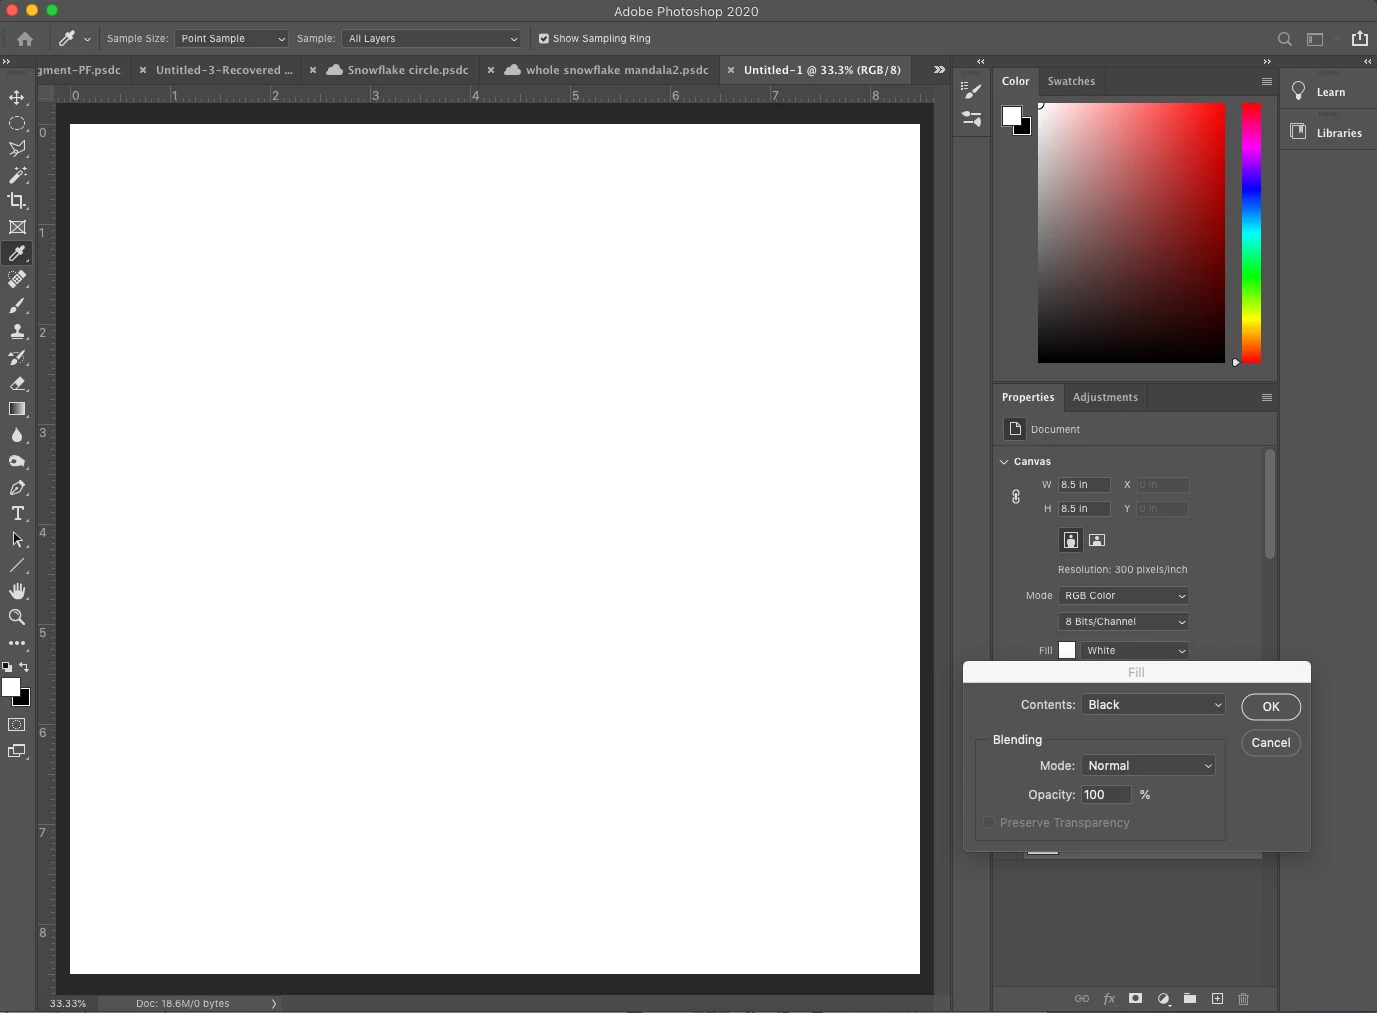
- Click OK
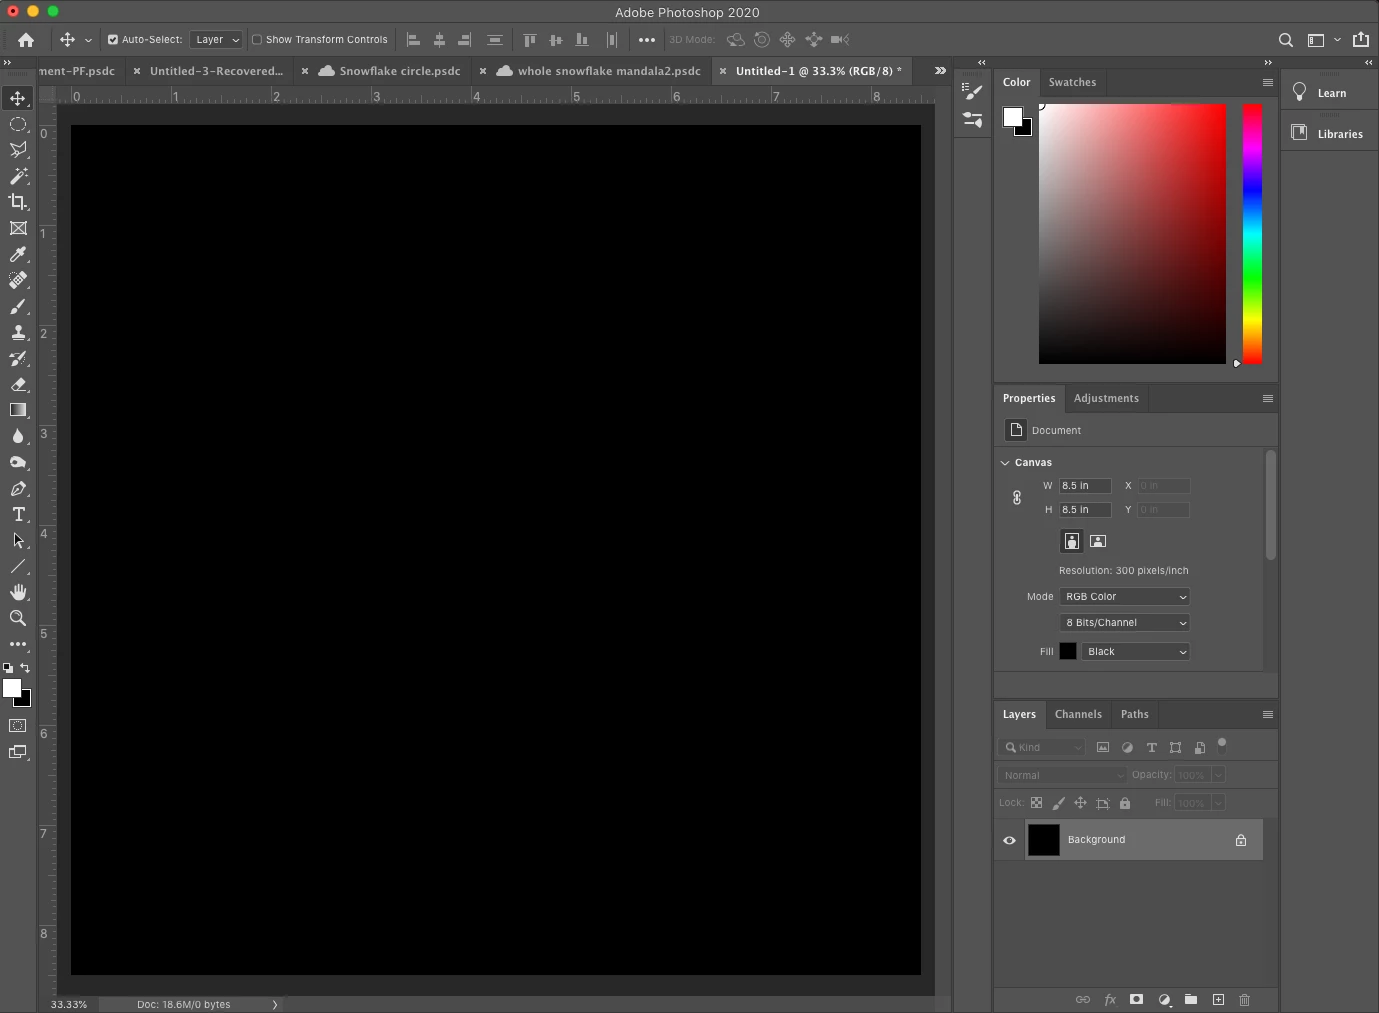
- Now it looks like this
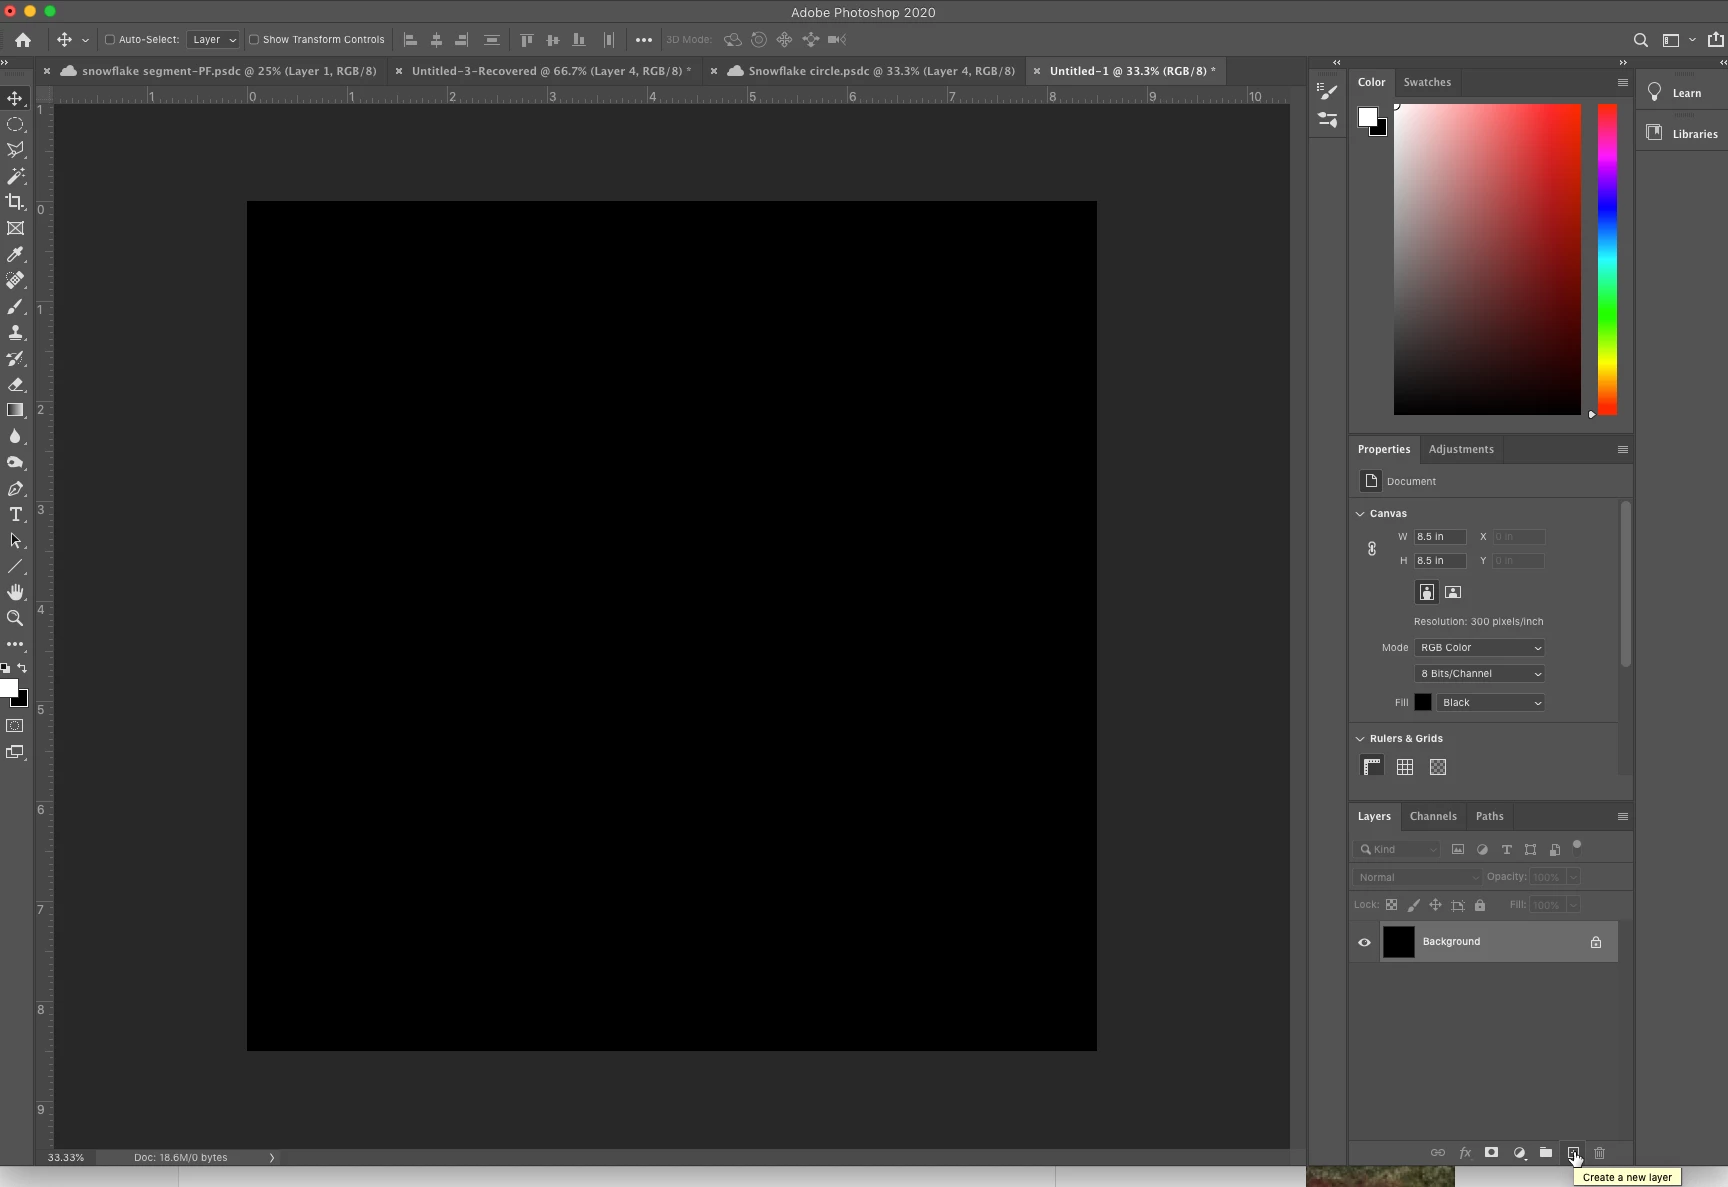
- Click on + to add a new transparent layer
❸ Choose the color and configure your brush
- Tap on the color tool in the toolbar,select white for your color, and click OK
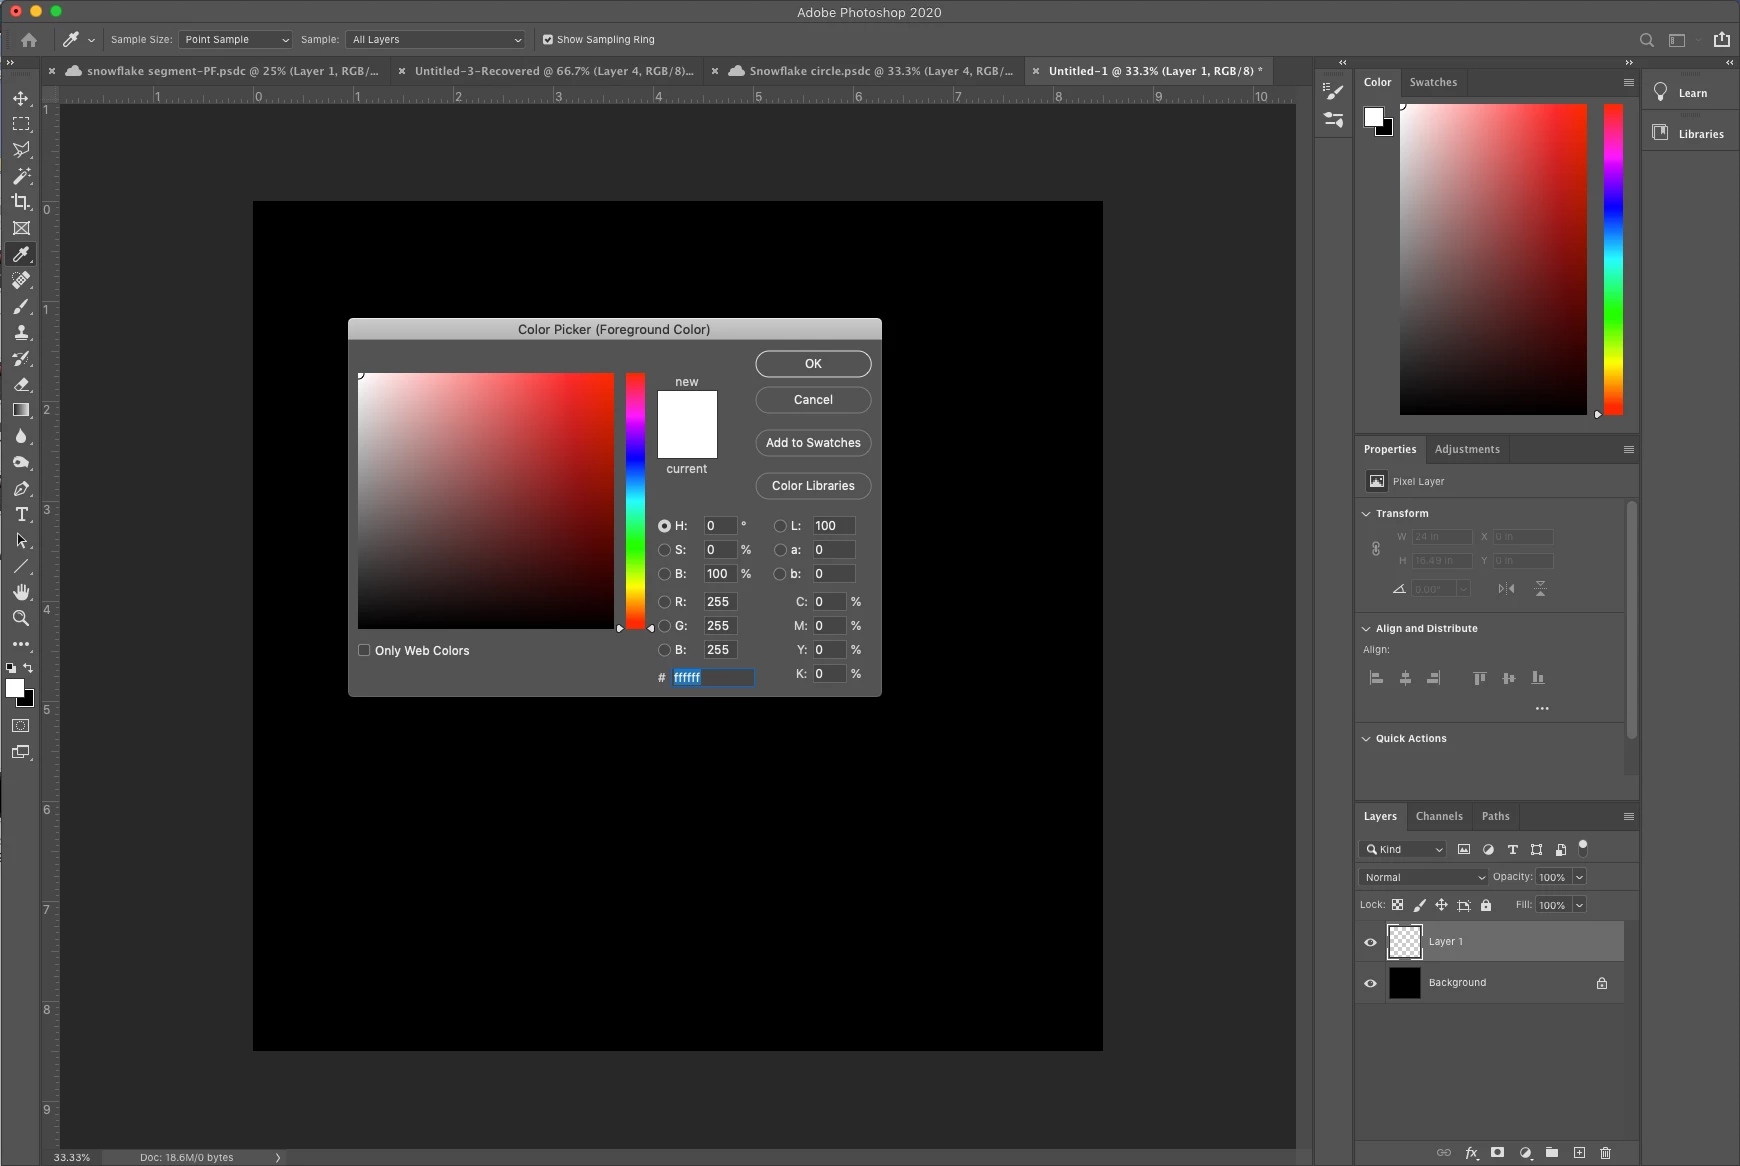
- Select the brush tool
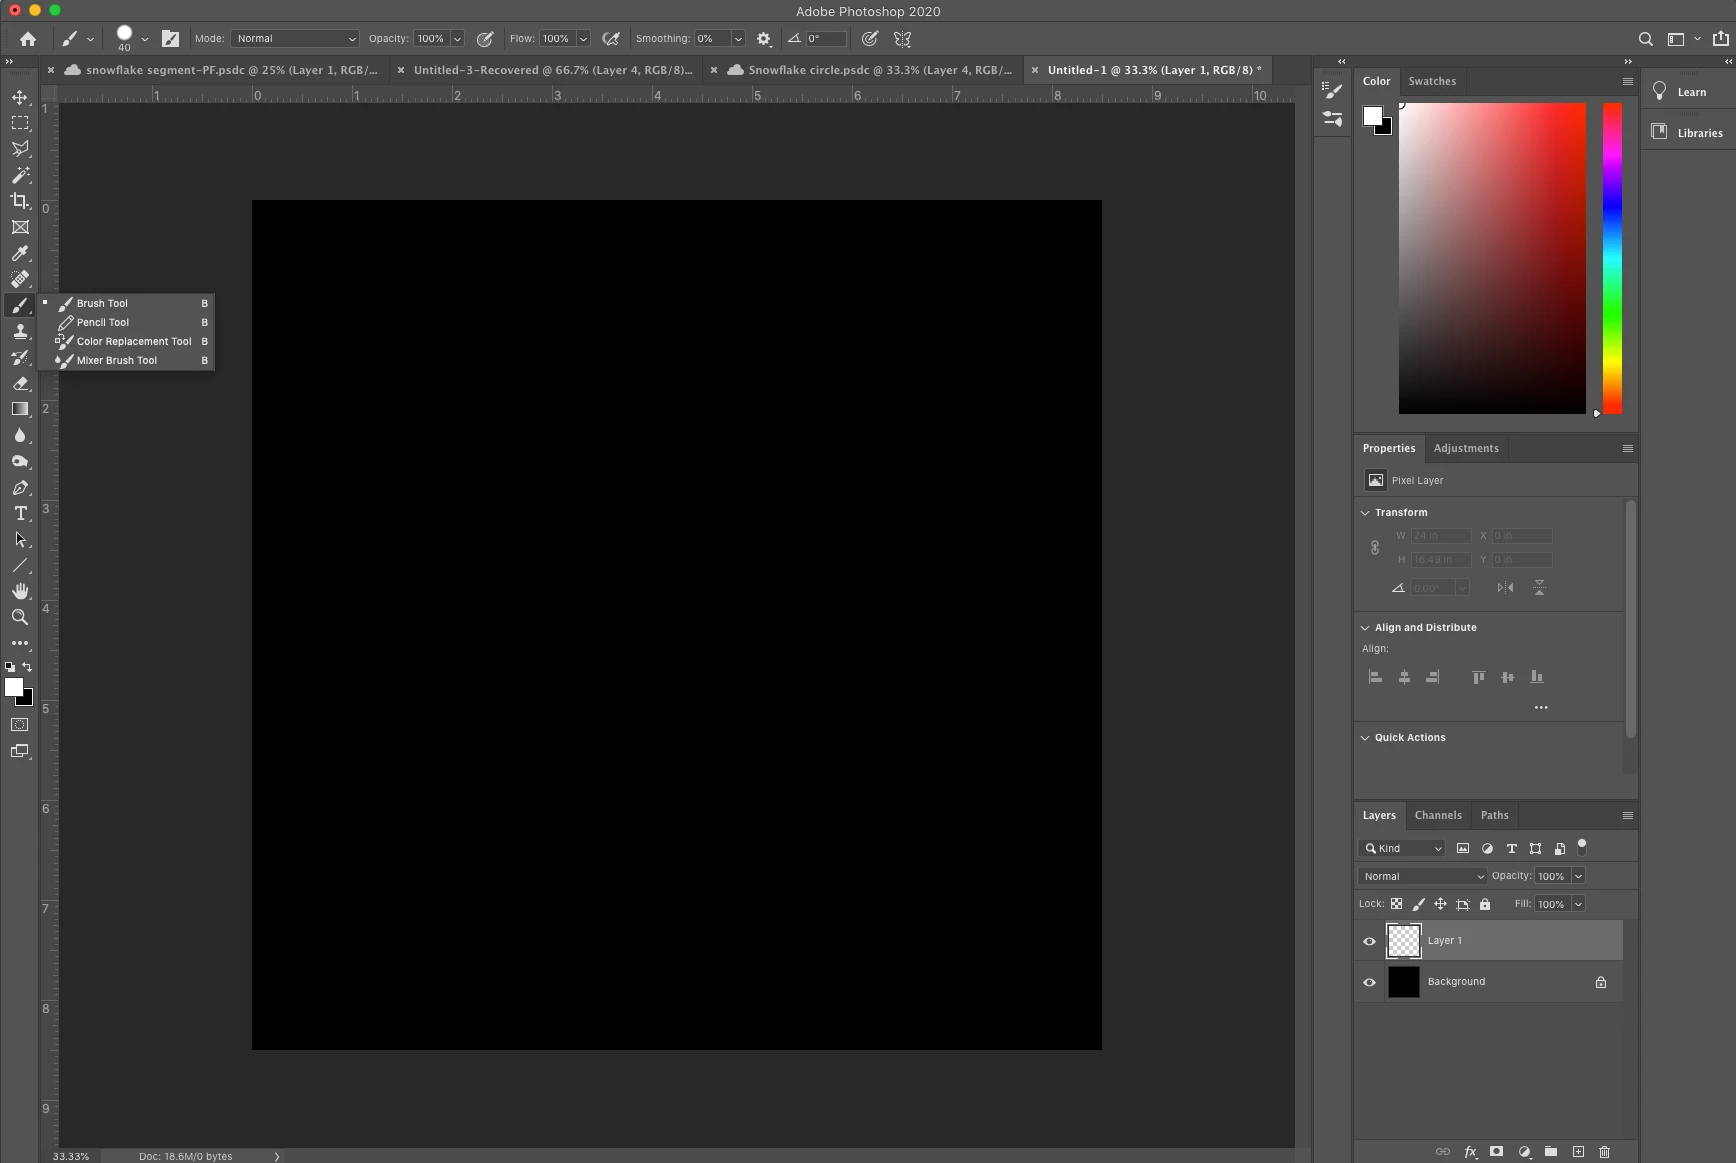
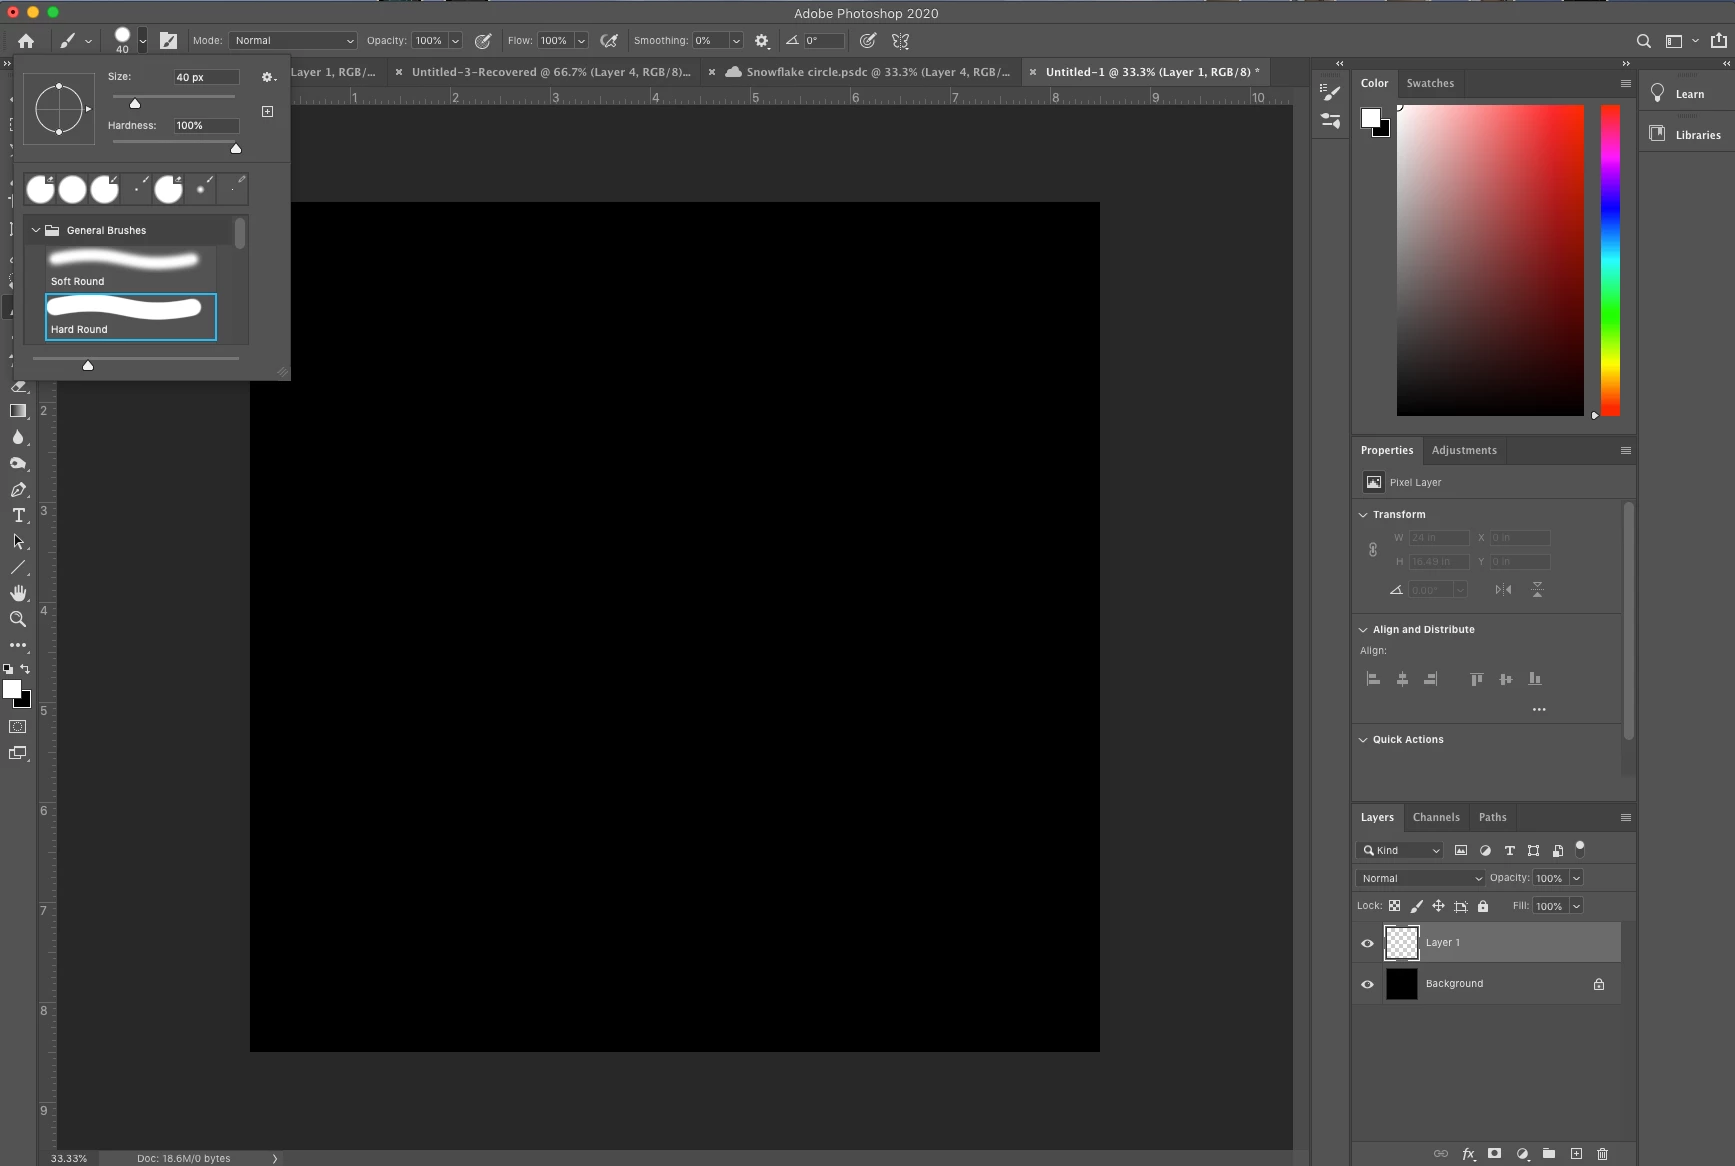
- Tap on the brush circle on the top bar
- Select a brush and set your desired size
- For my design, I will select the basic hard round brush and set the size to 40 pixels
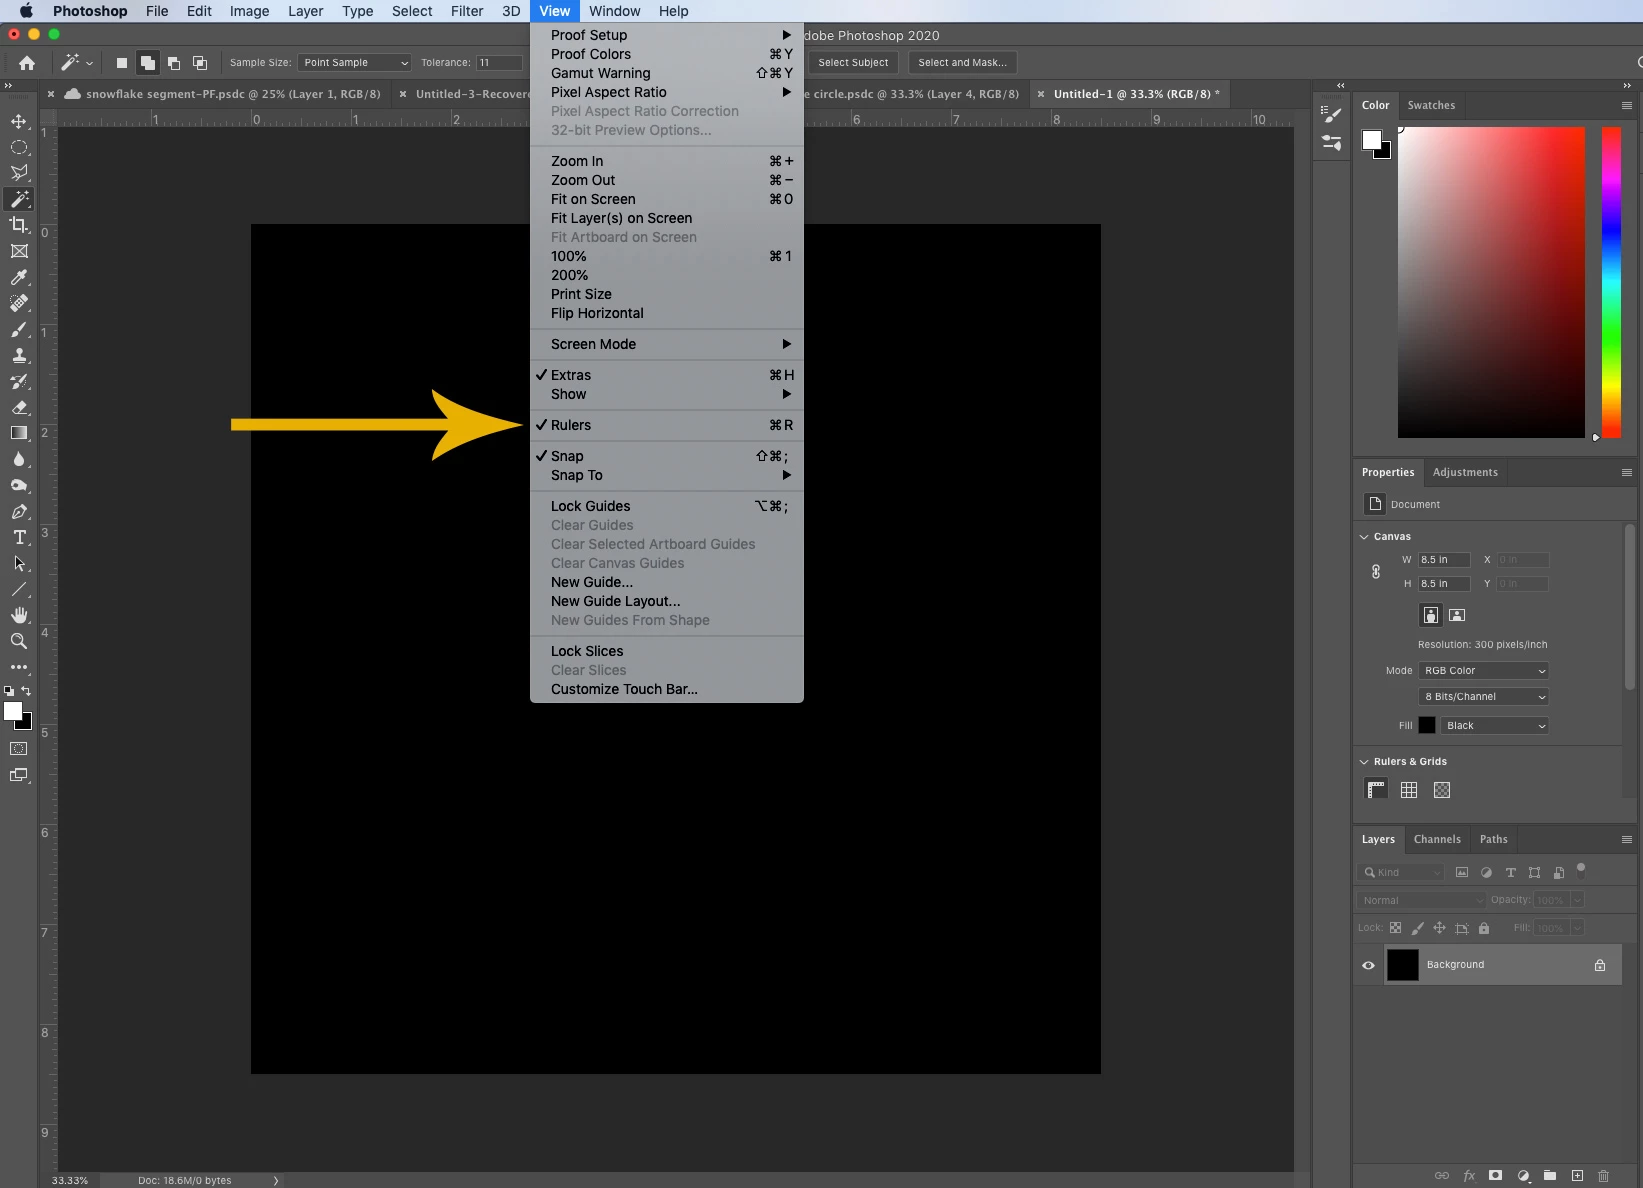
❹ Set guides
- If your rulers are not visible, select view and tap rulers to turn them on
- Click on the left ruler and drag to the right to 4.25 inches to create a guide to divide the paper in half
- Click on the top ruler and drag down to 4.25 inches tocreate a guide divide the paper in half the other direction
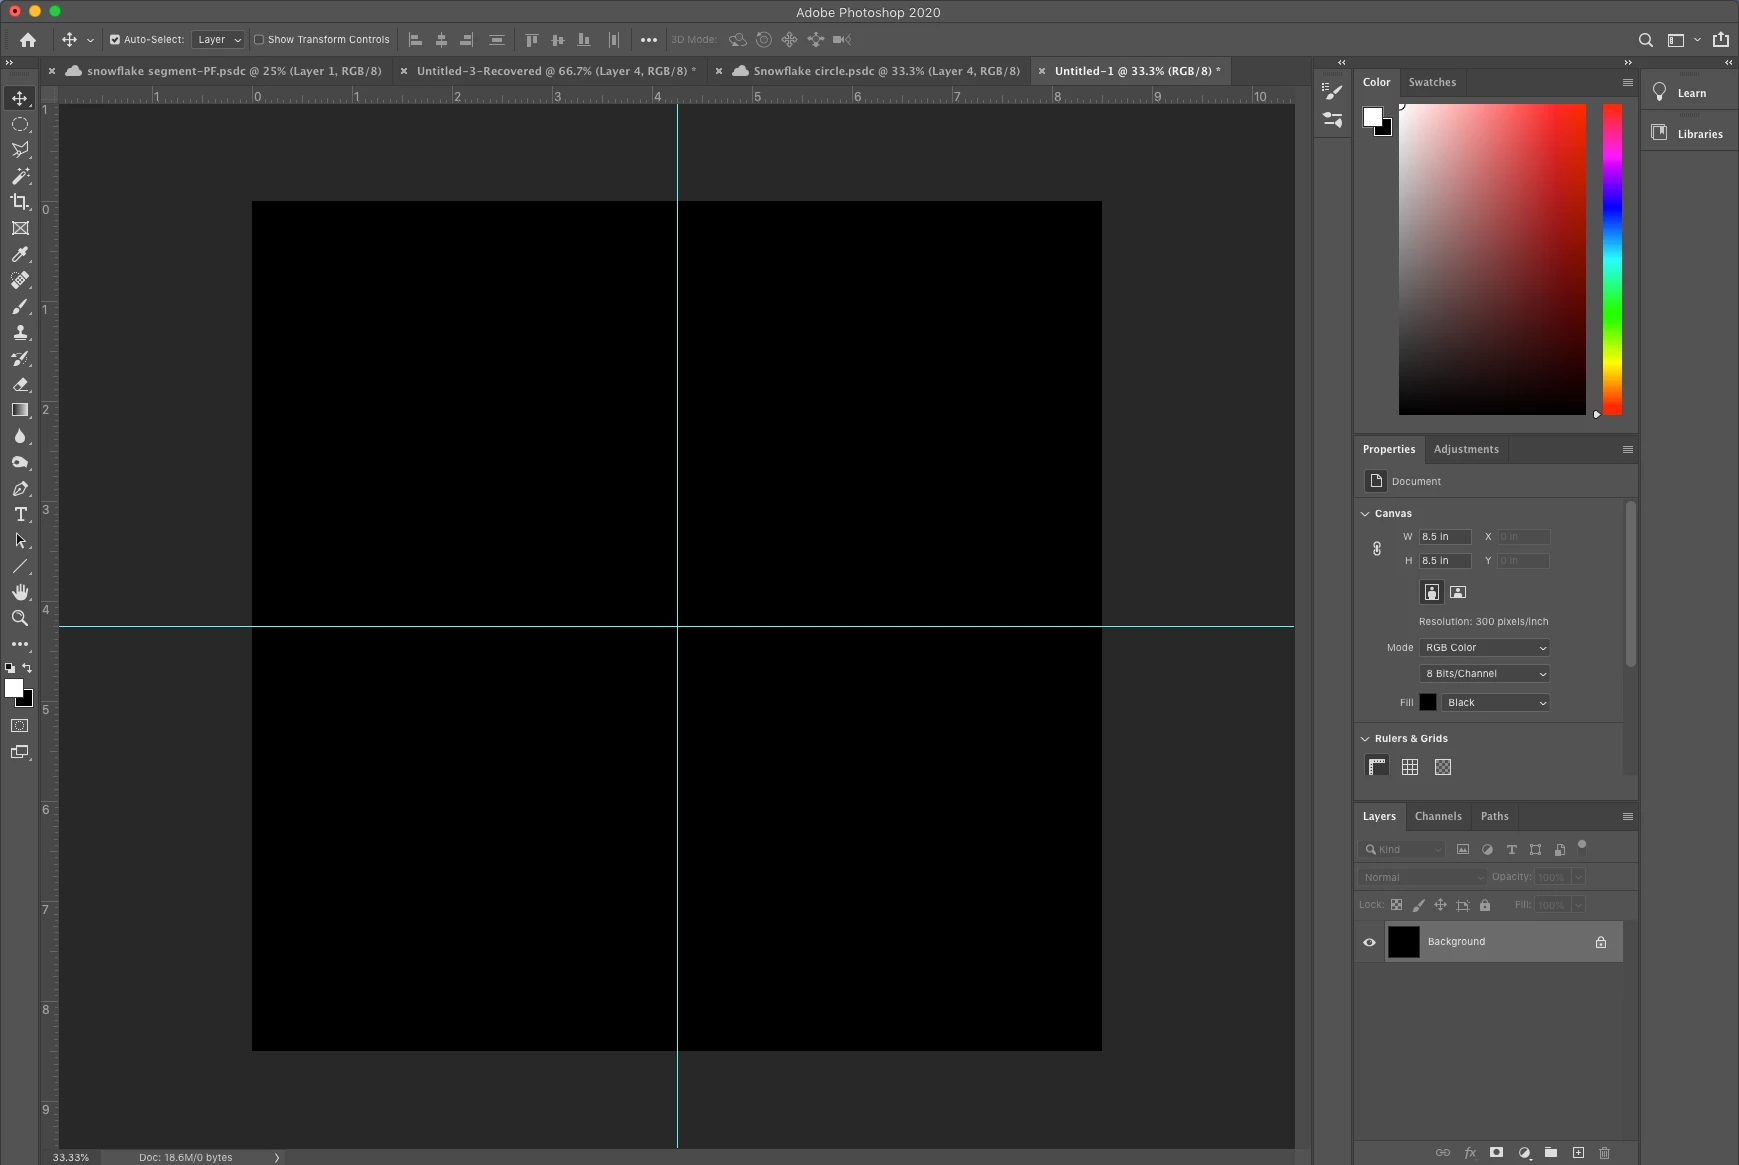
❺ Configure the symmetry tool on the canvas
- Click on the symmetry tool - it looks like a butterfly
- Select the Mandala option
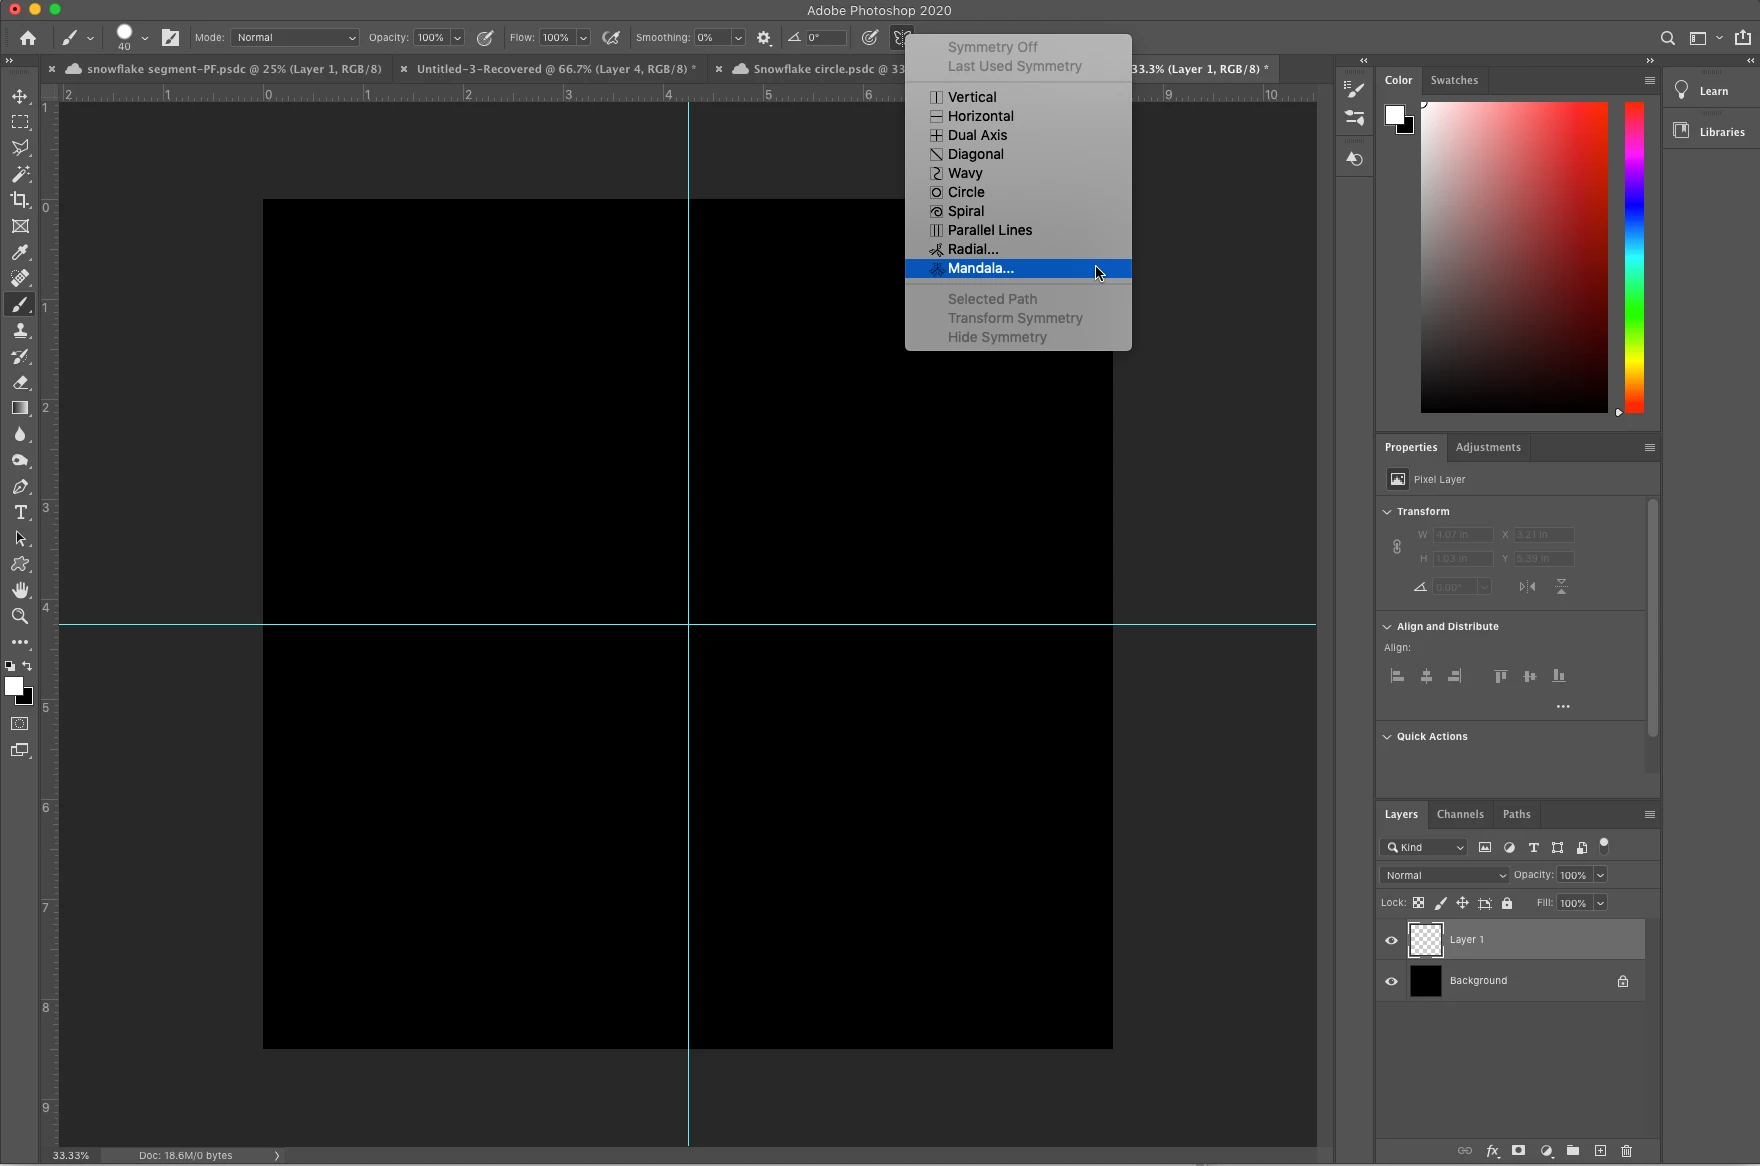
- Choose 6 segments and click OK
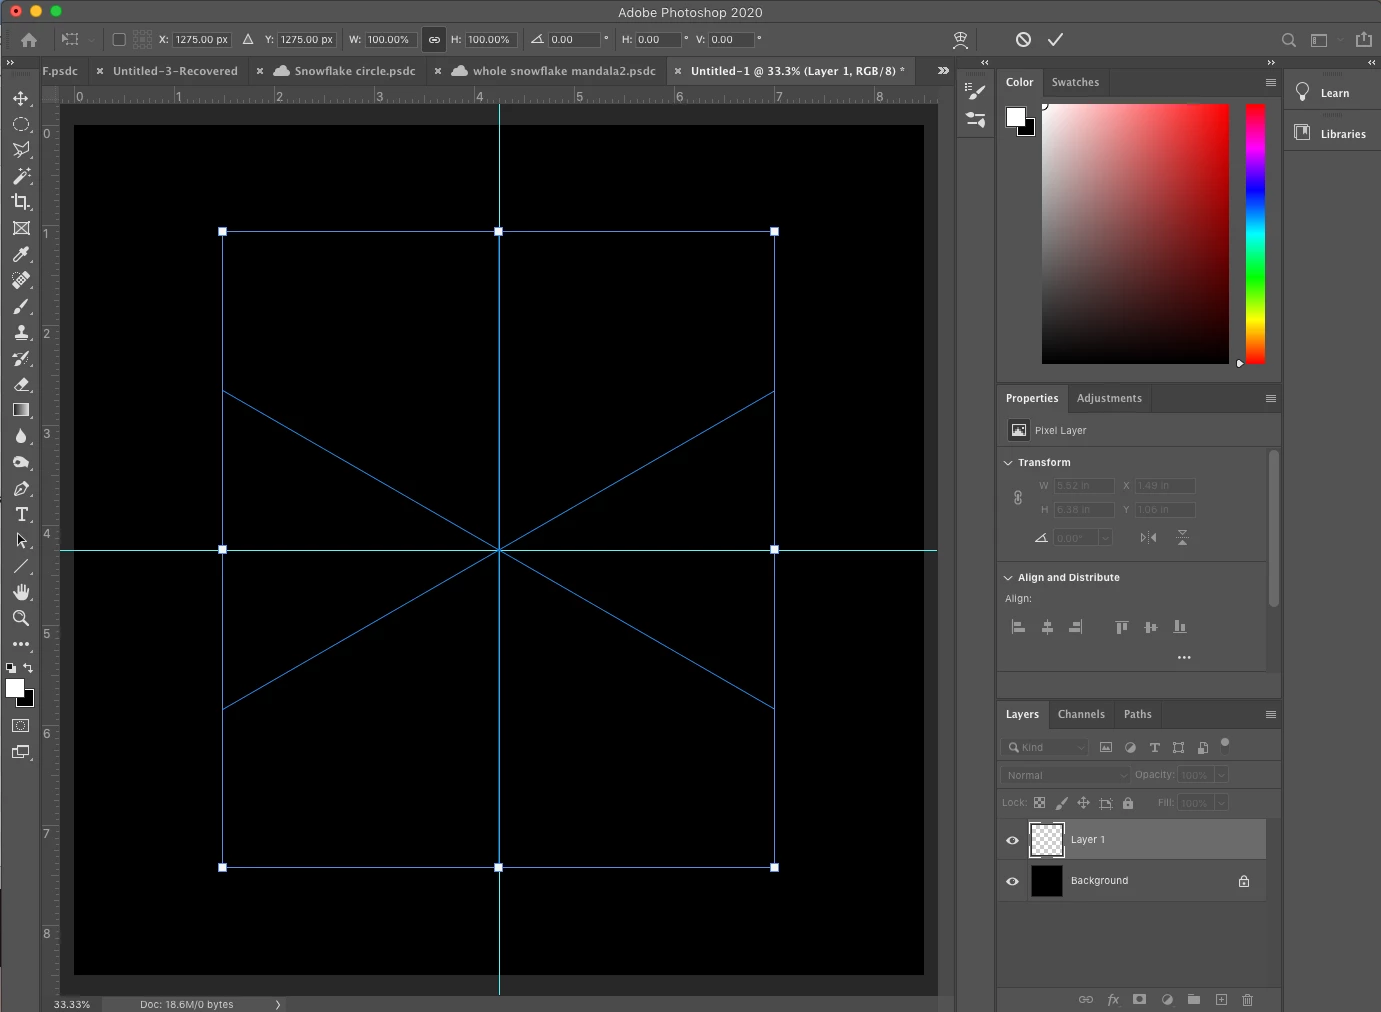
- Drag the white handles on the corners out until the dividing lines are as large as the canvas and match up at the center
- Click the checkmark at the top to accept the setting
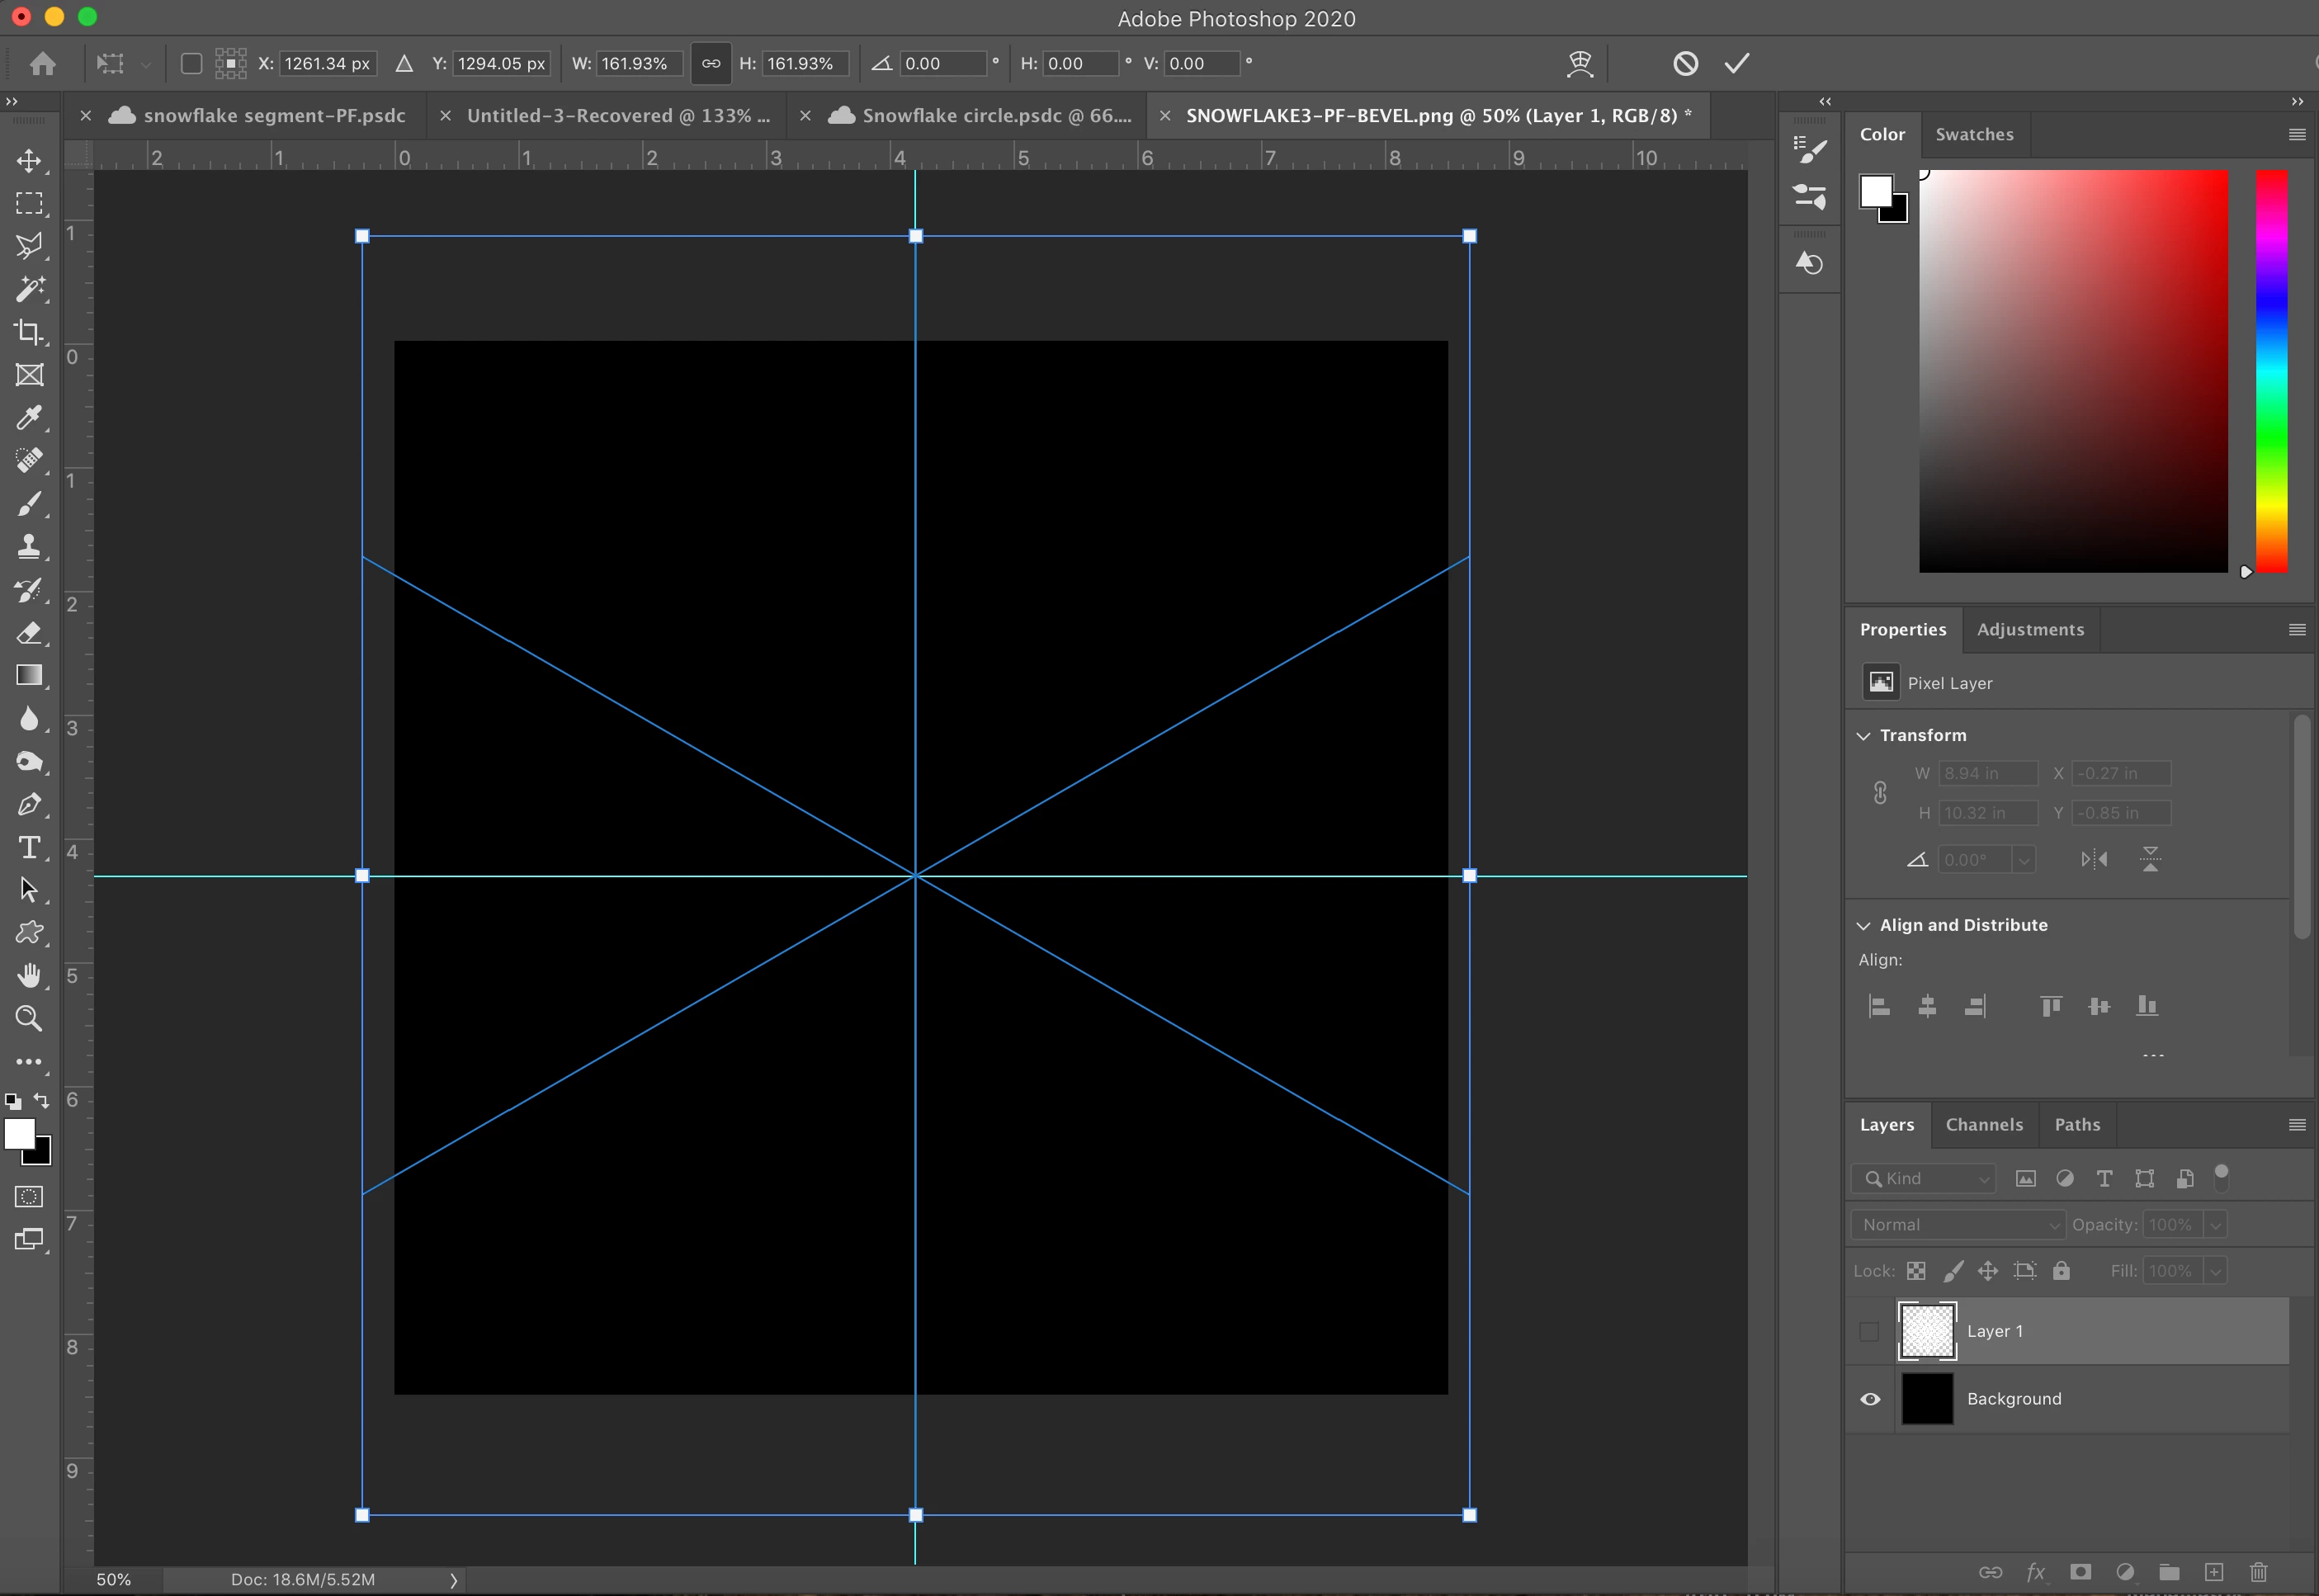
- Now you can turn the guides back off by selecting view-clear guides
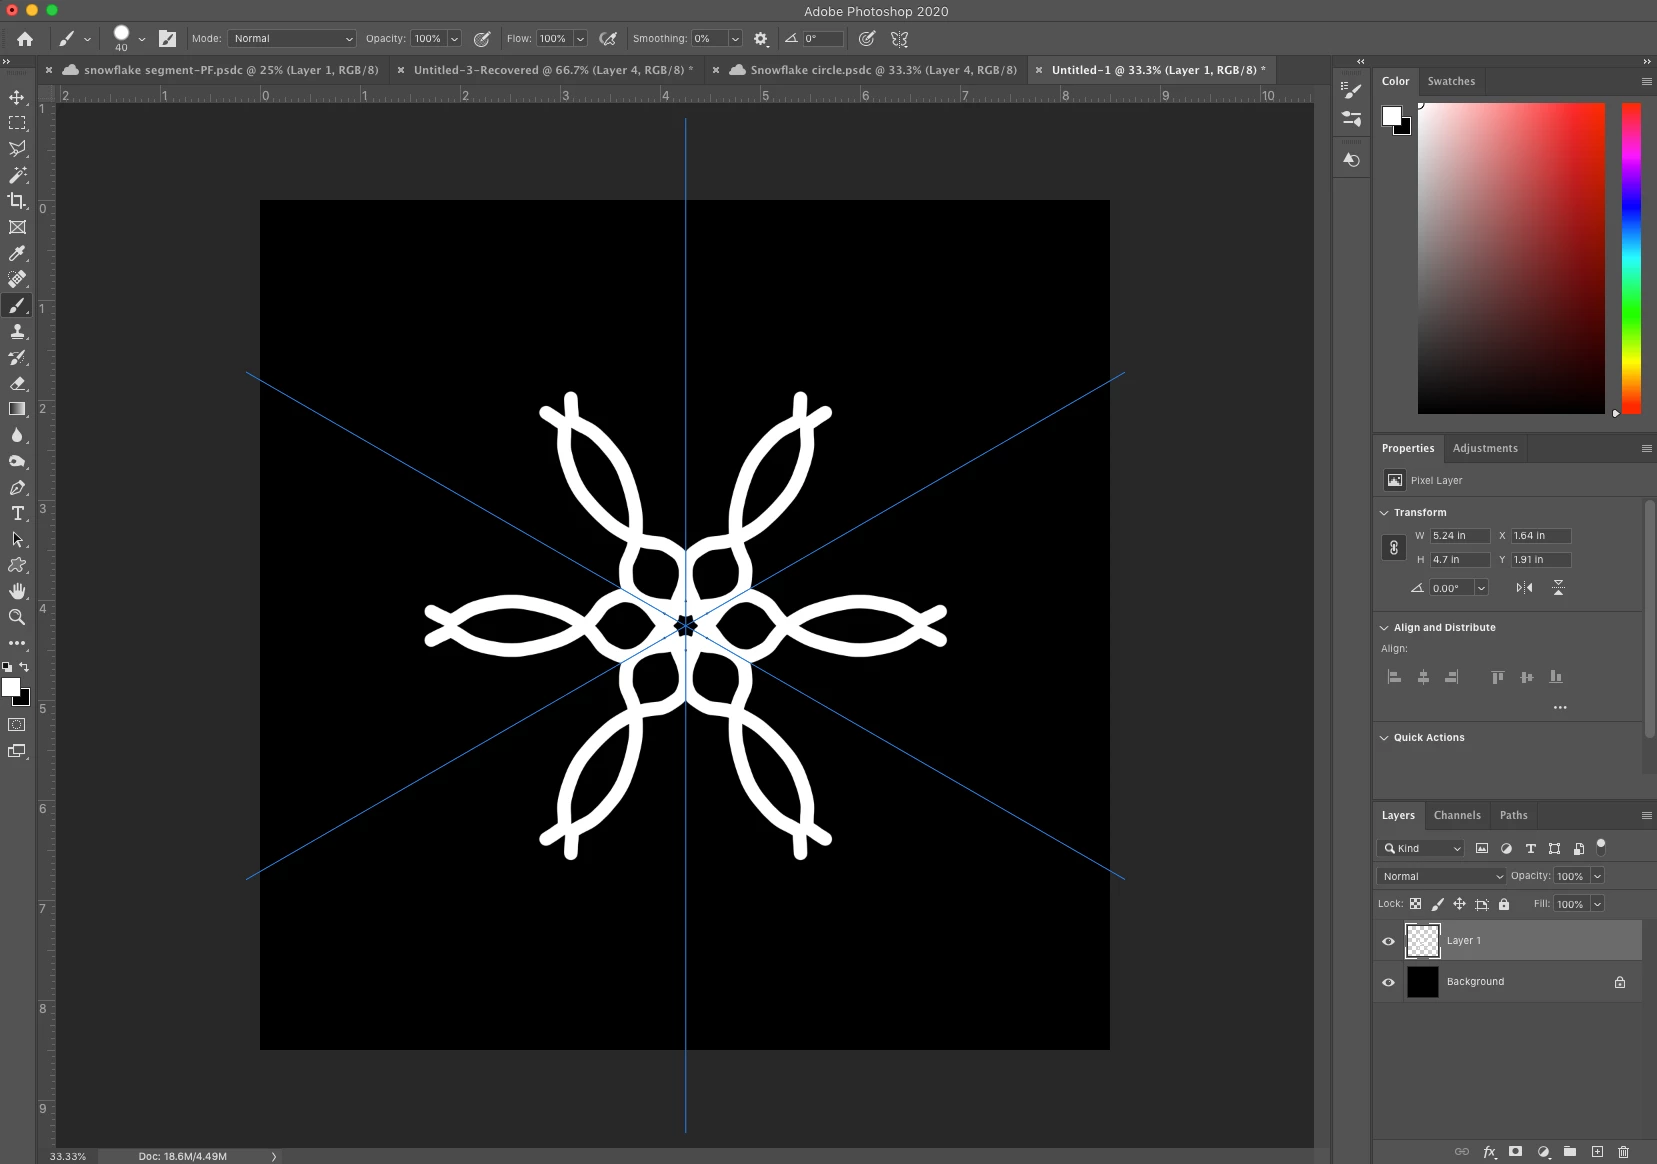
❻ Paint your snowflake
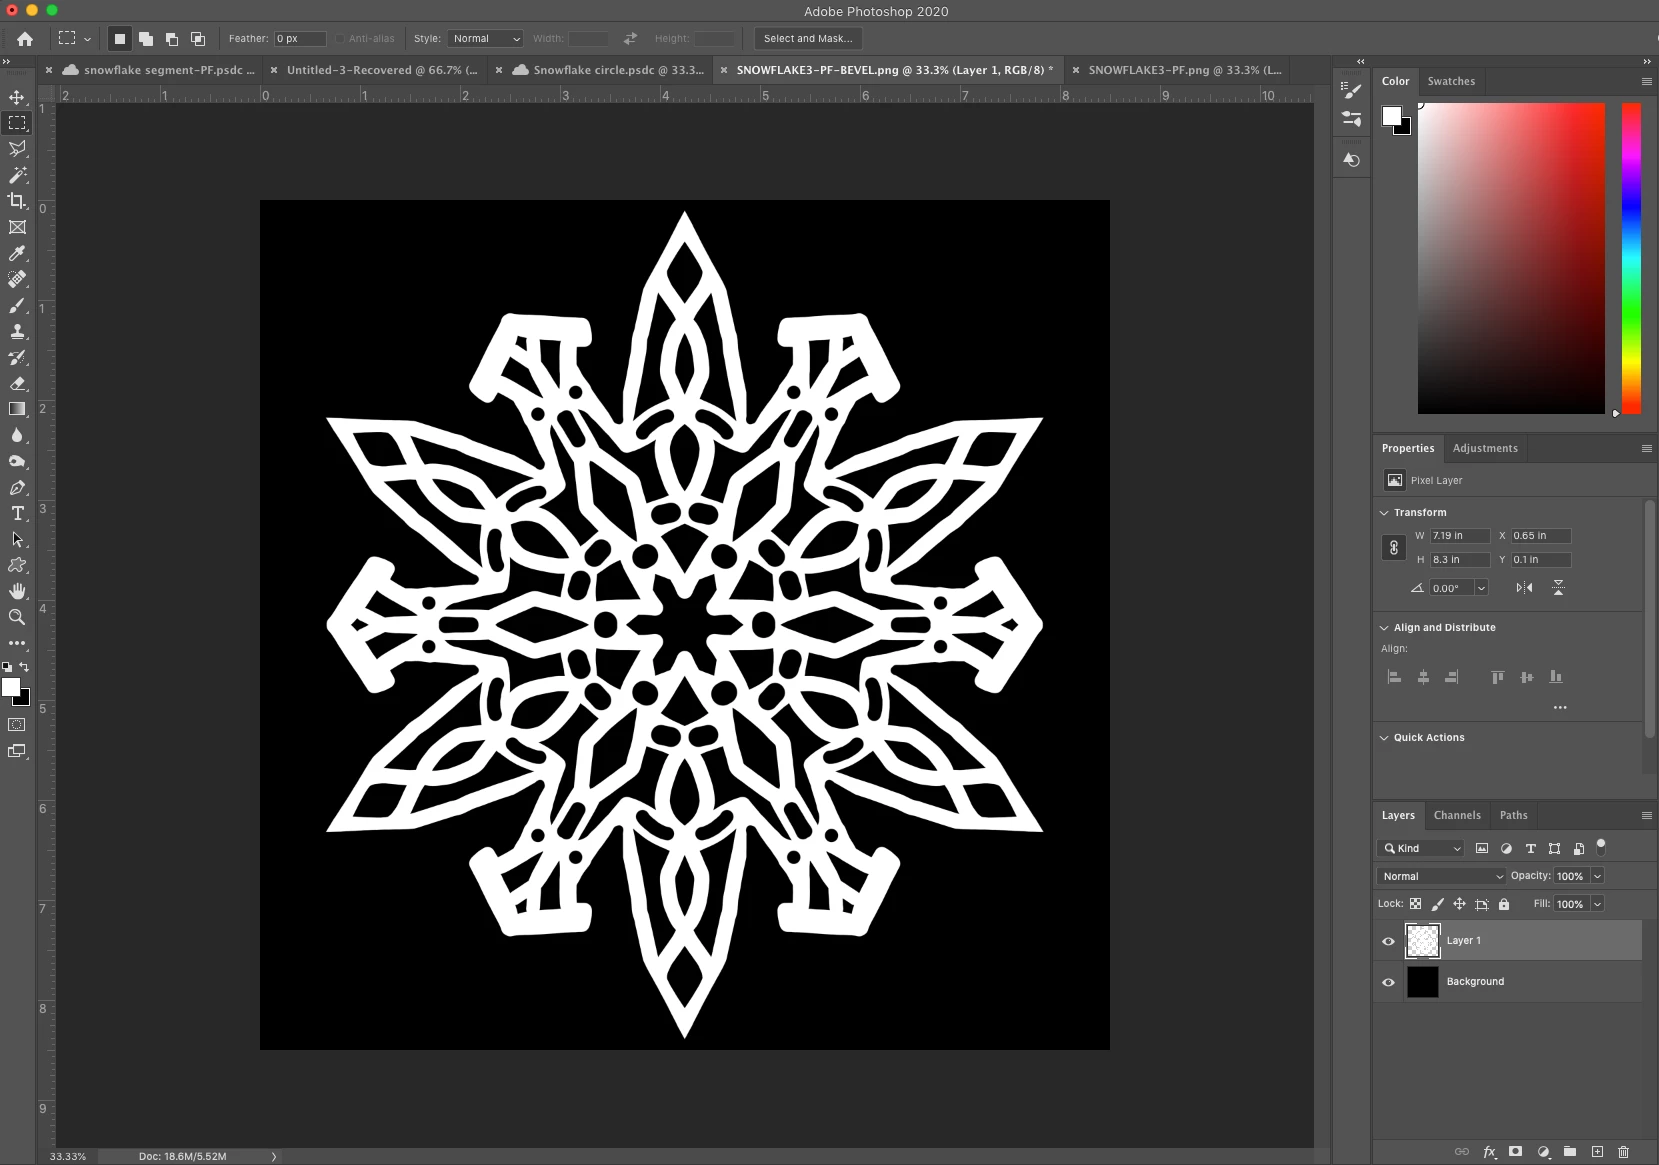
- Now you are ready to paint your snowflake. Pick one segment and begin painting. The pattern will duplicate on the other half of your segment, and will be copied to all of the other segments as well
- You can also use the eraser tool to remove parts of your snowflake and add details to the design
- When you are done, you can select a different tool and will notice that the segment dividers disappear from view
❼ Make it 3-D
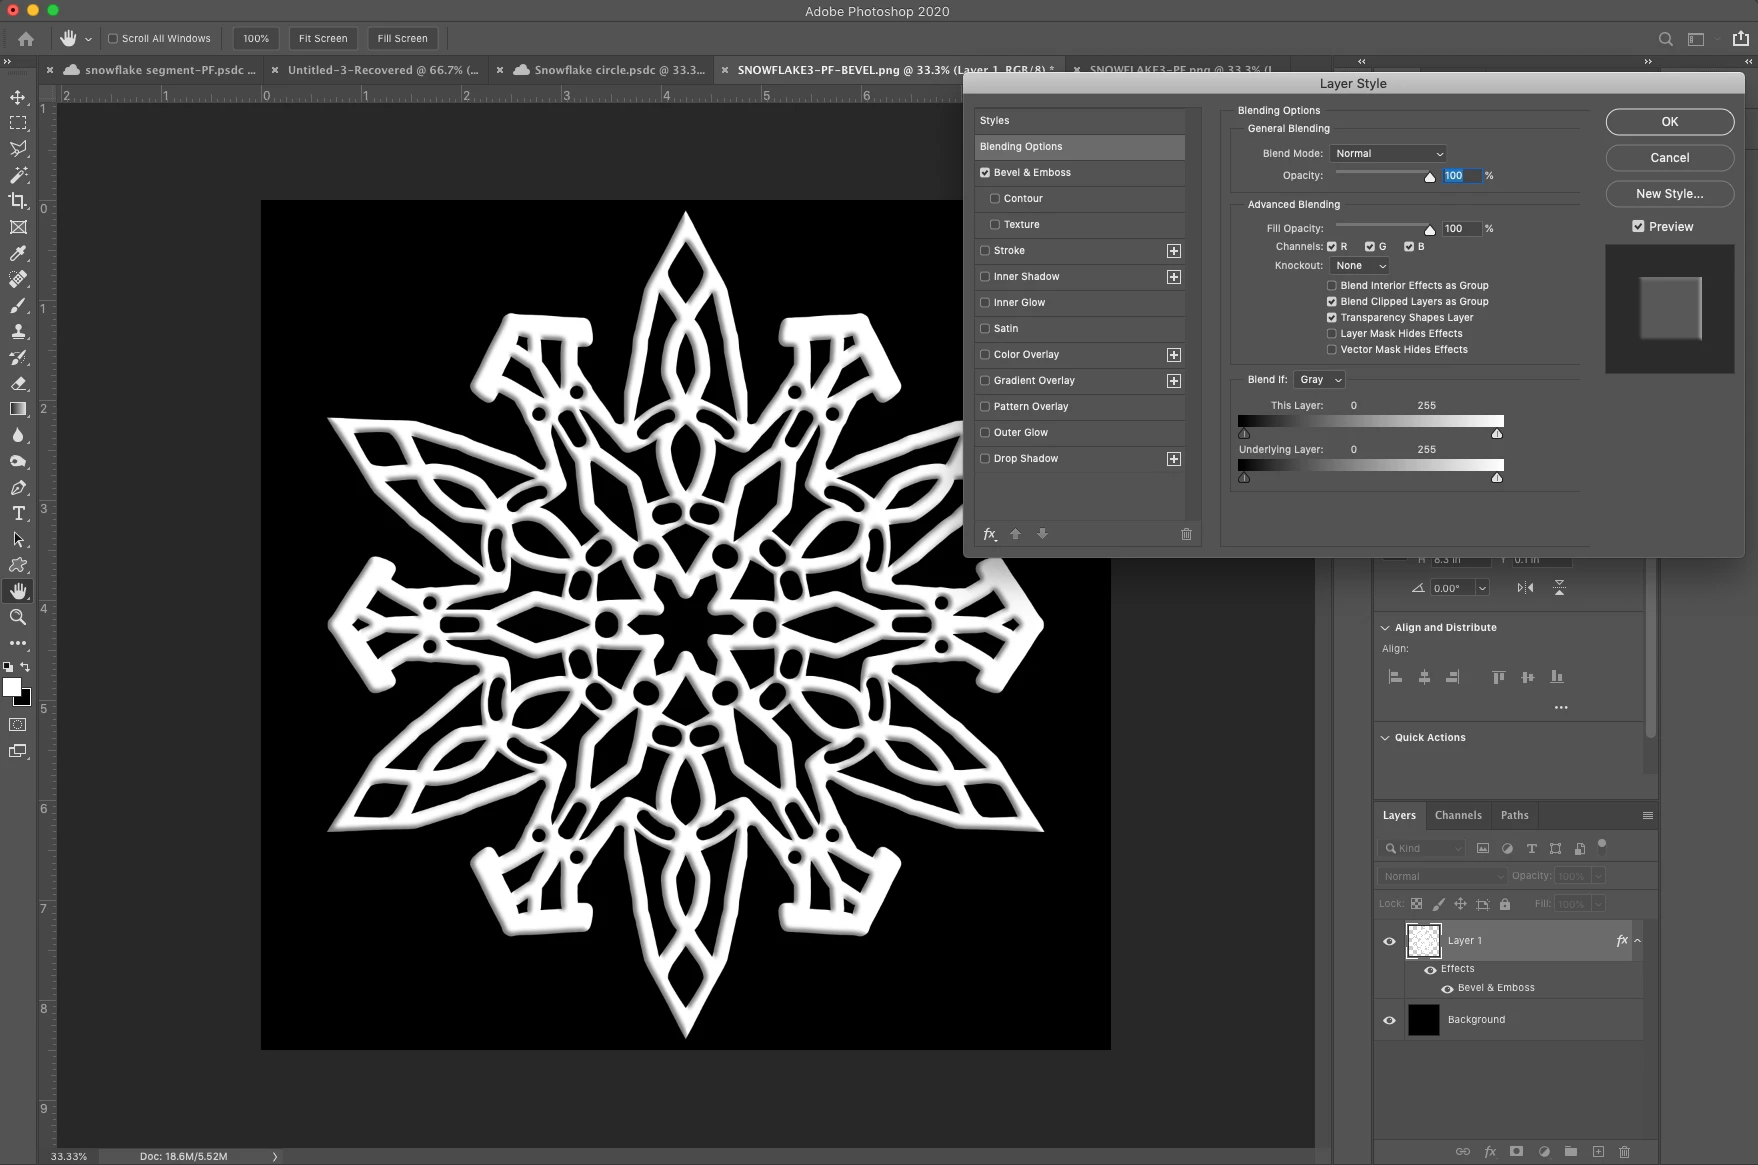
- If you want to make your snowflake even cooler, you an add some depth to it by adding a layer style
- Double click on the layer to bring up the layer style settings
- Tap on bevel and emboss and adjust sliders until you are happy
- Click OK
❽ Save your creation!
- Now, just be sure to save your file (Control/Cmd S or File-Save)
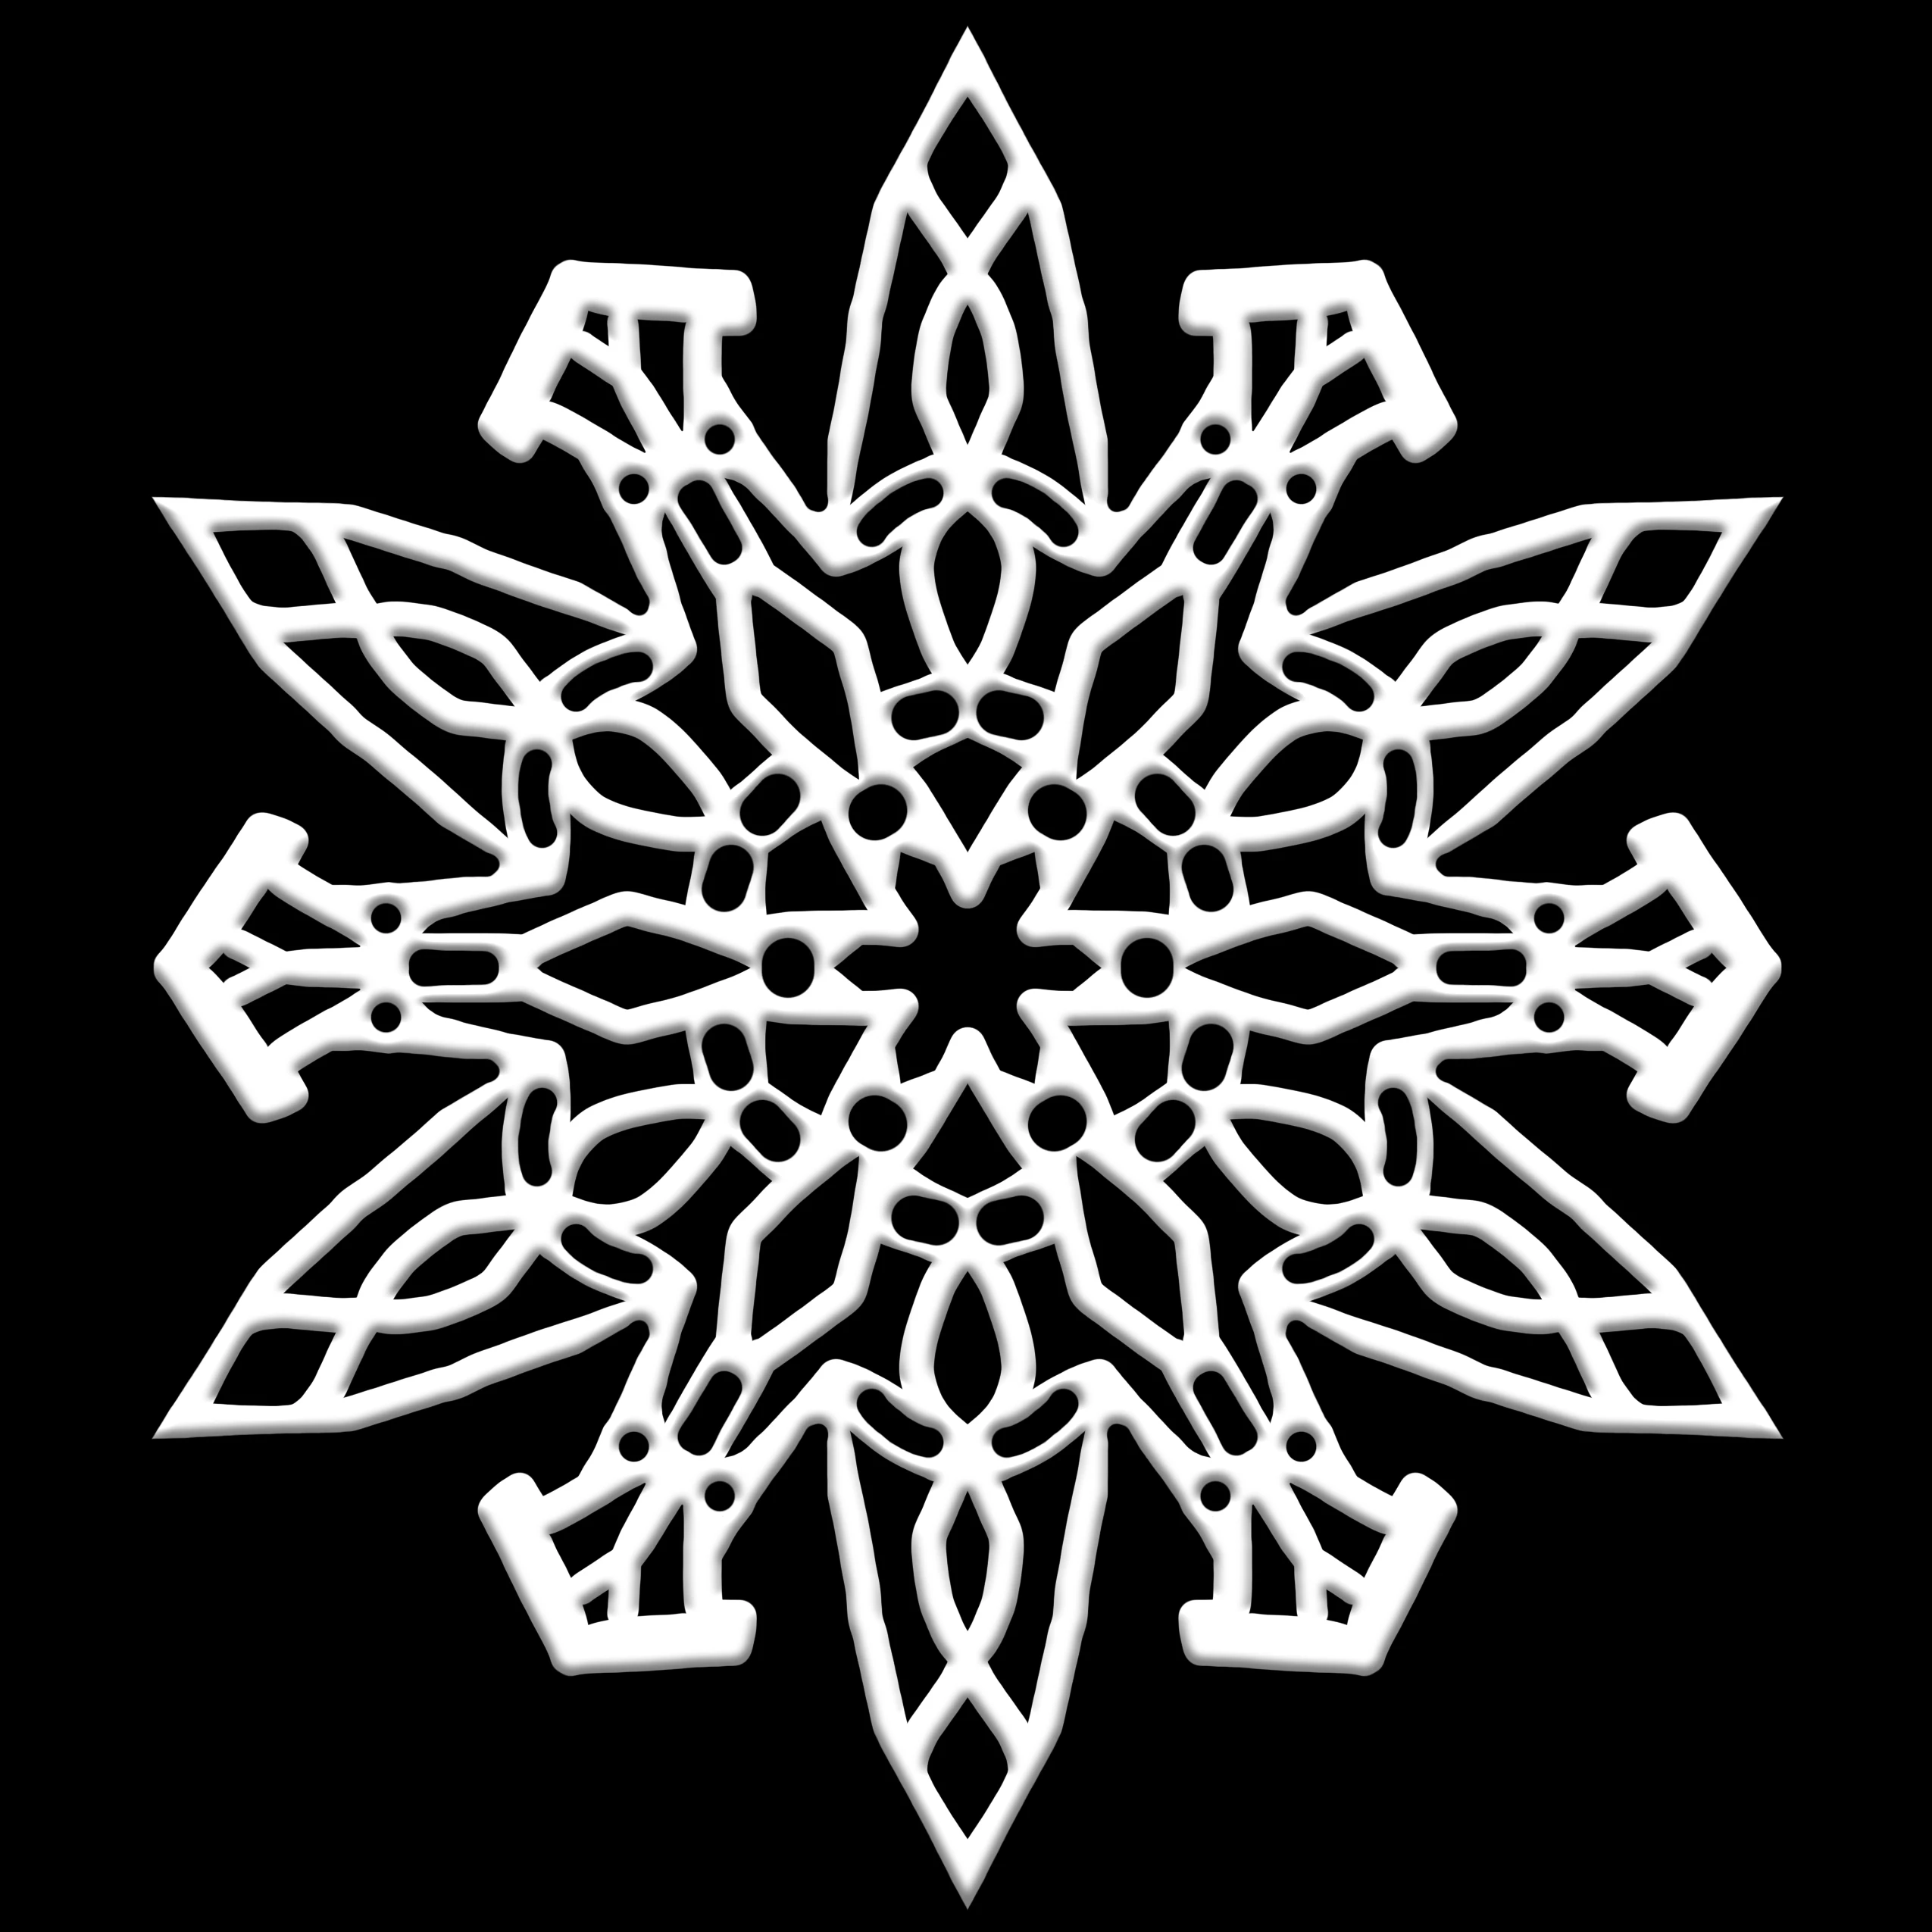
- If you want to add snowflakes to other projects you are working on, you can hide the black background layer and save the snowflake file as a PNG file. This will retain the transparency of the background so that you can place the snowflake over top of any design or photo without worrying about having a black square around it
Related Link:
Paint symmetrical patterns in symmetry mode
