Copy link to clipboard
Copied
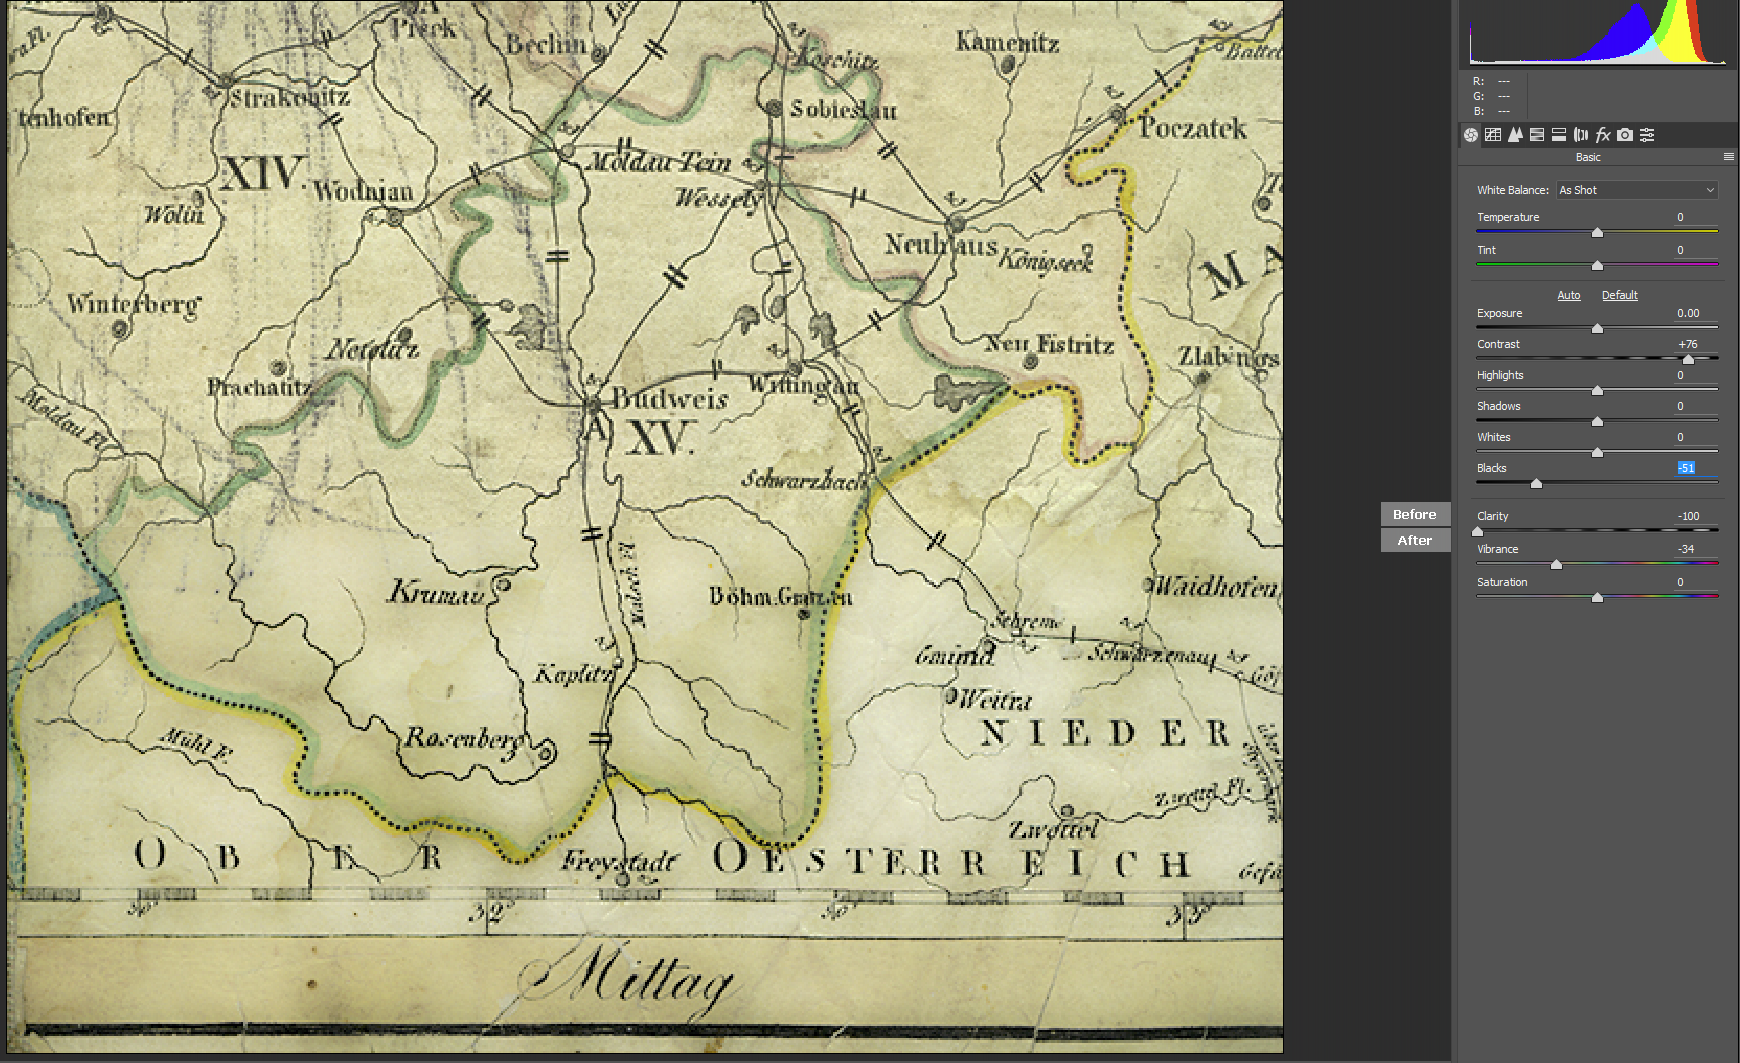
Tying myself in a knot here trying to select the MAP to transfer it to a different background, a nice clean sheet of handmade paper.
Problem is that the map is huge (this is not even 5% of it) and that so many different things come together. It would be so great if I could at least get rid of the paper structure, (most of) the stains and the black scribbling (as in the upper left quarter of the image) without too much effort, because removing the wrinkles and creases and restoring the thousands of lines of the print itself will still take enough time.
Haven't been too successful until now, though there was some progress - have mostly tried to select all the "unwanted elements" with channels and then inverting the whole selection but ended up leaving behind lots of important stuff. What are your opinions? Is it doable? What would be the best sequence of steps?
Copy link to clipboard
Copied
You can clean up the background in Camera RAW with negative Clarity. This shows before (on top) and after, and the Camera RAW settings used.
It is difficult to be more helpful with such a low res example though. This used Select > Colour range to select the beige background, added a layer mask and then inverted it.
Copy link to clipboard
Copied
Here is a quick try
Make sure you have white background layer, then duplicate your map layer. Target original map layer and go to Photoshop menu Layer > Layer Style > Blending Options. At the bottom of the open dialogue window target the white triangle for "This Layer", hold alt key and drag white triangle all the way to the left to split the triangle into two. Click Ok.
Target map copy layer and make its blend mode to Overlay to darken dark markings.
Copy link to clipboard
Copied
Guys, thanks a lot! Experimenting with your ideas right now and will probably upload a higher resolution sample later.
In the meantime, Zaid, that's an interesting method I haven't seen used yet. Do you happen to know what exactly Photoshop is doing when you proceed like that? I'm curious as to how it works, technically.
Copy link to clipboard
Copied
The Blend If sliders is part of the blending mode technique however it allows us to target highlight areas (white slider) and shadow areas (black slider). If moving either slider applies harsh effect, you may split the slider for softer effect.
Here is an Adobe tutorial. You may watch all the videos on the page, but your aim is for item 3 on the page.
Find more inspiration, events, and resources on the new Adobe Community
Explore Now