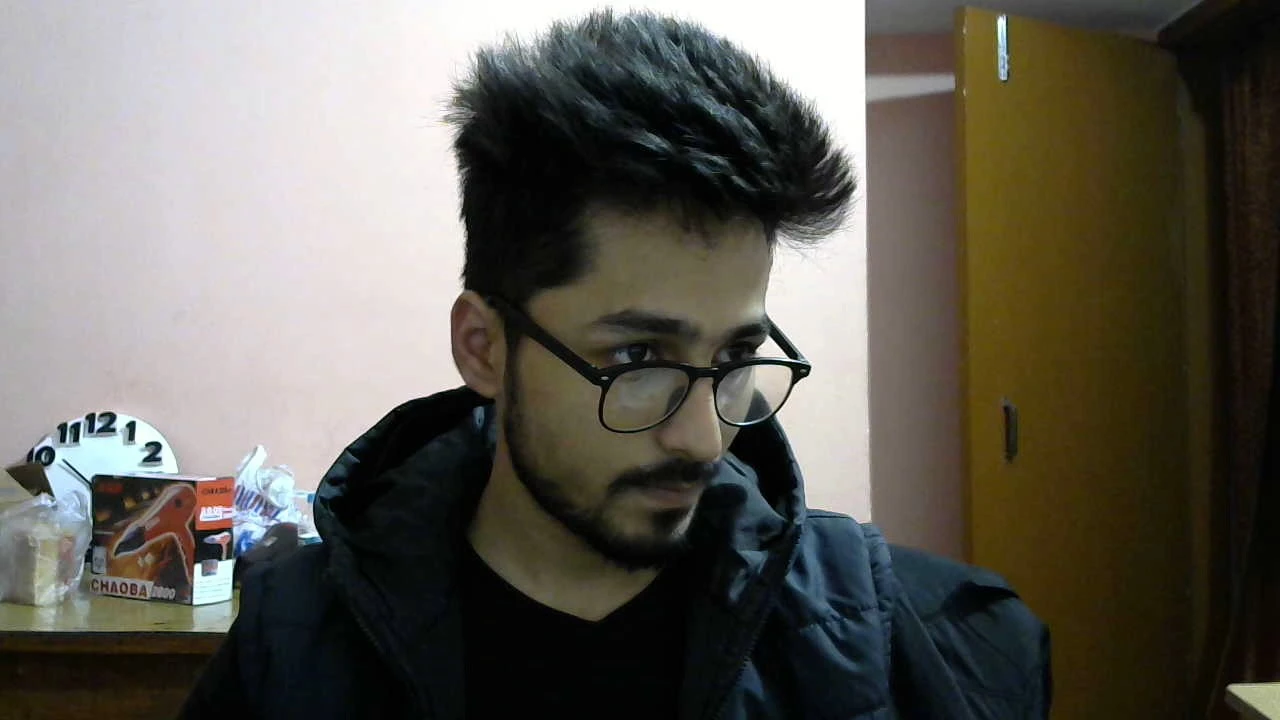
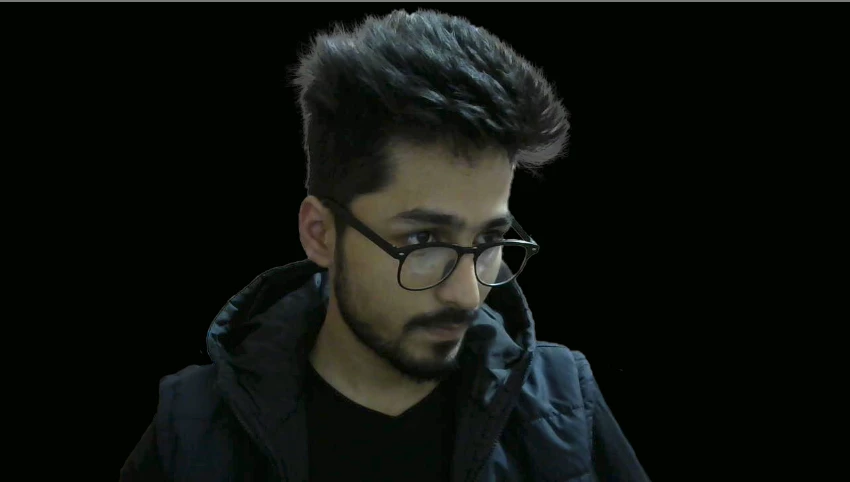
dave u have done a great job so far...let me send u the pic of my room mate..
Dan
Hi
Try these steps.
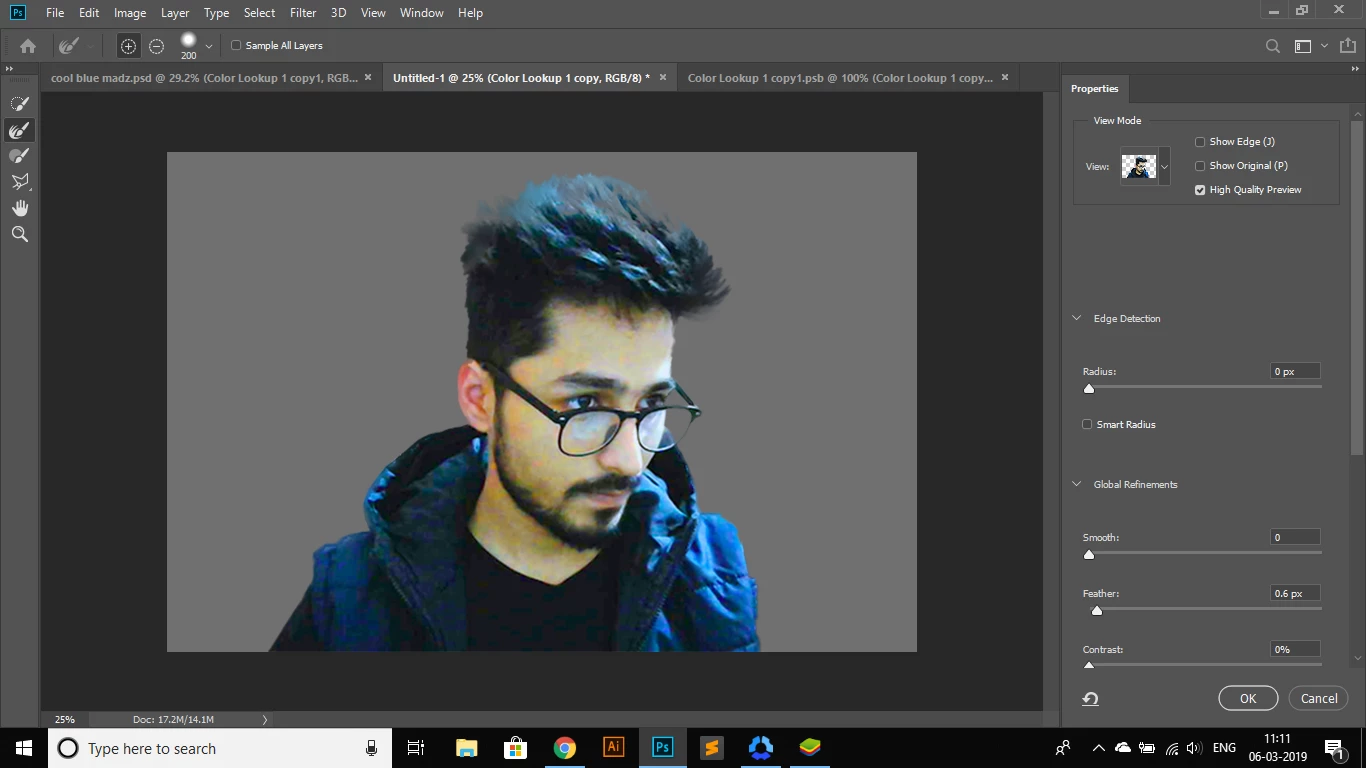
Open Select and mask and choose "select subject" (I've shown the result against black - but in reality I switch between black /white /onion skin)
Use the quick select tool and the brush tool to tidy up the jacket and the glasses
Now take the refine edge tool and with a small hard brush ( I used 10 px 100% hardness 0% opacity and edge detection radius 0px - smart radius off) stroke around those white edges of the hair. Use small strokes and use onion skin/black background to see what you are doing. Do not paint on anywhere but the hair edges.
Now exit Select and mask using Output to New Layer with Mask and do not check Decontaminate colors
Add a new empty layer above the image and Alt click on the border between the image layer and that new layer so that a small down arrow appears. This means that the layer will only impact the image layer directly below. Set the blending mode of this layer to multiply. Now pick up colour from the image hair by Alt-clicking and a sof brush paint on the new layer on those grey edge hairs. This will darken them.
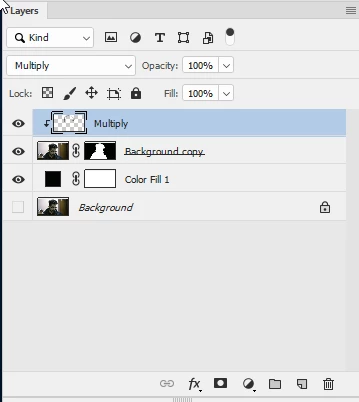
Finally in the channels panel select the mask channel and use teh eye icons to make it visible. You can sharpen the mask with a brush set to overlay and 50% opacity. Baint black to enhance the dark areas and white to lighten the white areas. Don't overdo it I only used it on the front of the hair.
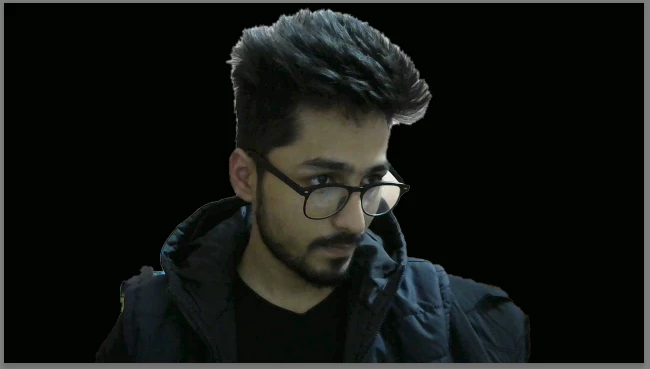
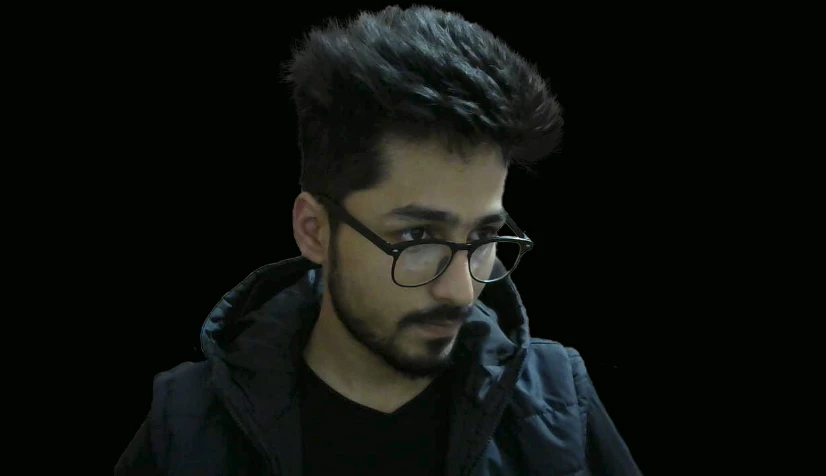
The result against a black fill layer
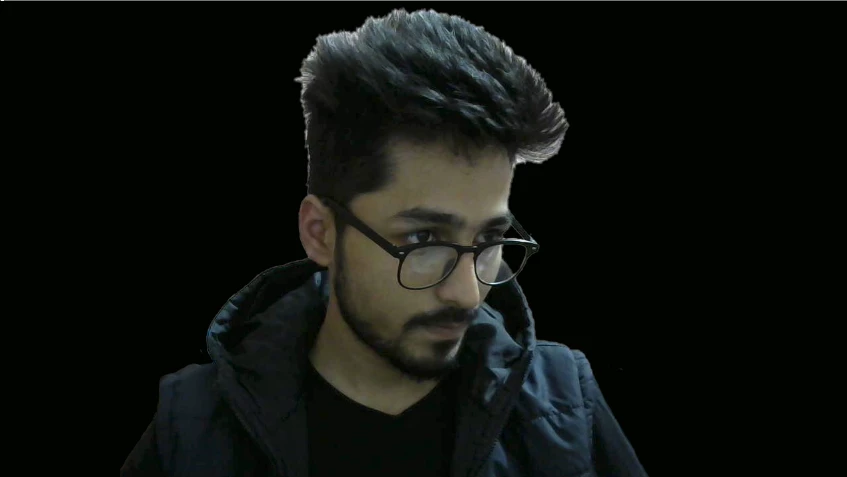
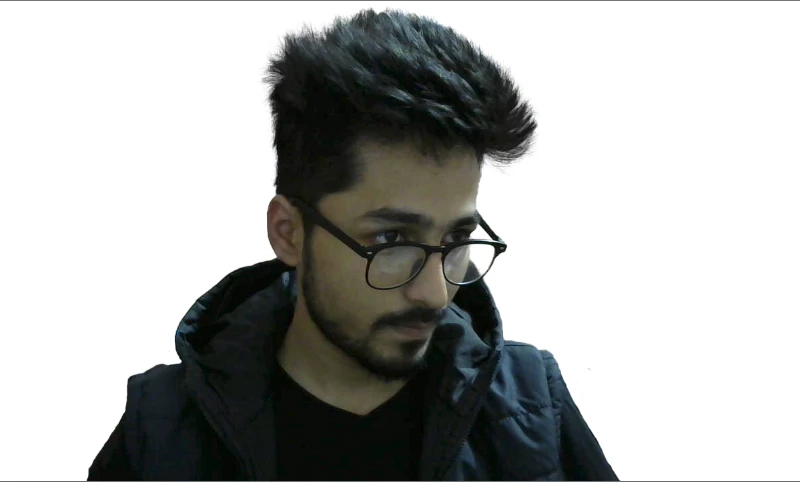
and against a white fill layer:
I hope that helps you
Dave