Refine Edge tool still broken
Copy link to clipboard
Copied
since version 2015.5 the refine edge tool (which is now part of the 'select and mask' window) doesn't work, it unselects areas and adds transparency.
this bug occurred in version 2015.5 (with the new 'select and mask' tool) and since then, 2015.5.1 and the new 2017, haven't been resolved.
nothing seems to work. I tried to update my Nvidia card (GTX970), deselect 'Use Graphcis Processor', delete config file, uninstall and re-install photoshop - nothing helped (just to be clear, I don't have custom brushes / presets /actions in Photoshop).
I tried the help center (live chat) three times, each time they said its a known issue and it will be fixed 'in the next update'. well, Photoshop updated twice (2015.5.1, 2017), but this tool is still broken. I cant get any work done.
any advice?
Explore related tutorials & articles
Copy link to clipboard
Copied
You can try to use the old Refine Edge tool for the time being. Hold down Shift while going to Select > Select and Mask on the menu bar. Remember to have a selection already made. Also remember: Refine Edge has been deprecated. It's only a matter of time before it disappears after they get a hold of Select and Mask.
Mainly, I've always stuck with the outer edges of an object I've wanted to refine. Even the old Refine Edge had a habit of "punching through" an object that should be solid.
Copy link to clipboard
Copied
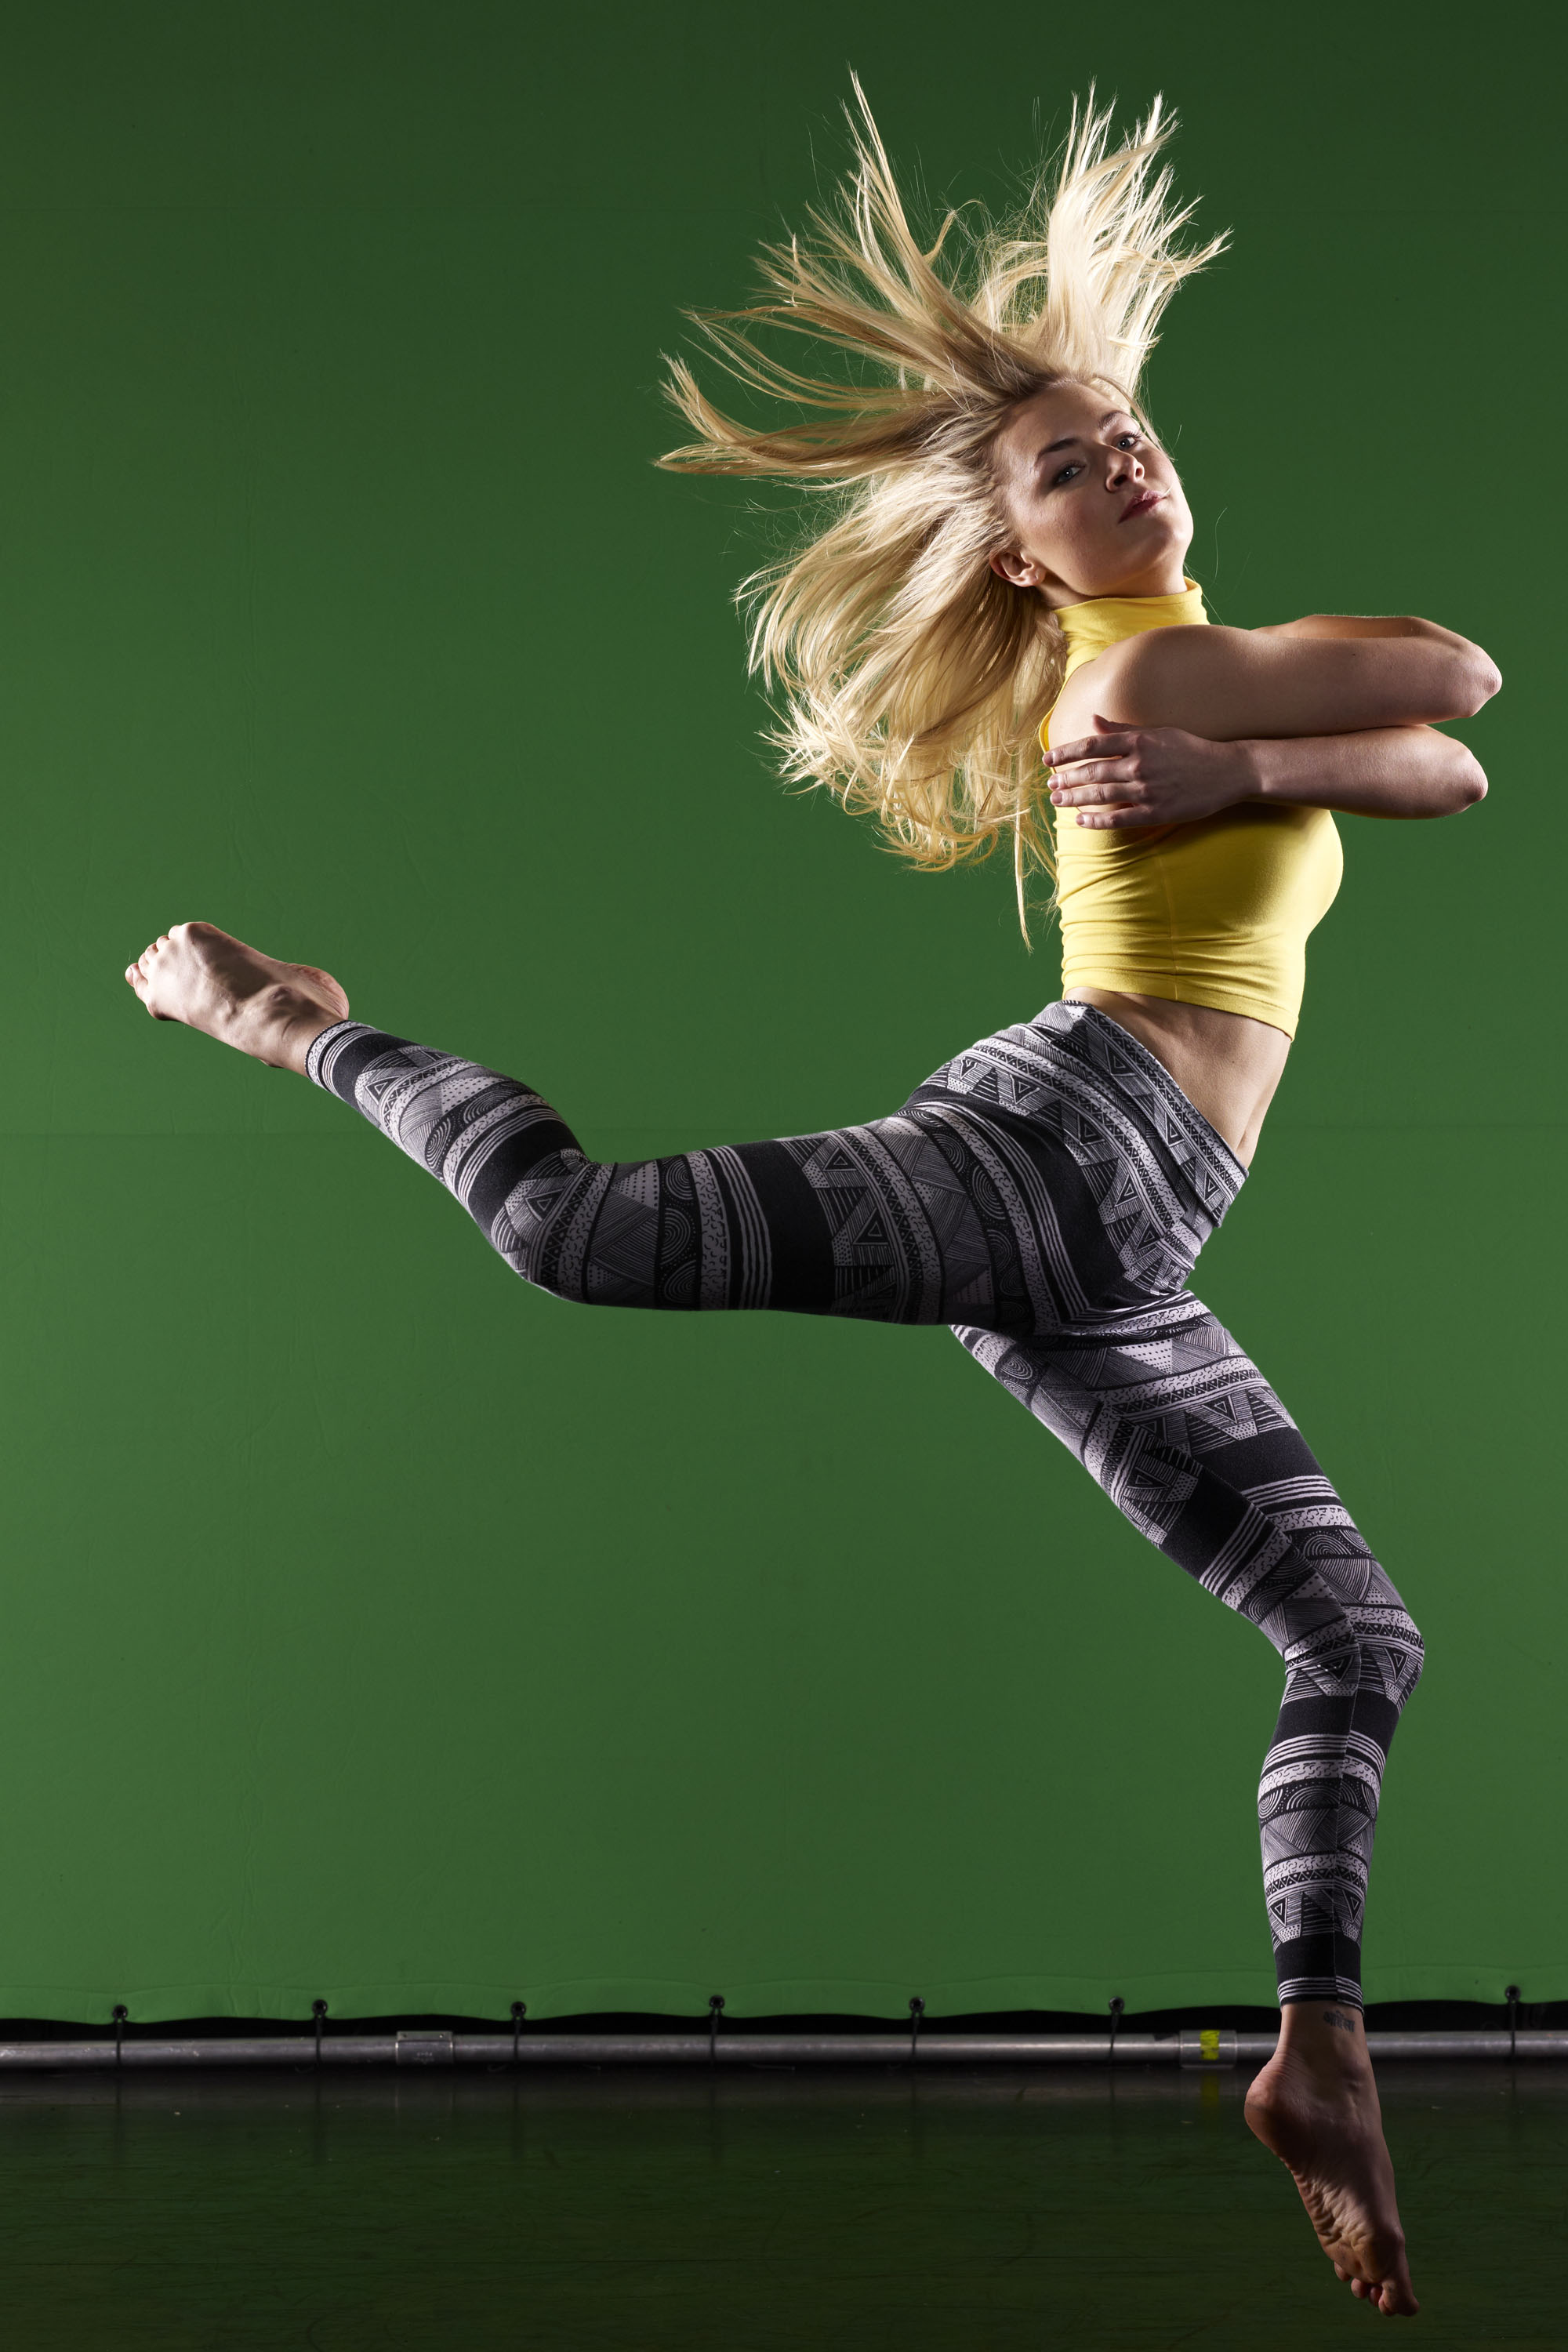
Not an image that works well with Select and Mask, although with a nice grey background you'd expect it would.. This is what I got after about 10 minutes with some additional steps-far from perfect. Probably with more time invested it could be improved but far from ideal.
Copy link to clipboard
Copied
Thank you Terri, for talking the time and mask the picture with your system.
yes, select and mask tool is far from perfect, but the transparency bug is a real deal breaker.
Copy link to clipboard
Copied
I must admit I'm a little disappointed with Select and Mask 2017. Like you I'm using an Nvidia card but am actually finding the performance is slower now than with CC2015.5. They have included the high quality checkbox so you can work in a draft mode but it's slower than ever before. I think High Quality was always on in CC2015.5 and draft mode just kicked in when you depressed the mouse button during painting, but that arrangement caused people a lot of performance problems so they seemed to have separated the high quality view and it has not worked. I also find my Nvidia driver produces a screen flash when using the bracket keys to change the brush size which gets annoying. I'm not a great believer in automated tools for masking and still use the old fashioned methods like calculations and apply image but can appreciate how infuriating Select and Mask is if you don't have 40 minutes to do something the formal way.
Copy link to clipboard
Copied
Well, at least its not just me.... I've also just been trying to mask out some head shots, and like you just can't do it. The select tool now can't tell the difference between a green background and a highlighted blond hair. The refine edge tool at times seems to do nothing as far as I can tell, but sometimes works. Also, the view modes do not always seem to work, both 'onion skin' and 'on black' have at times shown the original image, rather than an extracted one
Edit, I found that if I selected 'black and white' that the refine edge tool worked well.
I'm running Win 10 on a workstation with an Nvidea M2000 card
I also think its running slower than before too
Is this the same for everyone, or does it work for some, and not others?
Copy link to clipboard
Copied
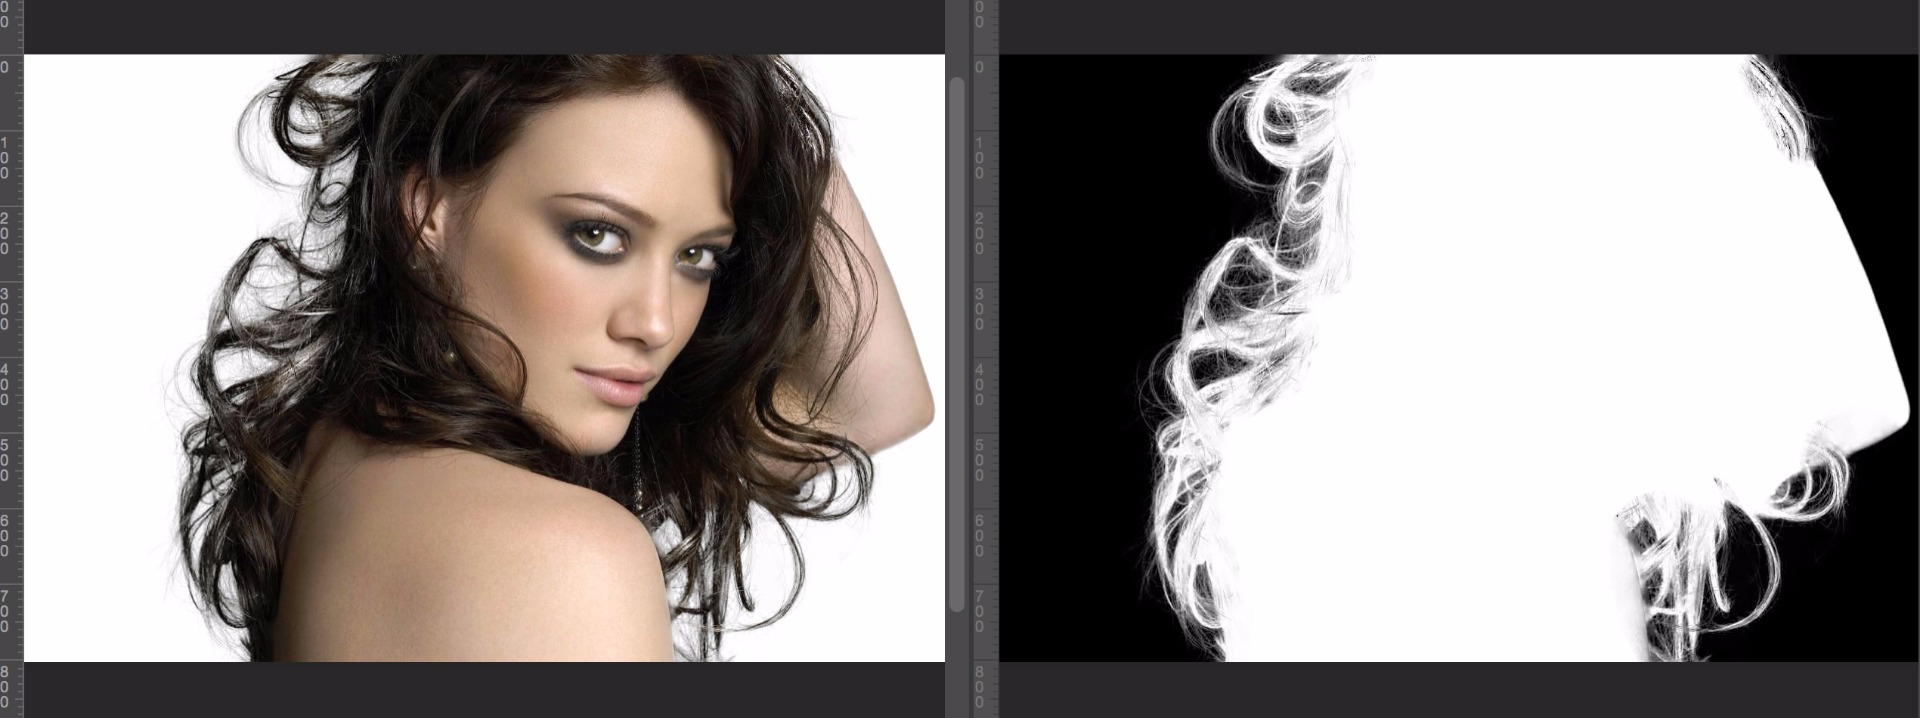
I just wanted to add my results with these images, each one took me around 5 minutes to complete. This was all done using Select and Mask from start to finish. It looks like my results were quite a bit better than what you were able to come up with. What is your selection workflow PmPhotographic?
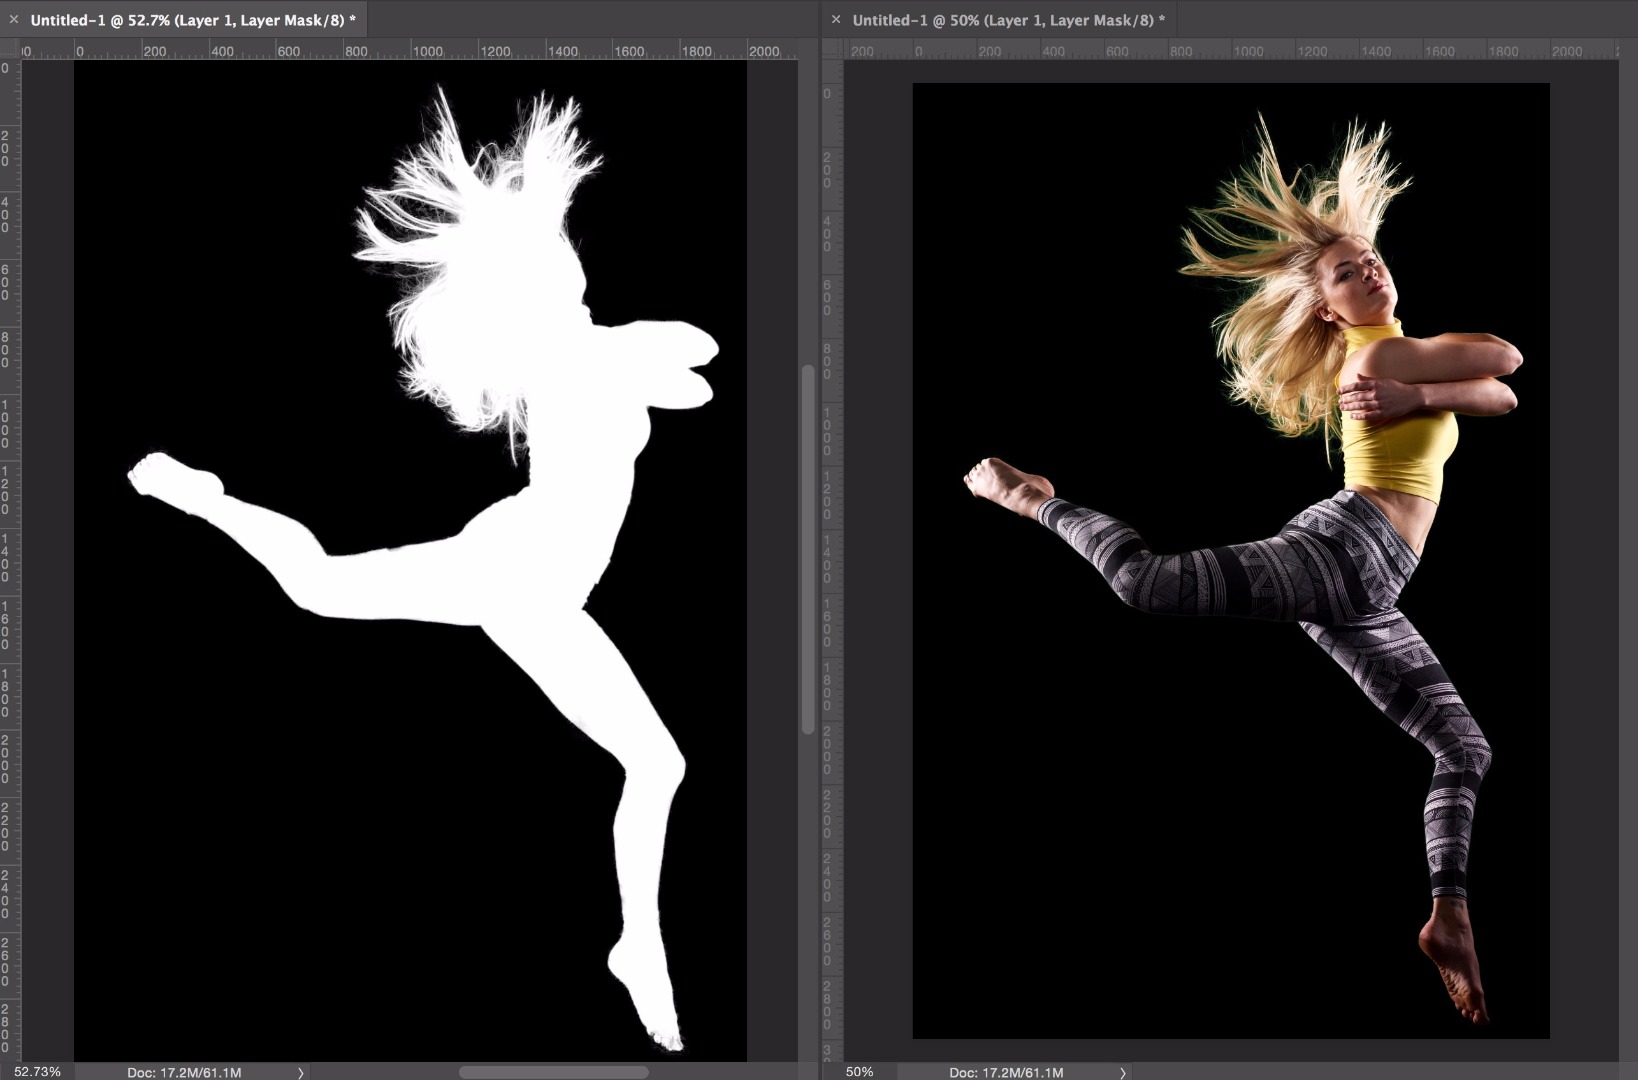
Regards
Pete
Copy link to clipboard
Copied
I think one step that might be helpful, that perhaps is being left out, is the ALT/Option + click with the Quick Selection tool to specify which areas are to NOT be selected. Such as the background and green around the dancer, or the gray background of the model.
Does this help improve initial quick selection results?
Workflow would be:
- Start with no selection
- Open select and mask
- (with quick selection tool selected) Option-click the area to NOT be part of the selection
- Then start +brushing with the quick selection tool to select the subject.
- Use refine edge brush around the edges of the image and over parts of the hair. Note, adjusting the size of the brush can be helpful here. I usually put about HALF of the brush cursor edge within the subject's edge, and HALF of the brush outside of the subject's edge and follow that edge-line where needed.
Regards
Pete
Copy link to clipboard
Copied
Some of the forum regulars TA'd for Dave Cross with his 'Mastering Selections Layers & Masks' Lab at Max last week. We are hoping that the Labs were recorded, and that they will go on line at some stage, but meanwhile, I am sure Dave won't mind us sharing the Lab work book. I came away feeling that I had learned a trick or two, and Dave used some interesting workflows. Having said that, I am not so sure my results are any better than they were pre MAX.
Meanwhile, the old Refine Edge workaround of selecting a Layer Mask, and Shift clicking Select & Mask in the Select menu is still working with CC 2017.
Copy link to clipboard
Copied
Trevor
Thanks for sharing that link.
I think one of the best tips in there, for Select and Mask, is to mask with the destination background visible. We tend to look at the mask on pure white or pure black and get very critical whereas it is likely only a small proportion of the destinations need that level.
Dave
Copy link to clipboard
Copied
Thank you SO much Trevor.Dennis! That work around helped me out a TON! I do hope they fix this in the future I've spent 2 hours trying to figure this thing out!
Copy link to clipboard
Copied
Karinah. The old refine edge still exit. it can be reached by opening the select menu, then click select and mask while holding down the shift key.
Copy link to clipboard
Copied
Hi Pete,
It's funny , if I were new to masking and got these kind of results with hair I'd be saying wow that's fantastic. It goes to show how demanding we get with time. I fully agree that you need to use the full complement of tools with Select ands Mask. The problem of transparency is easily corrected by drawing the transparent areas back and it is vital to use both the + and - brushes. I used to use Topaz Remask a lot but would say S&M does get better results now. Remask is not as CPU intensive, but is doesn't give a real time preview like S&M and I like that feature in S&M.
Copy link to clipboard
Copied
"The problem of transparency is easily corrected by drawing the transparent areas back and it is vital to use both the + and - brushes."
I believe that's impossible. you can't brush those areas back without re-select the background. that's the idea with the the refine edge brush, this tool allows the user select just a specific part of the picture. if the refine edge is broken, I don't think that the 'quick selection tool' can help.
that's just my opinion.
Copy link to clipboard
Copied
Hi Pete
Thanks for coming in on this. I don't understand step 3 . Looking at that step in the overlay view it appears to do nothing at all i.e you use the Alt key with the brush to deselect an area that is already not selected?
Unless I am reading it wrong I am puzzled.
Dave
Copy link to clipboard
Copied
Sorry, not been in the office today, so slow reply. For myself, I have used the Quick select brush in Select and Mask, followed by the refine edge tool. I've just done this again, and the results were OK, hair was fine, except if I selected decontaminate colours, I got a very smeary result
I also just tried the headshot from here. On loading into Select and Mask, if I selected Onion Layer, the View Mode Thumbnail showed the effects, but the main image displayed neither the onion skin (and I tried 0-100% transparency range), nor any selection. The other modes all worked fine
Copy link to clipboard
Copied
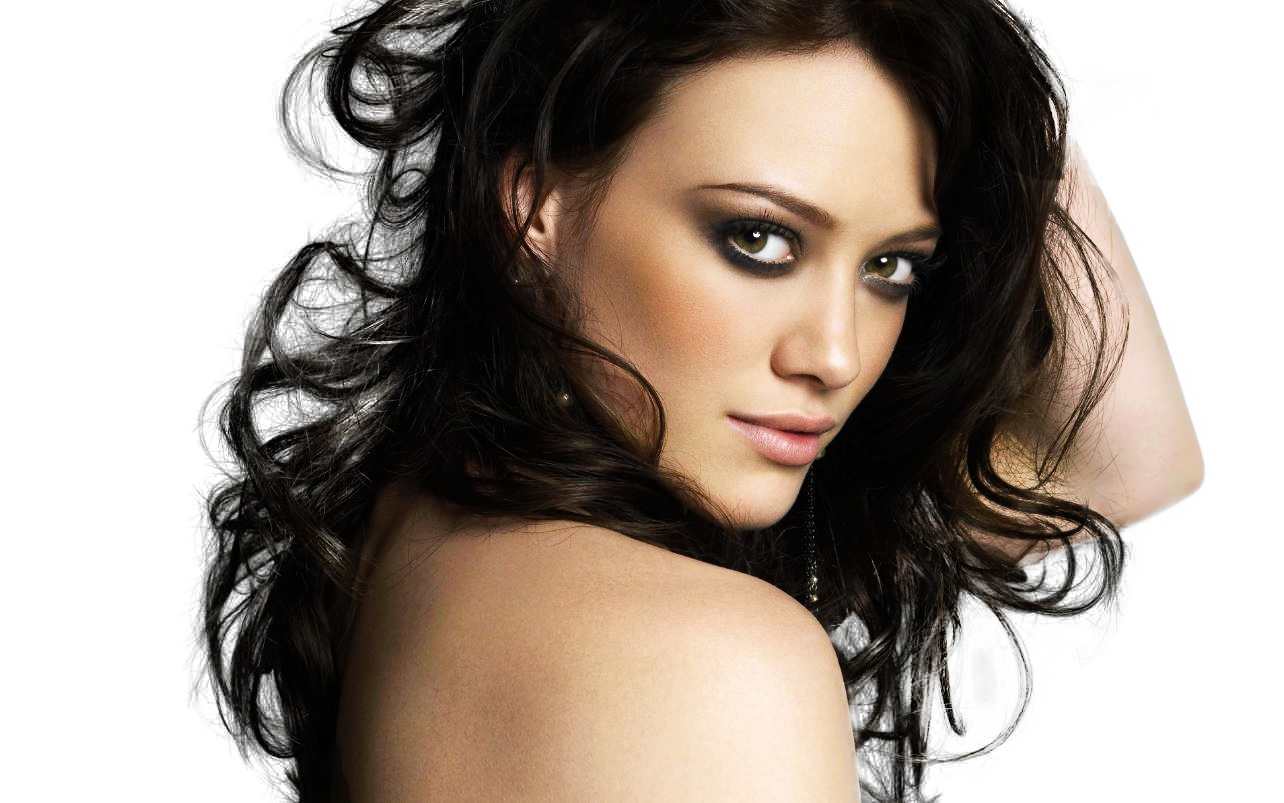
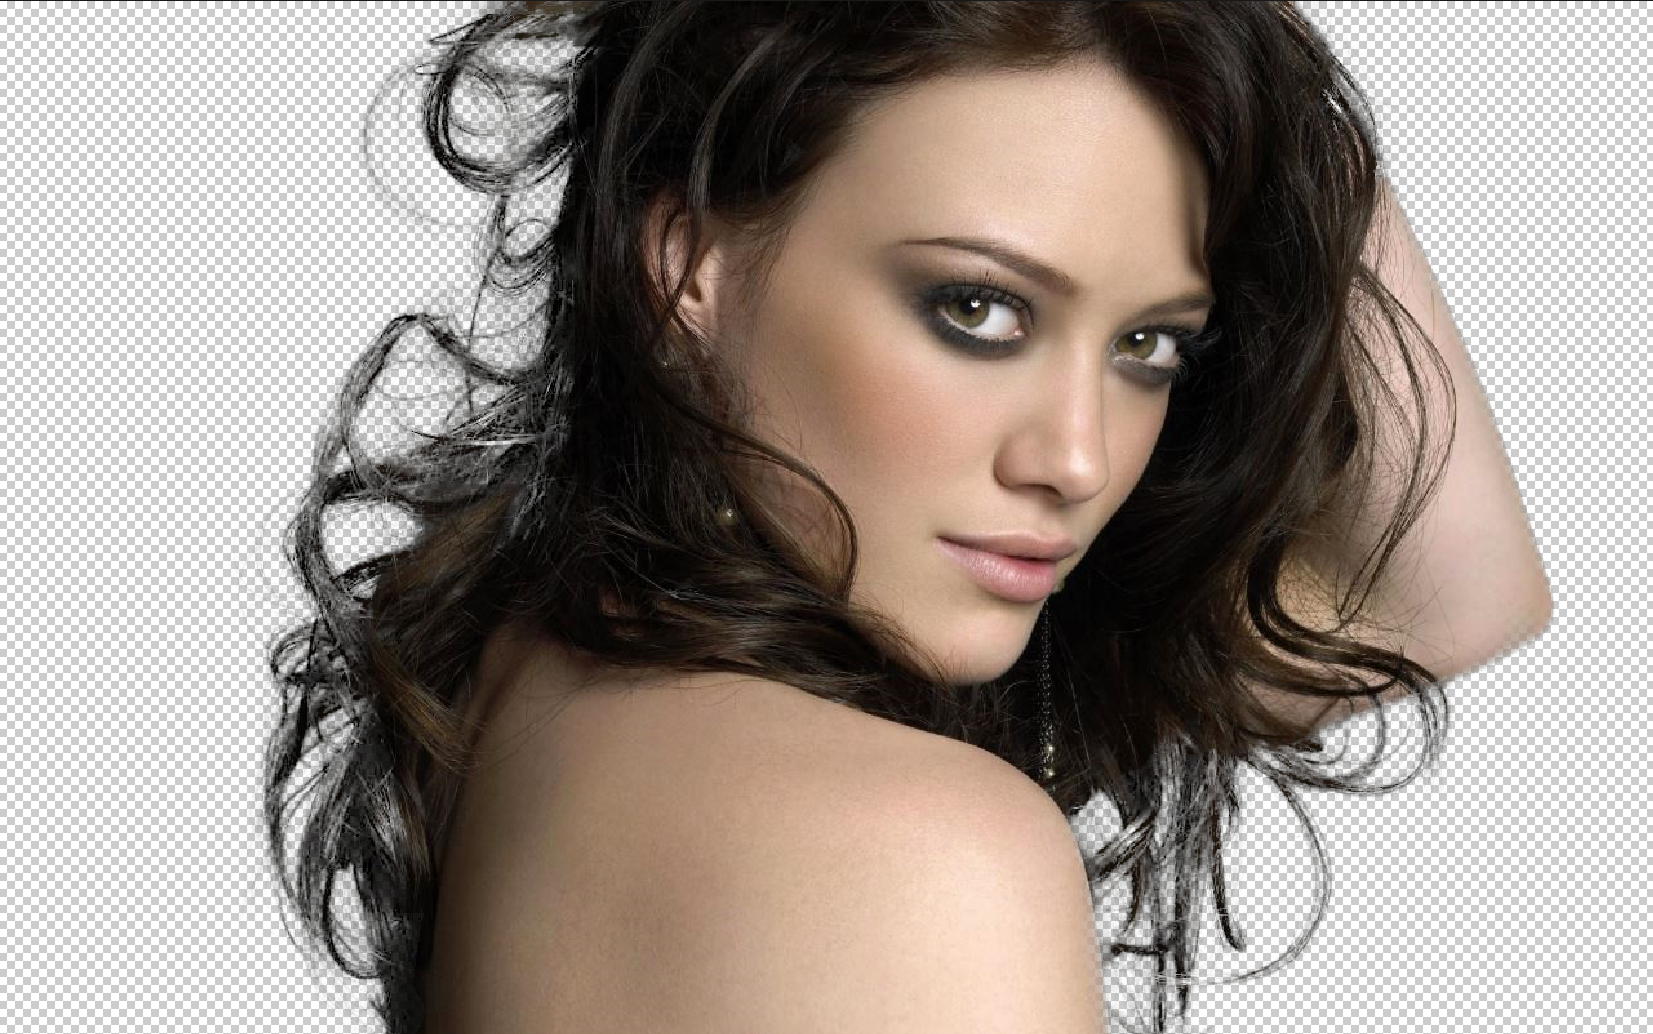
I have now also tried to mask the portrait (apologies to the copyright holder!) I get very similar results when viewed in Photoshop, but which look much better when saved as a jpg
Below is a grab of the screen when in Photoshop, some of the models hair is very transparent
Saving as a jpeg produced the following
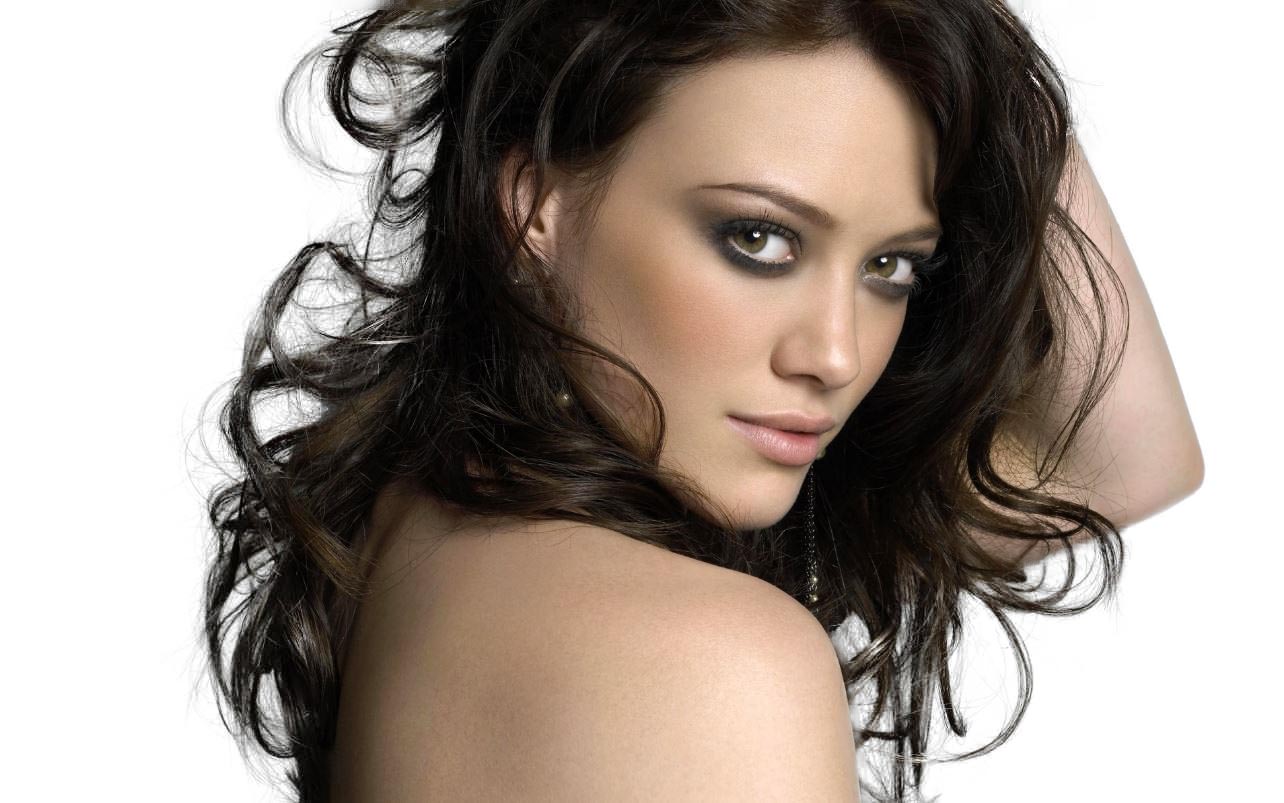
The hair looks much better
Copy link to clipboard
Copied
That's a really nice mask. A lot of hair looks transparent when cut out and if you look at a strand of real hair it is semi transparent-so it is bound to look strange if you punch holes in it. A good trick is to increase the density of the hair by duplicating the masked image and using 'multiply' mode . You will find by adjusting opacity the hair looks more solid.
Copy link to clipboard
Copied
I think that is one of the differences we see between the old refine edge and the new (aside from the odd strange selection area artefact ).
The old seems to give a softer mask and the new a much more "contrasty" edge. The tip in the guide Trevor linked was a good one - to put the image against the new background whilst masking.
PmPhotographic mentioned issues with decontaminate - I rarely use it - I don't think it works well. Brushing colour on a separate layer is much more effective.
Dave
Copy link to clipboard
Copied
Am finally getting used to working with Select and Mask. Their still working on it but I'm my opinion it needs a lot of work;) In the mean time I took a jump backwards when Select and Mask came to be and re-learned to use channels and calculations. Anyway, here's hoping they make it a whole lot better. Remember, you can get back to the old refine edge by using the menu and shift.
Copy link to clipboard
Copied
HI, Thanks for your comments, I think I'd come to the same conclusion after mulling it over. I' aware of the duplication to increase the masking. I also found that adjusting the contrast setting improved the masking of the hair in this image
