Exit
  • Global community
    • Language:
      • Deutsch
      • English
      • Español
      • Français
      • Português
  • 日本語コミュニティ
  • 한국 커뮤니티
4

Remove light reflection from a black bottle

Community Beginner ,
Mar 26, 2024 Mar 26, 2024

Hi,


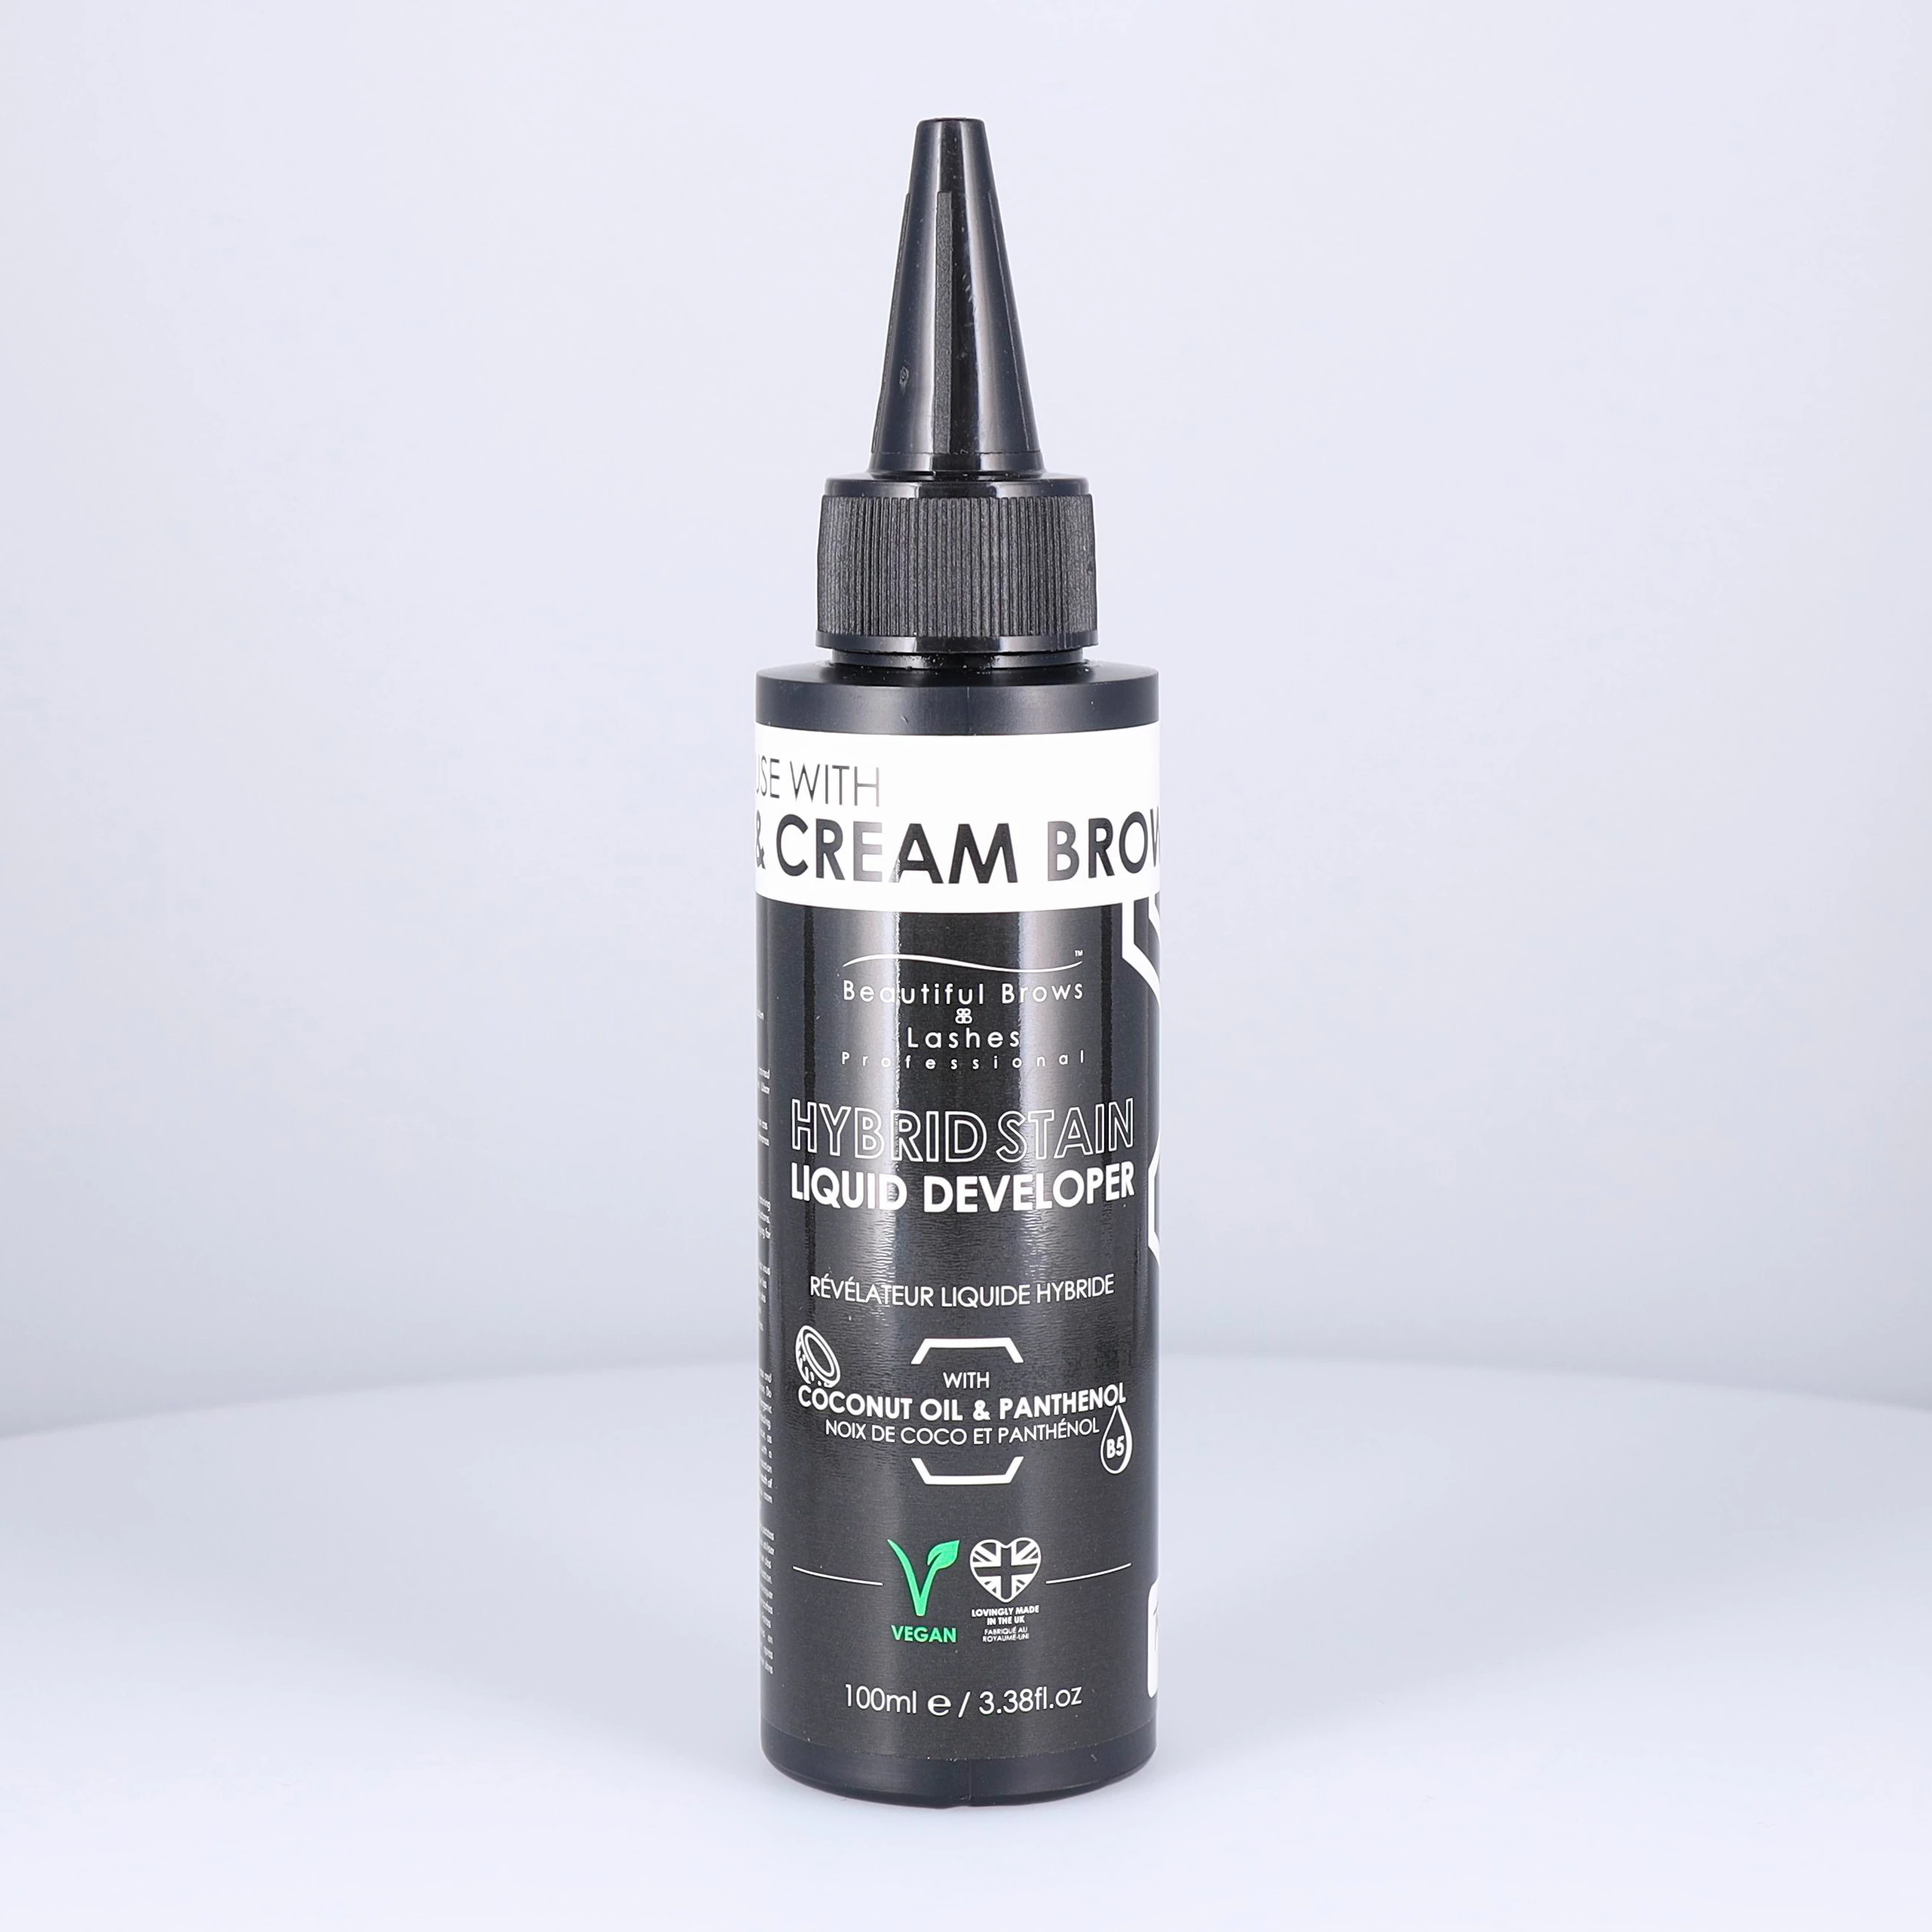
Somehting thta has really bugged me since having our Ortery desktop photography system in place is working with black bottles (which we do unfortuneltey shoot a lot of), as I always have a problem removing the harsh light reflection on the sides of the bottle.


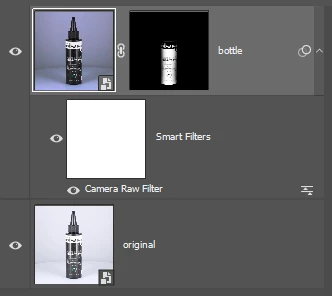
Obviosuly, I can dim the lights in the photogrpahy booth and play with the ISO & Shutter Speed to see if I can brighten it globally instead. However, using the image attached, does anybody have any better suggestions that what I currently come up with on PS to more easily remove (or blend) the reflection coming from the left and rigth side lights?


Area in question:

GBP_LiamG_0-1711465601855.png

2024-03-11-BOMB DUO GROUP SHOT V2.jpg


TIA, Liam.

TOPICS
Windows
1.6K
Translate
Report
Community guidelines
Be kind and respectful, give credit to the original source of content, and search for duplicates before posting. Learn more
community guidelines

correct answers 1 Correct answer

Community Expert , Mar 26, 2024 Mar 26, 2024

Sorry for not explaining the whole process.


I first turned it into a smart object. Then duplicated that layer, selected the bottle with the object selection tool and masked it, so we are now only working on the bottle. Then I used Select > Color Range, picked the white and adjusted fuzziness, to select as little of the reflection as possible, but keeping the text & other info. Then you just fill that in with black on the layer mask to mask those white pixels off as well. You can further brush

...
Translate
Adobe
Community Expert ,
Mar 26, 2024 Mar 26, 2024

In this particular instance, as the label content is pure white, you can easily isolate & protect those pixels and then play with the curves to bring the reflection on the bottle down. Some of the brightest highlights in the reflection are left. If that was a bit dimmer or diffused, you could achieve better results. That's without much manual work.


SpasK_0-1711468245510.png


Translate
Report
Community guidelines
Be kind and respectful, give credit to the original source of content, and search for duplicates before posting. Learn more
community guidelines
Community Beginner ,
Mar 26, 2024 Mar 26, 2024

Thanks @Spas K.


I see what you did in the example above. I'd be more than greatful if you could show me how exactly you done this. Did you select a specific area with a selection tool first then adjust the curves? Or, adjust the curves without selecting anything?


Thanks again!!

Translate
Report
Community guidelines
Be kind and respectful, give credit to the original source of content, and search for duplicates before posting. Learn more
community guidelines
Community Expert ,
Mar 26, 2024 Mar 26, 2024
LATEST

Sorry for not explaining the whole process.


I first turned it into a smart object. Then duplicated that layer, selected the bottle with the object selection tool and masked it, so we are now only working on the bottle. Then I used Select > Color Range, picked the white and adjusted fuzziness, to select as little of the reflection as possible, but keeping the text & other info. Then you just fill that in with black on the layer mask to mask those white pixels off as well. You can further brush off the top and the sides of the bottle on the layer mask to add some reflections back and have it better blend with the background.


SpasK_0-1711482009991.png


Now you can do whatever you want with the bottle and the text & background will remain unchanged, as they're excluded from the mask. You can either use appropriate adjustment layers or Camera RAW Filter, which I prefer, to adjust highlights / shadows with curves or levels, until you get rid of that reflection and still keep the detail in the dark parts.


If you're working with a RAW image, you could probably skip masking off the whites, as you have more control over colors and can isolate them in the curves/levels, but with a compressed image and heavy edits, artefacts start to appear and you're better off not touching those white pixels at all.


Translate
Report
Community guidelines
Be kind and respectful, give credit to the original source of content, and search for duplicates before posting. Learn more
community guidelines
Community Expert ,
Mar 26, 2024 Mar 26, 2024

This is easy to avoid in the future:


You need to use cross-polarized light. That kills absolutely all reflections.


The way it works is to place polarizing film in front of the light sources. Then put a polarizer on the camera lens, and rotate it 90° relative to the polarizer on the lights. It takes some stops of exposure, but that is usually easy to compensate.


A good photography store should be able to tell you where to get polarizing film. This is a standard technique in studio photography.


If the light sources are hot make sure the film doesn't melt. Just place it far enough away from the lights.


Translate
Report
Community guidelines
Be kind and respectful, give credit to the original source of content, and search for duplicates before posting. Learn more
community guidelines
Community Beginner ,
Mar 26, 2024 Mar 26, 2024

Ah ok cool. I will defintley take a look into it. Will let you know what I find (and potentially buy!) 🙂

Translate
Report
Community guidelines
Be kind and respectful, give credit to the original source of content, and search for duplicates before posting. Learn more
community guidelines