- Home
- Photoshop ecosystem
- Discussions
- Removing background from an image
- Removing background from an image
Removing background from an image
Copy link to clipboard
Copied
Why, when I remove the background from an image transparent (the squared in the background on Photoshop) and convert it to an image format, do I get the whitewashed effect where I removed the background from the image. This should be transparent, not what I see below?
I have two layers, one for background, one for image. I use the Magic Background Tool, then I make the background layer invisible. Its fine in Photoshop but I get this result when I convert it to PNG.
.png)
Explore related tutorials & articles
Copy link to clipboard
Copied
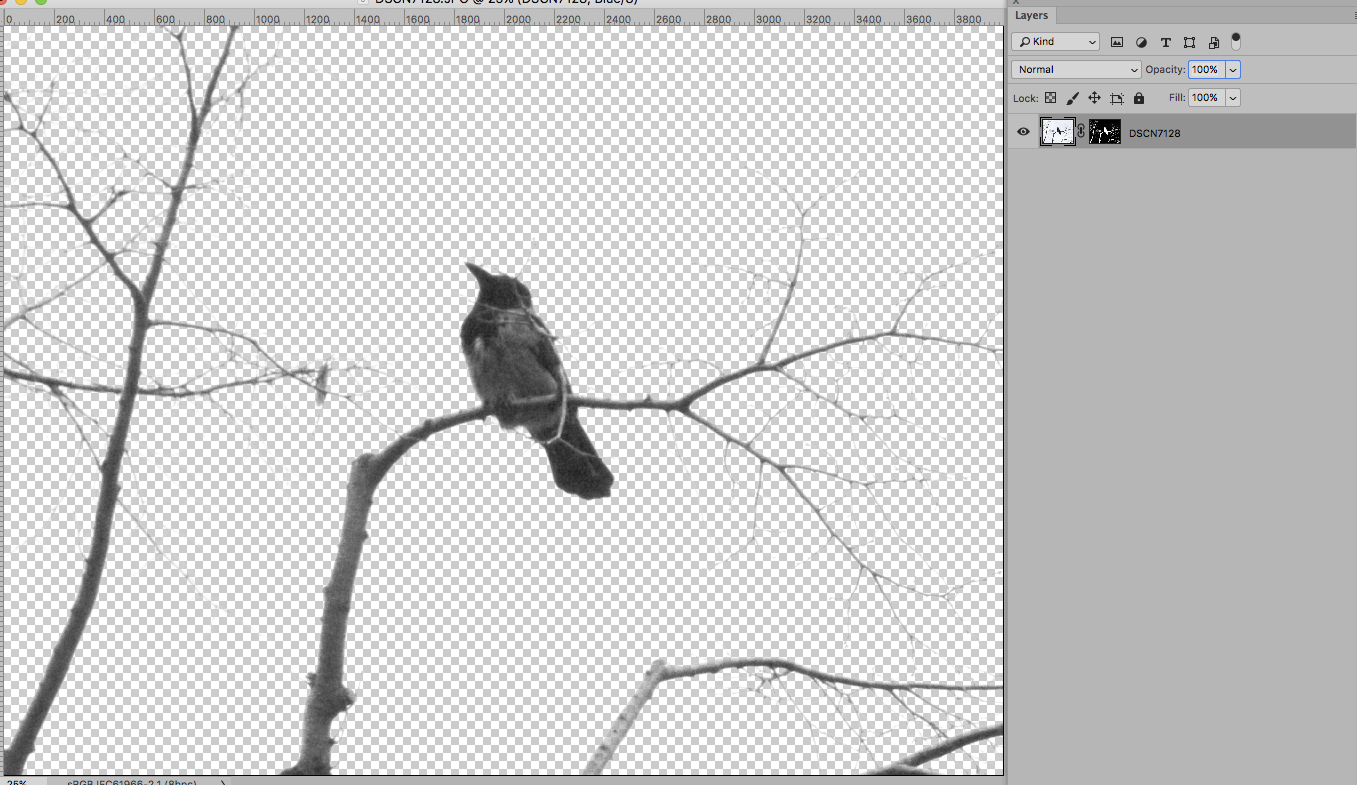
Please post a meaningful screenshot with the pertinent Panels (Layers for example) visible.
What were the png save settings?
I use the Magic Background Tool
If you mean the Background Eraser Tool I advise against that, the Tool is, in my opinion, unfit for serious work.
You might not have noticed those pixels against the checkerboard background but they may have been there all along,
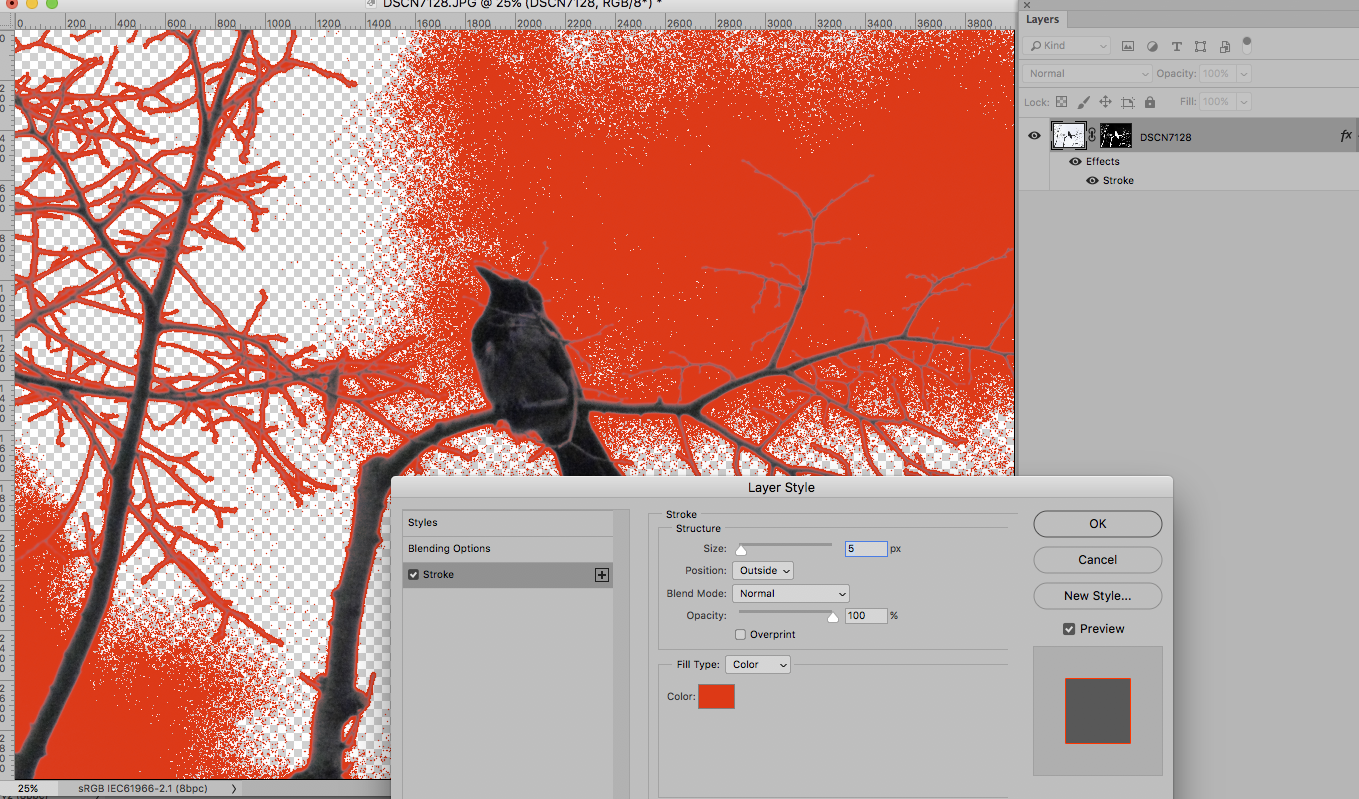
To check a Layer Mask’s fit one can temporarily apply a Stroke (set to »Outer«) to the Layer.
Copy link to clipboard
Copied


Copy link to clipboard
Copied
What can you see in the Channels and/or Paths windows. There may be an erroneous layer that needs deleting.
Copy link to clipboard
Copied
I'd love to help, but I would need to see a view of your layers and any other information to see what went wrong. But without seeing the layers, it almost sounds like there's information on the other layer that's still there. Try clicking on the little eyeball, on the left to the layer to make a layer invisible, to see which layer that background is on. If that's not working, we'll see what to do once we see your PS Workspace
Copy link to clipboard
Copied
I'm not sure what you mean by "white washed effect". If you are referring to the white edges around the person's head, then save as PNG 24, not PNG 8. PNG 8.
Copy link to clipboard
Copied
If I am right... then the issue this person is having the outline around the man.
Am I right? Is that what you mean?
Copy link to clipboard
Copied
Select the guy with the Quick Selection Tool

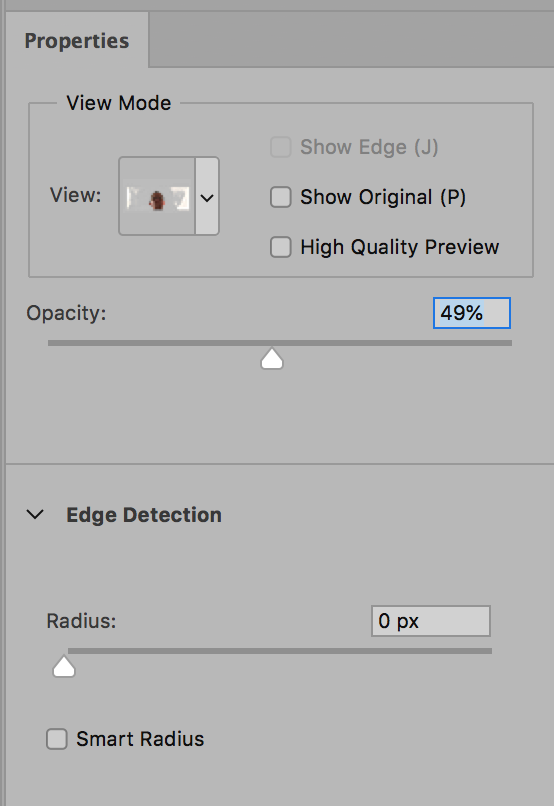
After you select him click on the top Select and Mask option

In this panel, you can improve your selection, you have to play with the sliders

Here you can watch tutorials and more information
Learn how to use the dedicated Select And Mask workspace in Photoshop CC.
I hope this works for you
Regards
Eugenio
Copy link to clipboard
Copied
You may not be able to see all the details when you select and delete a specific region with the selection tools. Fill the layer with an opaque color using transparent pixel lock. After this control step you can make the necessary cleaning. There is also a very old function. Use the Matting function.
Copy link to clipboard
Copied
You may not be able to see all the details when you select and delete a specific region with the selection tools.
Using Layer Masks is generally more prudent than deleting.
Fill the layer with an opaque color using transparent pixel lock.
The Stroke Layer Style approach is non-destructive and quite useful for detecting very transparent pixels.
And if one saves a Style in the Styles Panel it can be applied with one click.
Copy link to clipboard
Copied
I commented on the sample screen shot. The background is deleted, leaving 1 or 2 pixel fringe pixels. The matting method is ideal for cleaning them.
There are more than 10 alternatives for selection and masking in the Photoshop program for the same process and purpose.
Copy link to clipboard
Copied
There are more than 10 alternatives for selection and masking in the Photoshop program for the same process and purpose.
But of Photoshop’s options to clip an object in an image actually deleting/erasing the background is amongst the least recommendable.
The sooner a new Photoshop user abandons this technique in favour of a non-destructive approach the better in my opinion.
Copy link to clipboard
Copied
I want to share 2 articles with Ekte Turkish. I do not want to stop.
Photoshop Formats and Masquerade Tools.
Photoshop Masking: http://baskioncesi.com/downloads/files/Photoshop%20MASK.pdf
Photoshop Selection: http://baskioncesi.com/downloads/files/Photoshop%20SECIM%20TEKNIKLERI.pdf
Copy link to clipboard
Copied
I recommend diving into selections and masking so you can make good selections and learn how to see what the mask results will be like for your output.https://helpx.adobe.com/photoshop/using/select-mask.html
Learn how to use the dedicated Select And Mask workspace in Photoshop CC.


