Answered
Select and Mask bleed through
Hello,
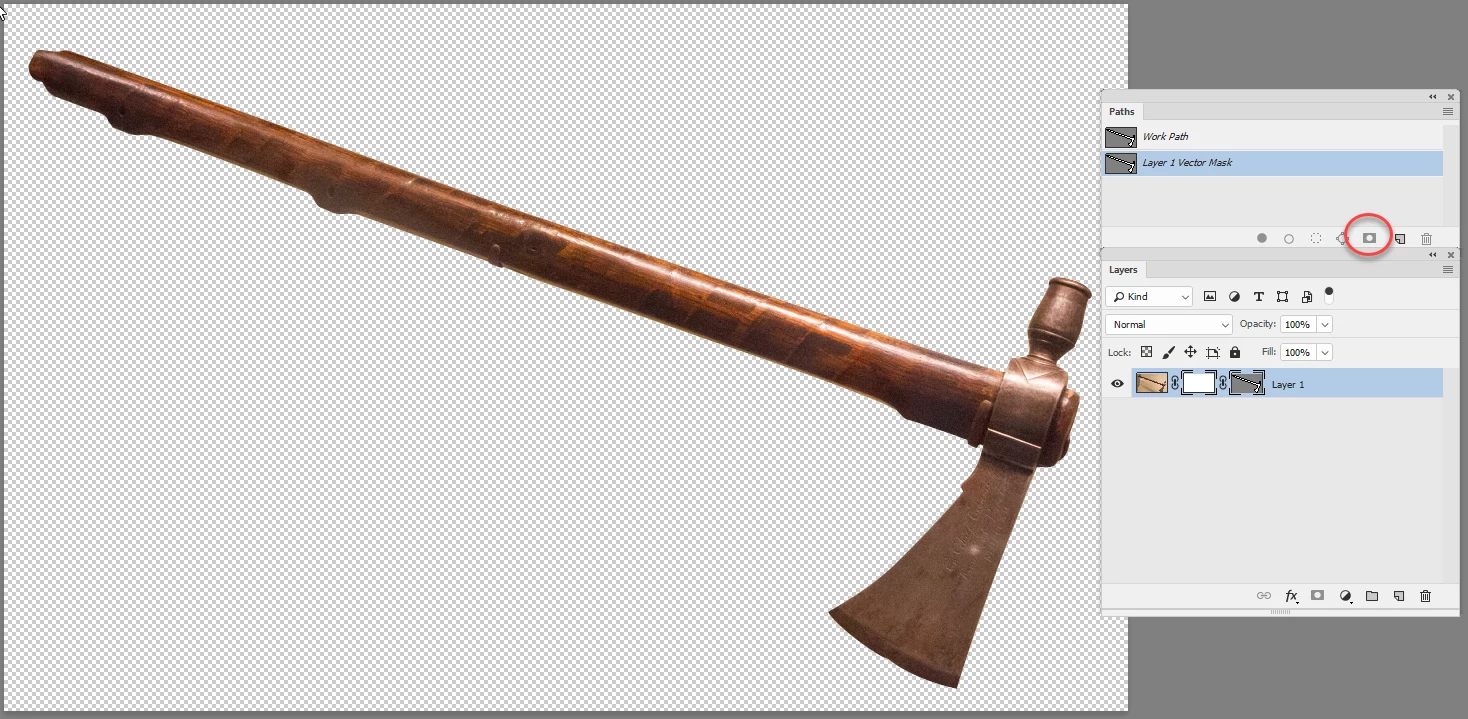
I followed Scott Kelby's tutorial, but he's got hair on a light background. I'm applying this to museum objects in cases, masking whatever's behind them; I try to maximize contrast first in Lightroom before bring the image into Photoshop. Still, I'm finding that instead of simply finding the borders and excluding everything on one side of the ants, the tool is deleting pixels in the color range on both sides. I'm winding up with semi-transparent ghost areas:
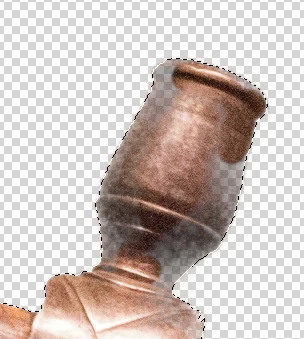
I have to keep going back with the brush tool to make these areas "solid" again. How can you select tolerance or sample area size in Select and Mask mode to minimize this?
Thanks much,
Chris Niestepski