bartonlew
Legend
June 15, 2018
Answered

selection specific adjustment layers affecting entire image

  • June 15, 2018
  • 2 replies
  • 2440 views

The title of this post reflects only one problem I am having with my image. 

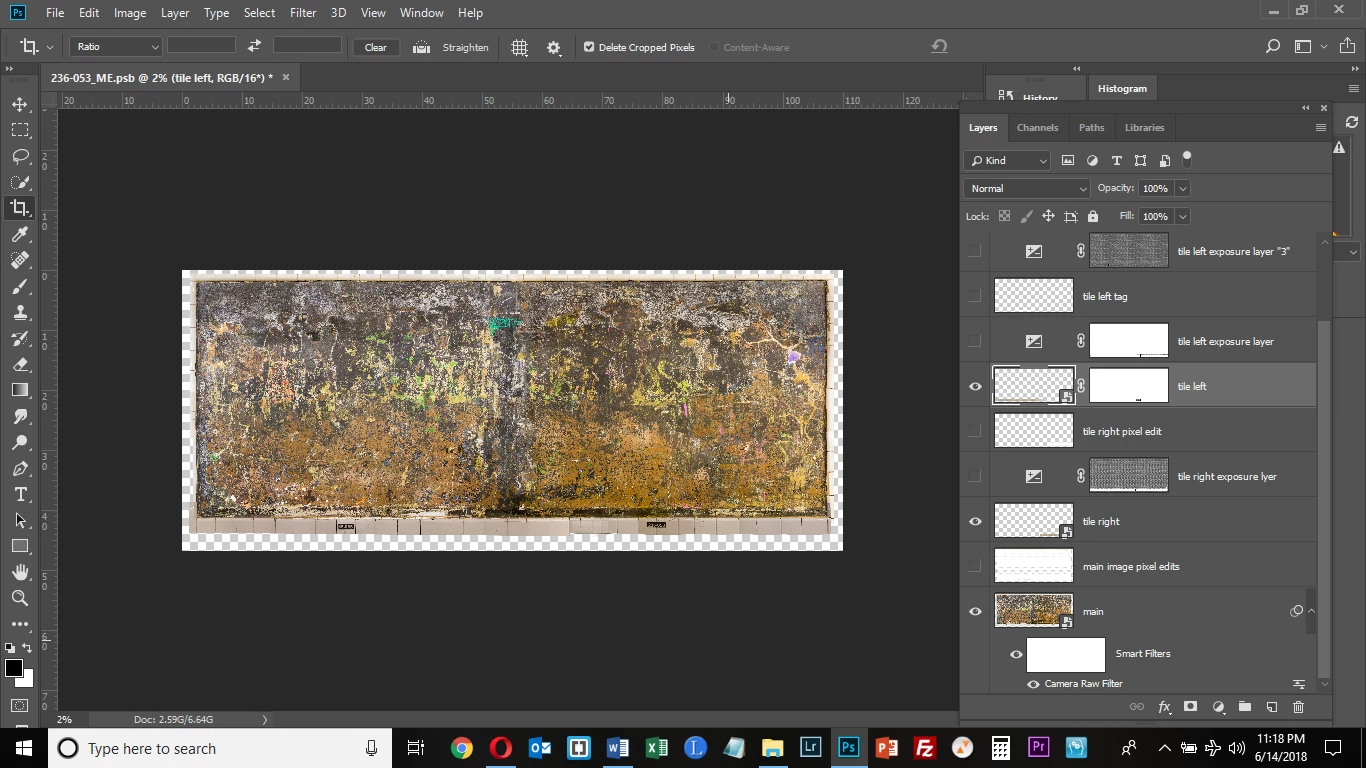
I have a layer ("main") and 2 additional layers ("tile left" and "tile right") which are visible in the screenshot below.  The 2 tile layers comprise the bottom tile border of the image. 

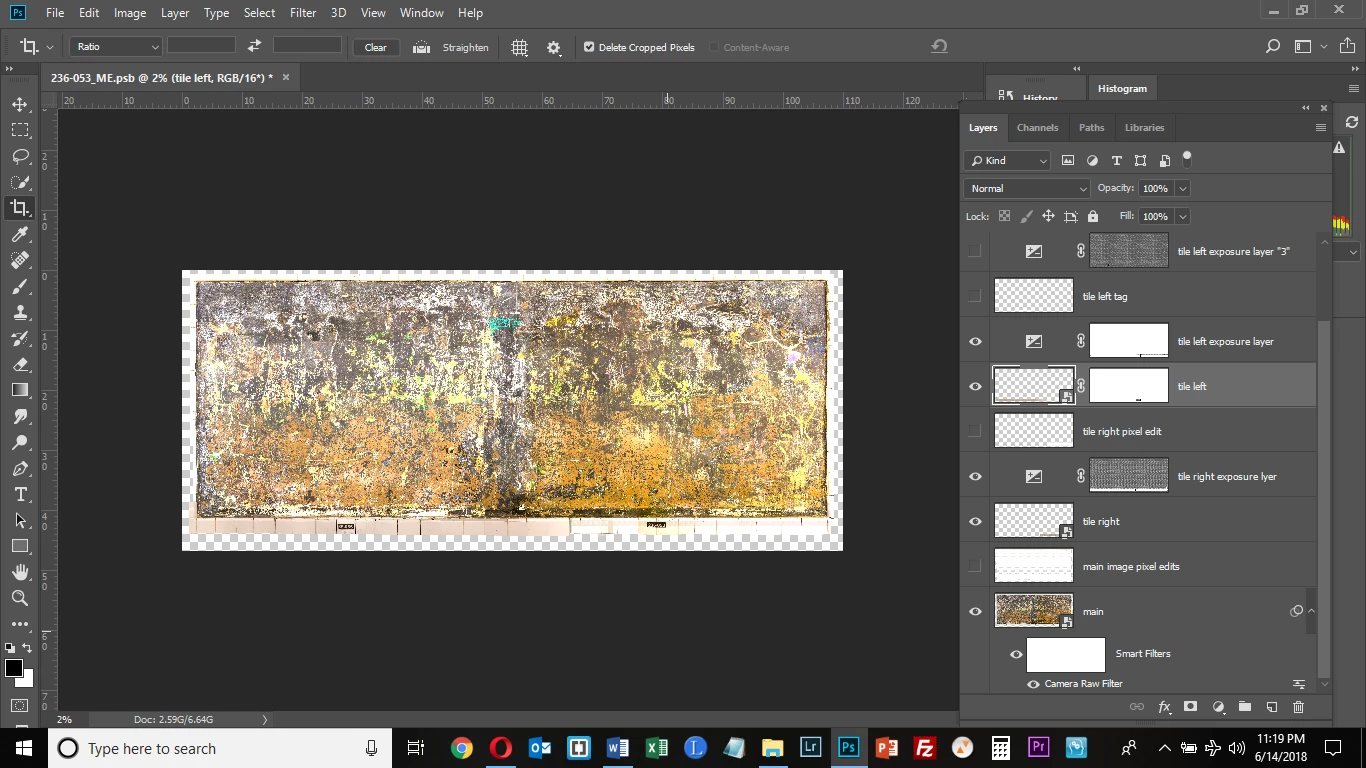
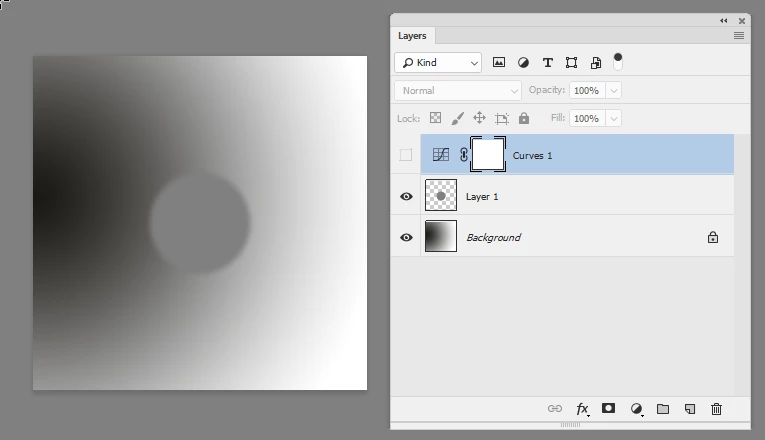
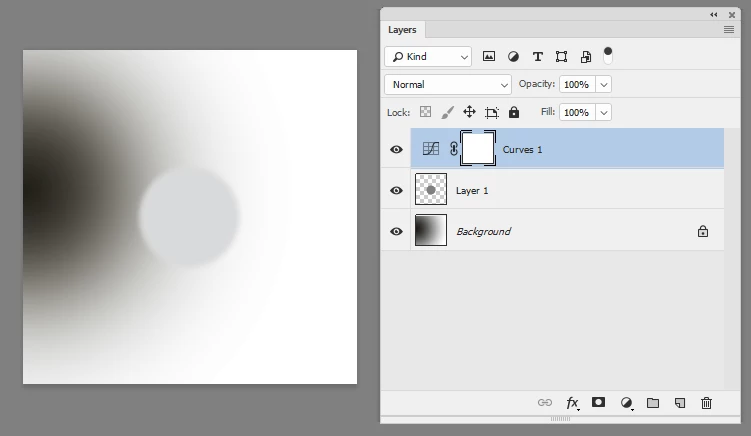
The tile borders were too dark, so I selected them; created a Layer Mask; and added an Adjustment Layer (exposure), lightening them.  This worked initially, but now, when I activate the Adjustment Layer for "tile left" and "tile right," the exposure adjustment affects the entire image (see 2nd screenshot).  Why is this?

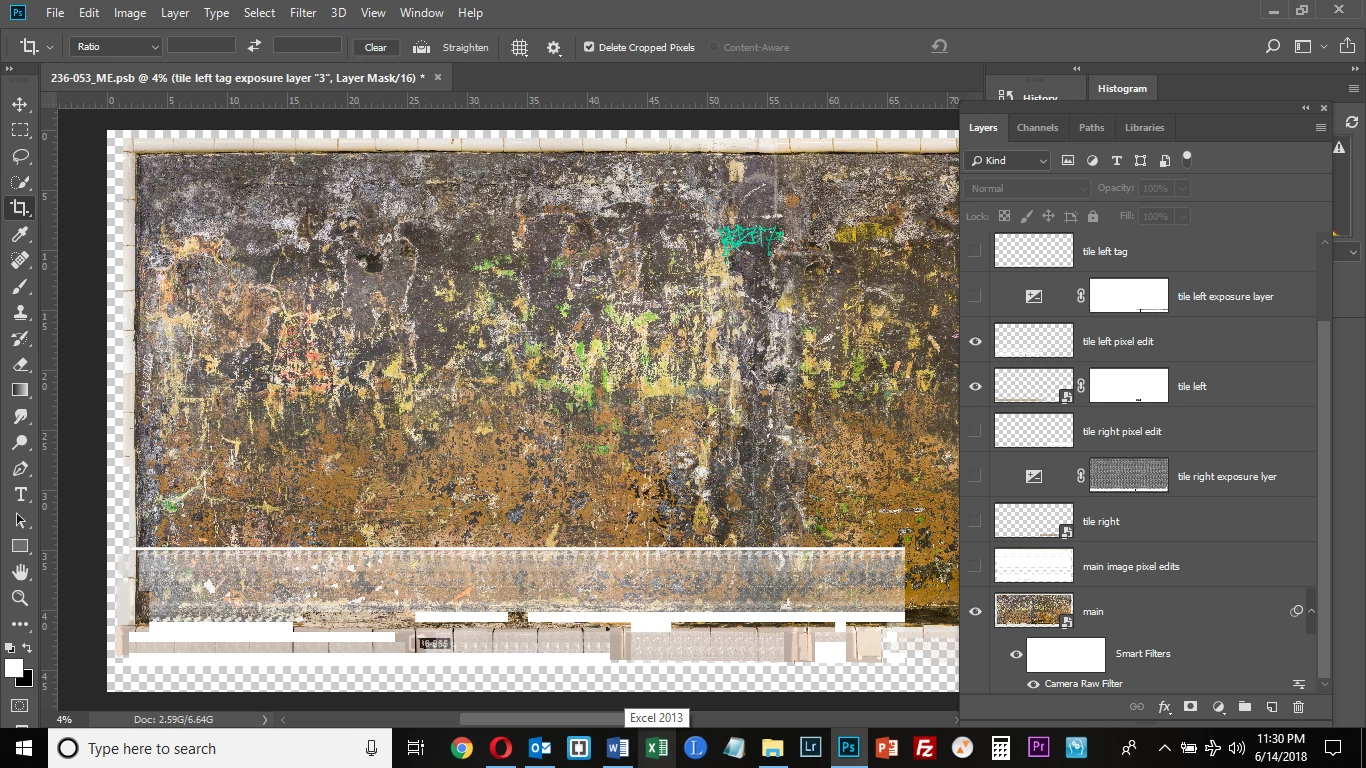
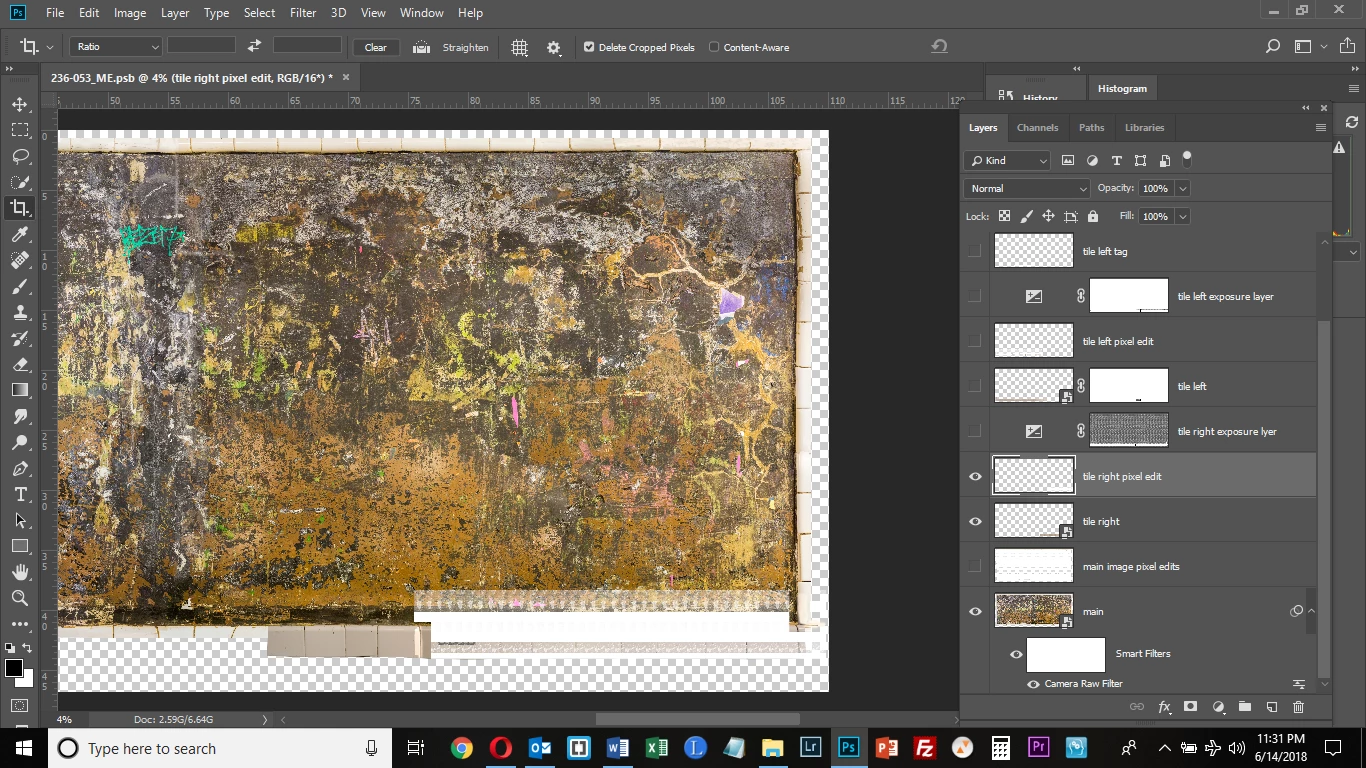
But here is my more serious problem.  I needed to edit pixels (clone/stamp and spot healing brush) on the tile layers.  So I made them Smart Objects and created a new blank layer and enabled Sample All Layers for the edits for these 2 layers.  This worked initially but now I am getting strange behavior when I activate the blank layers with the pixel edits for the tile layers.  See the 3rd image.  (I moved some of these Layers around between the screenshots posted below, but it didn't have any effects on the problems I was seeing.)  The "main" layer, "tile left" and "tile left pixel edit" layers are enabled, and totally crazy stuff is happening in the image.  In the 4th screenshot, the "main" layer, "tile right" and "tile right pixel edit" layers are enabled, and you can see similar bizarre artifacts appearing on the tile which looks totally normal in the 1st 2 images.  Does anyone have any idea what could be happening?  I feel like at some point I did something which when executed told me layers would be merged.  Although that doesn't appear to have happened, I wonder if I executed a command which has resulted in these artifacts being introduced - especially since for a while this was going along fine.  Everything was appearing as it should be.

This topic has been closed for replies.
Correct answer davescm

If you want an adjustment layer only to affect the pixel layer below, and not other layers in the image, then you need to clip it to the pixel layer by Alt Clicking on the border between the adjustment layer and the pixel layer

See below

No adjustment layer

Adjustment layer turned on and effect all layers below:

Adjustment layer clipped to circle layer by Alt clicking on border where arrowed. Now adjustment only affects the circle

Dave

2 replies

davescm
Community Expert
davescmCommunity ExpertCorrect answer
Community Expert
June 15, 2018

If you want an adjustment layer only to affect the pixel layer below, and not other layers in the image, then you need to clip it to the pixel layer by Alt Clicking on the border between the adjustment layer and the pixel layer

See below

No adjustment layer

Adjustment layer turned on and effect all layers below:

Adjustment layer clipped to circle layer by Alt clicking on border where arrowed. Now adjustment only affects the circle

Dave

bartonlew
bartonlewAuthor
Legend
June 15, 2018

Thank you.  Are you able to address the other issue I am having here, or should I create a new post with a title that is appropriate to that issue?  Thank you for your assistance.

bartonlew
bartonlewAuthor
Legend
June 16, 2018

Hi

Not a Black and White adjustment layer, just an ordinary pixel layer filled with black or white. Its purpose is temporary and is solely to make visible what is on the pixel layer so that you can see whether your problem is unexpected pixels on that layer or some display artefact with the GPU.

There is nothing  wrong with your process - just make sure the clone stamp tool is set to "sample current and below".

Dave


Hi Dave, pasted below is a black layer under the "tile left" panel and a white layer under it, both showing artifacts.  Is this telling you that it's not a display issue but there is some kind of pixel corruption or confusion going on?  Would the best thing to do be to delete these pixel edit layers and start from scratch?  Thank you.

Bojan Živković11378569
Community Expert
Community Expert
June 15, 2018

Second screenshot: Exposure is affecting entire image because the mask is allowing it (tile left exposure layer). Select mask for Exposure adjustment and press Ctrl + I to invert it if you want to adjust only tiles.