
Answered
Shadows in grid layout
How can I add shadows to each grid column as seen in the sample grids below?


How can I add shadows to each grid column as seen in the sample grids below?
![]()
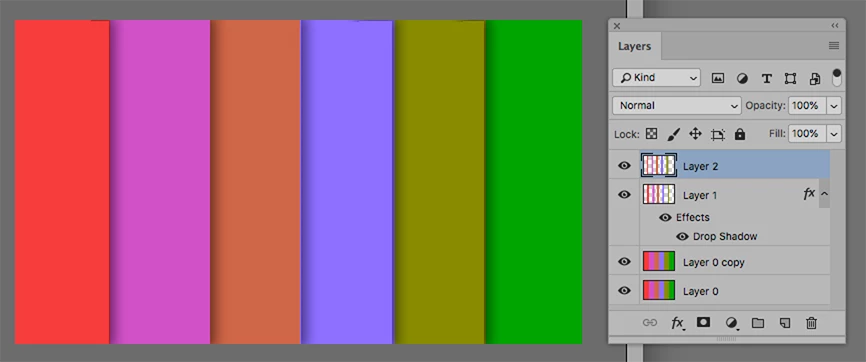
Perhaps this will help.
Fig 1 A selection of the right edge of each column.
Fig 2 The selected area placed on a separate layer and drop-shadow applied. Still showing marching ants
Fig 3 Marching ants removed to show unwanted left-side shadows
Fig 4 A selection of the unwanted left-side shadows. We move the marching ants to the Background image and Cmd+J to create a layer of it.
Fig 5 The unwanted drop-shadow
Fig 6 The section of the Background image (See Step 4) which is placed as a top layer
Fig 7 The result
Already have an account? Login
Enter your E-mail address. We'll send you an e-mail with instructions to reset your password.