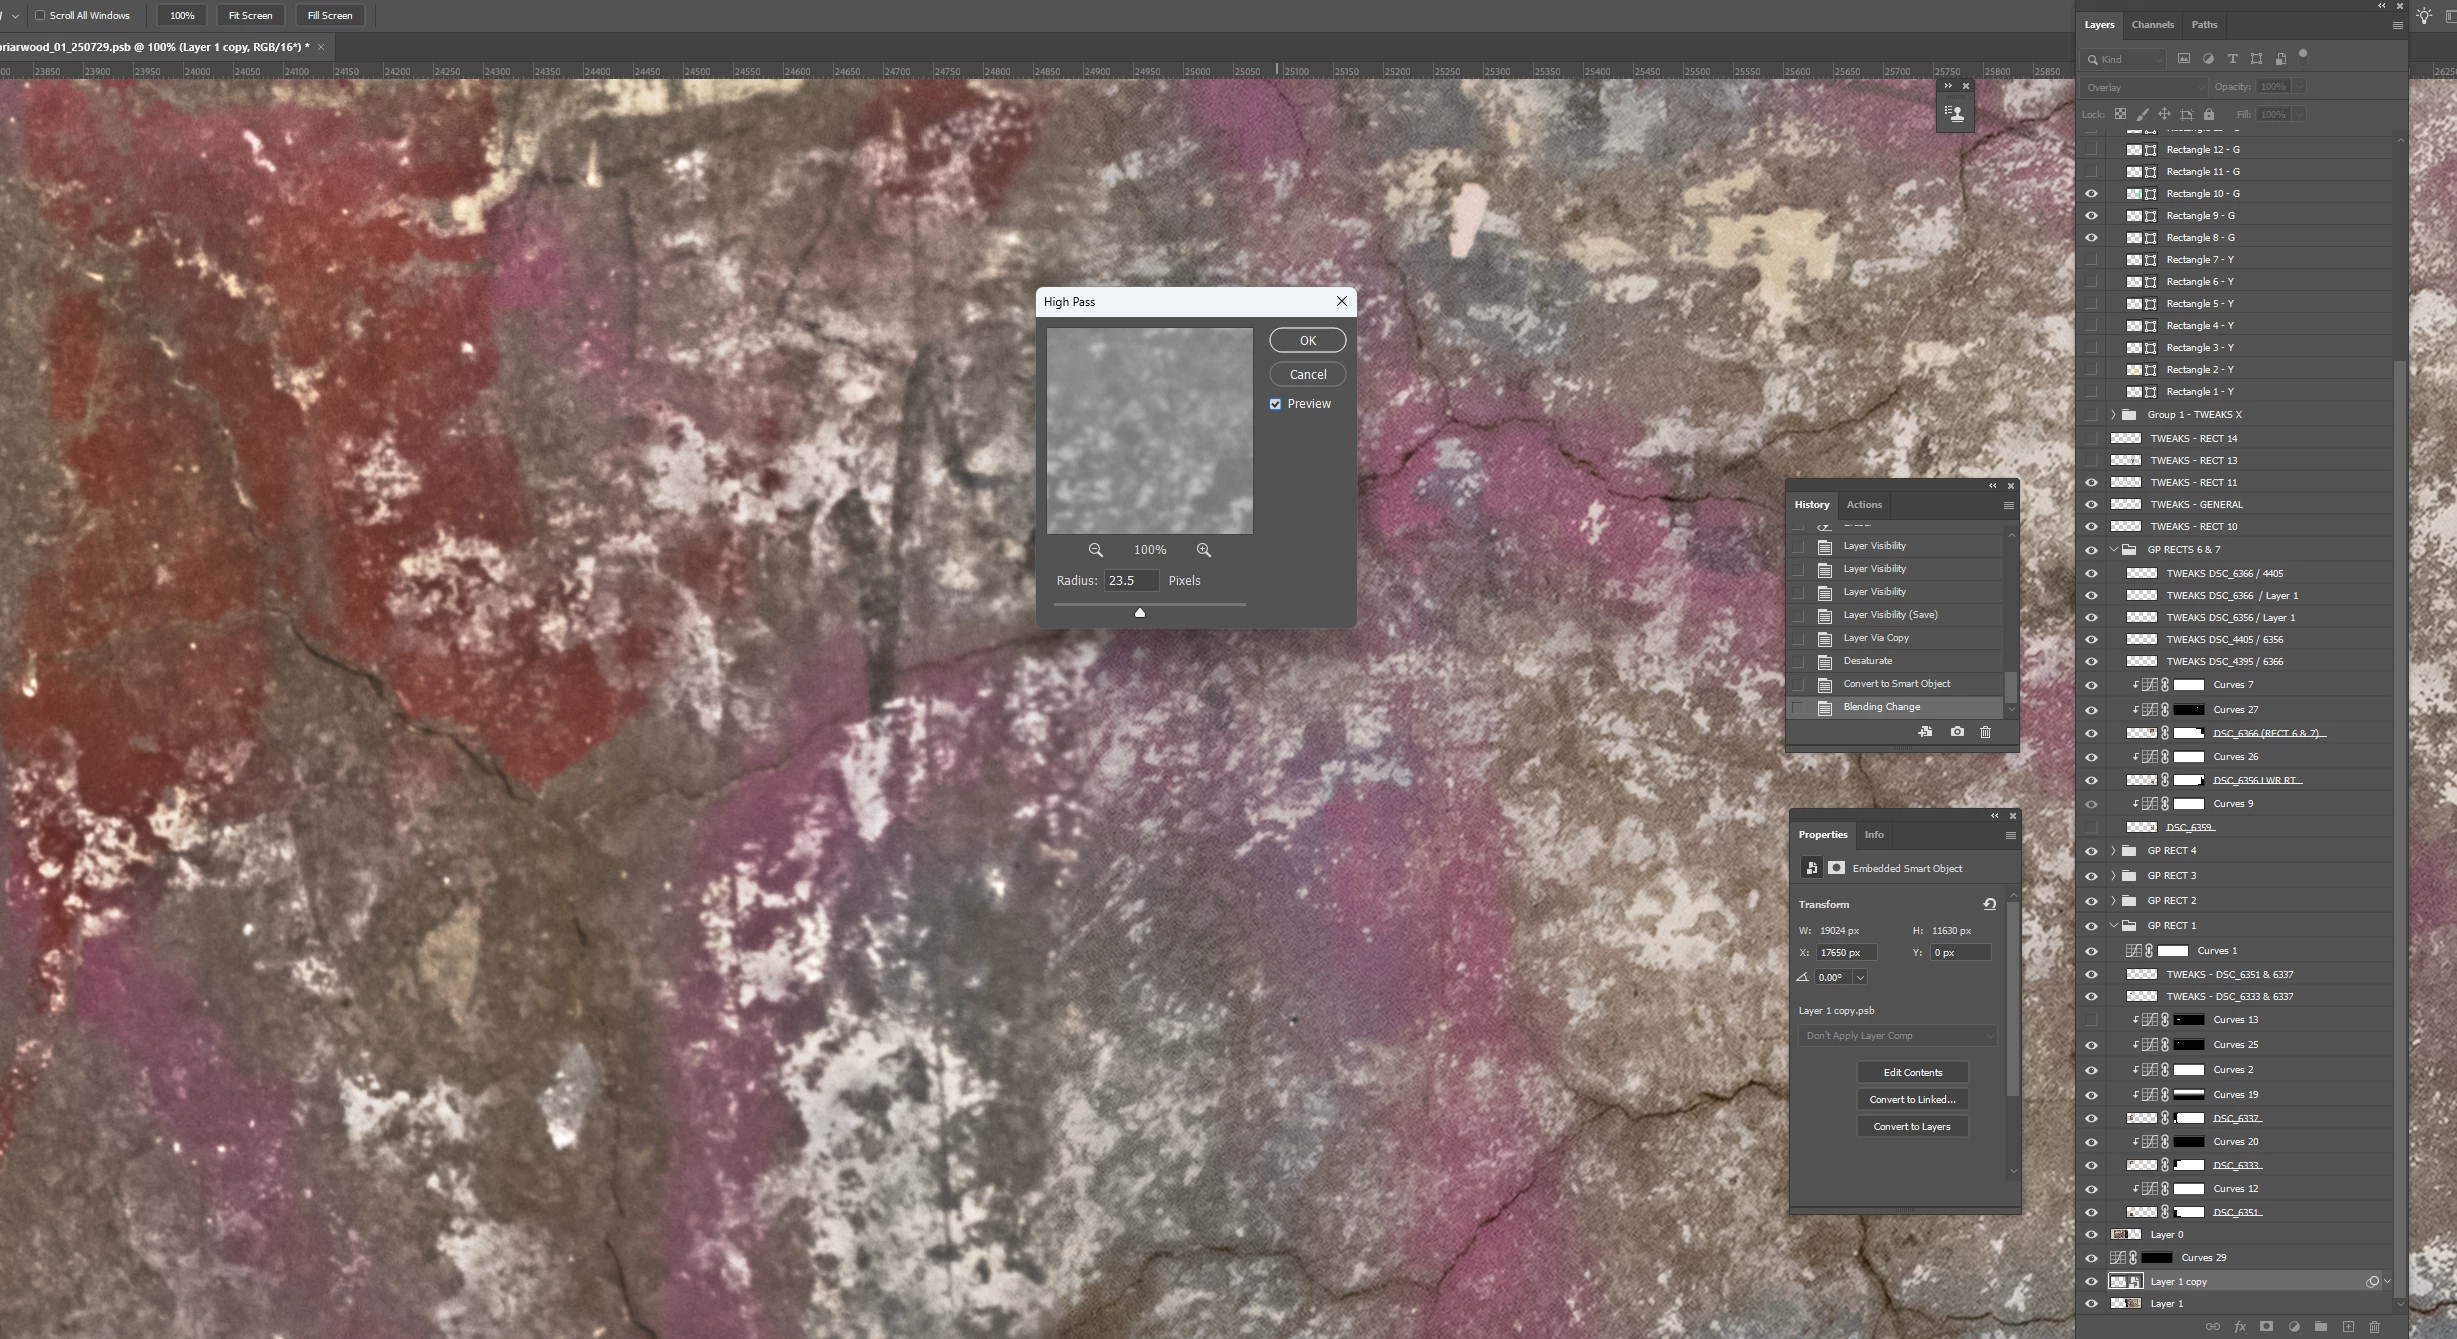
High Pass sharpening was great, I used it all the time around 20 years ago…until other, newer features came along.
Unsharp Mask was the original sharpening feature used by professionals, going back to the 1990s. It was familiar to prepress pros because it was based on an analog technique of sharpening for printing plates by layering film. But digital Unsharp Mask was flawed, so people figured out ways to have more control and various workarounds to restrict sharpening to luminance (otherwise you can get color fringing). I did use High Pass sharpening to get better results than from Unsharp Mask alone.
At one point Photoshop added Smart Sharpen, and that’s what I tell beginners to use now. It addresses many of the flaws of Unsharp Mask but is still easy to use. You can crank up Smart Sharpen to a higher Amount with lesser negative side effects compared to Unsharp Mask.
Adobe then added the Sharpening features to the Adobe Camera Raw and Lightroom raw editors. The most interesting option there is Masking, because it’s similar to what you do with all those layers in High Pass sharpening except it’s very easy to use; just drag one slider. The key to using the Masking slider is holding down the Alt/Option key as you drag it, because then it shows you a grayscale view of just the mask…again, similar to the way you set up High Pass sharpening: The mask restricts the sharpening to edges so that you avoid sharpening broad areas.
Those raw editors also offer the Clarity and Texture options, which I see as part of the frequency continuum of sharpening:
Sharpening – for the highest detail frequencies/finest details
Texture – slightly lower detail frequencies
Clarity – even coarser details, more about local contrast and midtone contrast
Choosing from those options is a little like adjusting the Radius for the High Pass method.
These options also have some “smarts” coded into them that, again, preserve image quality more than straight Unsharp Mask.
In Photoshop, Clarity and Texture are only available through the Camera Raw plug-in or filter. You might be able to simulate them manually in Photoshop itself by laboriously building them with layers, similar to the High Pass method. At that point you might as well just use frequency separation.
Frequency separation is the most advanced and powerful method and has to be done in Photoshop. If you get good at it, you can use it to remove specific kinds of textures and patterns. It’s amazing. But like High Pass sharpening, to get it right you have to build a stack of layers that’s set up in exactly the right way…and that way is even more complex than for High Pass sharpening.
Short answer:
In Photoshop, start with Smart Sharpen. For difficult subjects use frequency separation. I’m not saying to never use Unsharp Mask or High Pass sharpening, just understand their strengths and weaknesses and make sure they’ll actually benefit what you’re trying to do.
In Camera Raw/Lightroom, start with Sharpening, and use the Masking slider to achieve the edge-targeted sharpening that High Pass does. To control other detail frequencies, use Texture and Clarity as needed. And don’t forget their output sharpening options, which Photoshop doesn’t have.
So, although I used to use High Pass sharpening on many images, I don’t really do it any more given the options we have today.
Nothing against Phlearn, that’s a great channel. Maybe they have a good frequency separation tutorial.