- Home
- Photoshop ecosystem
- Discussions
- Re: Simple action to replace image from walls
- Re: Simple action to replace image from walls
Copy link to clipboard
Copied
I have record an action that replace image from wall and save as jpg actually i want this via File->Automate->Batch here is action file if any one want to see
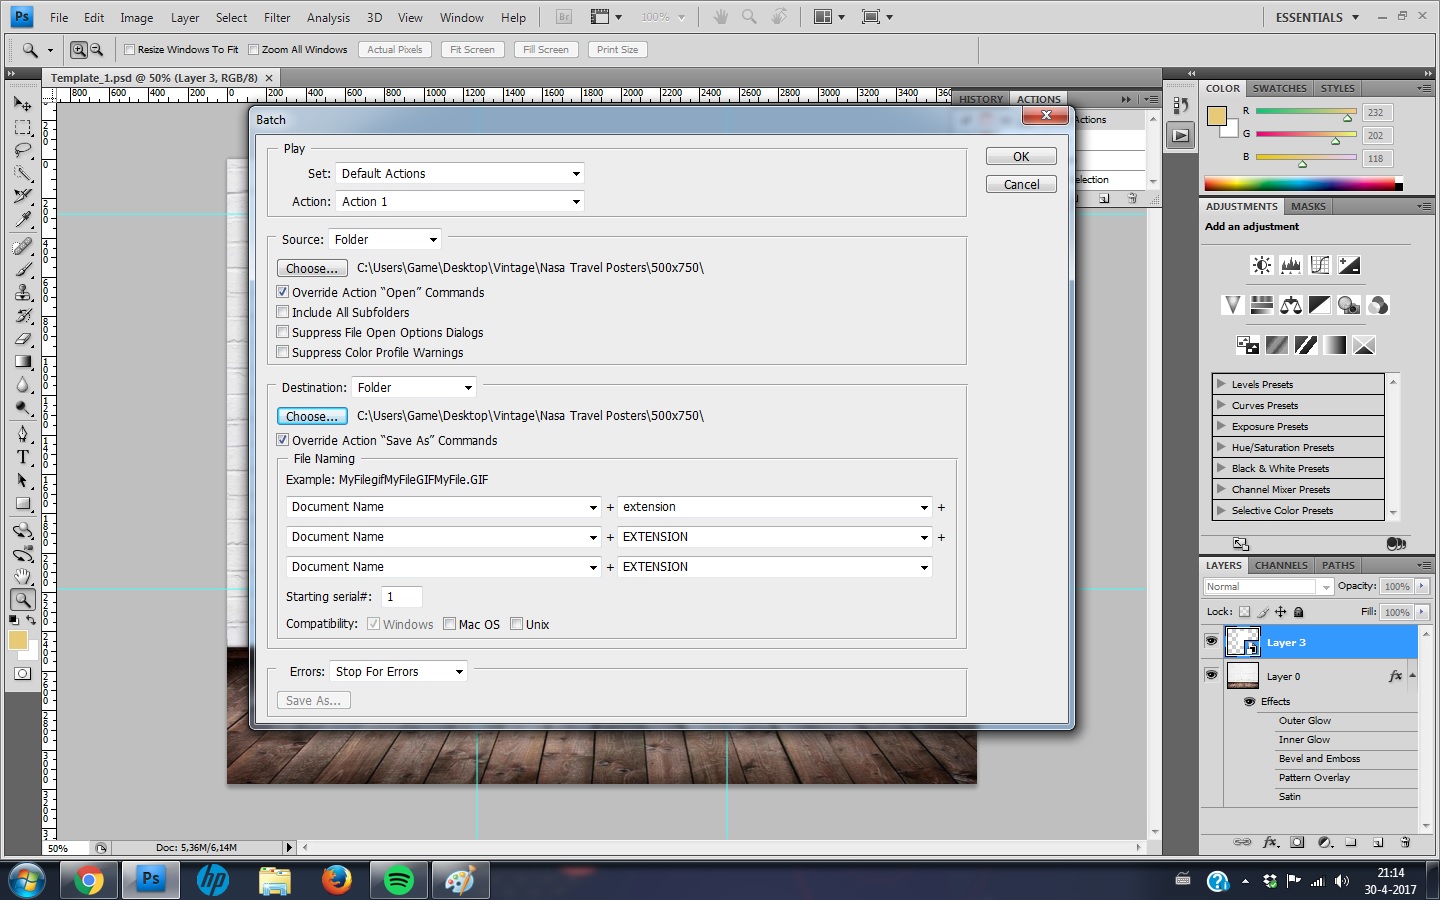
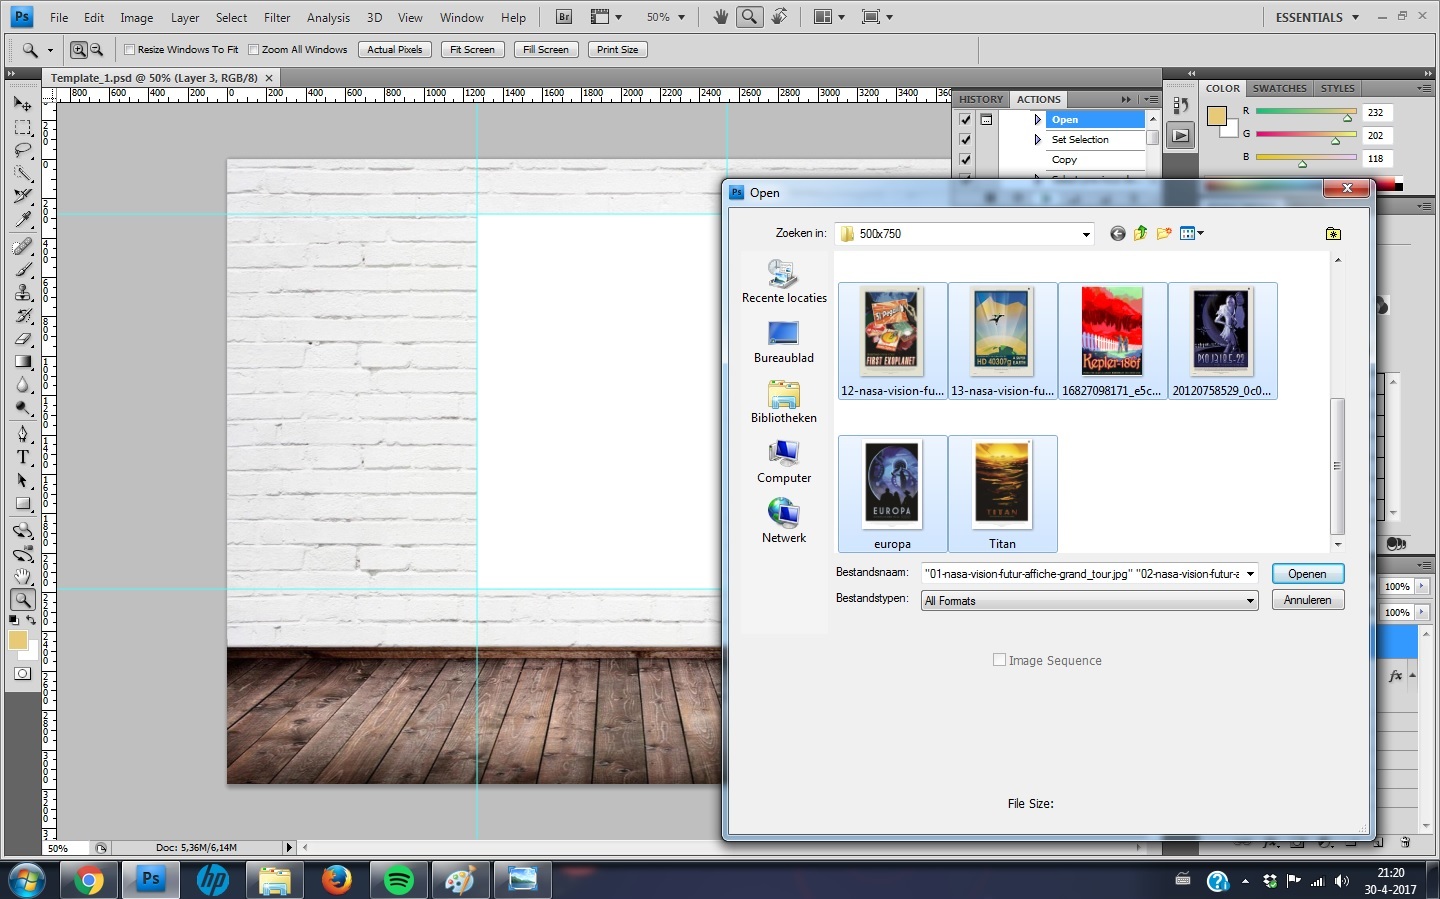
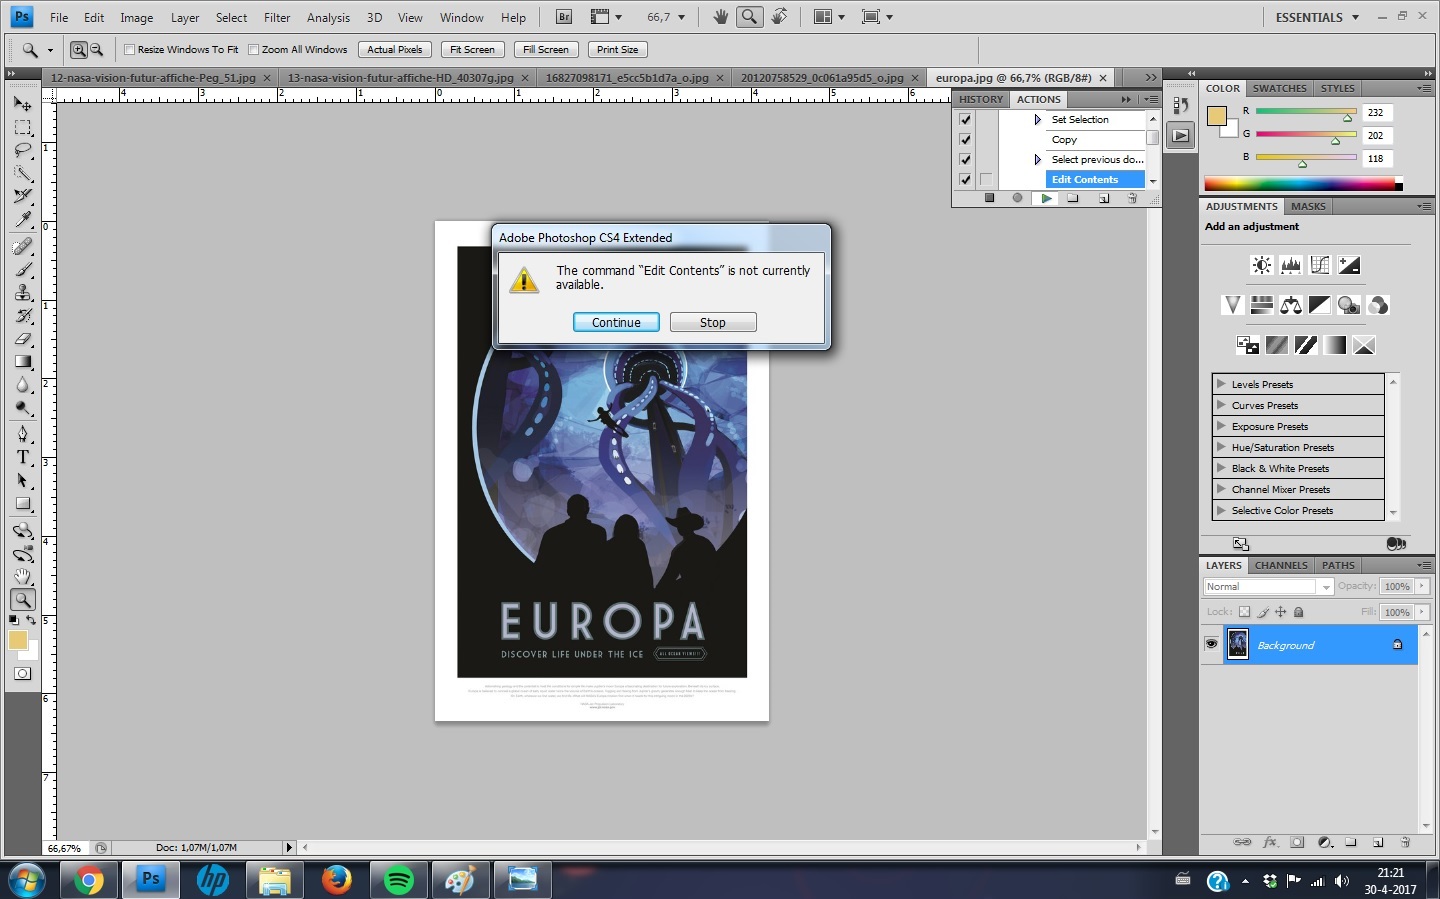
So, after creation this action I went to File>Automate>Batch and with the settings (first image attached) I tried to select all the files in the folder (2nd image attached), but then get a ''The command 'Edit Contents' is currently not available'' message (photo 3).
When I select the images one by one, the action does its work, but after the 3rd image it automatically keeps replacing the 3rd image that I did. Is it possible to just select all the images at once and let the action do its work to save all the outcomes at once?
NOTE: I have all images in same sizes to put on wall i.e 500x750px almost 500+ photos to do batch process....
Thank you so much for you help...
 1 Correct answer
mirza5313 I am not sure why you are getting that error… Close the template image if it is open in Photoshop.
Try creating a new blank document, 1500px wide x 1250px high.
Create a brand new action set and action, the record on the new action should auto start.
Use the File > Place Embedded menu and select your template image. Then press enter or the check/tick mark on the menu bar to place/scale/transform the image to the centre of the document, automatically sized to the document width/height.
The
...Explore related tutorials & articles
Copy link to clipboard
Copied
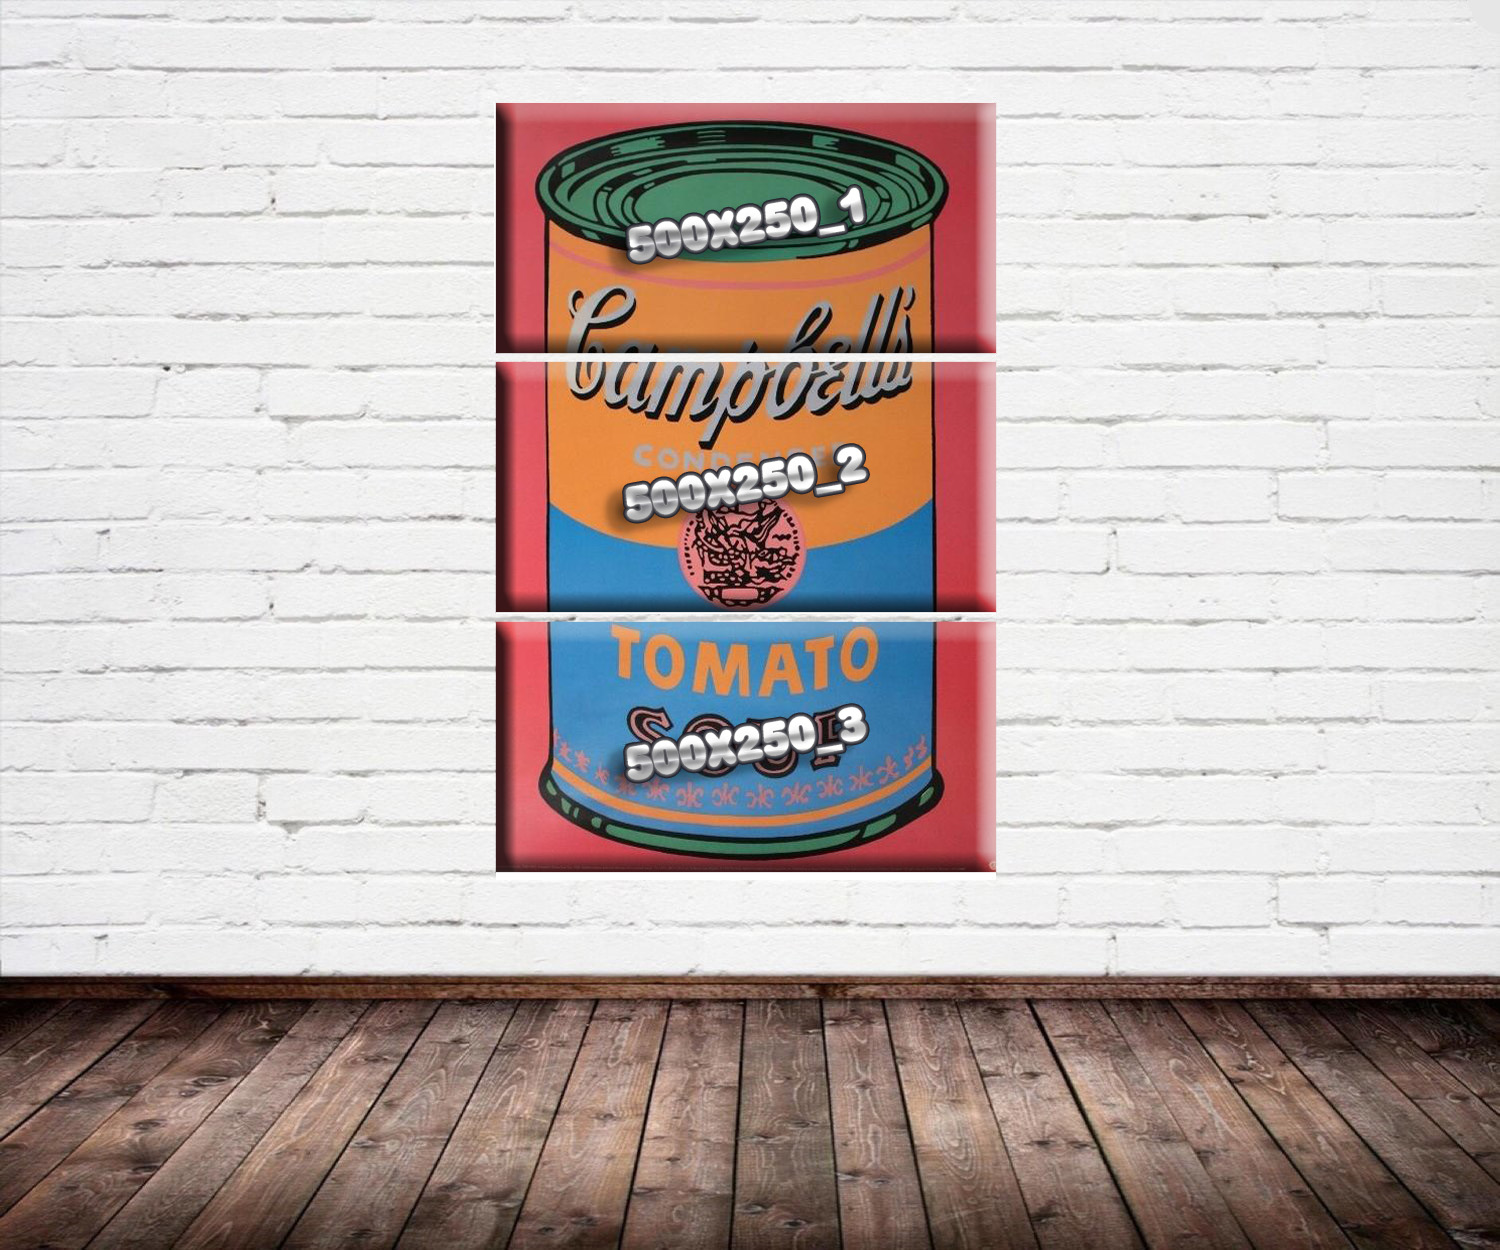
Text Image Stamps can also be added. A test and Image Layer style can also be added using options in the script dialog.
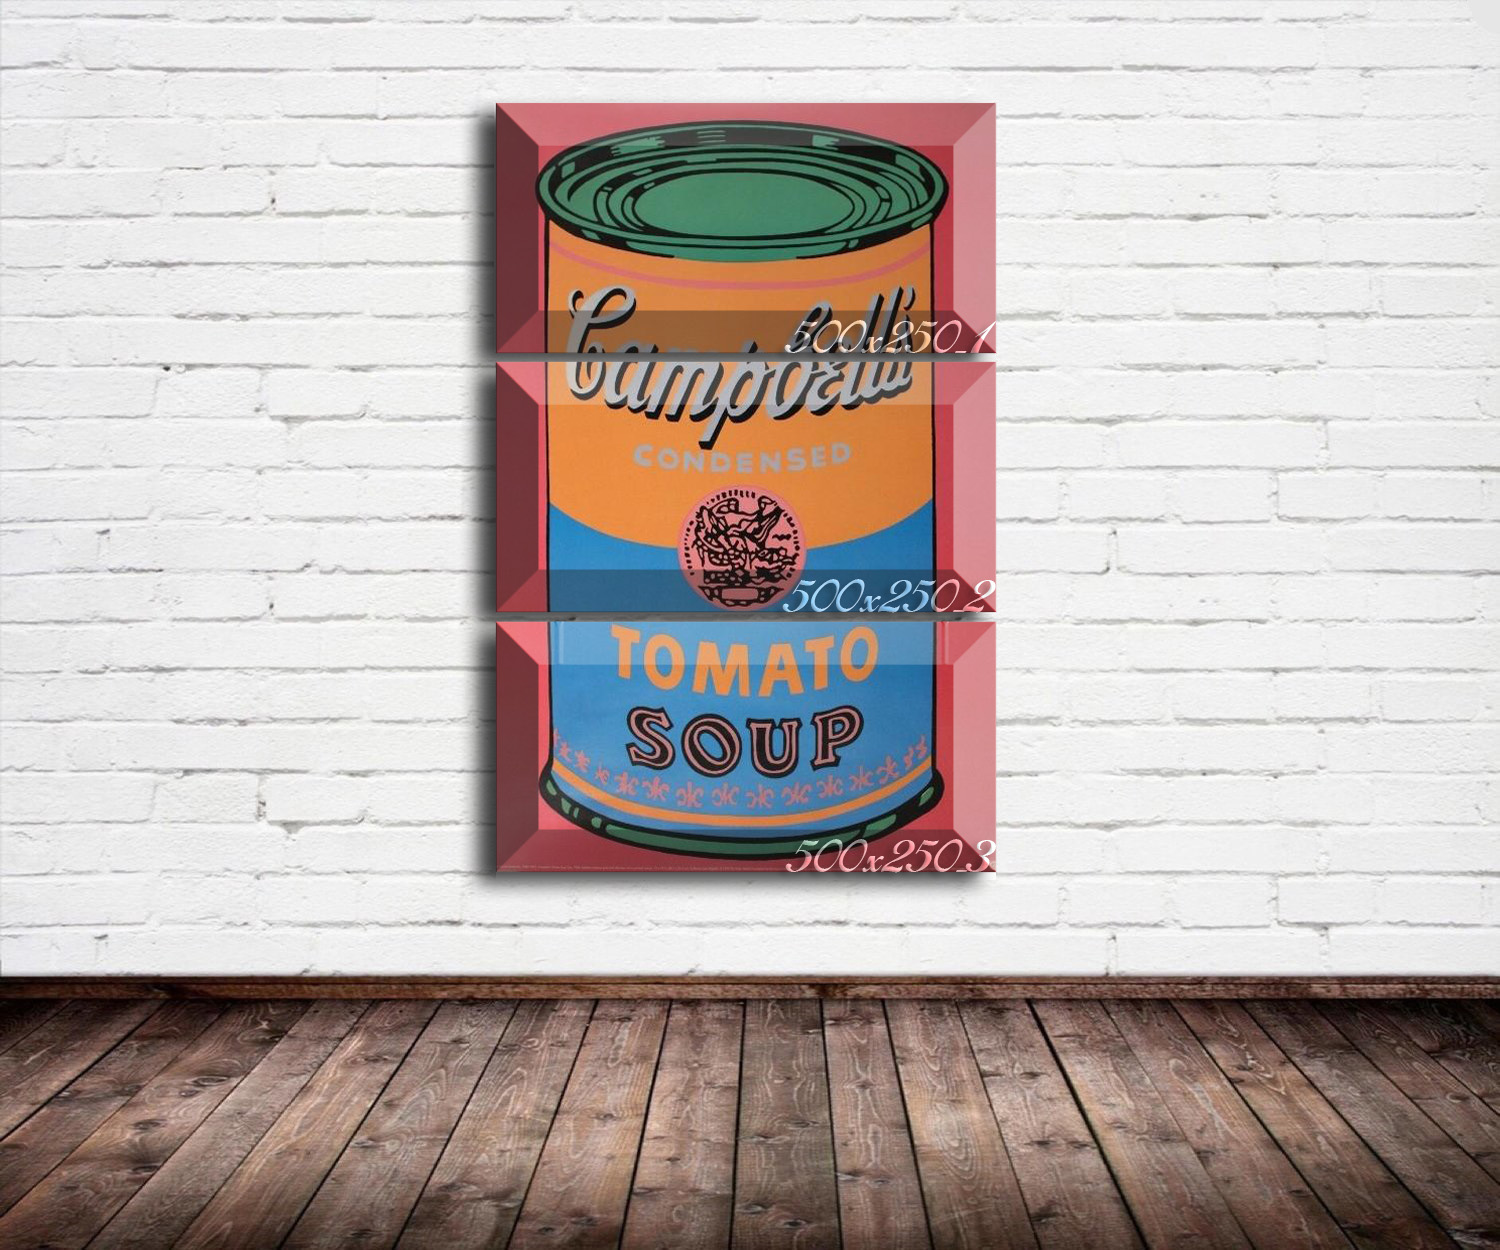
Copy link to clipboard
Copied
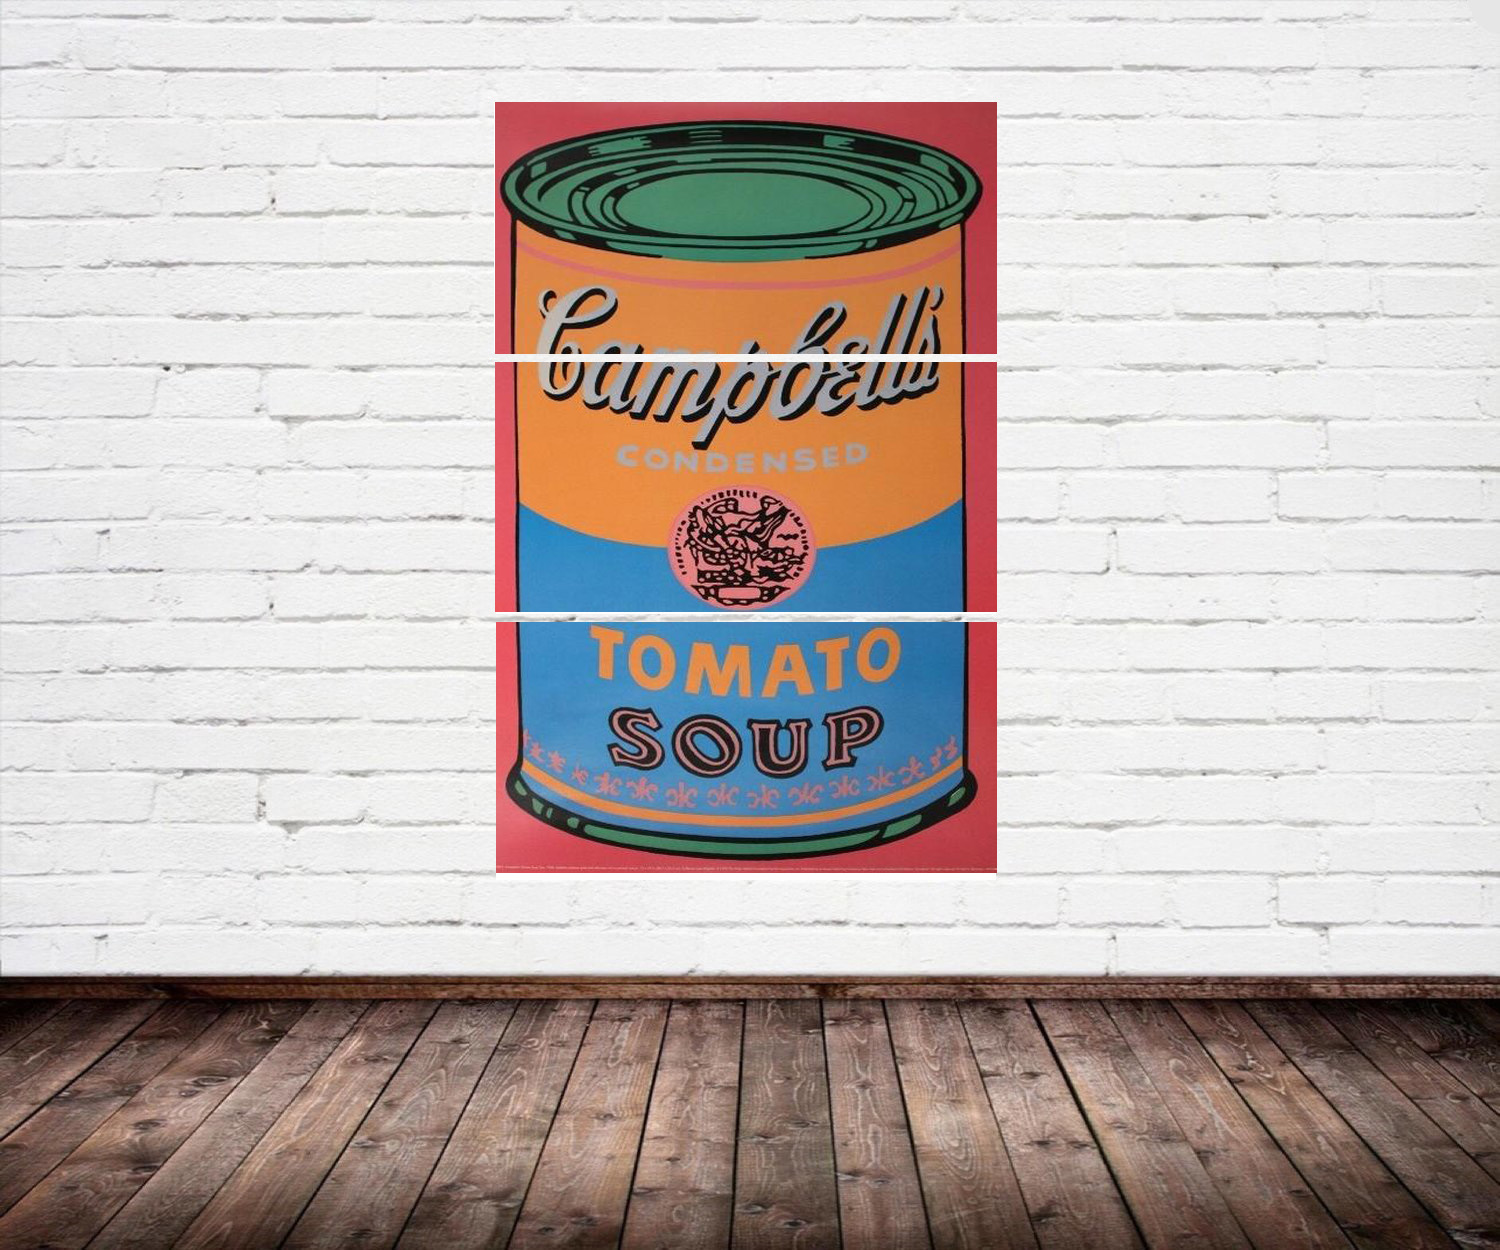
Hi JJMack, I just tried your script called BatchMultiImageCollage.jsx and worked correctly! I have created three alpha images 1, 2 and 3... I just figured out that if images are ordered in ascending order script will populate correctly..
Just one thing left that is making some kind of effects Bevel and emboss effects and stroke effects as the original map image have and when I put this effects script not worked and save images as 3 blank white spaces?
Copy link to clipboard
Copied
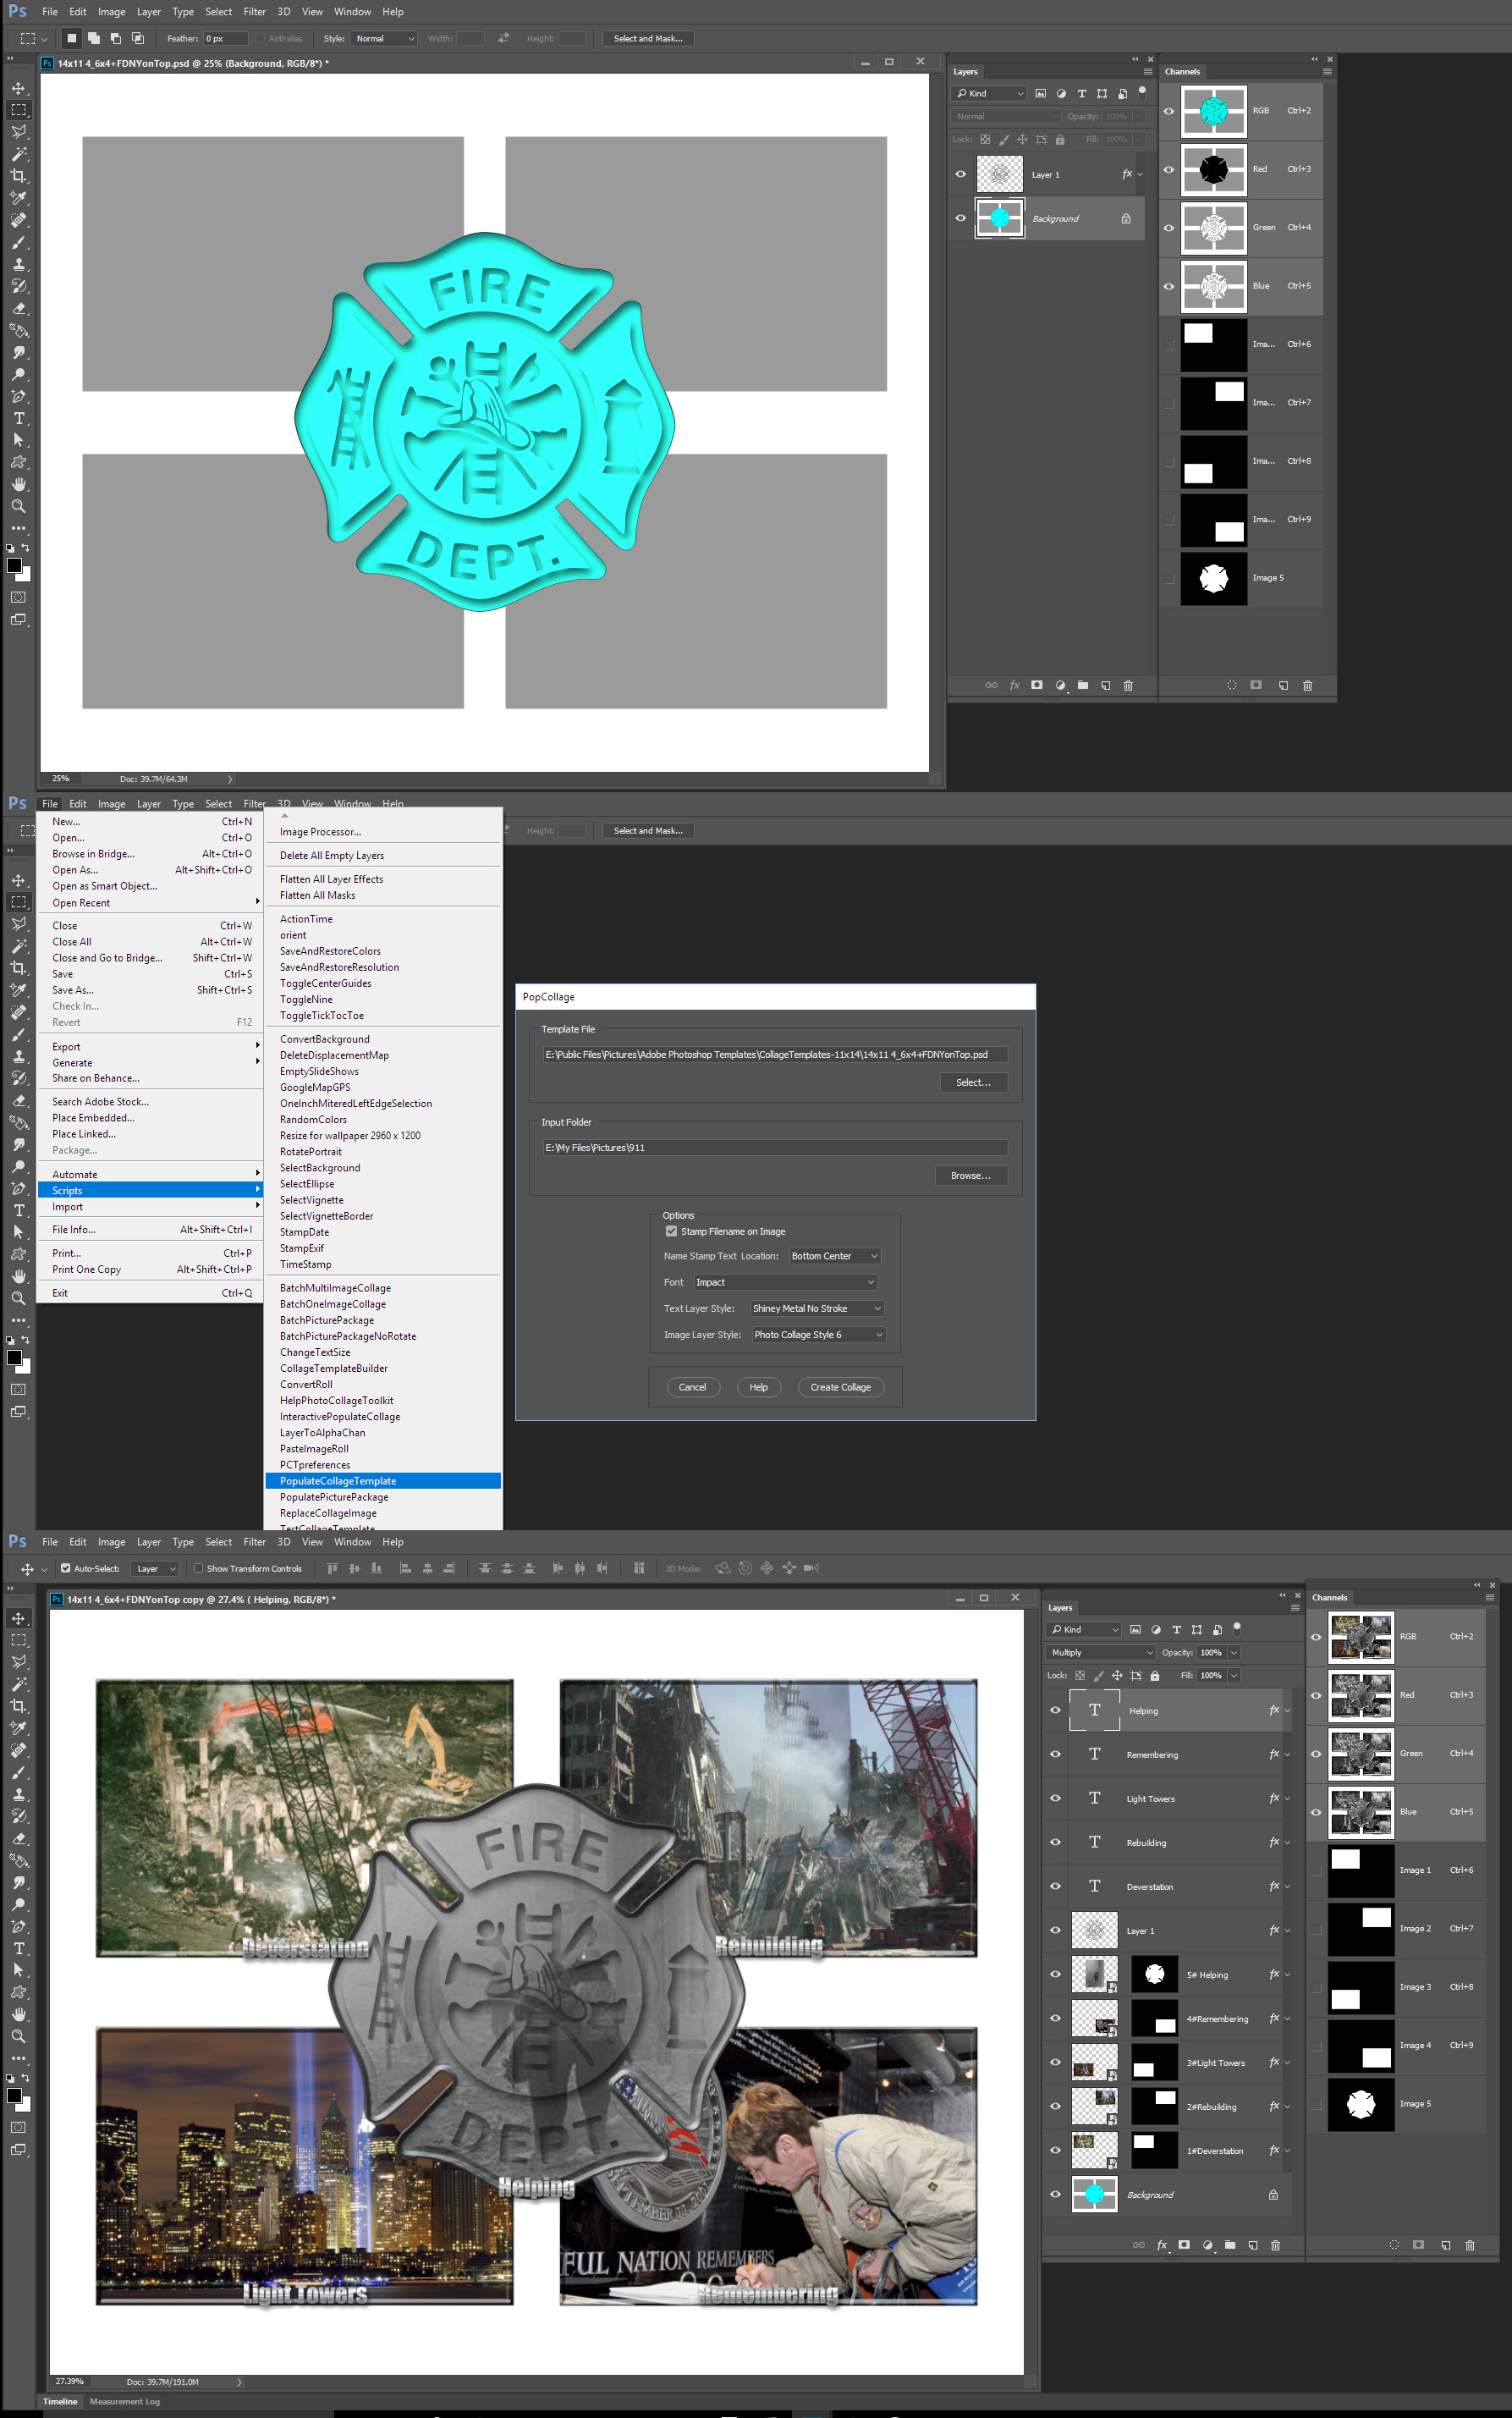
Please read the documentation. All you have ask for so far is provided and has even been noted in this thread. In addition to the provided text layer styles and Image layer styles. You can edit the scripts preferences script to change some defaults and add your own text and image layer styles. Additionally there is nothing stopping you from creating templates that do things like that. One of my sample collage template demonstrates how images can overlap and images can have layers that overlays an image location in the template. Read the last template rule. Rule 4. The only layer restrictions are a template must have a background no layers should be grouped to it for you image will be places in above the Background in the layer stack in the order Image 1, Image 2,... Image n> Layers above the Background in the template must allow the images that will be placed in below the show through. You can overlay and image to enhance the image. In the sample a added a layer over Image 5 and added a layer style to it the set the layer's fill to 0 so the only pixels visible the the overlay layer will be the pixels rendered for the layer style. A template doe noe heet to and any other layer that the Background layer.
Copy link to clipboard
Copied
I see in your template you will be replacing the contents of a smart object to changes images. IMO smart Objects layer have advantages and disadvantages. When an image need a transform like a perspective transform or many transforms like in a Picture package where many layers share the same smart object. Replacing the smart object layer content is the way to go. For when you replace the content the layers associated transform is not replaced or modified. However this also means the replacement object need to exactly the same size as the object being replaced. When you do not need a transform like a perspective or warped one. You can still place in smart object layer that you can size position and mask. Image can be any size for the automated process can size position and mask the place in images. Image do not need to be pre-processed for use with the templates. If an image need a perspective transform if you save the populated template as a layered document you can manually use Photoshop to modify the automated rectangle transform to add the perspective or warp you need. A big advantage a script has over a action is it can use logic to look the template to see how many images you want to pace on the wall. One of more than one. My scripts can handle 1 to 53 where you would 53 actions. I'm limited to 53 images because I use Alpha channels to map the images size place and shape. At the time I was programming the scripts I did not know that Photoshop limit was 53 Alpha channels. So I had to add code to limit templates to 53 images. PasteImageRoll script could paste in up to 8000 images.
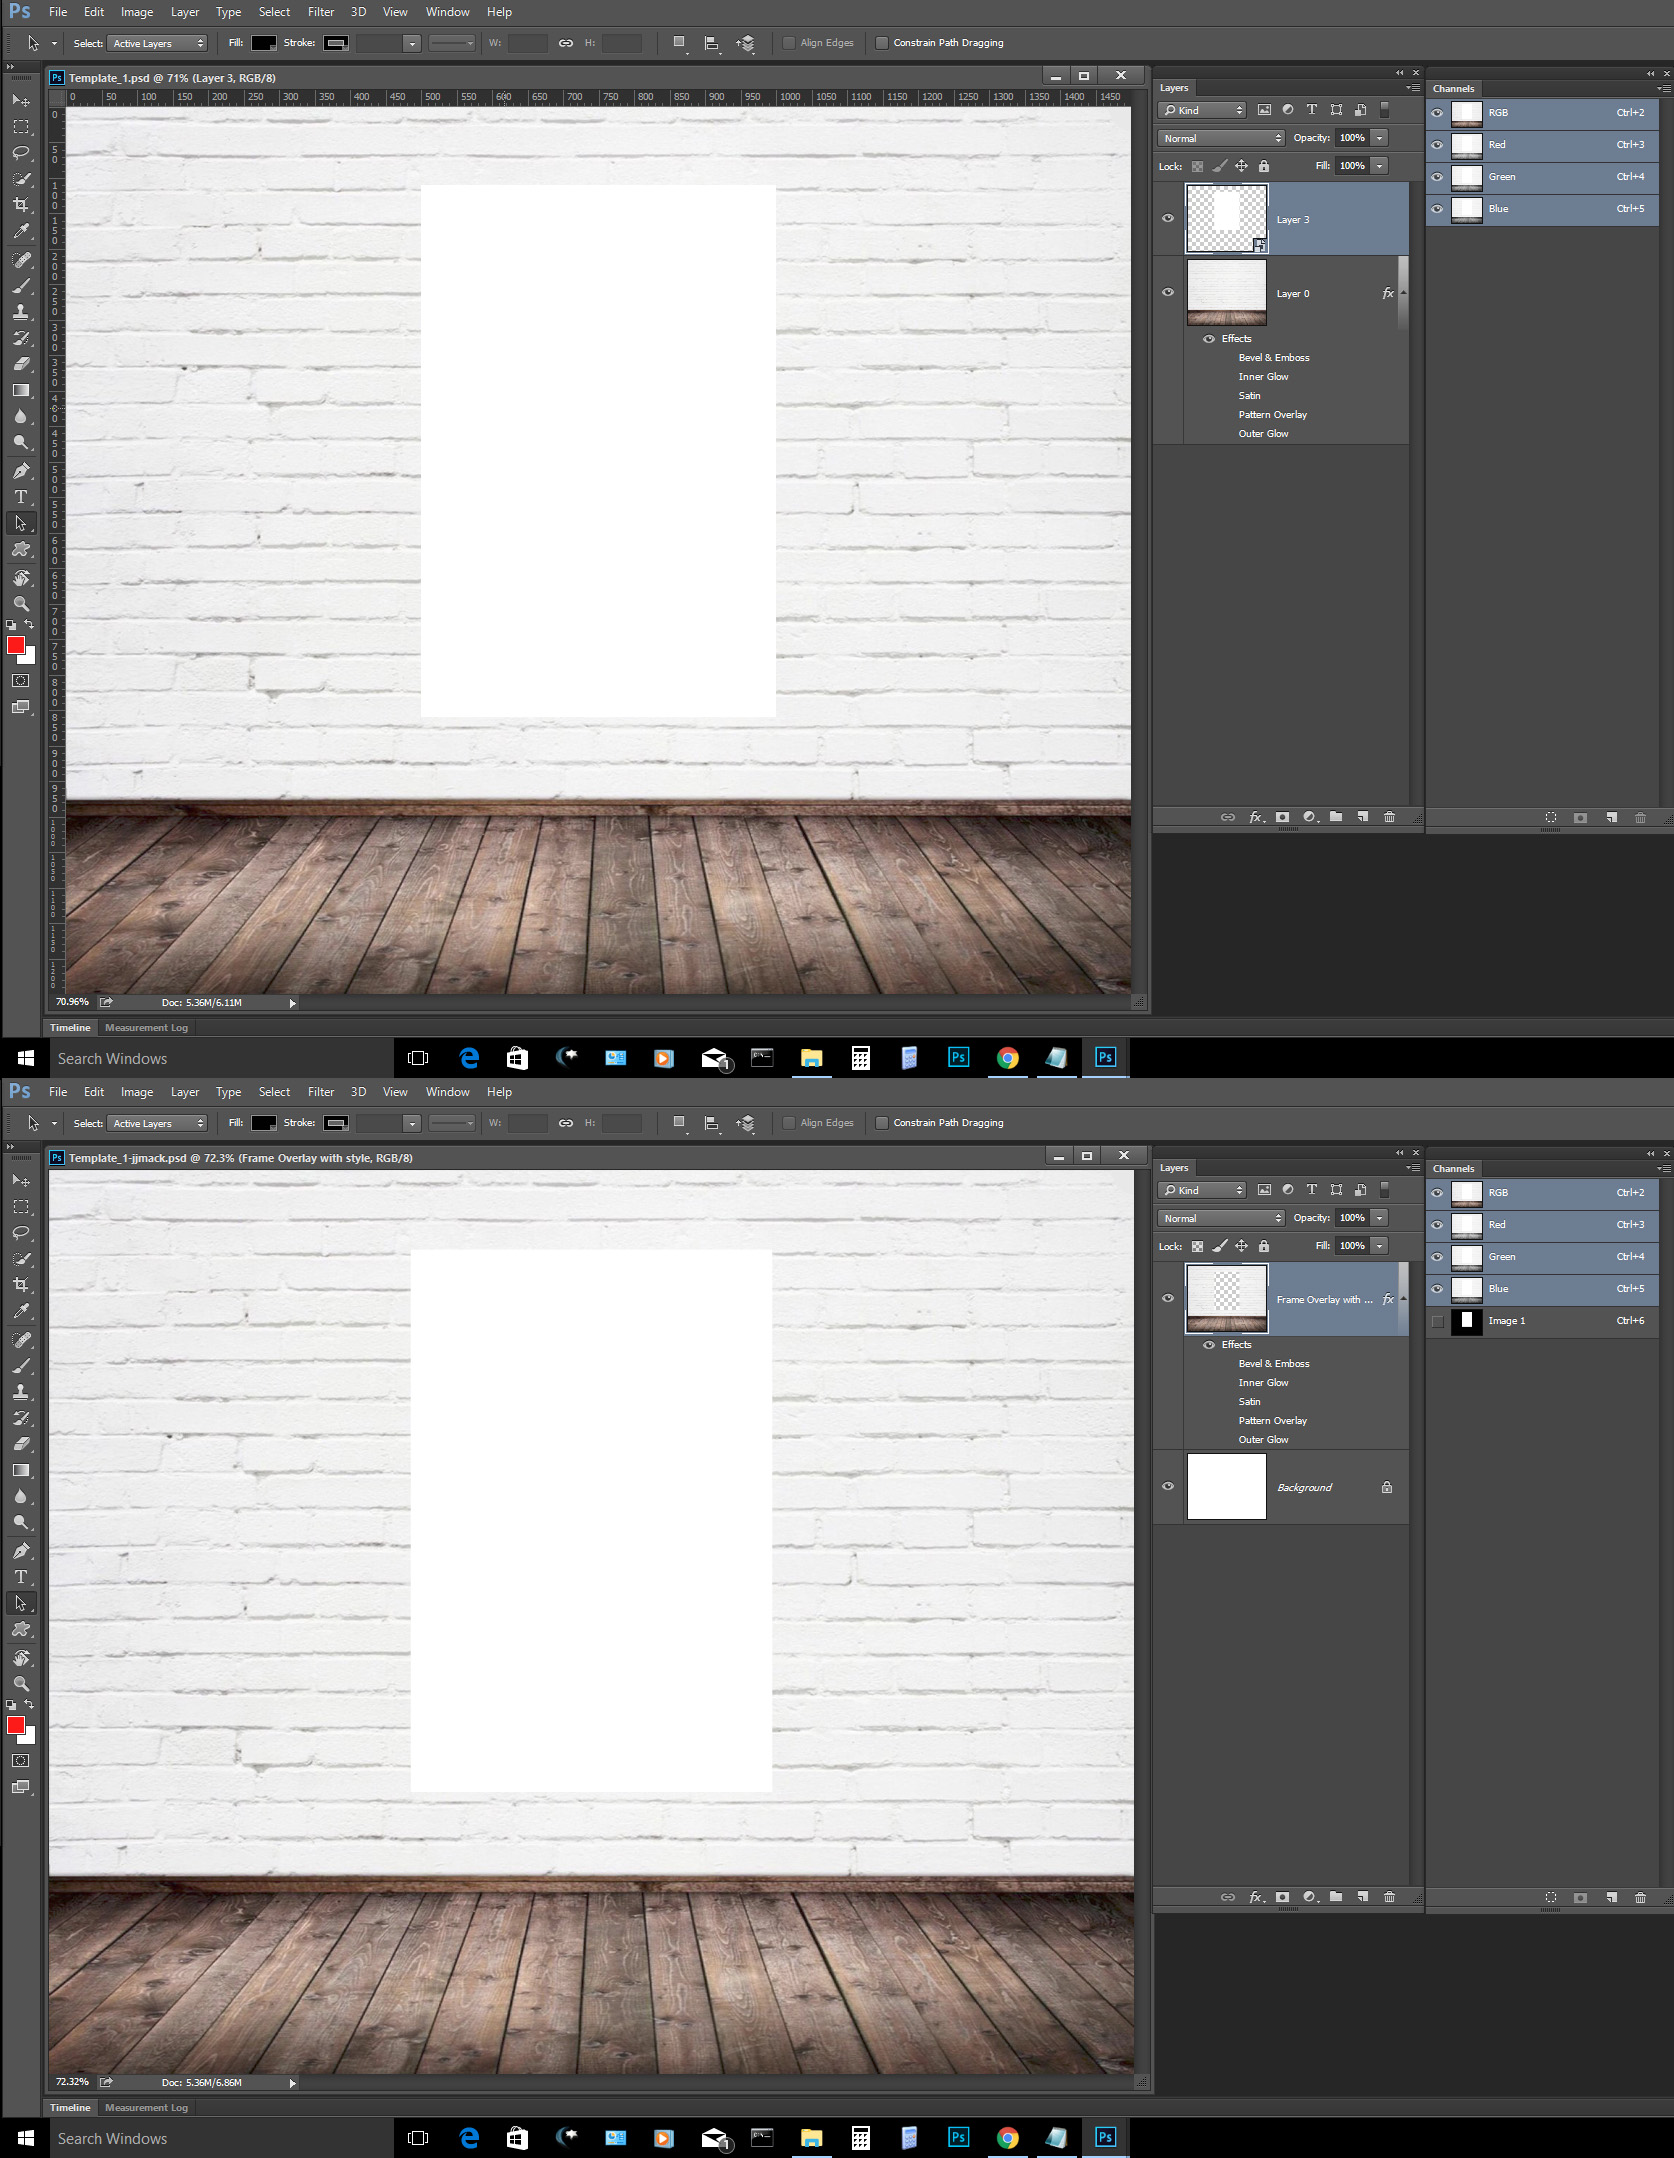
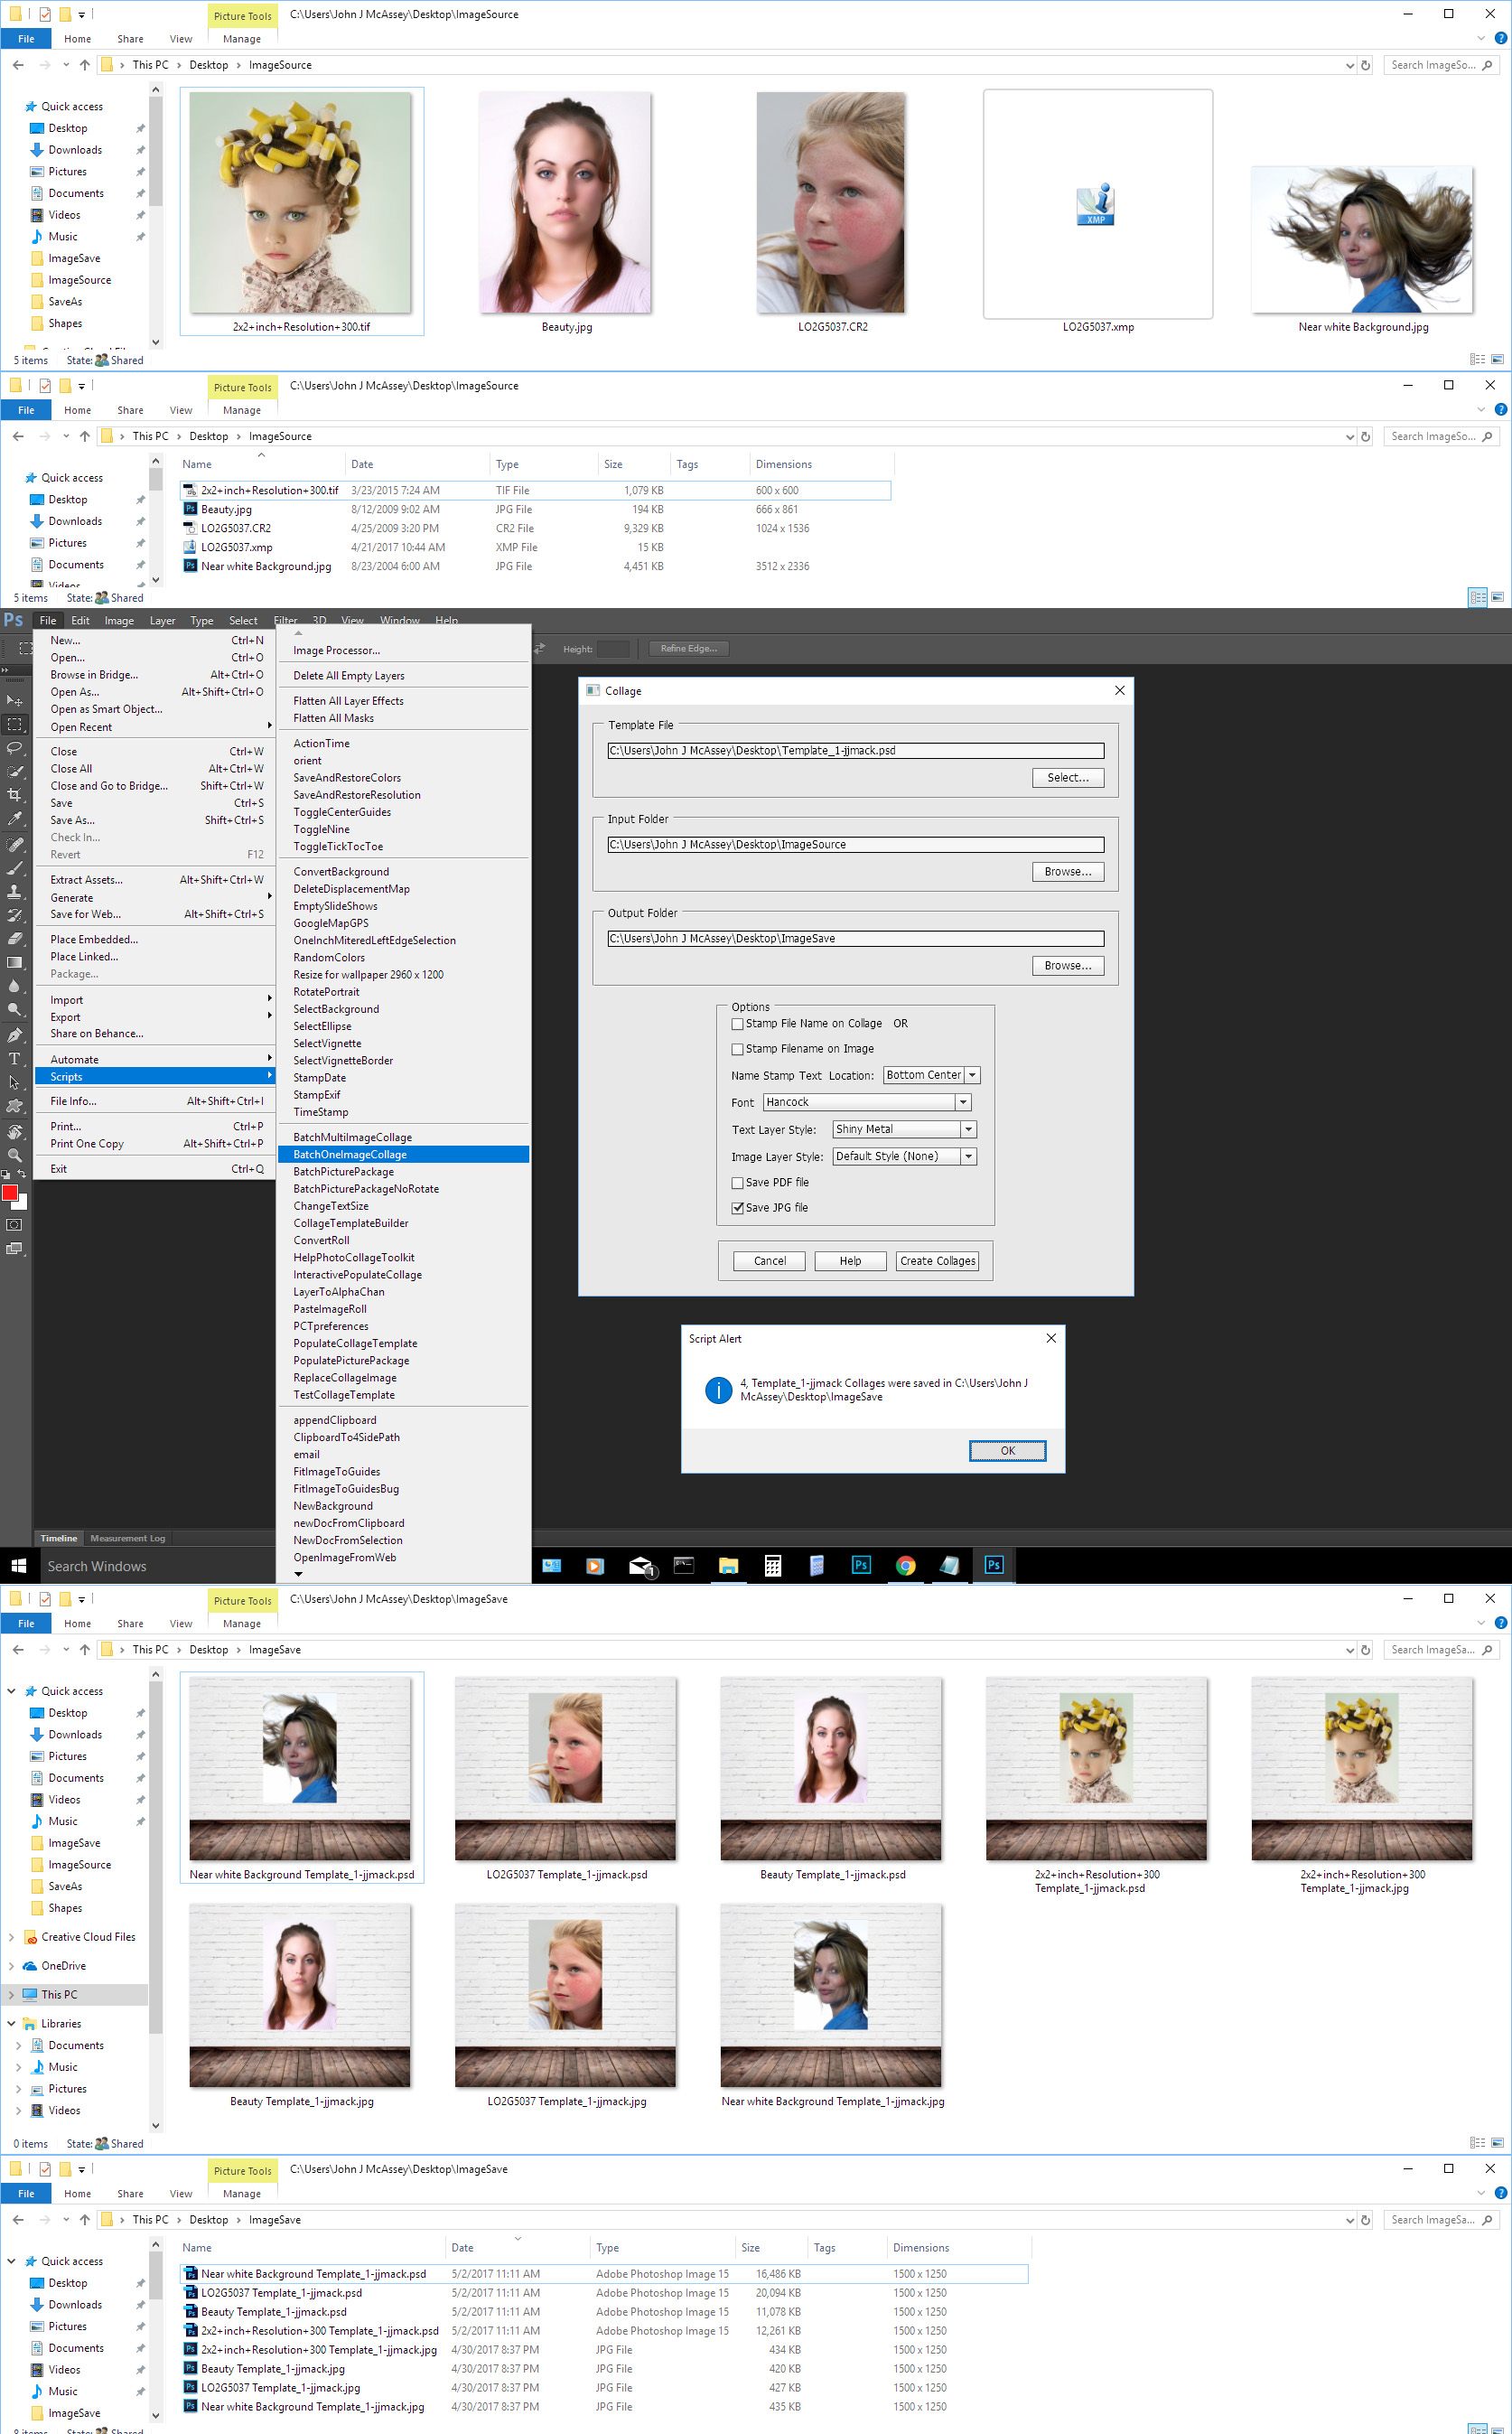
I converted your PSD template to a template that is usable with my scripts. Any size image can be populated however because your template image has an portrait orientation images used should have a portrait aspect ratio see below what happens when image are square or landscape.
Here is a comparison of templates.
Copy link to clipboard
Copied
Can you please upload template file which you used in this action?
Copy link to clipboard
Copied
Mine are not actions. They are scripts. Scripts are programs they can use logic actions can not.
I will not upload the template I made but I will give you the steps I did to covert your template to make it comply to my template design riles.
I ctrl+Clicked on your smart Object layer in the layer palette to load it transparency as as selection.
I used menu select save selection as new alpha channel named "Image 1"
Target your wall layer and pressed the delete key to clear the Image area.
Added a background layer.
Deleted your smart object layer and saved the PSD template
My scripts require a background layer to target. they will place in you images above the background layer in the order of "Image 1" , "Image 2", ... "Image n" the Alpha channels are used to size, position and mask you image to shape.
Text layers contain file names can optionally be added over image above all the layers in the template. Text Layers and Image layers can optionally have a layer style added.
You can not do things like that with an action.
Copy link to clipboard
Copied
Actions have limitation because the can not use logic. The also have problems with saving multiple files. Actions can be batch well with Photoshop features like Batch and Image processing scripts. Normally one image is process at a time and save the the next image is processed in the batch.
When you want to replace one or more image is a document Scripting it is a better approach. You can point the script at the template image and point it to to a source if image file to use as replacements. The source image could be any size a script can easily scale and mask images into place. It best that the image have matching orientations need not be exact same aspect ratio just landscape to landscape and portrait to portrait. Changing a image orientation looses to much of an images composition. The script can include additional options in its dialog a script can be a batch process an interactive process or fully automate populating a template and left open in Photoshop
Photo Collage Toolkit
Photoshop scripting is powerful and I believe this package demonstrates this A video showing a 5 image collage PSD template being populated with images:
The package includes four simple rules to follow when making Photo Collage Template PSD files so they will be compatible with my Photoshop scripts.
- Size the photo collage templates for the print size you want - width, height and print DPI resolution.
- Photo collage templates must have a Photoshop background layer. The contents of this layer can be anything.
- Photo collage templates must have alpha channels named "Image 1", "Image 2", ... "Image n".
- Photo collage templates layers above the background layers must provide transparent areas to let the images that will be placed below them show through.
There are fifteen scripts in this package they provide the following functions:
- HelpPhotoCollageToolkit.jsx - Online Help
- TestCollageTemplate.jsx - Used to test a Photo Collage Template while you are making it with Photoshop.
- CollageTemplateBuilder.jsx - Can build Templates compatible with this toolkit's scripts.
- LayerToAlphaChan.jsx - Used to convert a Prototype Image Layer stack into a template document.
- InteractivePopulateCollage.jsx - Used to interactively populate Any Photo Collage template. Offers most user control inserting pictures and text.
- ReplaceCollageImage.jsx - use to replace a populated collage image Smart Object layer with an other image correctly resized and positioned.
- ChangeTextSize.jsx - This script can be used to change Image stamps text size when the size used by the populating did not work well.
- PopulateCollageTemplate.jsx - Used to Automatically populate a Photo Collage template and leave the populated copy open in Photoshop.
- BatchOneImageCollage.jsx - Used to Automatically Batch Populate Collage templates that only have one image inserted. The Collage or Image may be stamped with text.
- BatchMultiImageCollage.jsx - Used to Automatically Batch Populate Any Photo Collage template with images in a source image folder. Easier to use than the interactive script. Saved collages can be tweaked.
- PasteImageRoll.jsx - Paste Images into a document to be print on roll paper.
- BatchPicturePackage.jsx - Used to Automatically Batch Populate Any Photo Collage template with an image in a source image folder. Images Rotates for best fit.
- BatchPicturePackageNoRotate.jsx - Used to Automatically Batch Populate Any Photo Collage template with an image in a source image folder.
- PopulatePicturePackage.jsx - Used to Automatically populate a Photo Collage template Fill with the same single image and leave the populated copy open in Photoshop.
- PCTpreferences.jsx - Edit This File to Customize Collage Populating scripts default setting and add your own Layer styles.
Copy link to clipboard
Copied
1) A single image split into a faux triptych
or
2) 3 separate images, combined into a single/split image
Two very different things my scripts do the second 1 to 53 images can be batch populated into a template a template can have 1 to 53 image locations.
Spiting up an image my scripts do not do. However you could populate an single image and overlay the populated image with a mat the has three openings to show three parts of the image.
Copy link to clipboard
Copied
images are populated in the sequence of the alpha Chanels image 1 image 2 image 3 File in file name sort order. If you read the documentation you will know how to use the package and the images will be where you want the populated
-
- 1
- 2
