Known Participant
May 13, 2019
Answered

Skin retouching help 1

  • May 13, 2019
  • 6 replies
  • 1456 views

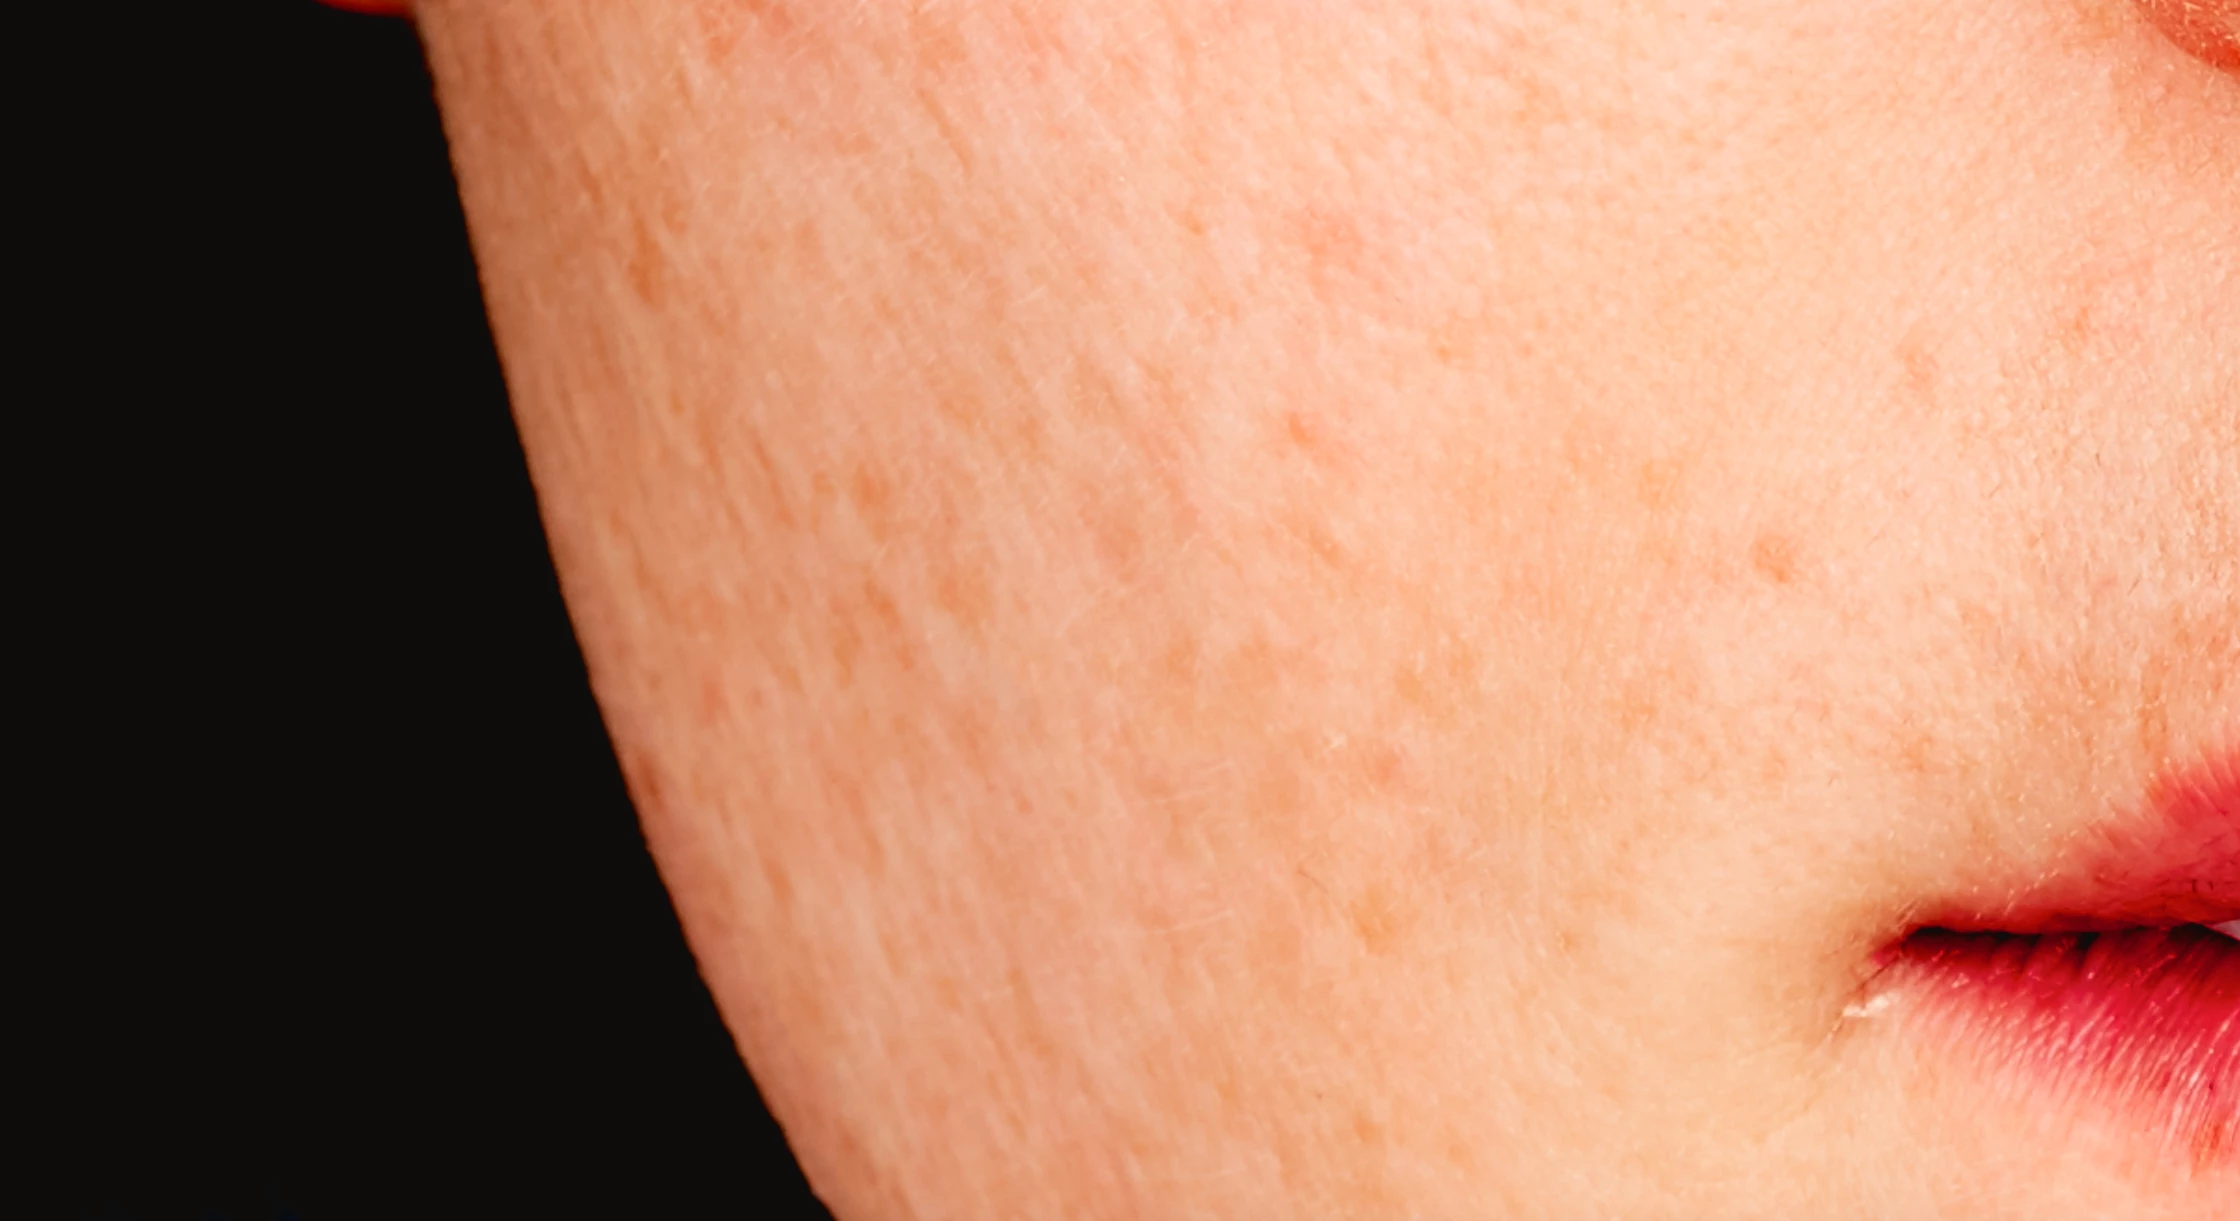
Lowered the exposure.

Original

I would like to start asking about skin retouching in detail. For today, any idea what I should do for her skin? How can I remove her spots and then unify her skin texture or surface?

    This topic has been closed for replies.
    Correct answer Daniel E Lane

    Go to this link. The guy is kind of a goof-ball, but he does a great explanation of how to do frequency separation the best way.

    The Amazing Power of Frequency Separation Retouching in Photoshop - YouTube

    6 replies

    aiur4Author
    Known Participant
    May 14, 2019

    One issue

    After I paint the mask, if I want to paint again, it removes paint mask. I didnt even use black but white and yet it still removes my masking.

    Using black doesnt even remove or reverse the masking. Only white does. How come?

    c.pfaffenbichler
    Community Expert
    Community Expert
    May 14, 2019

    What is the Brush Tool’s Blend Mode?

    Could you please post a screenshot with the pertinent Panels (Layers, Channels, Options Bar, …) visible?

    aiur4Author
    Known Participant
    May 14, 2019

    I never changed the mode between black and white. And yet it removes the masking.

    davescm
    Community Expert
    Community Expert
    May 13, 2019

    Hi

    Another vote for high frequency retouching here.

    I think it is always worth learning the manual steps first bfore using actions.

    So:

    1.Make 2 new duplicate layers (Ctl+J)

    2. Name the lower layer - Low frequency

        Name the upper layer - High frequency

    3. Select the "Low Frequency Layer" and use Filter Gaussian Blur (approx 6.0)
    4. Select the "High Frequency layer"
        Go to Image - Apply Image
        Set Layer as Low Frequency
        Set blending to Subtract
        Set Scale 2
        Set Offset 128
        Click OK

    5. Change the Blending mode of the high frequency layer to Linear Light.

    Now you can clone out sharp blemishes on the High frequency layer and deal with darkening /lightening and softer areas on the low frequency layer

    Note the above applies to 8 bit images. For 16 bit images step 4 changes slightly to :

    4. Select the "High Frequency layer"

        Go to Image - Apply Image

        Set Layer as Low Frequency

        Tick Invert

        Set blending to Add

        Set Scale 2

        Set Offset 0

        Click OK

    Dave

    Daniel E Lane
    Daniel E LaneCorrect answer
    Inspiring
    May 13, 2019

    Go to this link. The guy is kind of a goof-ball, but he does a great explanation of how to do frequency separation the best way.

    The Amazing Power of Frequency Separation Retouching in Photoshop - YouTube

    Norman Sanders
    Legend
    May 13, 2019

    1. Duplicate the layer

    2. Filter > Blur > Gausian blur 56.0 (for this particular image)

    3. In the History panel move the History Brush symbol down to the Gaussian Blur step

    4. Still in the History panel, click on the step before the Gaussian Blur step. It will deblur the view

    5. In the Tools panel choose the History Brush. Options bar: Soft brush, Mode: Lighten

    6. Paint strokes across blemished areas to smooth skin but maintain modeling.

    Trevor.Dennis
    Community Expert
    Community Expert
    May 13, 2019

    Camera RAW  > negative Clarity is an easy way to improve skin texture.   I'm  told  that a lot of wedding photographers use this trick nowadays.  Making the layer a Smart Object is a good way to go.  Negative Clarity is 'reasonably' good at ignoring the bits you don't want to  loose detail from, but it is best to paint out the effect in the SO mask.

    [EDIT]  I should have said...  I  used a value of -90 for  the above example.

    c.pfaffenbichler
    Community Expert
    Community Expert
    May 13, 2019

    One option would be frequency separation, a Smart Object, desaturated and with High Pass applied, set to Blend Mode »Linear Light« on a blurred version or even a Layer with Brush-painting.