Like Tom Bergeron used to do on AFV? Tom's Home Movies - YouTube Yes, it can be done.
You'll need to first cut out the head you wish you overlay. Once you've got that done satisfactorily, open up the video.
When you open the video, the Video Timeline should open. If not, it's under Window > Timeline.
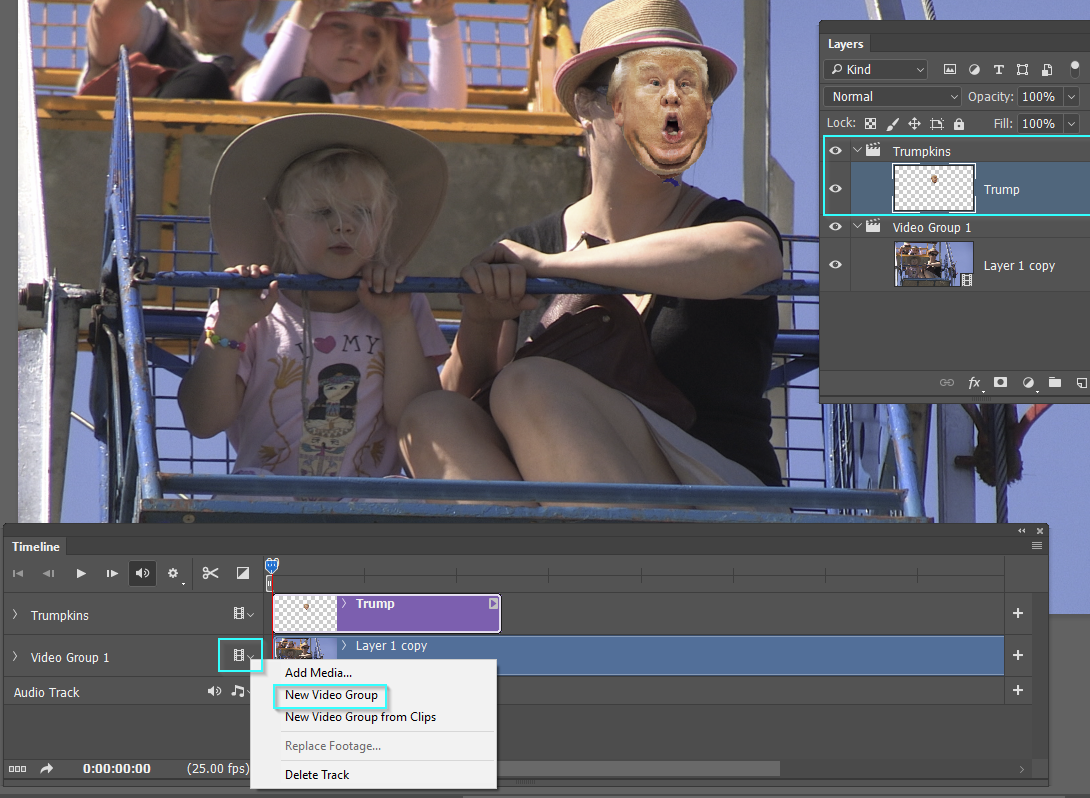
Go back to the document where you cut out the head to be overlaid and use the Move Tool to drag the image from the Canvas, to the video's document tab, and down to its canvas. Drop it where you'll need it for the first frame in the video, and size it appropriately. You should now have two layers. That head layer (as we'll be calling it) should now be converted to a Smart Object. Right click on the layer in the Layers' Panel and choose "Convert to Smart Object."
Now for the harder part.
Click the arrow at the left side of the head layer in the video timeline. You'll see three options; the one you want now is "Transform." To the left of the word "transform" you'll see a small stopwatch icon - click that to activate transform "keyframing"
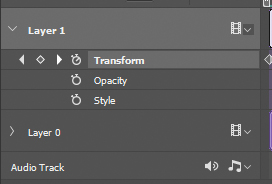
A keyframe is a marker (small diamond icon) which designates a certain set of values at that particular point. Between two keyframes, you'll have a period of transition from the first set of values to the next. For instance, if in the first keyframe we had a size of 100% listed, and four frames later a keyframe which had a value of 50%, the in between frame sizes would be: 87.5%, 75%, 62.5%, and, finally, 50% at the next keyframe.
Okay, time to put all this to use.
When you activated the keyframing, a new keyframe will be placed where the playhead is (this should be done with the playhead at the very beginning of the video clip). Go forward a few frames until you know the head layer needs to be repositioned. Add a new keyframe by clicking the diamond icon to the left of the word "transform', and between the two forward and back arrows (those are to skip froward and back one keyframe BTW). Hit Ctrl+T (or Cmd+T on a Mac) to enter the transform module. Reposition and hit Enter to apply the changes. The keyframing may need to be done every frame if there is a lot of erratic movement. Repeat this process until the end of your video.


Have fun!


 3
Replies
3
Replies


 AdChoices