Participating Frequently
January 11, 2021
Answered

Superimposing 2 images of different scale and rotation

  • January 11, 2021
  • 3 replies
  • 1640 views

Hi All,


I am a researcher of ancient coins. Every ancient coin is hand made, and like snowflakes, no two are alike. However, much can be learned by tracing the minting process of these coins through an examination of the dies used to make them. So, I have to compare different coins to see whether they were minted using the same dies.

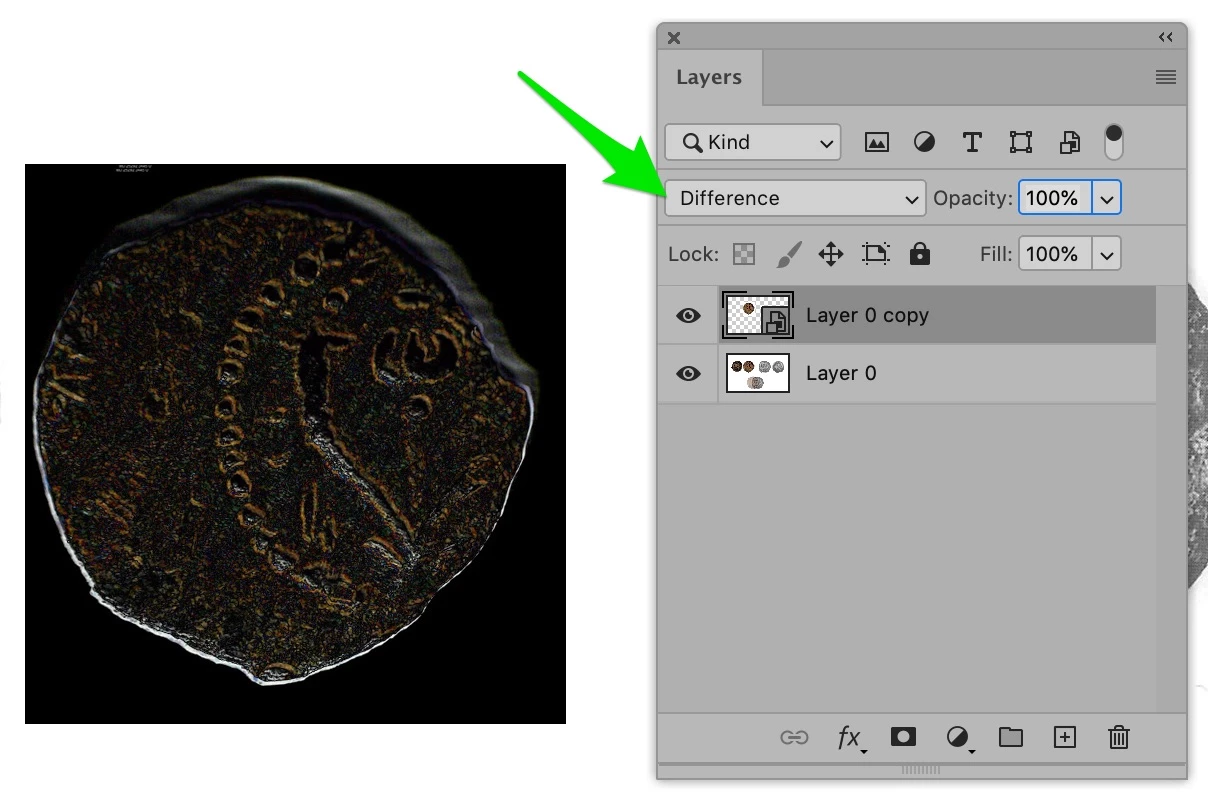
In order to do this I have to align two coin images on a Photoshop grid using two identifiable points that are visible on each coin. However, since I have collected these images from various coin collection sources, they are usually not of the same scale or rotation. So up until now, I have been putting two layers, each with one coin, on a white background with the grid showing, and slowing pulling the handles of the "transform" to get them aligned with each other and sized the same - exactly superimposed. Then I use the opacity function to check whether all the coin features line up, and they were made by the same die. However, this is very tedious! It takes dozens of nudges, pulls and rotations to get the two layers lined up exactly one atop the other. But, I have hundreds of coins to examine, and I have to find a better way!

My question is: Is there a way to simply "anchor" one point of the layer at a particular point on the background, and then "stretch" the other point to another point on the background while preserving the aspect ration of the layer? That way I can superimpose the two images in a snap!

I am attaching a Photoshop file of one such superimposition so that you can see what I am facing.


Many Thanks for any solutions or suggestions.


Haim

This topic has been closed for replies.
Correct answer EuanWilliamson

May I just add that having had to do something similar although not with coins,

You can combine the method @c.pfaffenbichler has outlined with

set the upper layer coin to difference mode.

Where the coins and dies are the same, the composit image will be black.

Where there are differences, they will show up. I've simulated this by duplicating one

of your coins and slightly offsetting the layers.

3 replies

War Unicorn
Community Expert
Community Expert
January 13, 2021

I wish I could mark both c.pffaf and Euan's answers as correct because they're both great answers.  : /

EuanWilliamson
Community Expert
Community Expert
January 13, 2021

That's very kind.


(ps I think you can)

Best regards, Euan.
War Unicorn
Community Expert
Community Expert
January 13, 2021

You can, kind of, sort of; the first marked correct answer is highlighted at the top, while any other answer marked correct will simply have a green checkmark and "correct answer" next to it.

EuanWilliamson
Community Expert
EuanWilliamsonCommunity ExpertCorrect answer
Community Expert
January 11, 2021

May I just add that having had to do something similar although not with coins,

You can combine the method @c.pfaffenbichler has outlined with

set the upper layer coin to difference mode.

Where the coins and dies are the same, the composit image will be black.

Where there are differences, they will show up. I've simulated this by duplicating one

of your coins and slightly offsetting the layers.

Best regards, Euan.
HaimShAuthor
Participating Frequently
January 11, 2021

Thanks Euan very much for this suggestion. That works nicely!


EuanWilliamson
Community Expert
Community Expert
January 12, 2021

You are most welcome.


I forgot to say, obviously you can use the opacity value to help see the alignment.

Best regards, Euan.
c.pfaffenbichler
Community Expert
Community Expert
January 11, 2021

First off: Smart Objects, Smart Objects, Smart Objects! 


• Set the top SO to 50% opacits and align one point 

• cmd-T

• set the Reference Point by click-dragging 

• press the alt-key to scale and rotate the SO from that point 


Or is that what you are doing now, anyway? 


HaimShAuthor
Participating Frequently
January 11, 2021

Thank you very much for this information!! I didn't even know about Smart Objects!

This will save me months of work!!!

I will read a tutorial or two on this and figure out how to use it.

Thanks again!

c.pfaffenbichler
Community Expert
Community Expert
January 11, 2021

Even for non-Smart Objects setting the Reference Point to the one point of clear »congruence« can be quite useful when transforming a Layer. 

But SOs can be repeatedly transformed without accumulating resampling damage, so they may be worth a try. But they will increase the filesize …