This question has come up before, but at first I couldn’t remember the solution. After a while, I finally figured it out again, as you see in the demo below. This is a difficult problem to solve, because the correct tool to use is not intuitive to discover, and also, I could not quickly find the answer in the Photoshop help files.
With a Type tool selected you can see that little circle with a cross, but as far as I know you can’t do anything about that crossed circle using a Type tool or the Move tool.
The solution:
You must select the Path Selection tool or Direct Selection tool, either one will work but almost no one would guess that those are the tools to use for this problem.
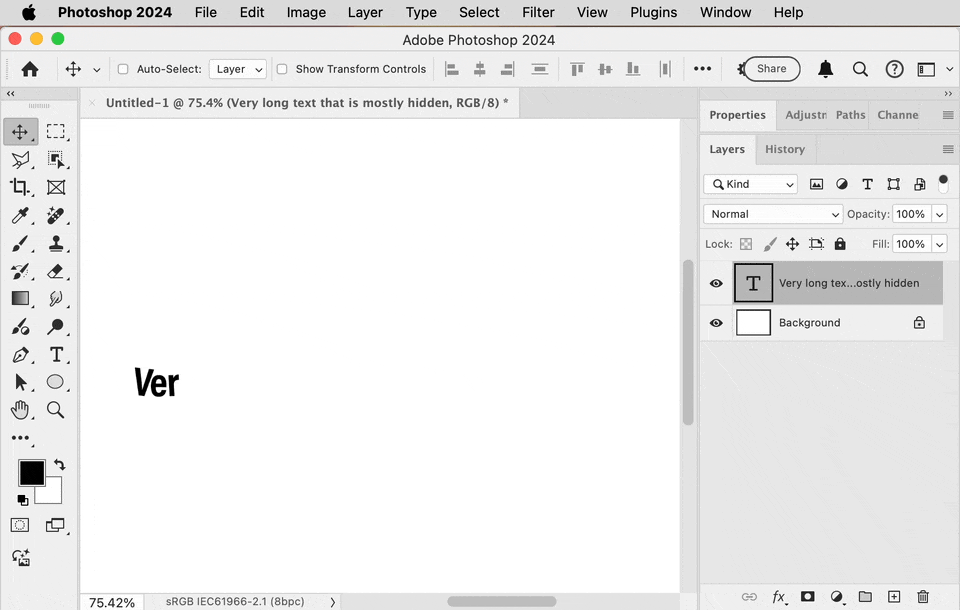
As you hover the Path Selection or Direct Selection tool near the path with the text on it, the pointer changes to be a text editing bar with a triangle pointing right, or a triangle pointing left. In your case you want to hover it until the triangle points left, and then drag to the right. As you drag, you’ll see that little crossed circle slide along the path. This extends that end point of the text. After a short delay Photoshop reveals more whole words, up to the point where you are holding or releasing the mouse button.
As you can see, this action also controls whether the text appears above or below the path, depending on if you drag up or down.
So, for your example, you want to hover until you see the “right end” pointer icon, then drag right, staying up so that you don’t flip the text down.