Answered
tone for the picture
+
Hi
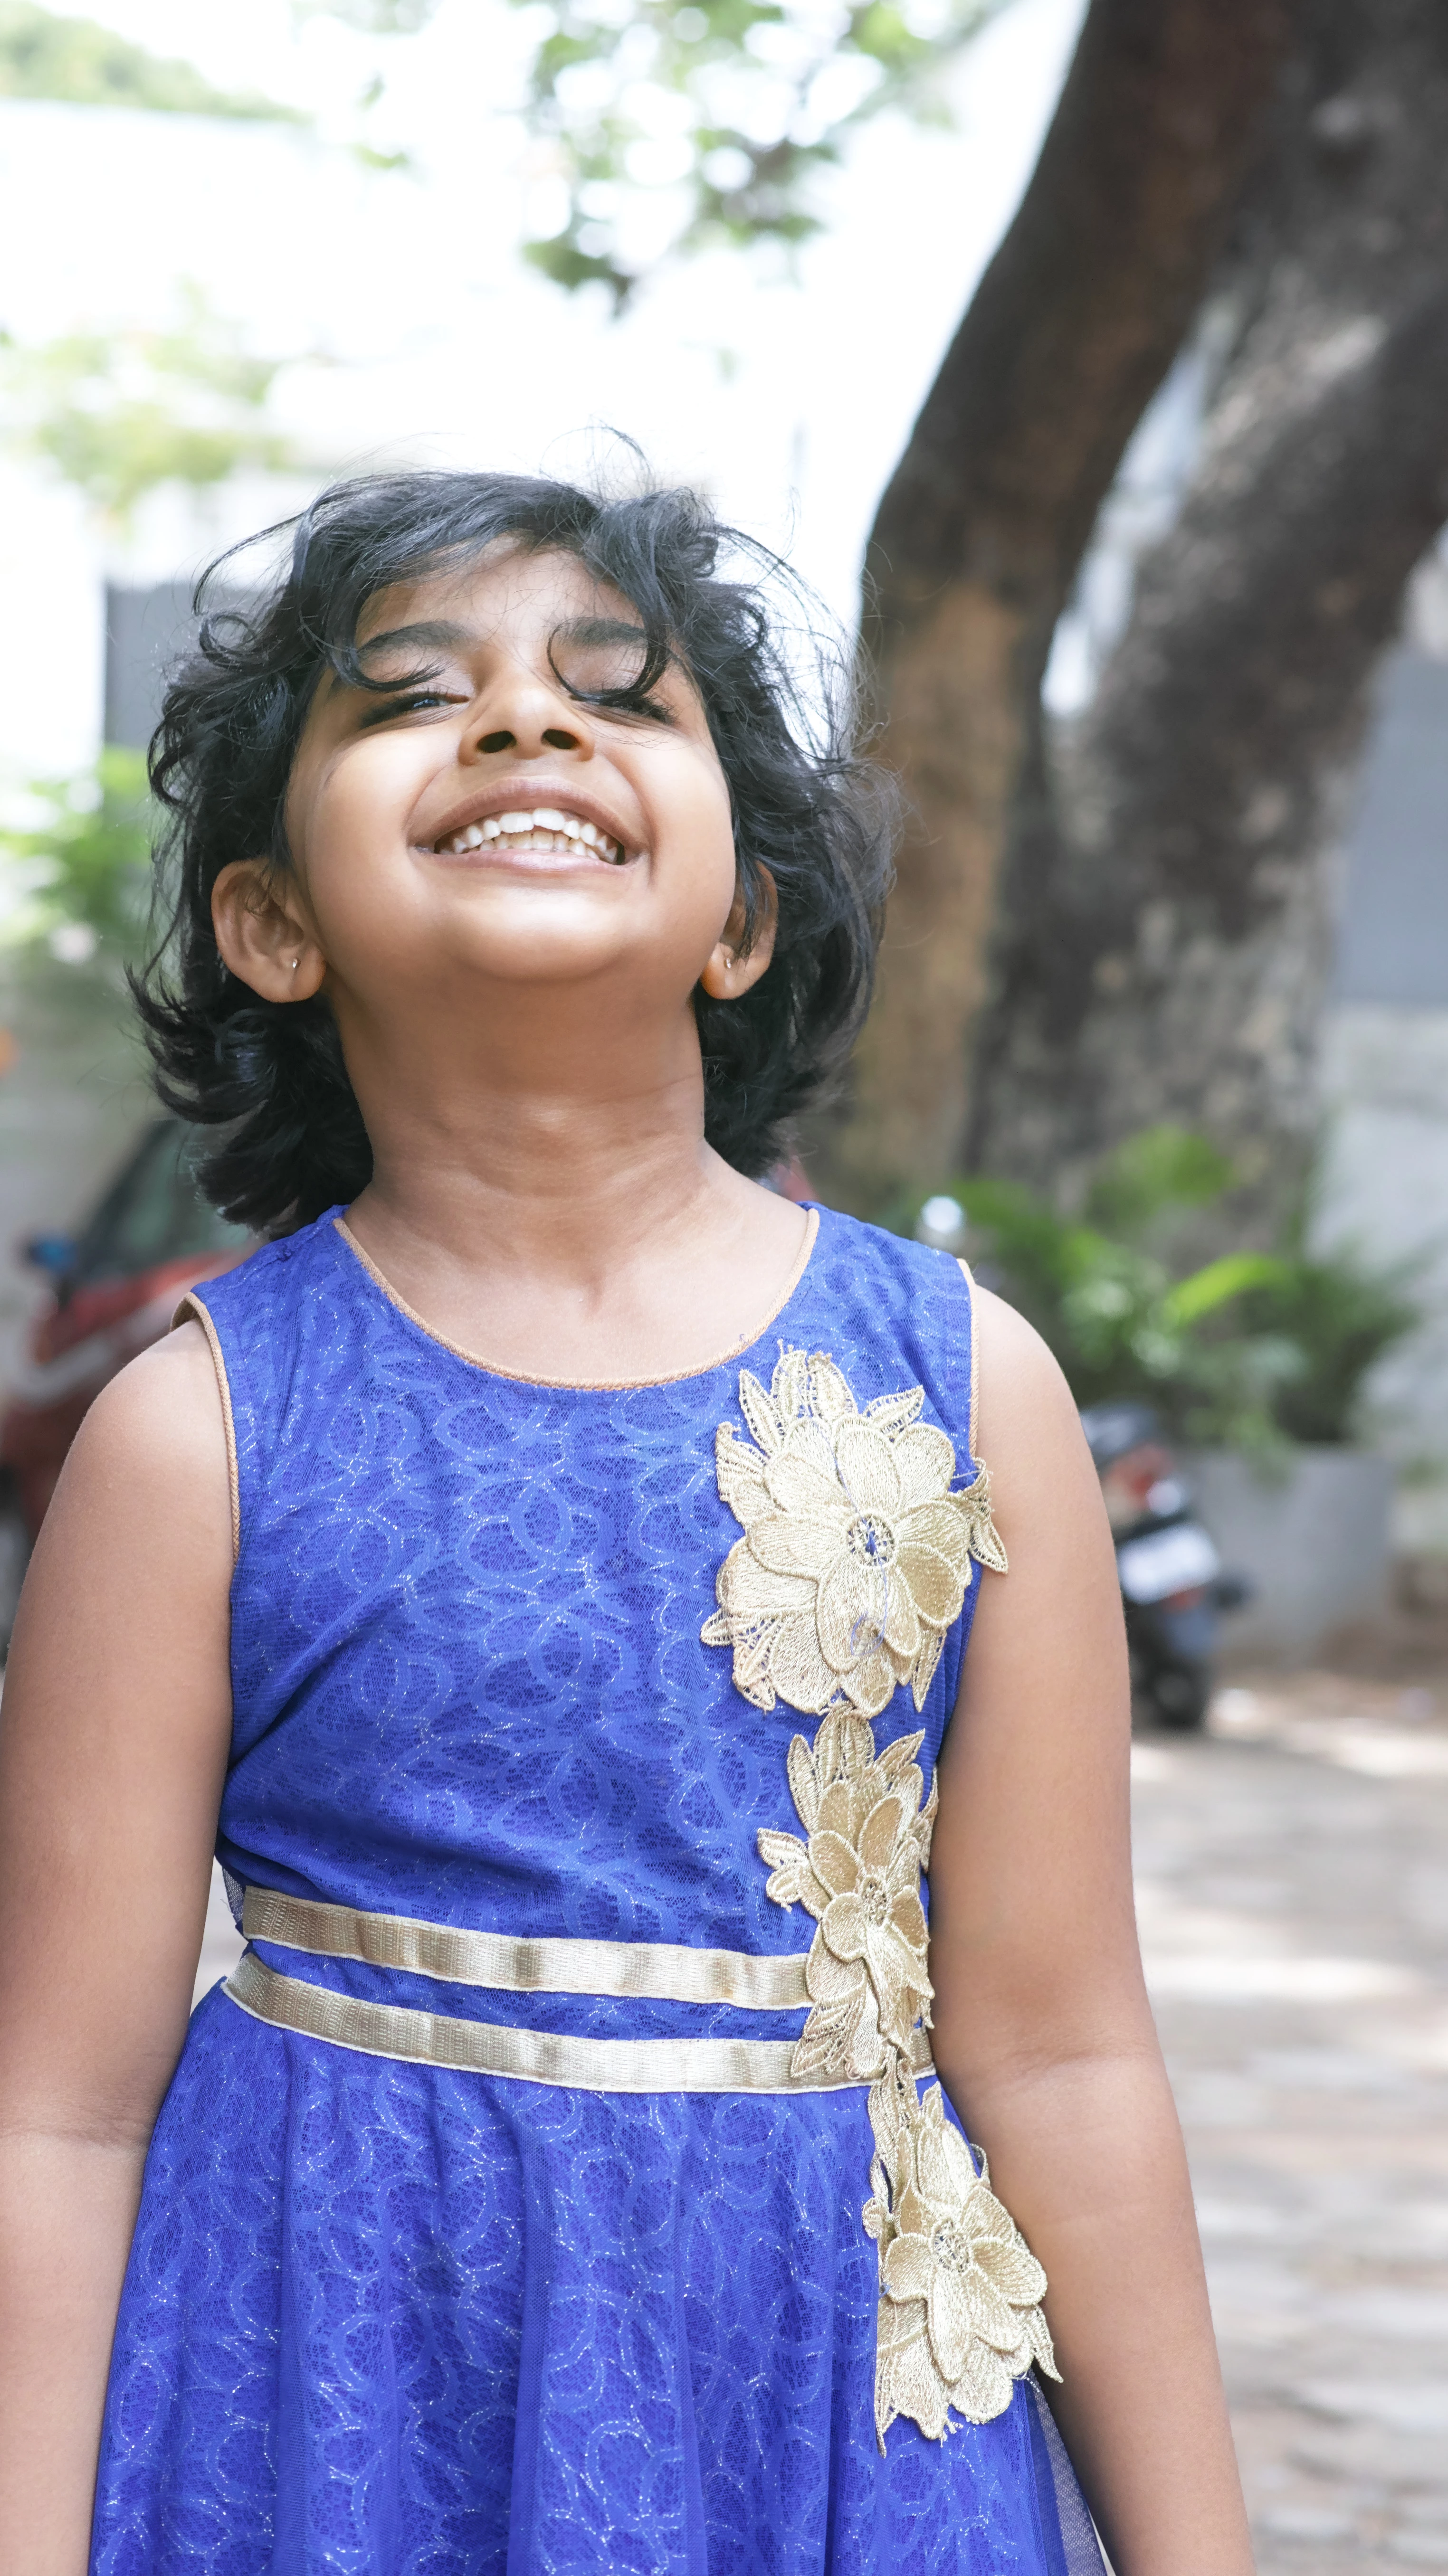
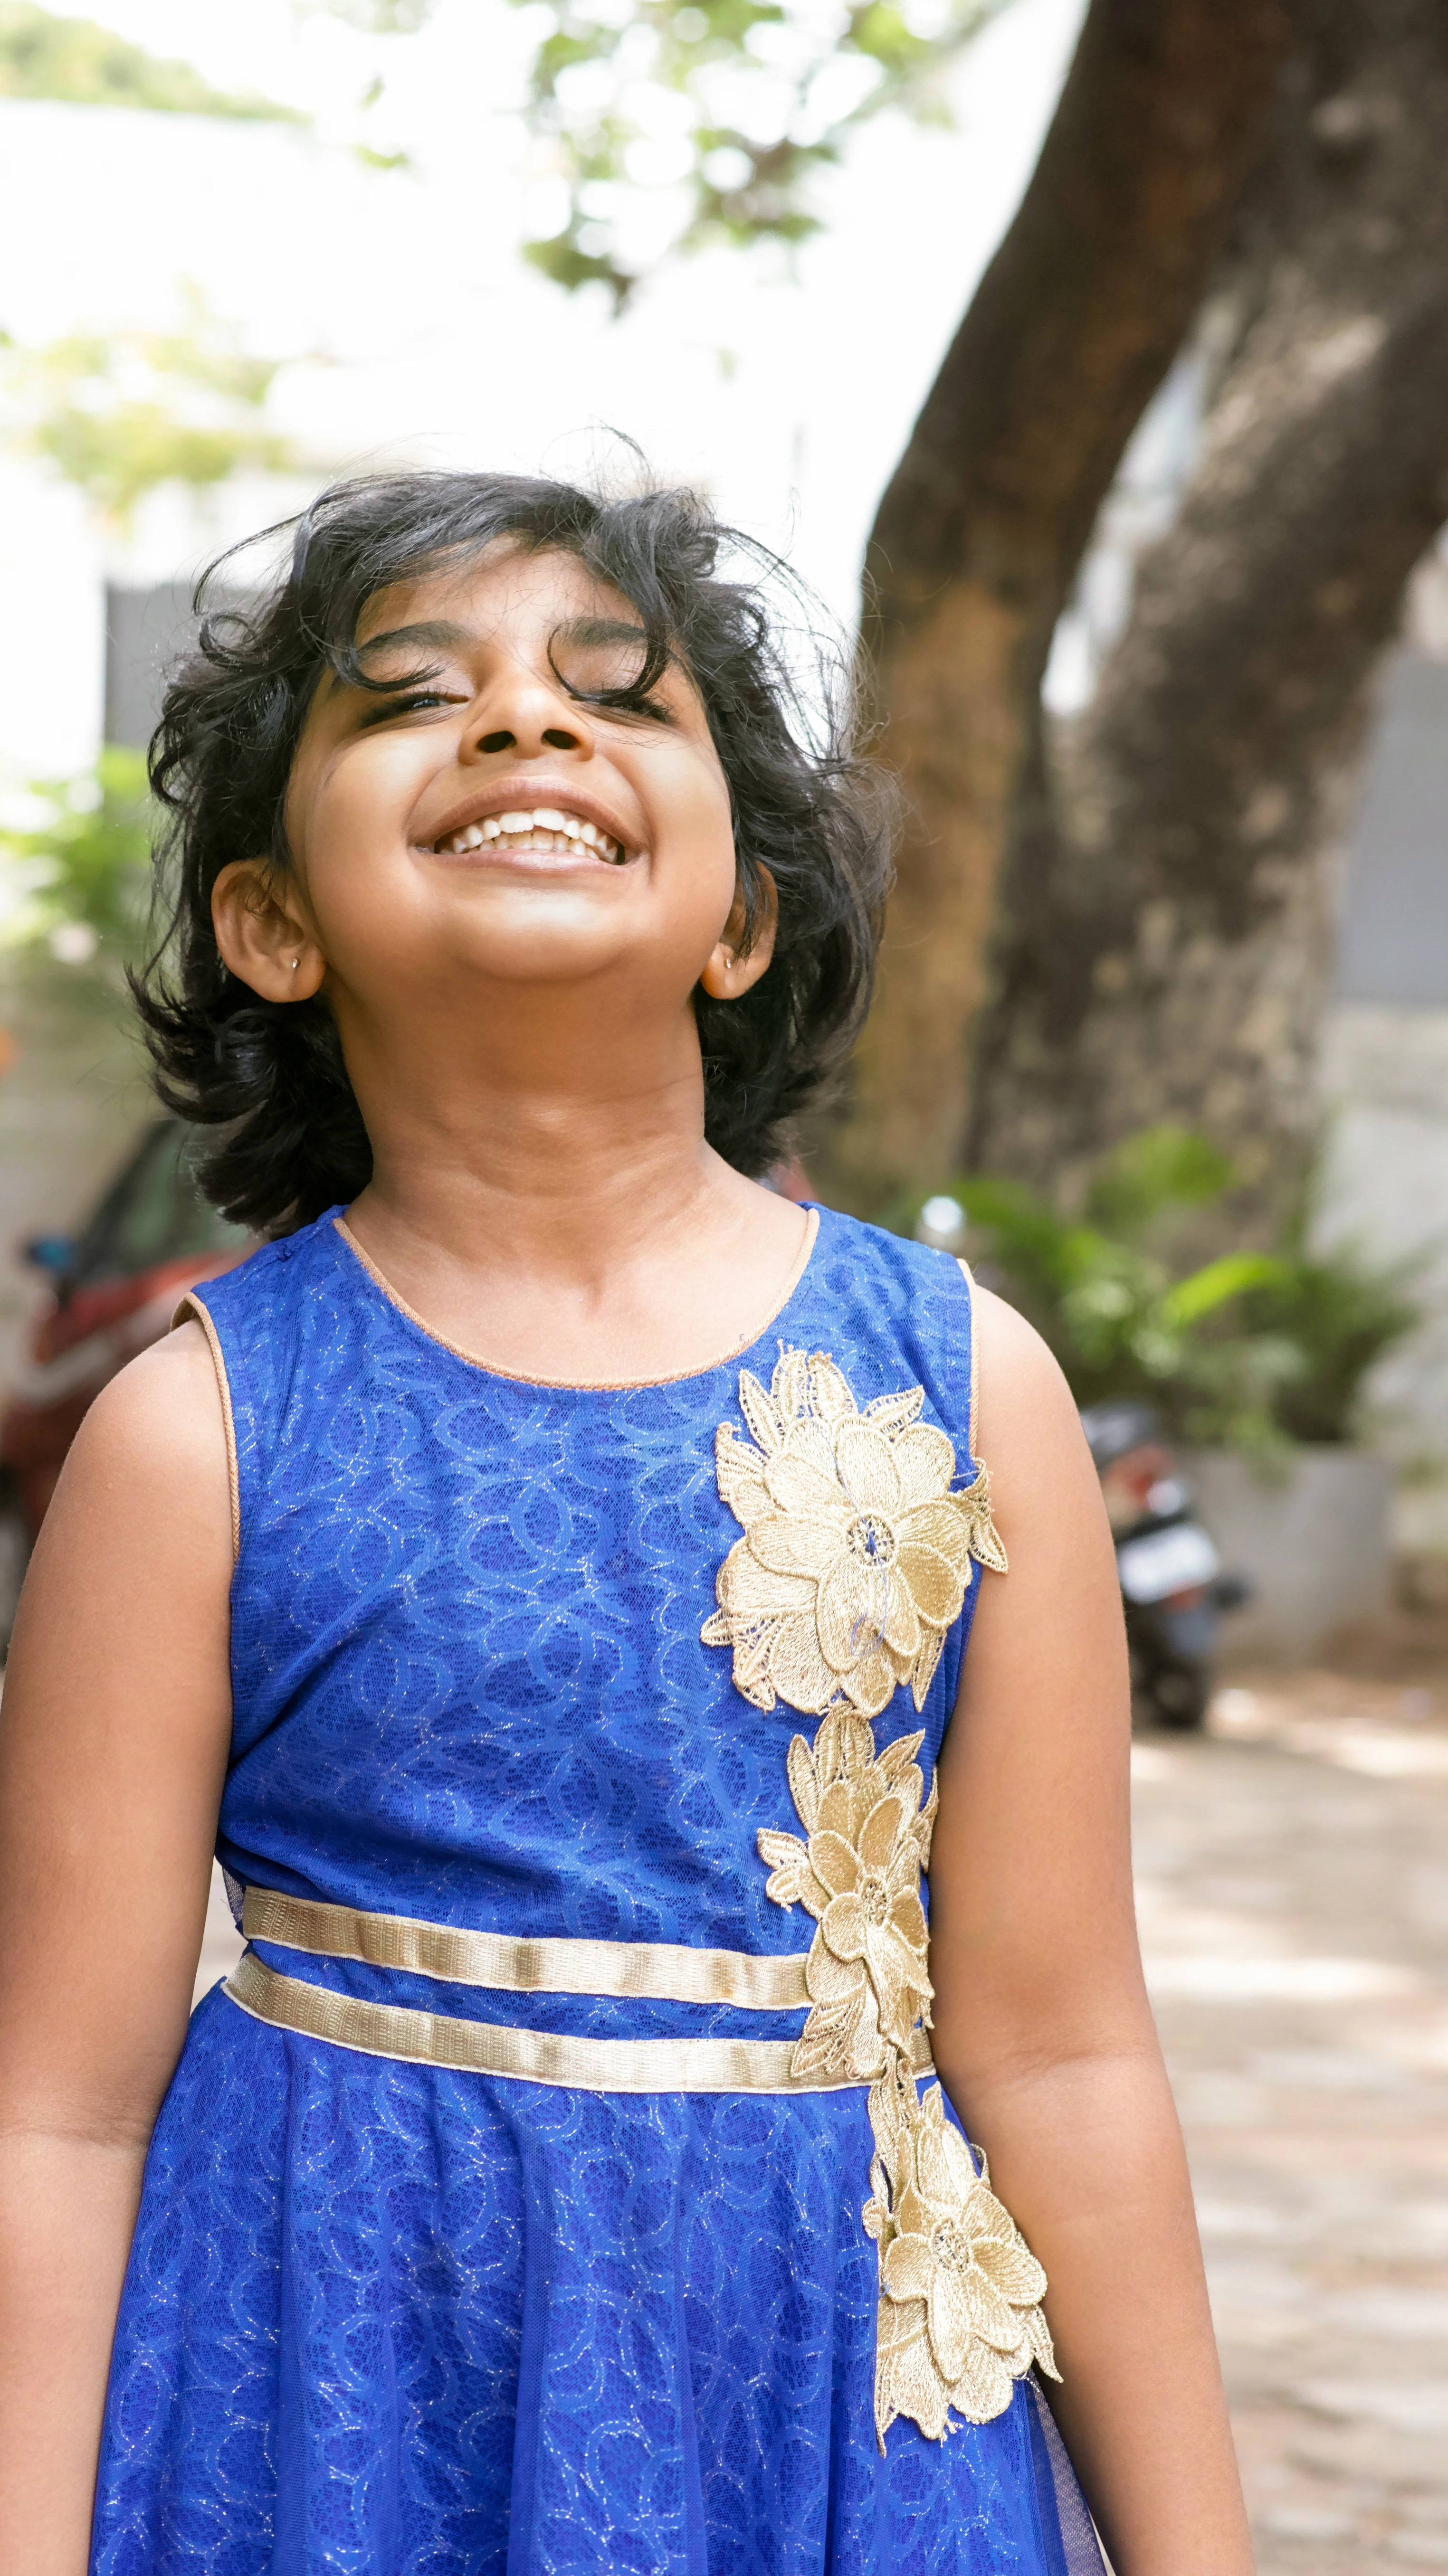
This is an unedited picture recently but am unable to decide a tone and adjustment for it. can someone please help me with this pic?

+
Hi
This is an unedited picture recently but am unable to decide a tone and adjustment for it. can someone please help me with this pic?
Hi
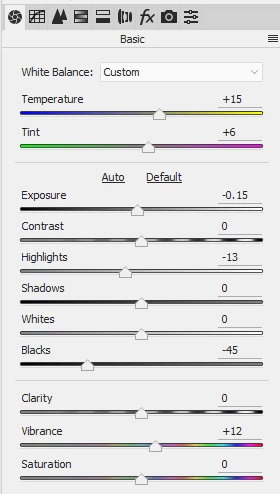
As others have said the tone treatment is very personal. I would not go too far with this, it is a nice picture, keep it subtle. For my take I used the camera raw filter.
First the general settings in particular warming up the white balance and lowering the highlights and blacks slightly :
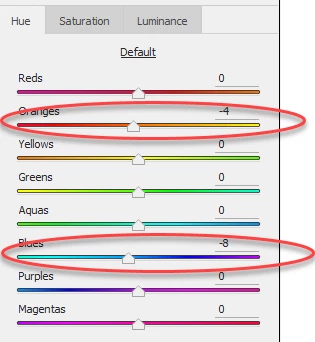
Followed by a little hue adjustment on the blue dress and the orange tones
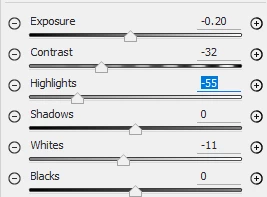
Finally a local adjustment brush on the checks and chin
Dave
Already have an account? Login
Enter your E-mail address. We'll send you an e-mail with instructions to reset your password.