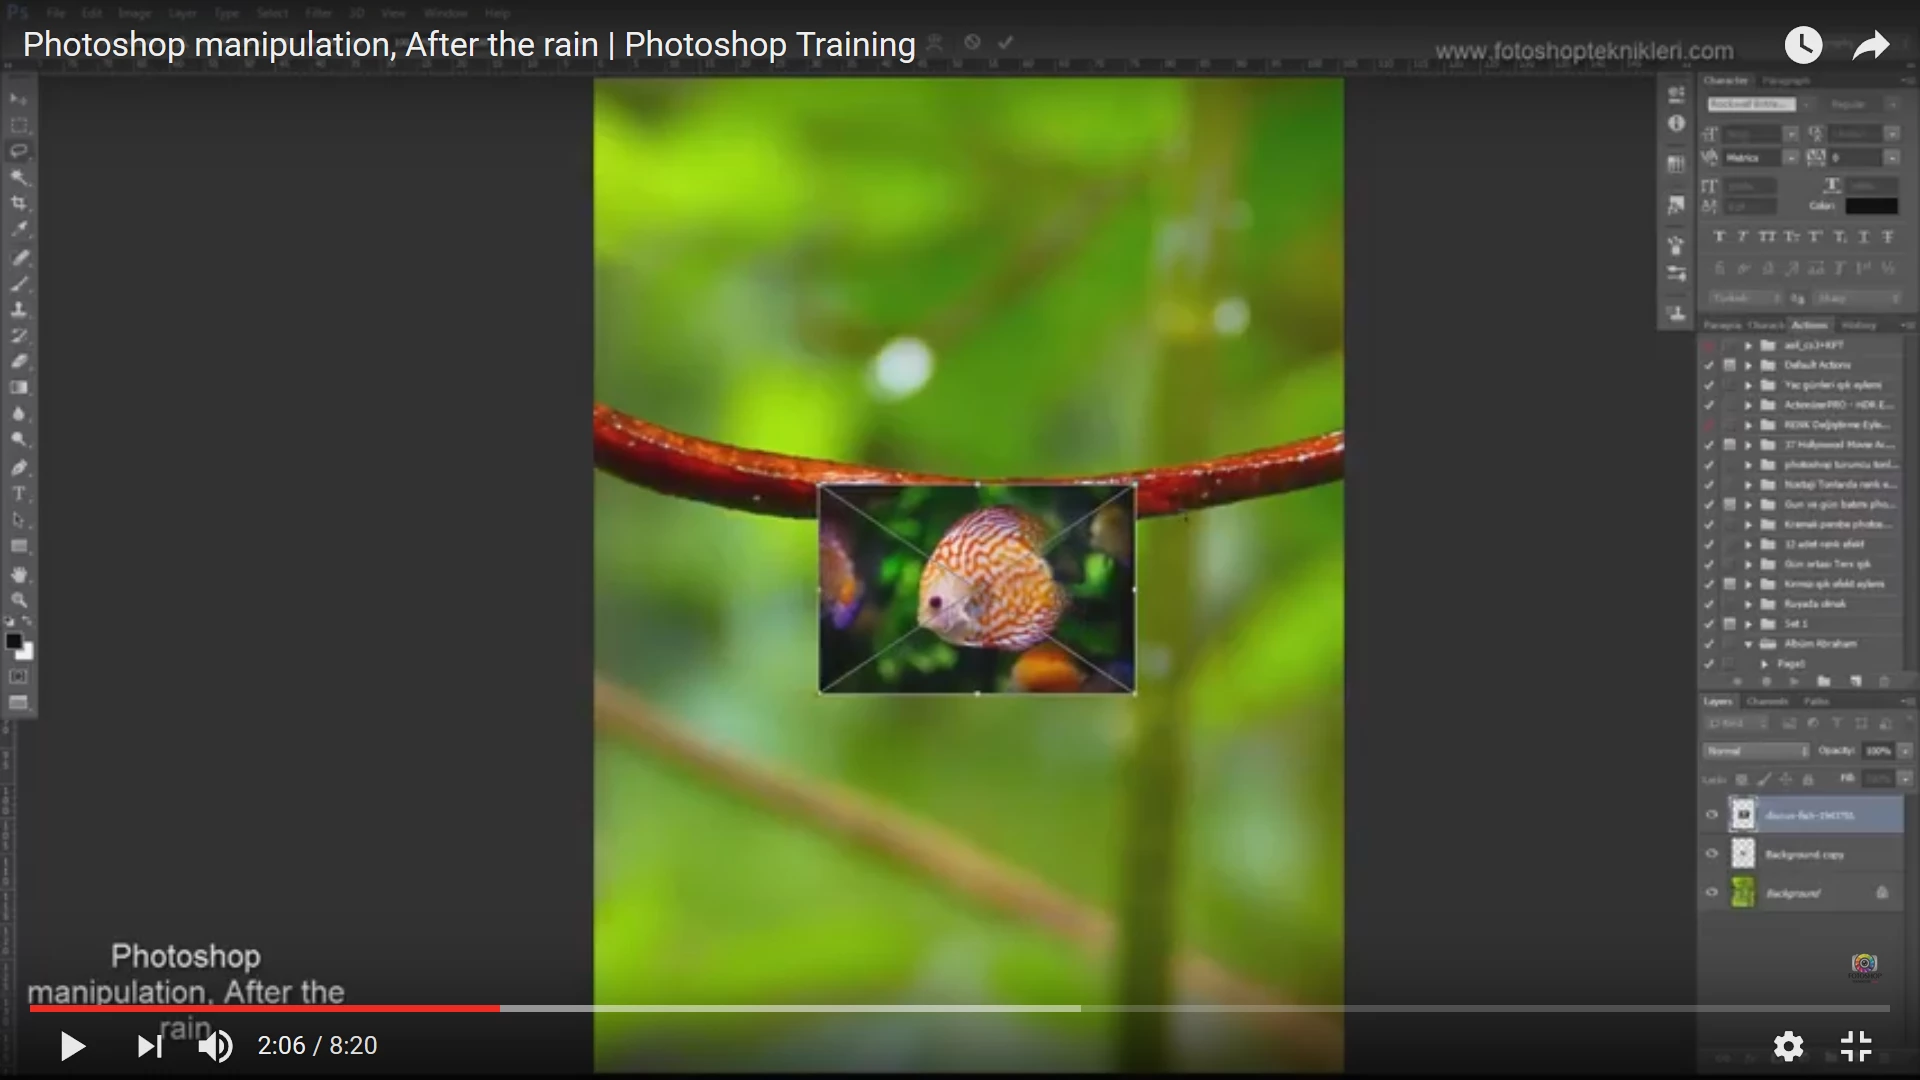
- Open the fish in its own document and use the quick selection tool found with the magic wand tool. Just click and hold if the magic wand is the visible tool in the tool bar to access the quick selection tool.
- Then drag around the fish until all of the background is selected. (you can also just select the fish if it is easier)
- Then in the layers panel at the bottom is an icon that looks like a circle inside of a square. Click that icon and it will create a mask from the selection you created on the selected layer. (in other words make sure the correct layer is selected before clicking the mask icon)
- Either the fish or the background will be transparent, since you want the background not the fish to be transparent, you can select the new mask thumbnail that was create in the selected layer and invert the mask using the invert command.
- If neither is transparent this can be due to opening a jpg that does not support a transparency or layers, if this is true you will see the layer in the layers panel will say background with a padlock after it.
- All you have to do is drag the padlock to the trashcan to convert the background layer to a normal layer. Then one of the two will be transparent.
- Knowing about what jpg's cannot do, this tells you that it is necessary to save the image in a format that supports transparency and layers. psd, tiff, and png are good options as both psd and tiff can do both however png only supports transparency and not layers. Which is why psd and tiff are excellent candidates for archiving files that can be edited later on. As they also support mast if not all features of photoshop.
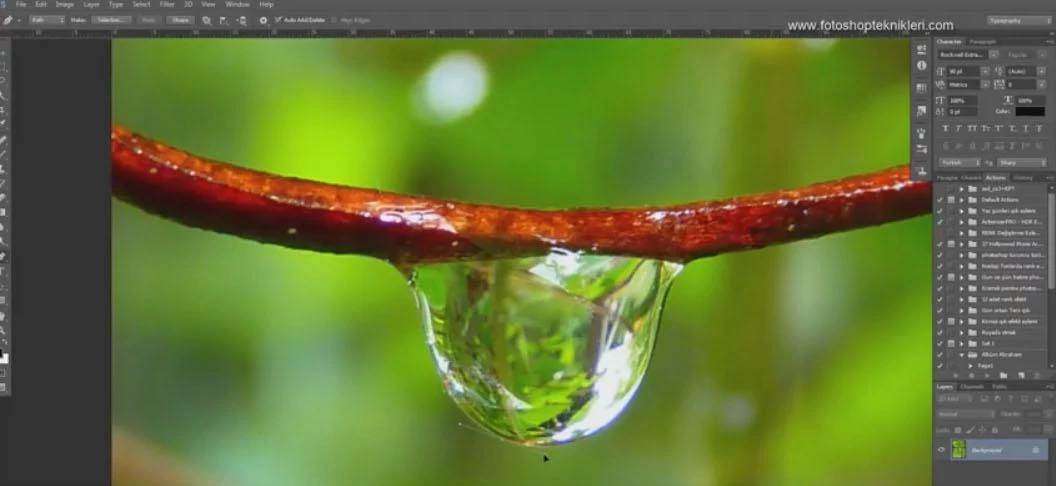
The new file can now be placed in the image with the water drop.
I hope this helps, if you get stuck, capture your entire screen with the layers panel open and any collapsed layers expanded so we can see them.
It would also help to state what steps you have done so far.