• Global community
    • Language:
      • Deutsch
      • English
      • Español
      • Français
      • Português
  • 日本語コミュニティ
    Dedicated community for Japanese speakers
  • 한국 커뮤니티
    Dedicated community for Korean speakers
Exit
0

Using Color Sample Tool/Curves to Match Skin Tone?

Engaged ,
Mar 17, 2018 Mar 17, 2018

Copy link to clipboard

Copied

I want to use Curves to match the skin tone from one layer to another using the specific tools listed below:

- I use the Color Sample Tool with a sample size of 31 x 31

- I select the Portrait layer (see attached)

- I sample THREE points; #1 on the cheek, something that I consider midtone, #2 underneath his right eye in the highlights, and #3 on his chin in a darker area for the shadows

- I create a Curves adjustment layer and clip it to the New Nose Layer

- I switch to the Red channel in Curves

- I select the Hand/Finger tool to click directly on the New Nose layer on an area of the nose that has highlights

- I press Shift + Command + Click where I want to place an identical point on the R, G ,B curves

- I now change the output value for the R channel to match sample #2 from the highlights to match the value of 251, I switch to Green and change the value to match 233 from sample #2, I switch to blue and I enter 231 for the output to match the output value from sample #2

1). Am I doing this correctly? When doing this, should I be entering the input values from the sample points (the ones on the left side) for each of the R,G,B values for each sample point?

2.) Do I just do the same thing for  the midtones and the dark values afterwards by repeating the same steps?

3.) Is there anything I am missing?

Thanks!!!Curves ASK.png

Views

10.5K

Translate

Translate

Report

Report
Community guidelines
Be kind and respectful, give credit to the original source of content, and search for duplicates before posting. Learn more
community guidelines
Adobe
LEGEND ,
Mar 18, 2018 Mar 18, 2018

Copy link to clipboard

Copied

It is true that skin tones are usually matched by the numbers when retouching, but in the case of composites with two completely different skin colors that can be close to impossible to do convincingly. I would suggest doing this job a different way.

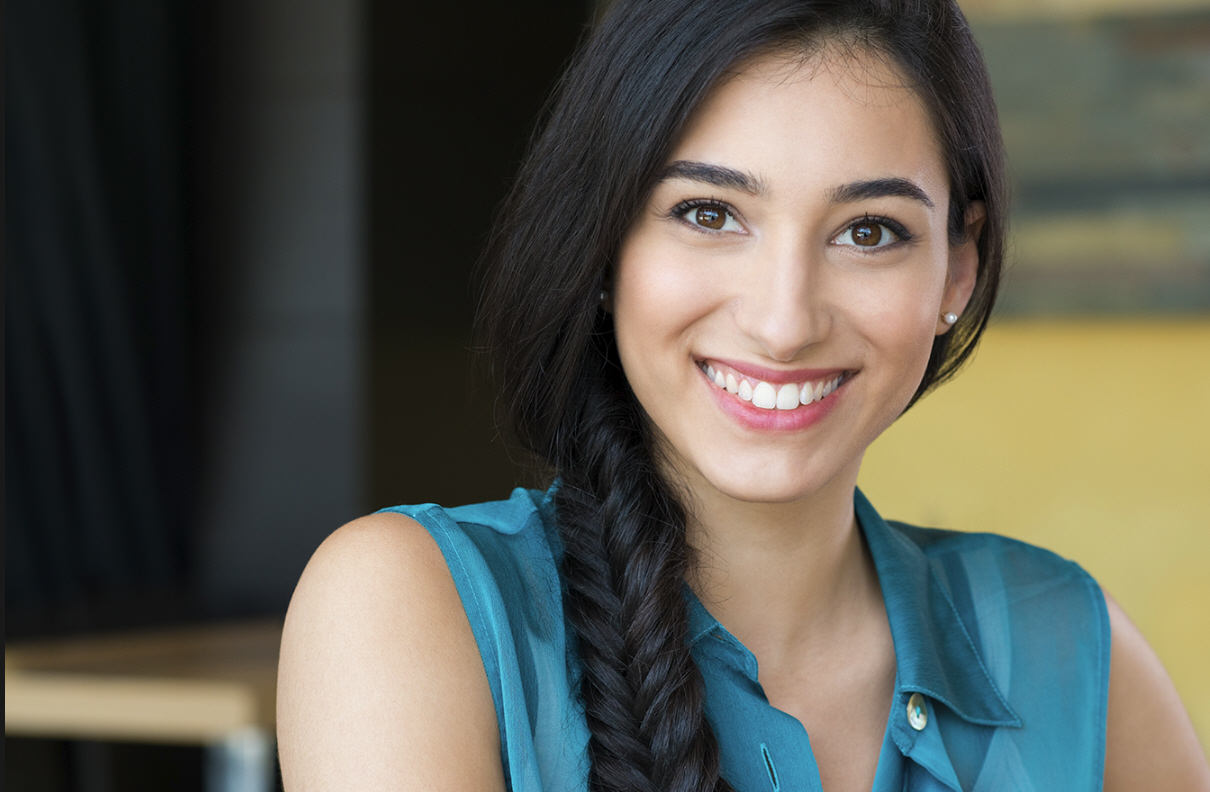
I started with this Adobe Stock image

nose1.jpg

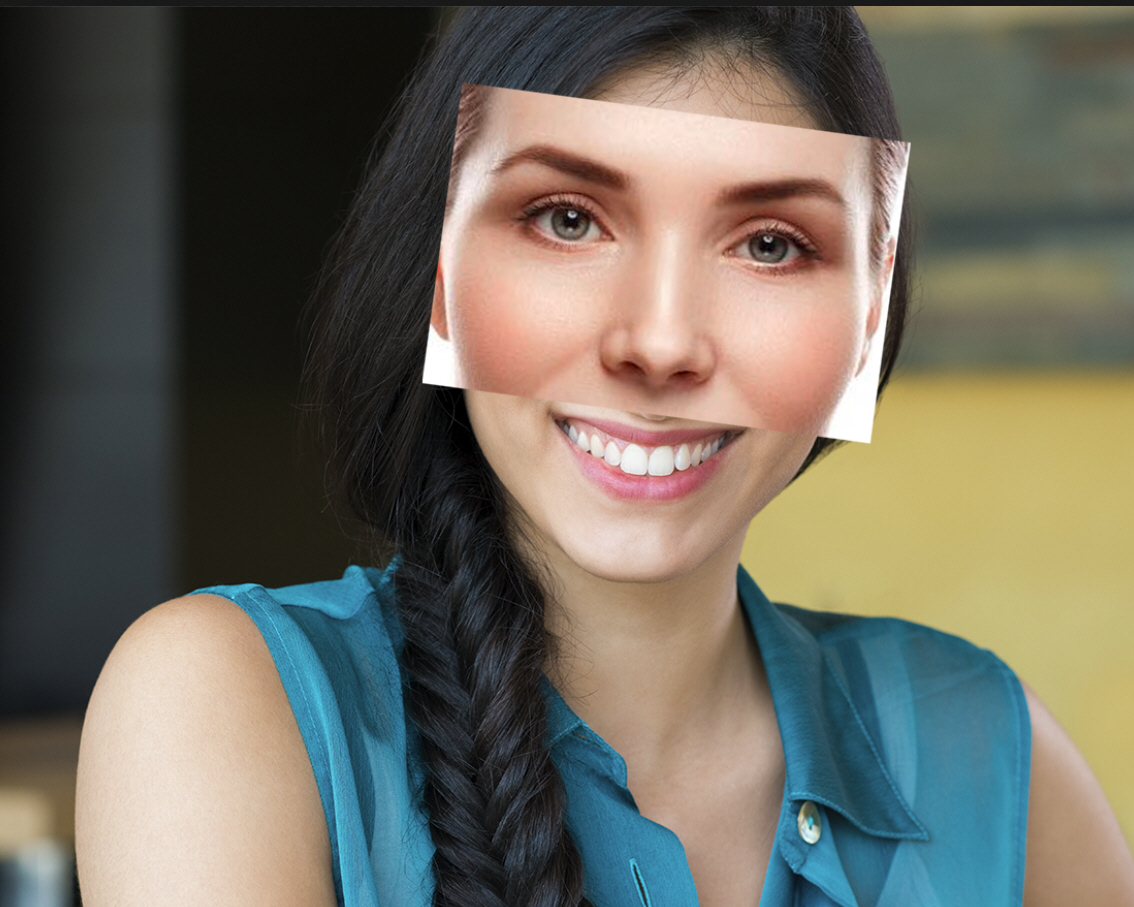
and went to this in about ten minutes. To get a really good result you need to commit a lot more time , but this is only a demonstration.

nose9.jpg

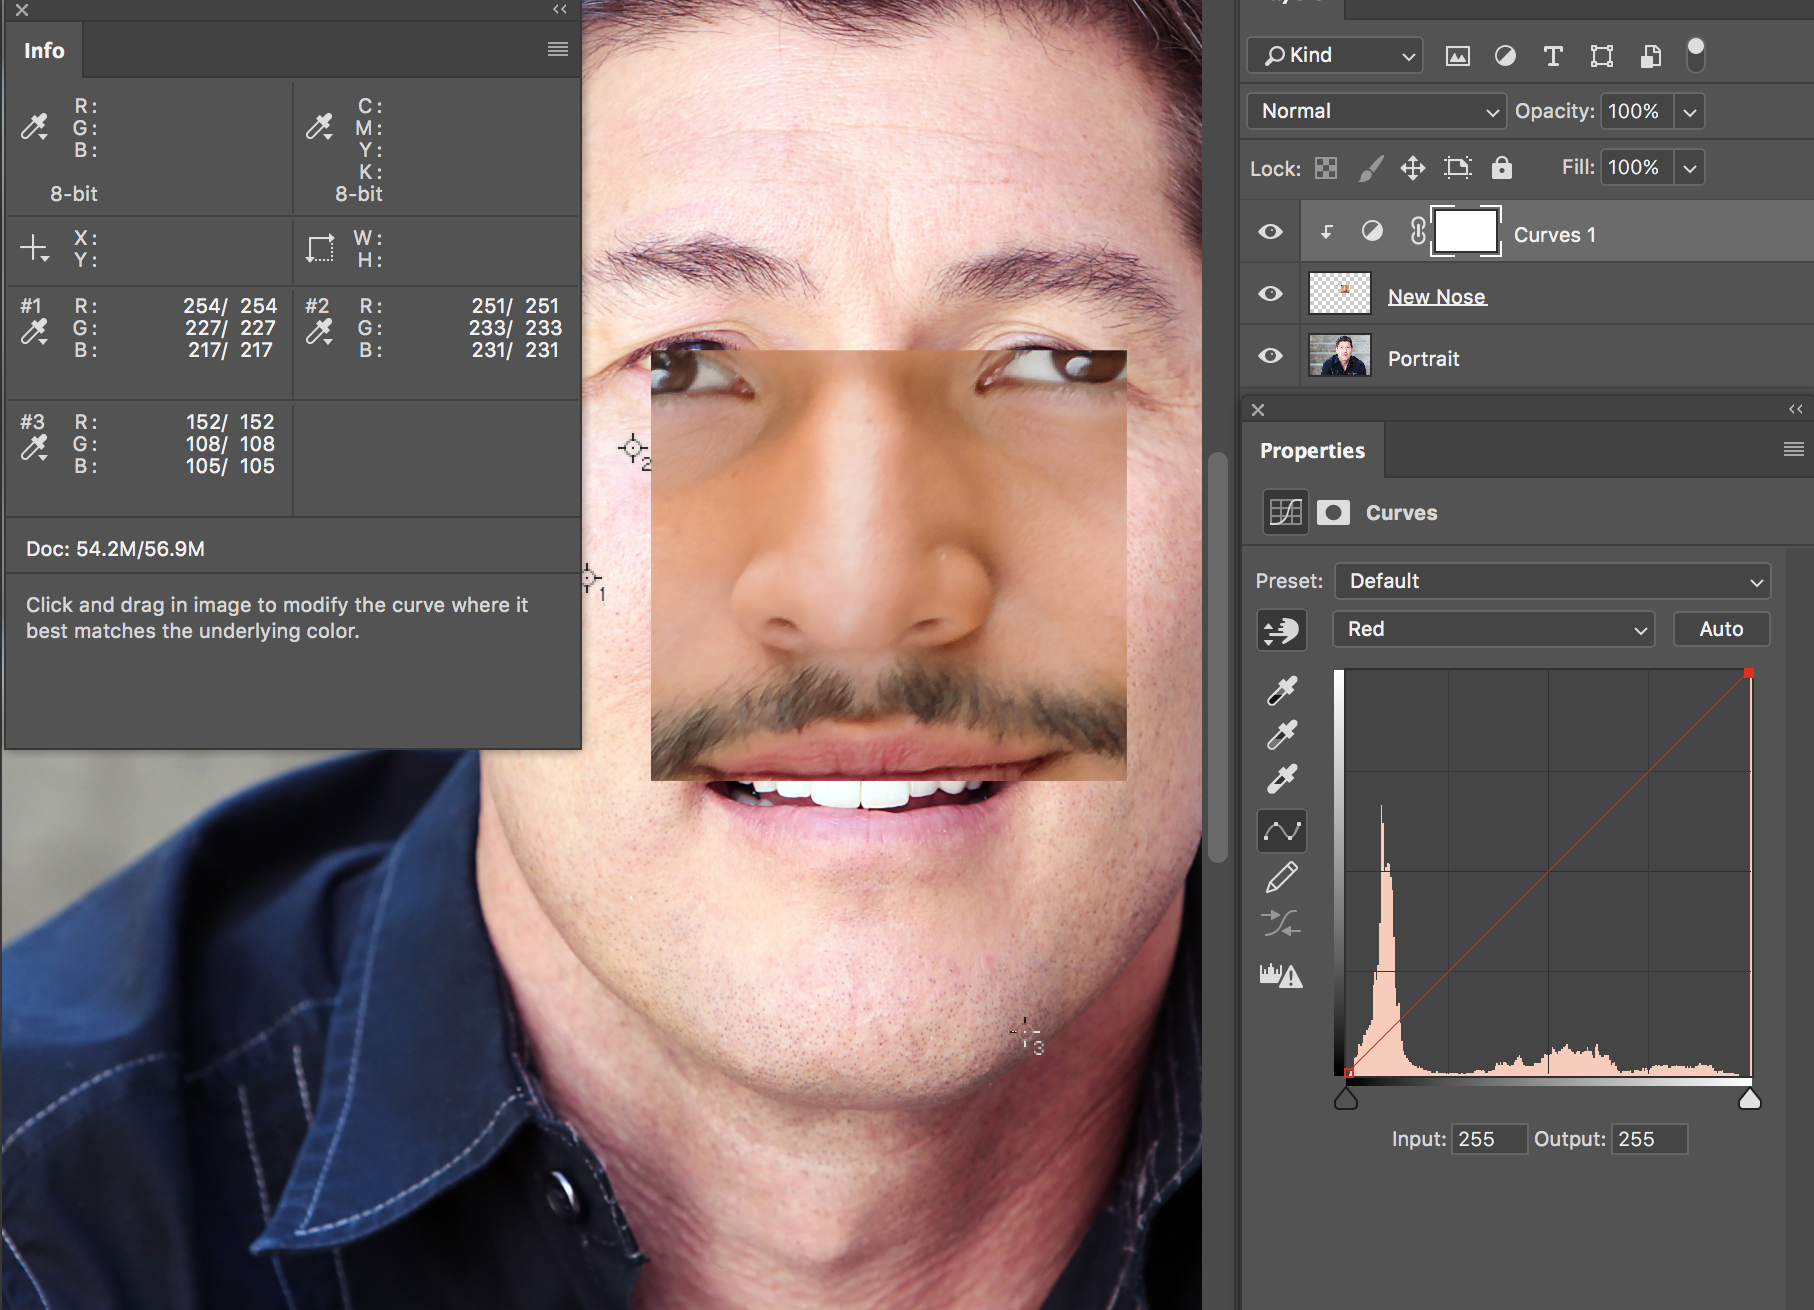
You do need to ensure also the images are of high quality. In this case the stock image was fine, but I just sourced the new nose from Google images and those images are usually quite highly compressed JPEGS and you can see that here around the nasal septum.

Below is the image I used for the new nose. The face has tones that are different to the stock image but still close enough to get a good blend.

nose3.jpg

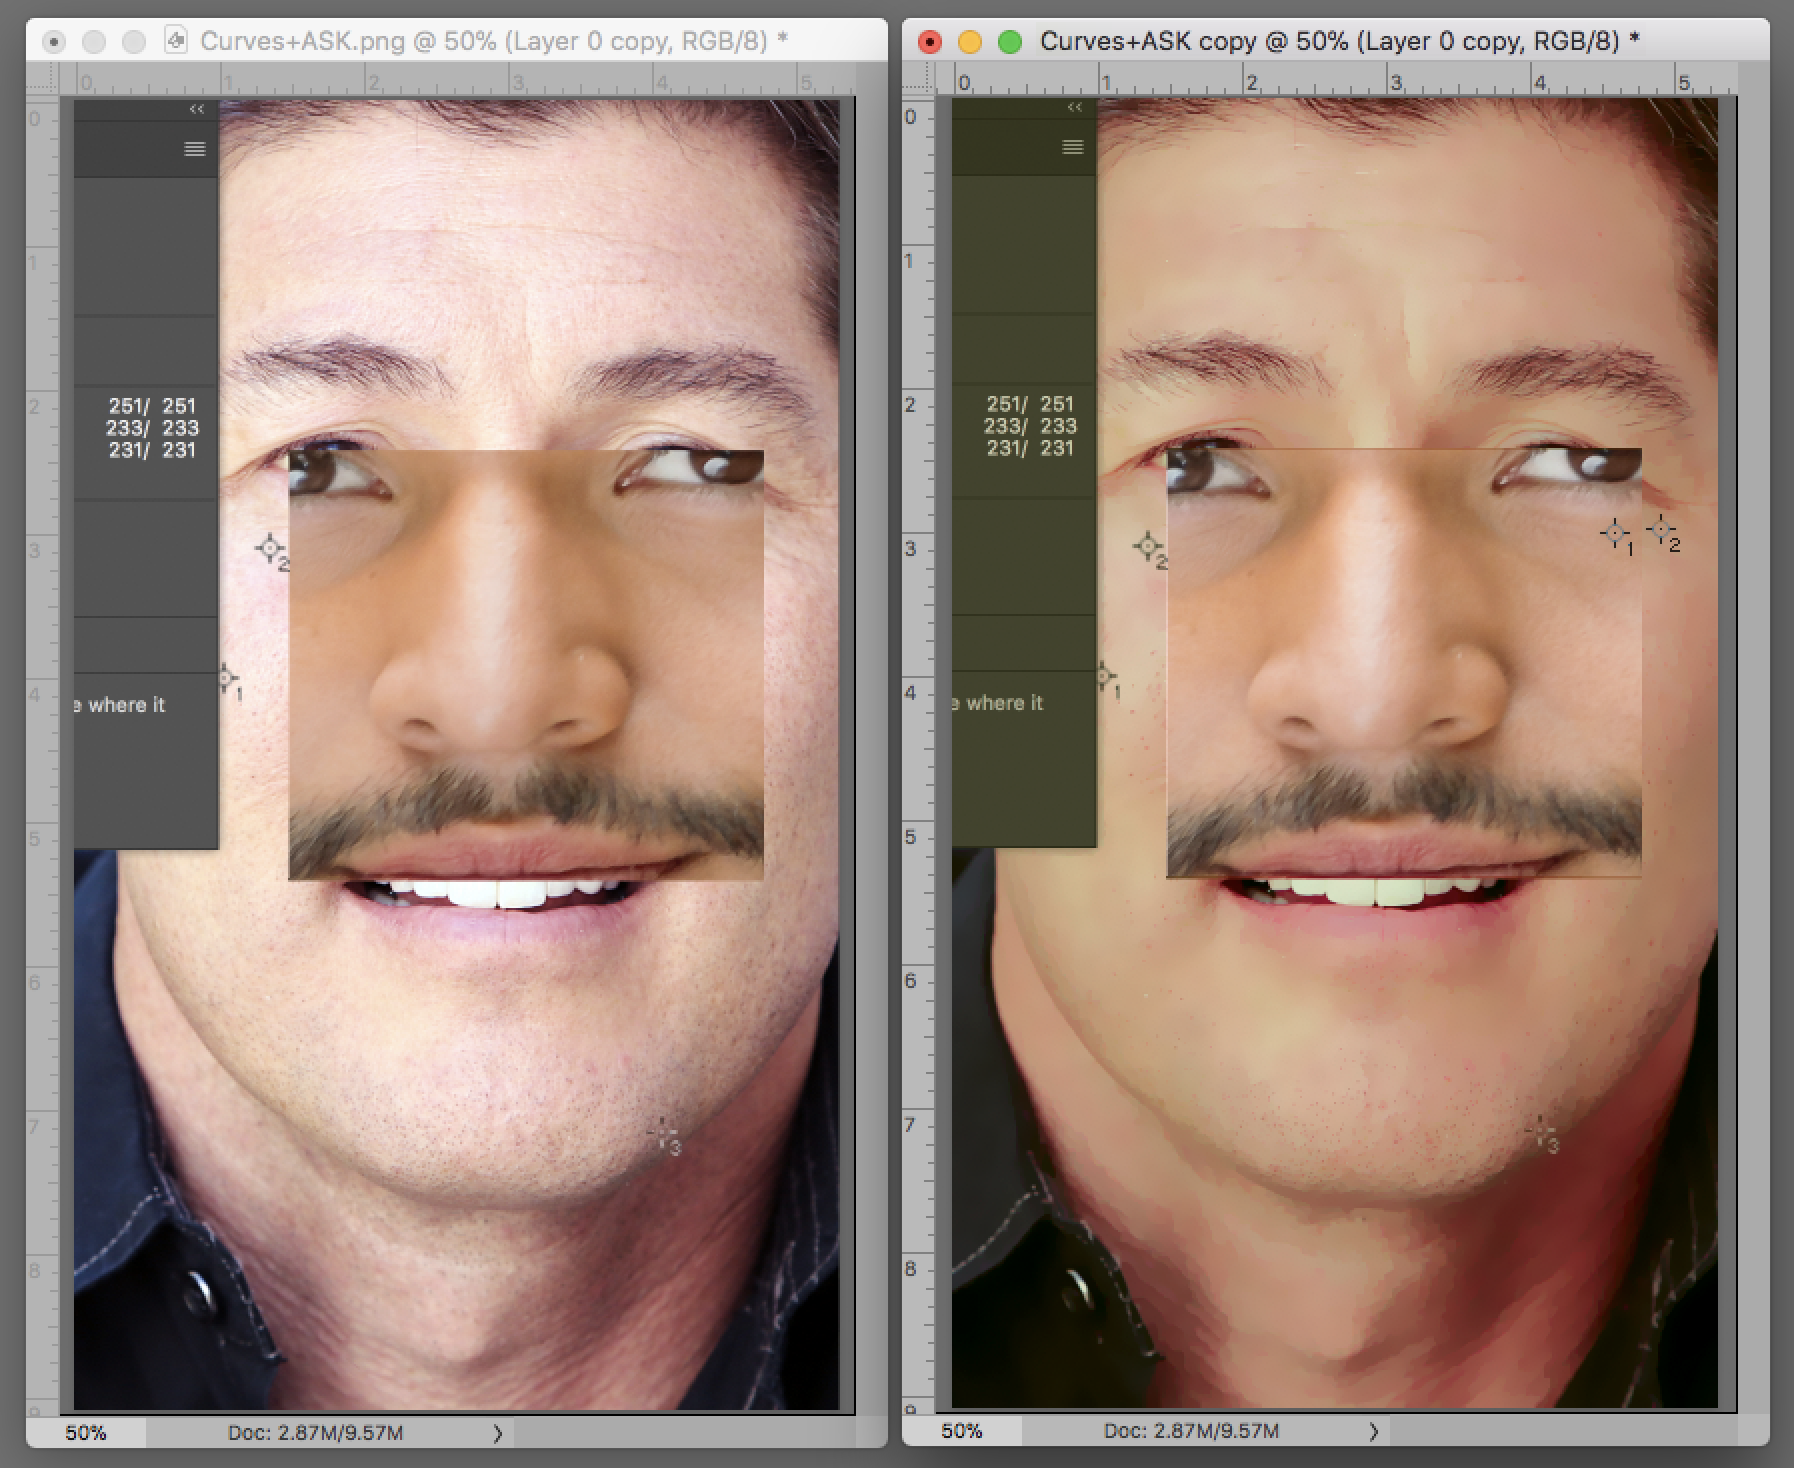
What you do is 'transform' the face so it roughly fits the face of the original model

nose4.jpg

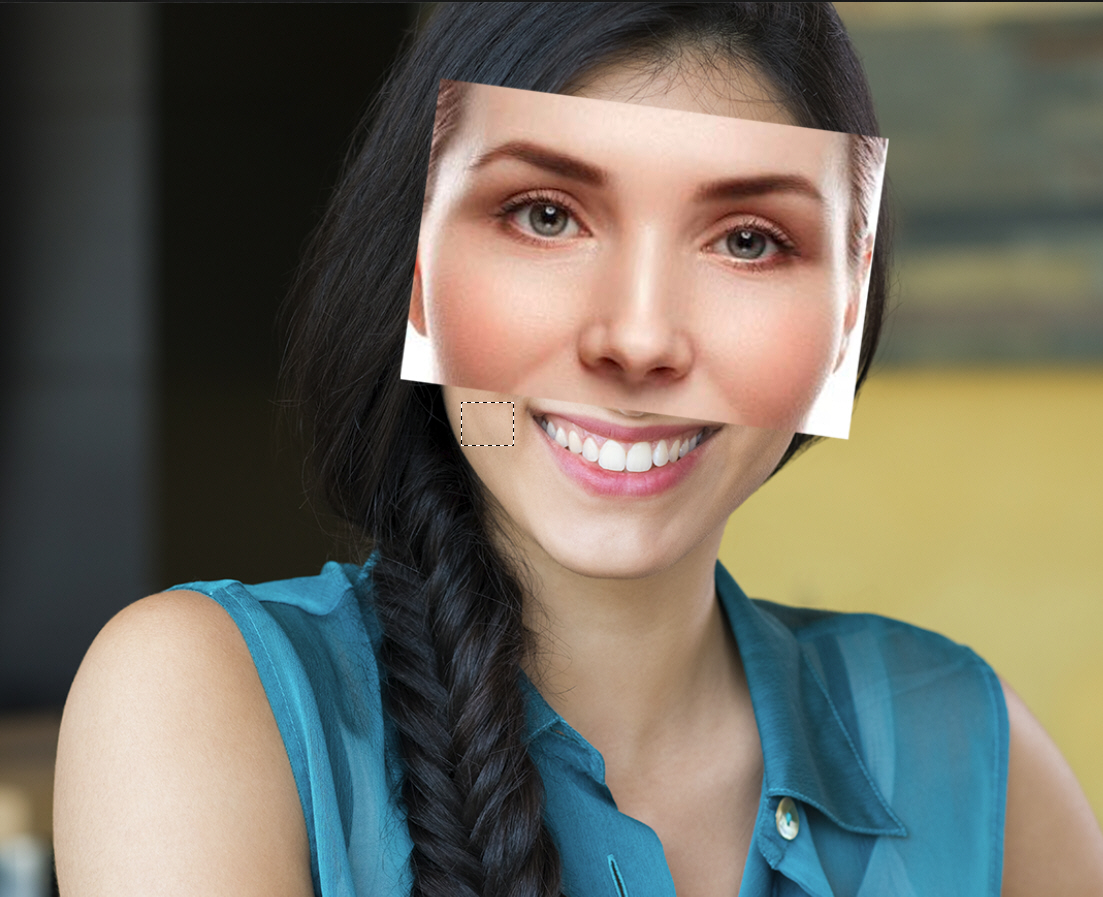
You can see the two skin tones do not match. Make a small selection on the skin of the original model. It doesn't need to be very big just representative of the overall skin tone. Now select the layer with the new face and nose.

nose5.jpg

Then call the 'Match Color' dialog

nose6.jpg

I won't explain how to use this utility in detail, but basically you select your original image as a source file and the background layer from the original image ie not the new face and nose. If you set the dialog as shown below you will get an overlay where Photoshop is attempting to match the selected skin tone to the tones in the new face with nose.

nose7.jpg

You now adjust the 'fade', 'color intensity' and 'Luminance' sliders to try and get as good a match to the original skin tones as you can. Obviously you are most concerned about the nose matching not the eyes, eyebrows etc.

nose8.jpg

The final stage involves a simple layer mask on the new nose layer to isolate just the nose. In this case the nose was stretched a little and moved downwards. In the case of this composite the models face is lit on the left and in a slight shadow on the right and so this needed to be reproduced with the new nose-that is done with curves to mimic highlights and shadows. That's how you do it. Looking at the new nose on the model makes me realise how careful you need to be with cosmetic surgery as the nose doesn't suit her face at all, but other people may think differently I guess In Photoshop you can always try again , unfortunately in real life you can't. You also need to match any grain in the original with the new nose.

nose9.jpg

Votes

Translate

Translate

Report

Report
Community guidelines
Be kind and respectful, give credit to the original source of content, and search for duplicates before posting. Learn more
community guidelines
Community Expert ,
Mar 18, 2018 Mar 18, 2018

Copy link to clipboard

Copied

LATEST

Screen Shot 2018-03-18 at 3.50.13 PM.png

It might be advisable to first switch to Lab Color and adjust the tonal scale and contrast (L channel) to more closely approximate the sample provided without shifting the color. Next, I would suggest a Smart Blur adjustment to more closely match the sample. Then tend to the  a  and  b  channels. This is the result with only Curves adjustment. More can be done locally. I would suggest that you place the total sample on a layer above the file you want to change and attempt to position it a closely as possible to the background layer image. Then use the Color Sampler tool and take readings of each layer. The advantage. since both layers read the same sampler point, is a measure from the same spot in each image.

[Edit: One more thing: Set your Color Sampler tool to 3 by 3 pixels.)

Votes

Translate

Translate

Report

Report
Community guidelines
Be kind and respectful, give credit to the original source of content, and search for duplicates before posting. Learn more
community guidelines