Copy link to clipboard
Copied
Hi
Working through a batch of wedding edits, I've managed to achieve (at most!) the more subtle tones of a picture, but i'd like to try and produce something that is a little more darker that most wedding photographers are able to achieve. it maybe in RAW editing its toggling vibrance and the black/white sliders, but I'm not sure.
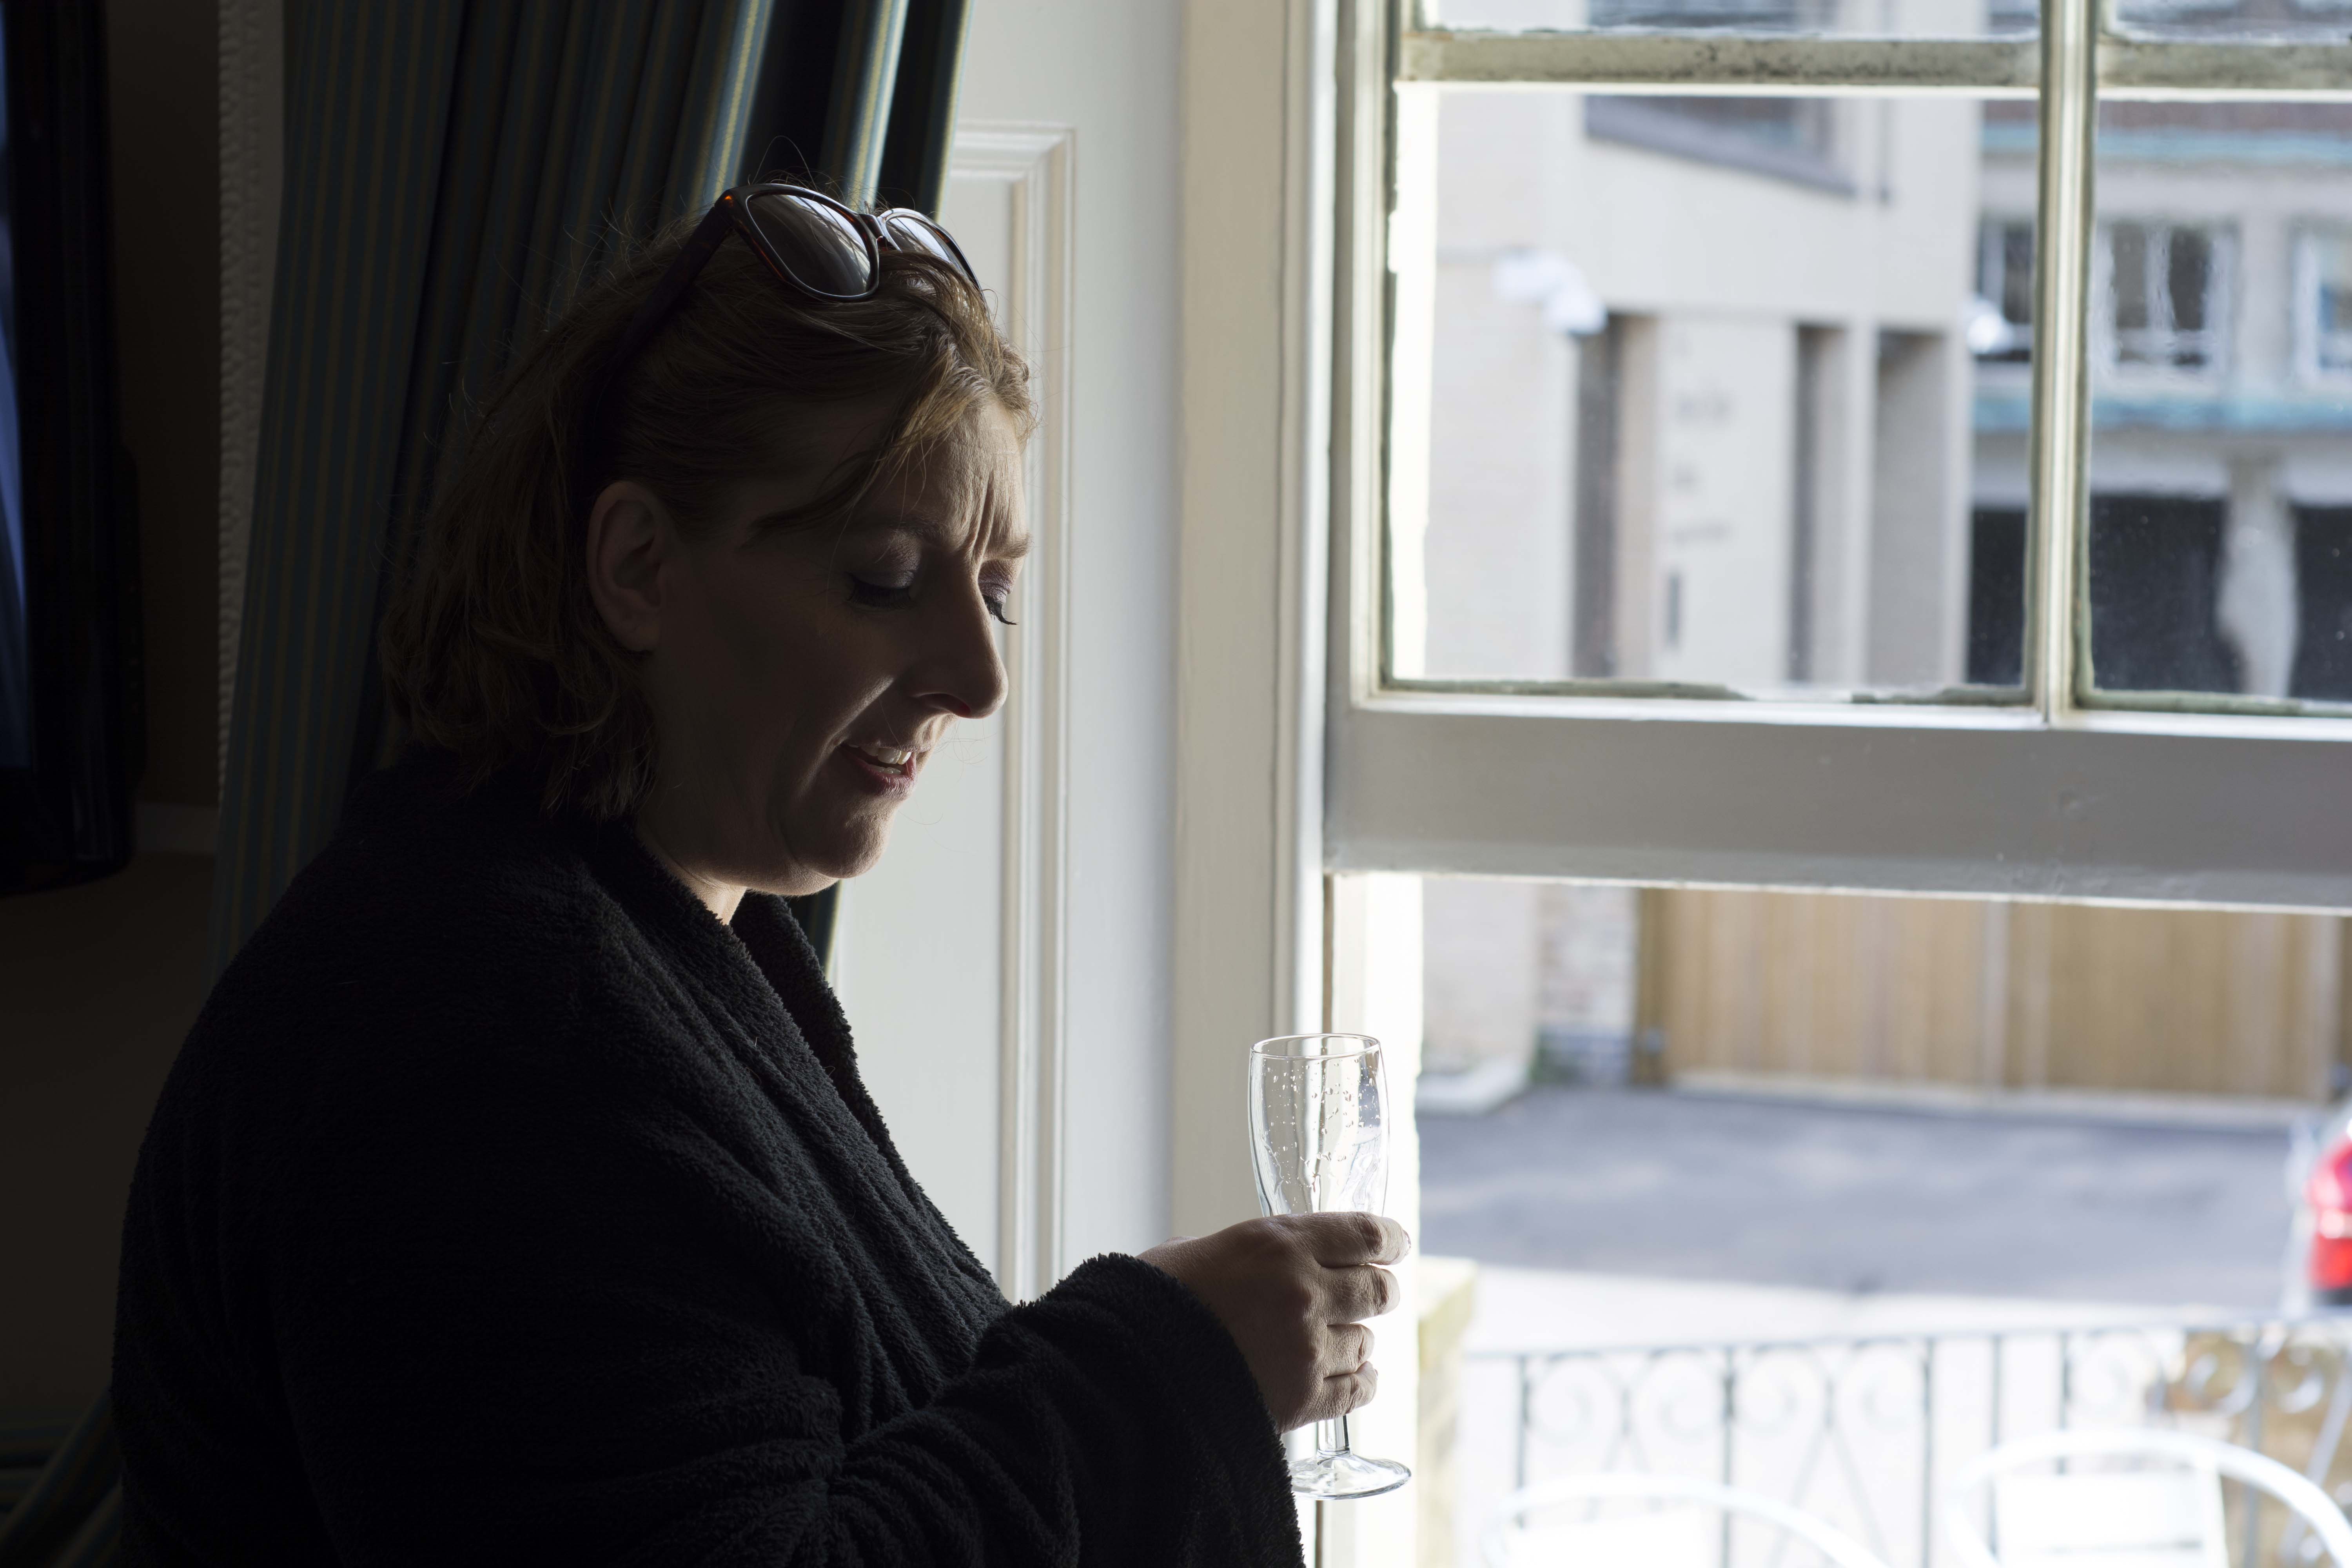
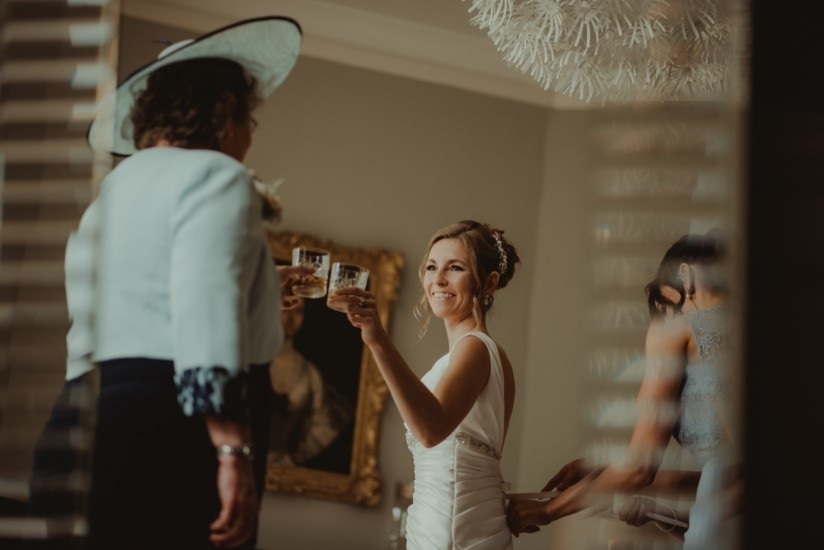
I'd like to get from this (original image):
to this:
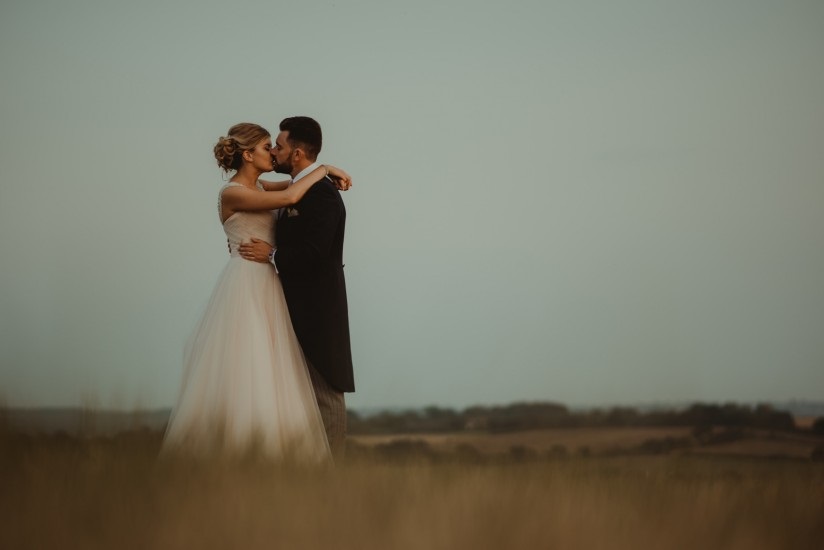
or this for outdoors:
Any tips/advice/methods would be much appreciated.
Thankyou
 1 Correct answer
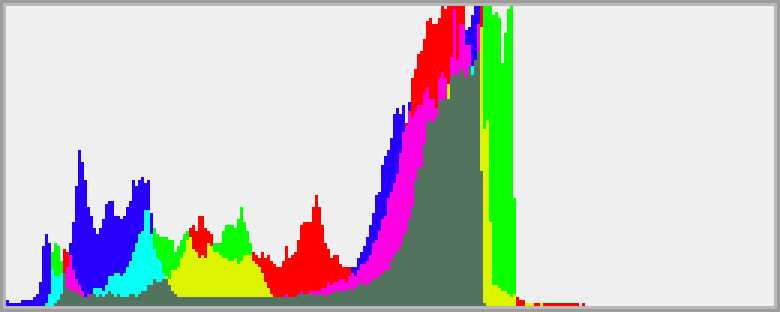
I get that you didn't like the answer you got when you recently posted the exact same question - but it was in fact the correct answer. Here's an enlarged histogram from #3 showing why there is muted highlights:
As for #1, this is just a classic situation of too much contrast in the scene. To keep the window from blowing out, the foreground is severely underexposed by the camera. In a situation like this you would normally use fill flash to bring up the foreground.
Explore related tutorials & articles
Copy link to clipboard
Copied
I get that you didn't like the answer you got when you recently posted the exact same question - but it was in fact the correct answer. Here's an enlarged histogram from #3 showing why there is muted highlights:

As for #1, this is just a classic situation of too much contrast in the scene. To keep the window from blowing out, the foreground is severely underexposed by the camera. In a situation like this you would normally use fill flash to bring up the foreground.
Copy link to clipboard
Copied
No I think it was the correct answer. I just felt there were other tweaks involved that I couldn't quite get my head around
Thanks again
Copy link to clipboard
Copied
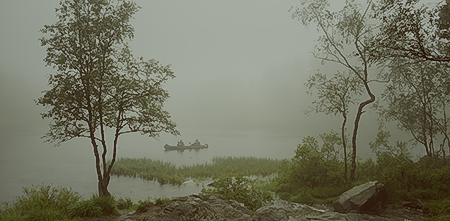
Here's a typical high-key image with a full 0-255 range:
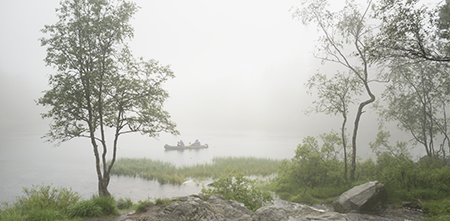
One single "Levels" adjustment layer, working each channel individually and mostly the output sliders, no other adjustments whatsoever, can turn it into this:
Copy link to clipboard
Copied
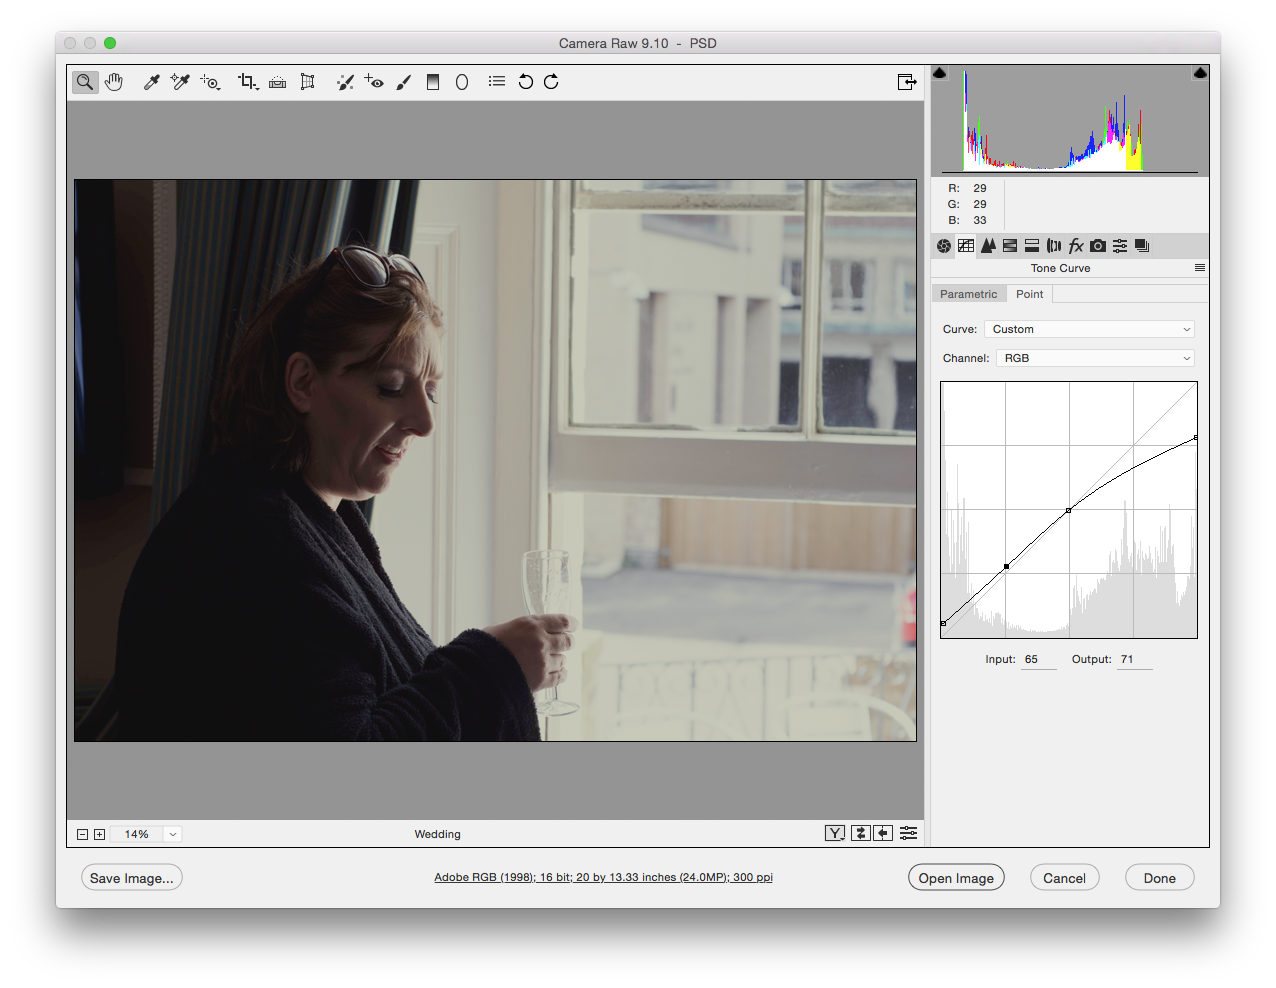
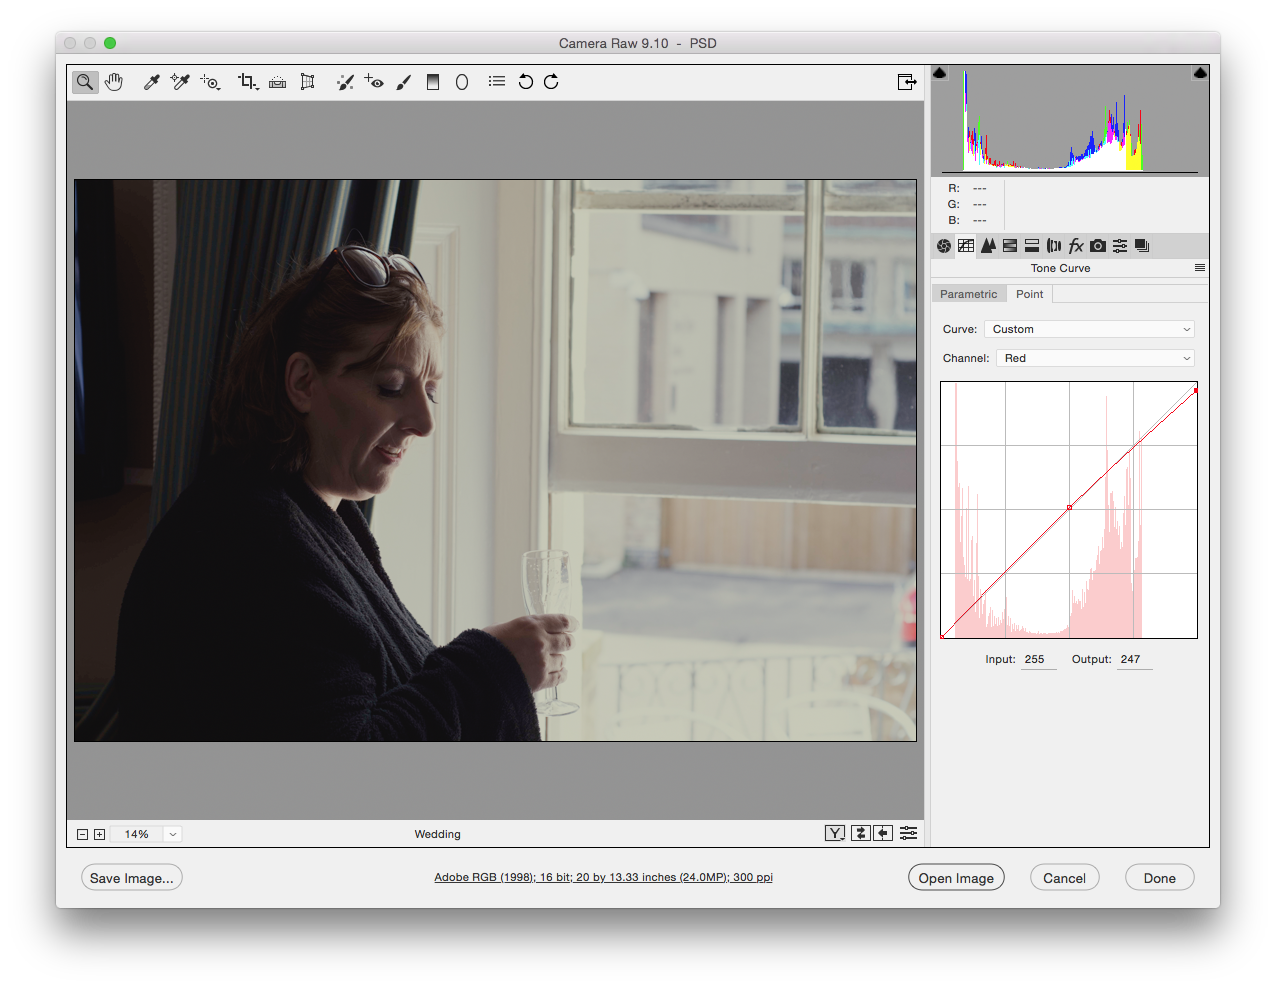
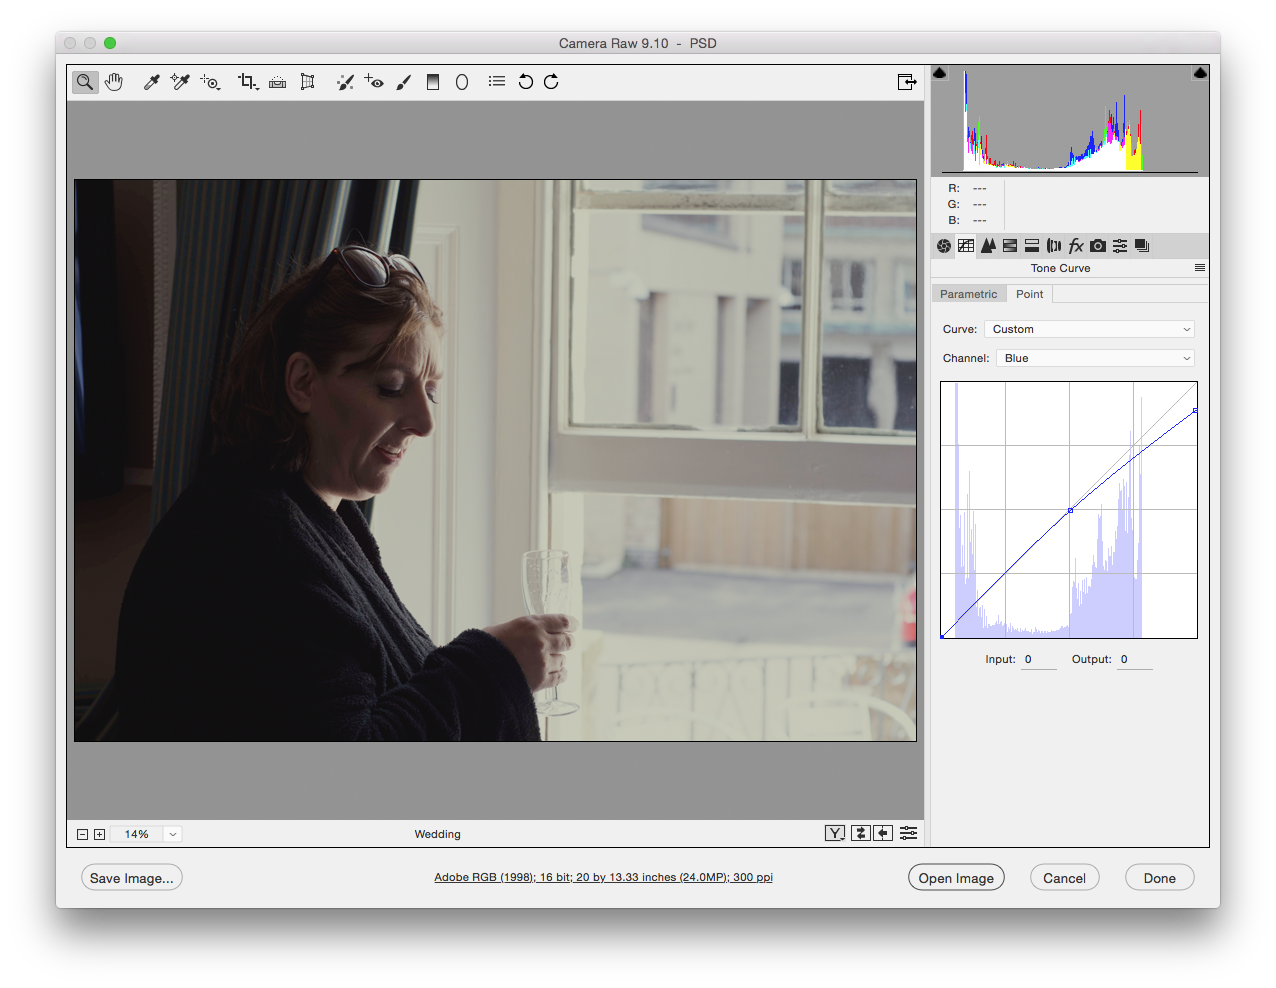
To add to D.Fosse's correct reply, and given your question was about camera raw, you also have the same output sliders by RGB channel in camera raw as you do in a curves adjustment layer
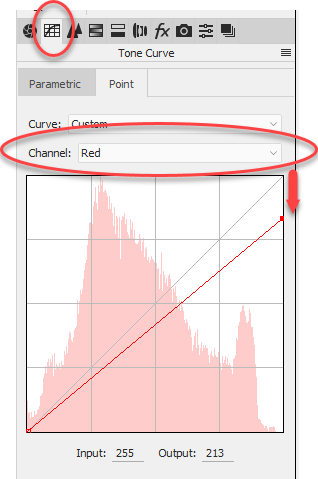
You could also soften it slightly by reducing the clarity slider in ACR to a negative value
Dave
Copy link to clipboard
Copied
You can also lock down the middle of the range so you are only affecting quarter tones and highlights. You can do most of the adjustment with the RGB curve and then adjust the other channels to tint as needed:
