- Home
- Photoshop ecosystem
- Discussions
- Weird Color Banding of .tif File, just in Photosho...
- Weird Color Banding of .tif File, just in Photosho...
Copy link to clipboard
Copied
I'm sorry if this problem has been dealt with before in the forums, but searching for "color banding" reveals a whole lot of different problems, none of which fit my specific one.
I have a weird issue with just Photoshop, where Images have weird Color Banding when I load them into Photoshop from Lightroom. The unedited RAW file looks fine in Lightroom, but weird in Photoshop, so this seems to have nothing to do with the usual contrast or excessive hue/sat color banding. Both programs use the same Color Space, ProPhoto RGB.
When I export said .tif from Photoshop as a .jpg, the jpg looks fine (even in Photoshop).
When I save the .tif in Photoshop and it comes back to Lightroom, it looks fine.
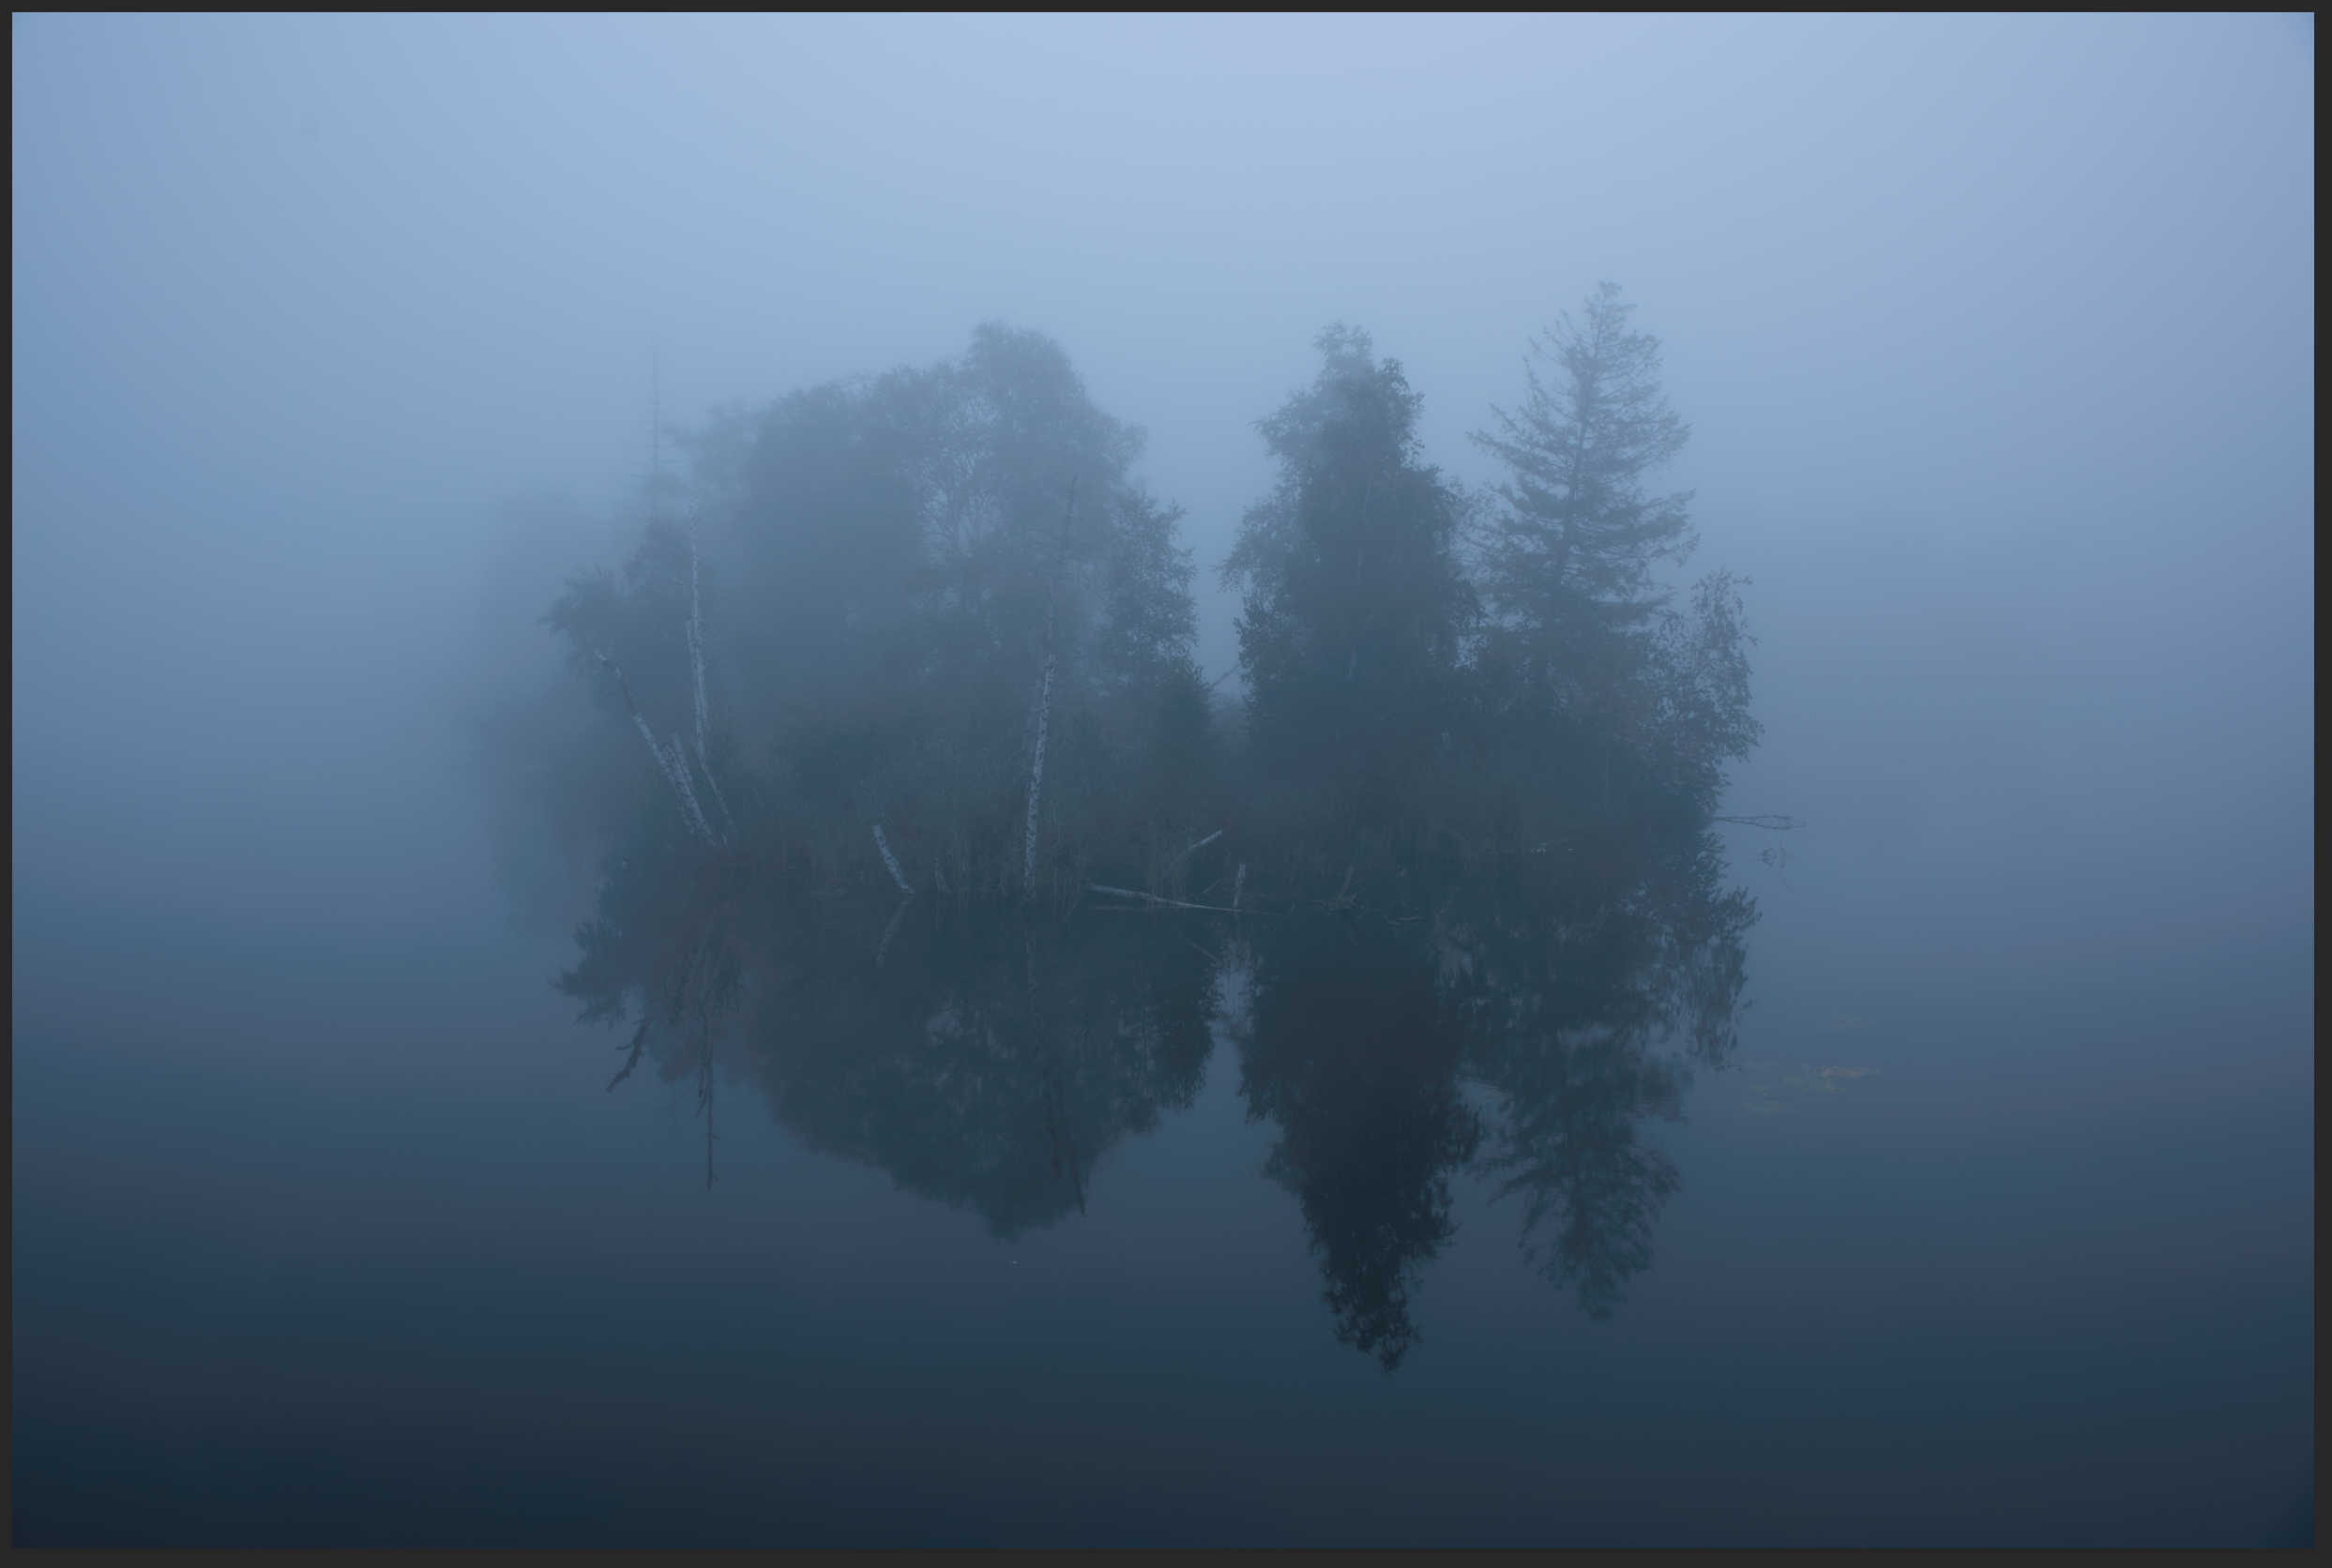
I can screenshot the issue and the banding is clearly visible. Here's the same picture, once screencapped in Photoshop, once screencapped in Lightroom. Completely unedited (SOOC) RAW file.
Photoshop
Lightroom
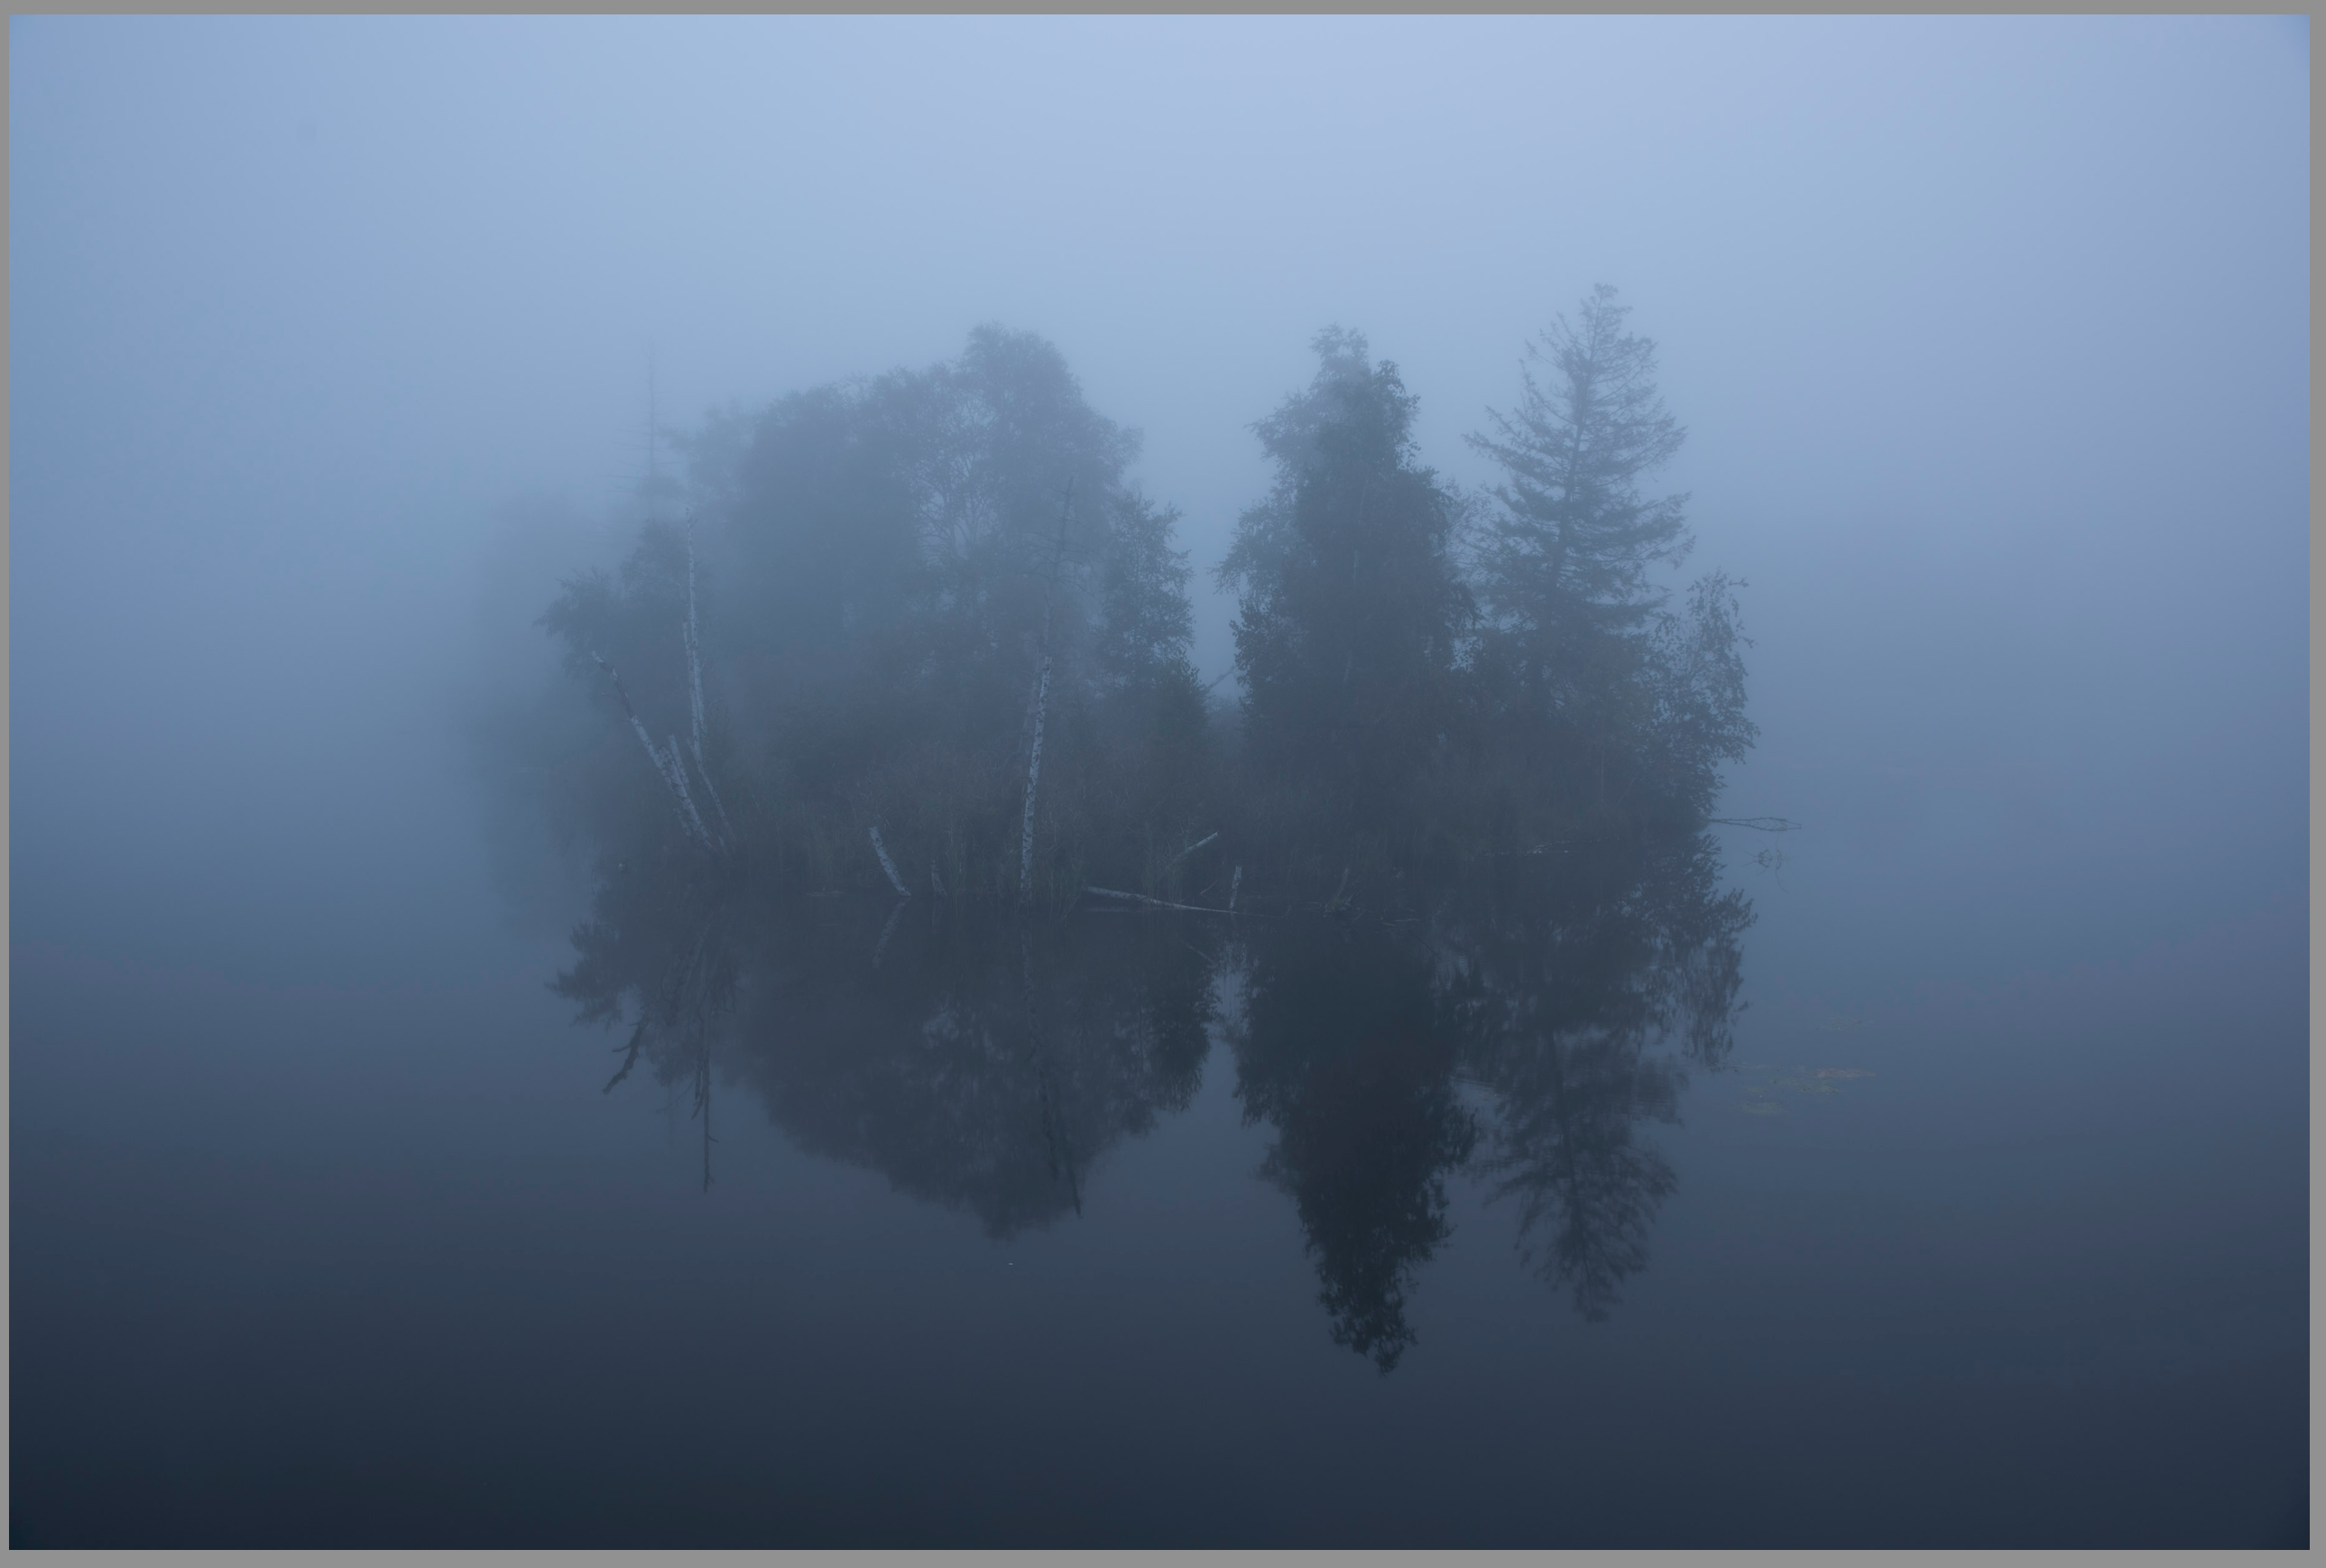
In the Photoshop image, you can notice something that looks sort of like magenta colored waves, which go through the entire image. It also has a slightly green tint compared to the Lightroom picture.
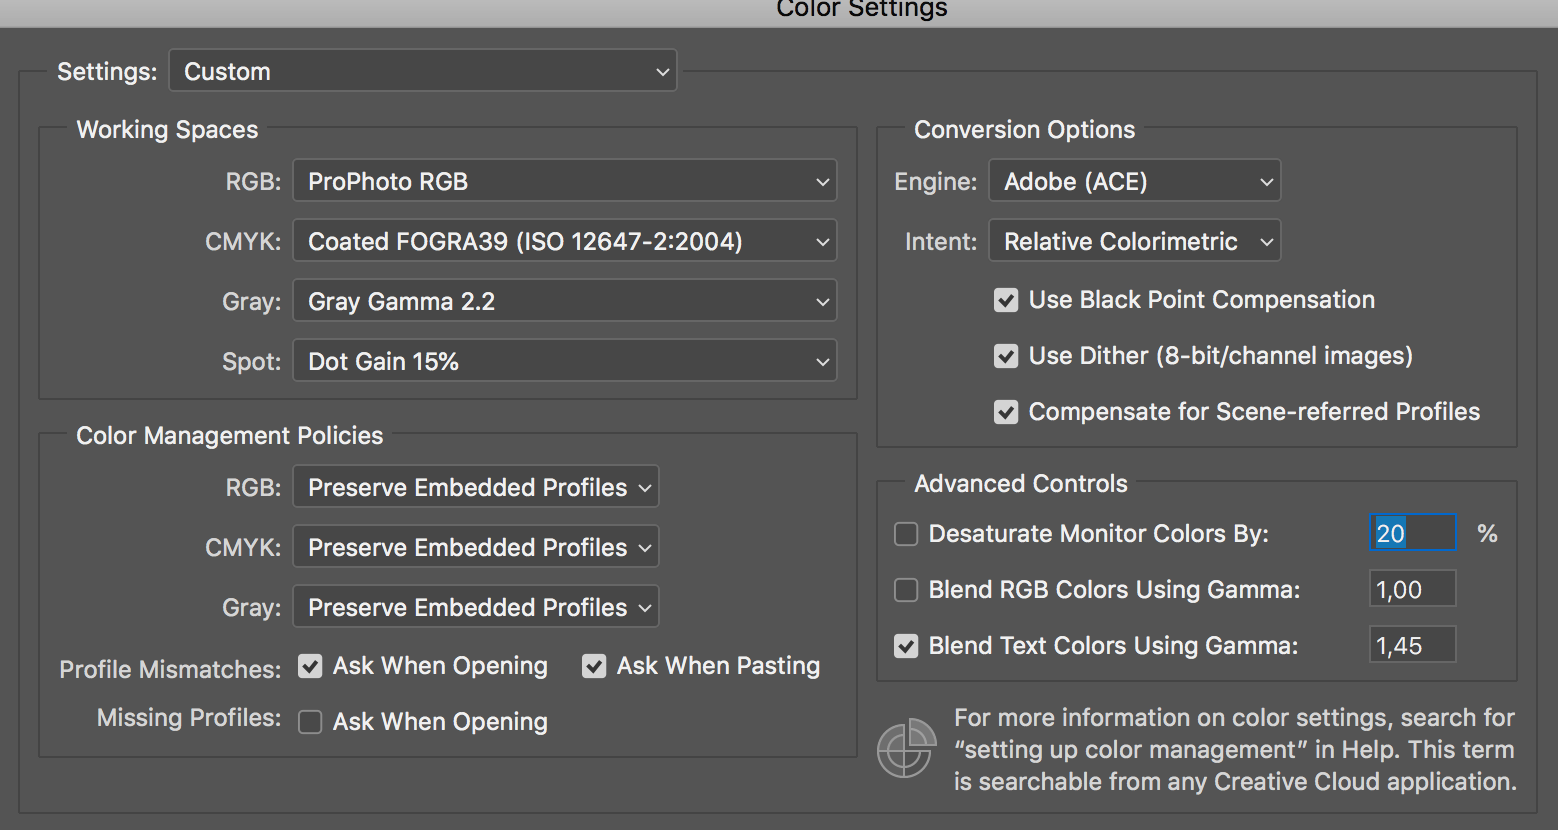
I export ProPhotoRGB 16bit uncompressed TIFs from Lightroom to Photoshop, my Photoshop Working space is the same, pic as follows
I've experienced this problem for maybe a week on multiple images (clear, non-foggy ones as well), without having done any updates of the iOS or adobe software. Is anyone able to help?
 1 Correct answer
This looks very much like an old bug happening with ProPhoto files when GPU is set to "Normal" or "Advanced" modes.
Look at what happens in the red channel:
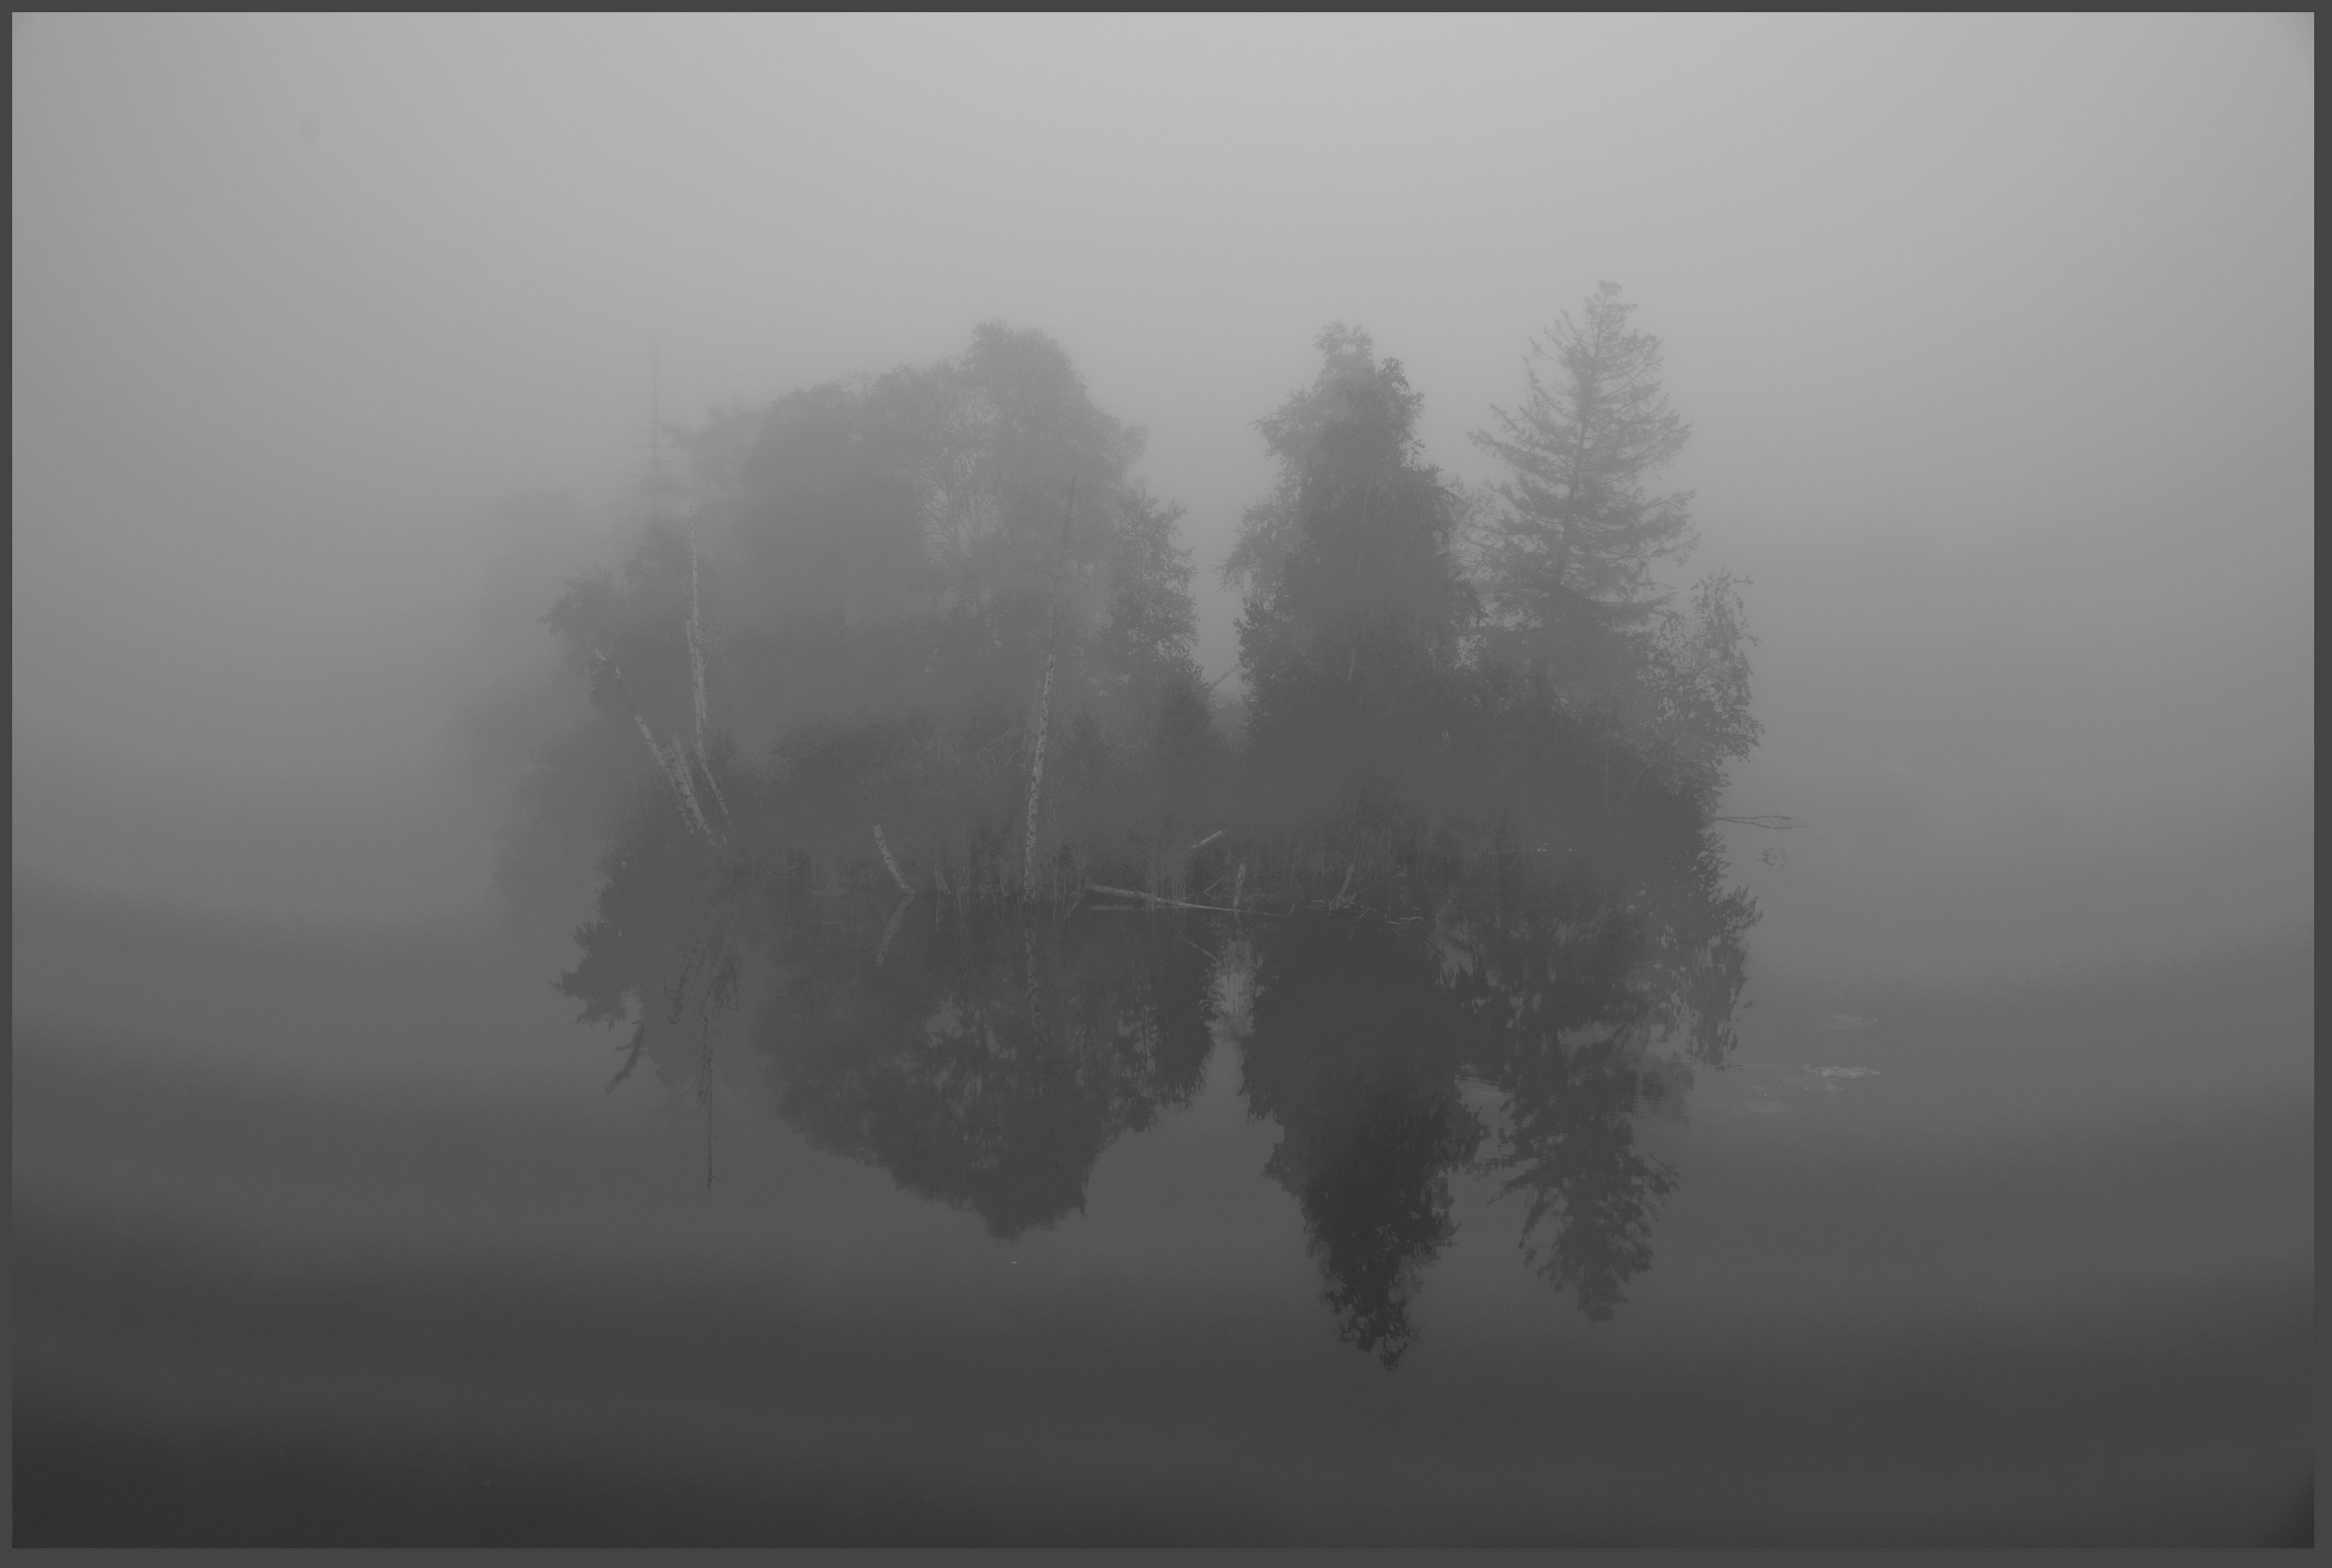
It's an inaccuracy in OpenGL code. It happens when converting from ProPhoto into your monitor profile. You only see it in ProPhoto because ProPhoto is extremely compressed in the shadows, causing minor inaccuracies to become amplified.
Try Adobe RGB, or set GPU to "Basic", or both.
While we're on the subject, Photoshop's working space does not h
...Explore related tutorials & articles
Copy link to clipboard
Copied
This looks very much like an old bug happening with ProPhoto files when GPU is set to "Normal" or "Advanced" modes.
Look at what happens in the red channel:

It's an inaccuracy in OpenGL code. It happens when converting from ProPhoto into your monitor profile. You only see it in ProPhoto because ProPhoto is extremely compressed in the shadows, causing minor inaccuracies to become amplified.
Try Adobe RGB, or set GPU to "Basic", or both.
While we're on the subject, Photoshop's working space does not have to be the same as Lightroom's export setting, and you do not need to use ProPhoto just because it's the default in Lightroom. I want to make this clear because it's an extremely common misunderstanding.
Copy link to clipboard
Copied
Thanks a bunch! Changing GPU to "Basic" did the trick. Weird how I just a week ago got this bug, while I've been using Photoshop for ages now.
Maybe I'll take this as an occasion to change directly to sRGB color space, like Alex Noriega.
Copy link to clipboard
Copied
Well, sRGB might be a little limiting. I wouldn't recommend it for master files. You don't want channel clipping.
I usually find Adobe RGB to be a good compromise. I do occasionally use ProPhoto, but only when it is specifically needed for the large gamut. Otherwise I try to avoid it. I'm really bothered by the compressed shadows, it makes subtle corrections very difficult.
BTW this OpenGL ProPhoto bug tends to vary a bit with type of monitor profile. Maybe that's what changed. It's not in the file, but in the conversion into the monitor profile. This conversion is executed by OpenGL code in the GPU, in Normal/Advanced modes. The Basic mode shifts it back to the CPU in the traditional way. It's been with us since at least CS5.
Copy link to clipboard
Copied
Any updates on this issue? Would be very greatful for some help.
/Johan