Generon
Participating Frequently
June 28, 2017
Answered

What am I missing with restoring via history brush?

  • June 28, 2017
  • 3 replies
  • 2997 views

Hey there!

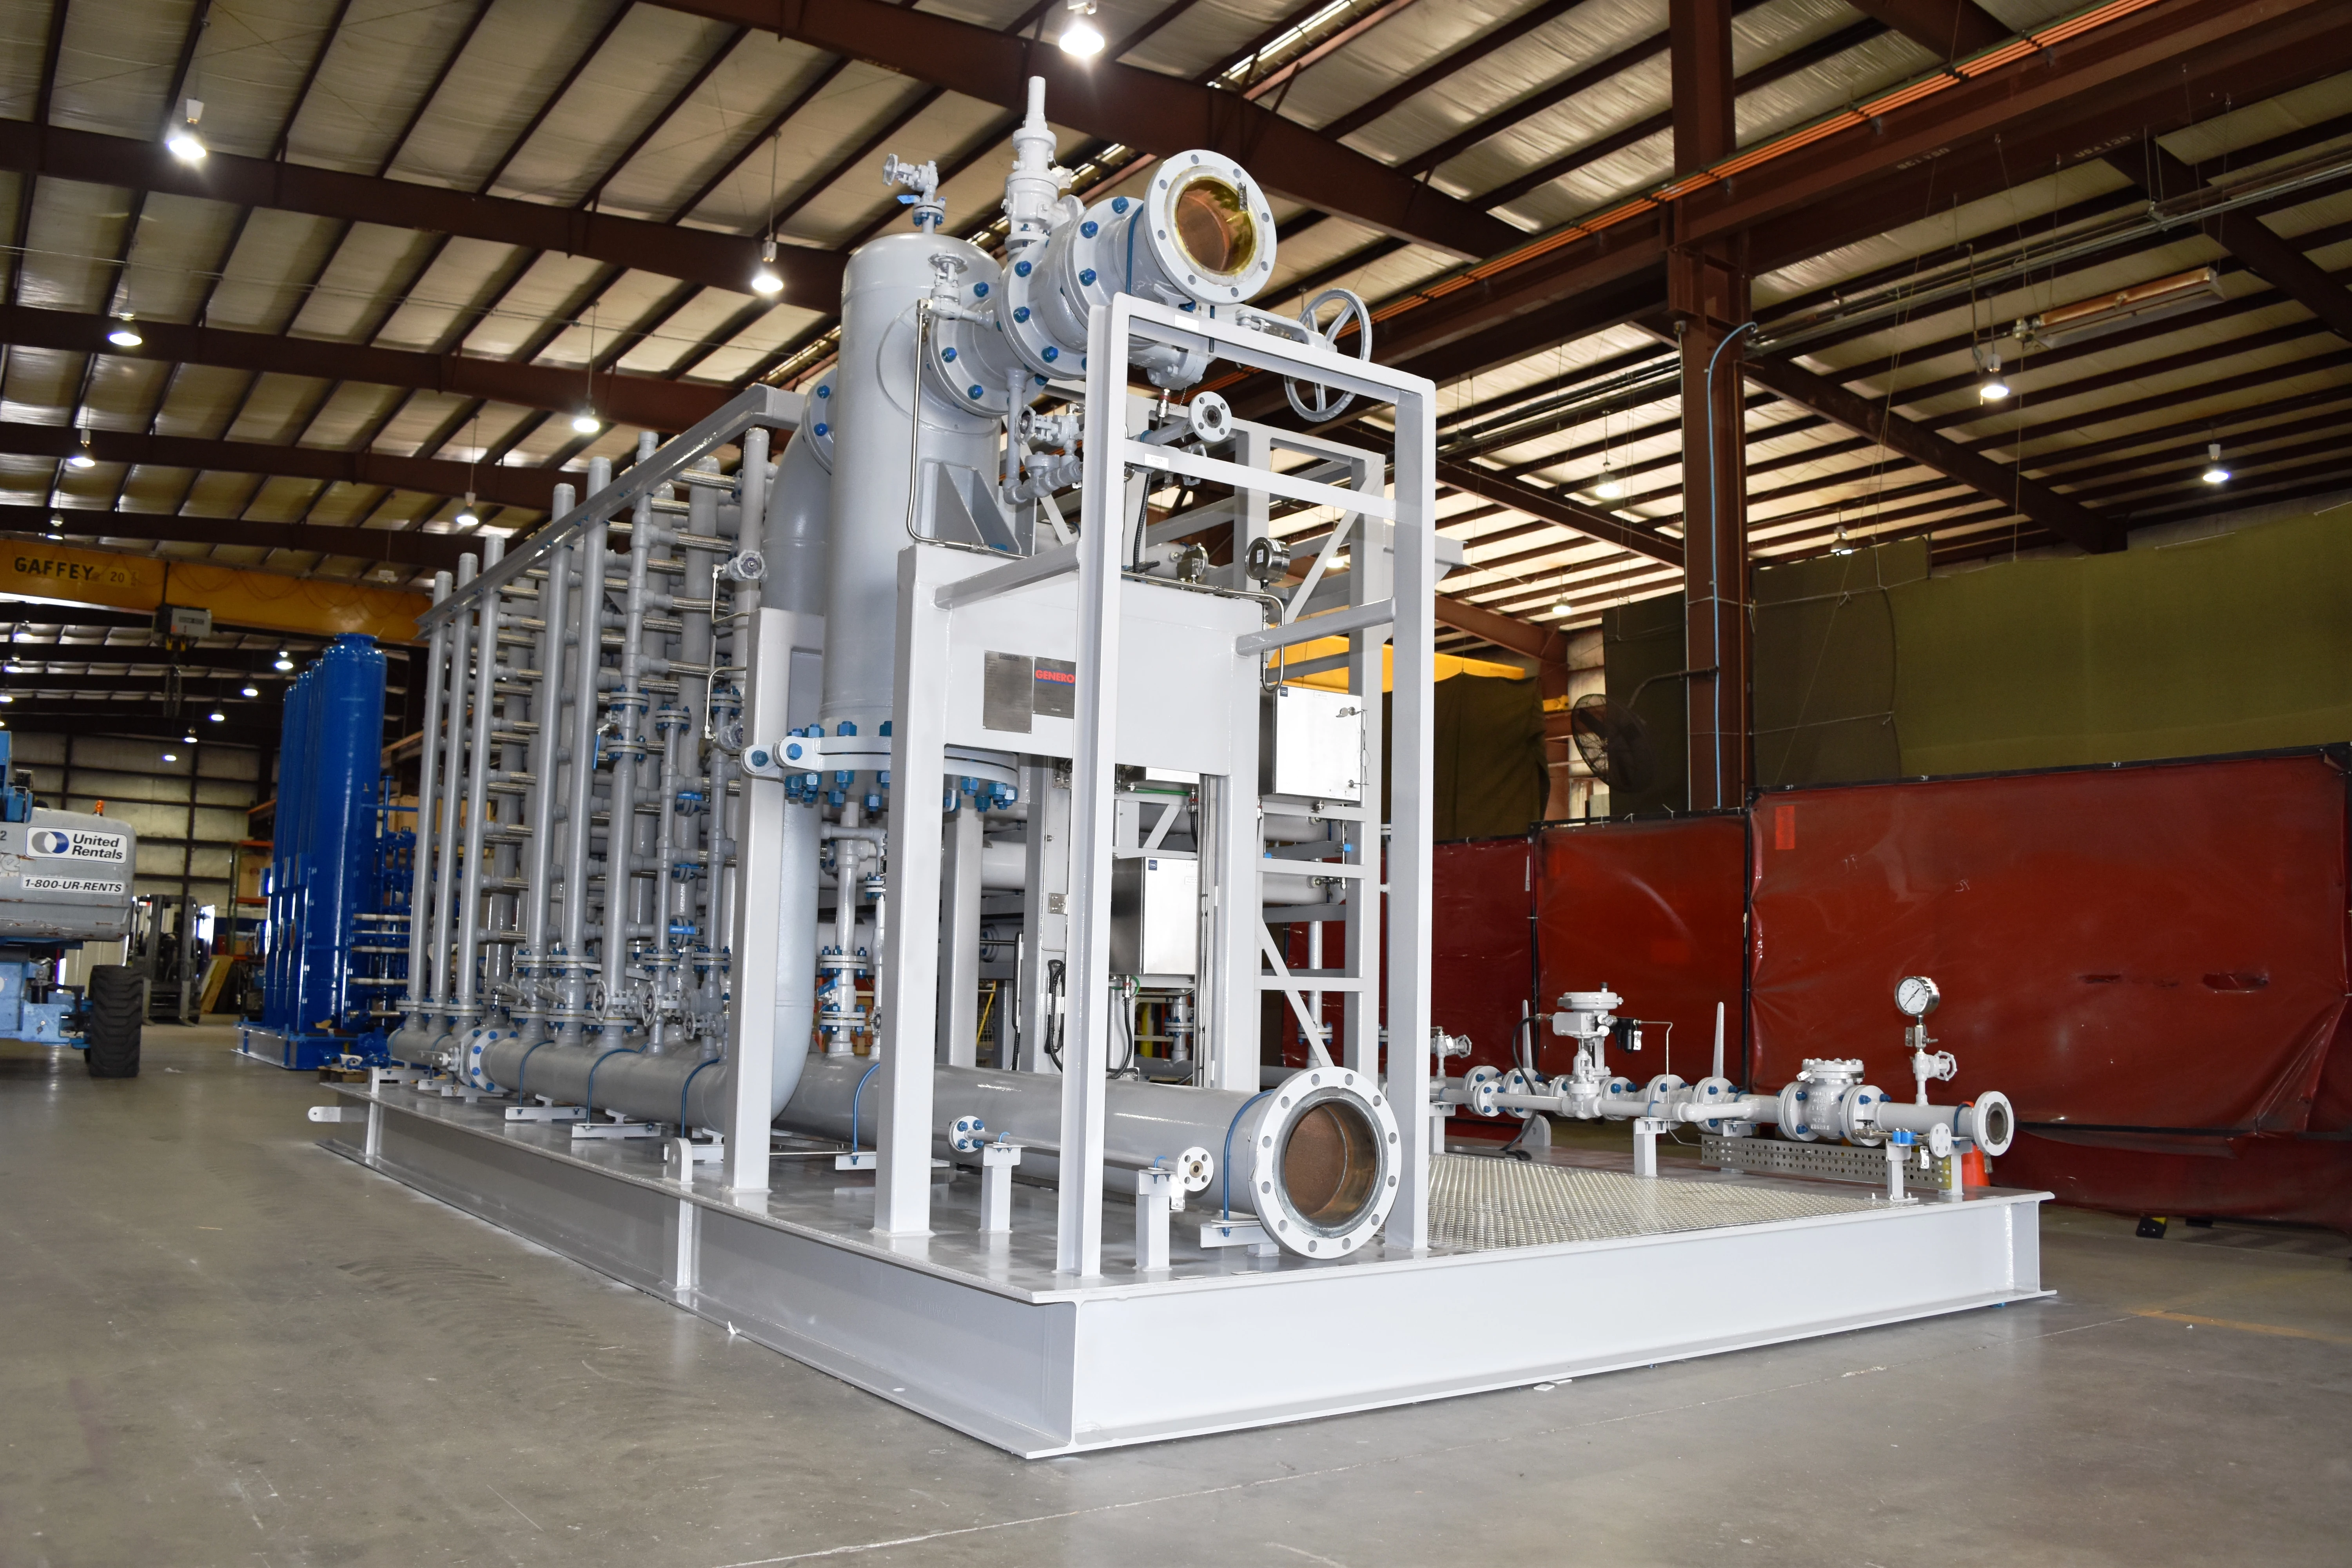
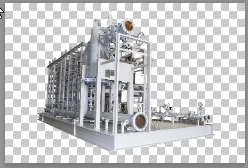
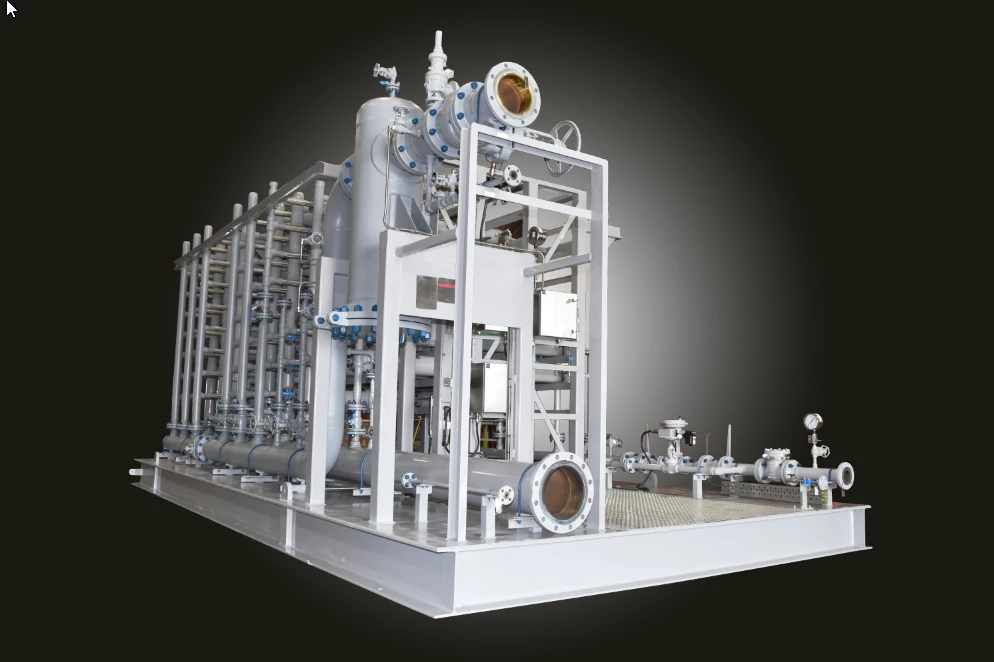
So I've used PS for all of a week and a half now, and it's been amazing. I'm working on marketing photos for my company, removing the background from complicated machines and adjusting colors, etc for better visual.

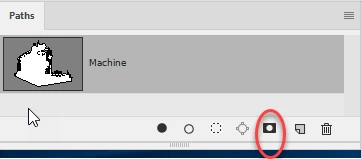
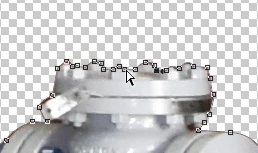
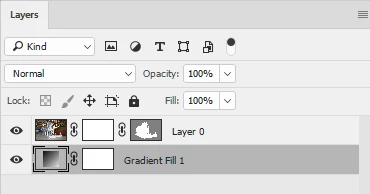
I start by taking the full photograph, and the removing the general background.  I recently discovered the ease of smart select and cut to layer, which cut my editing time into fifths. But with machines as complicated as what I'm working with, there is always some little bits here or there that weren't included in the cut and layer.  However, I don't generally find them until I'm already deeply into removing the background bits showing through (what I like to call the beast machines).  Typically, the history brush has been perfect at restoring a section that wasn't included so that I can re-edge it out properly.  Just in tiny 500% zoom areas where say corners are cut off oddly around shadows for example. But the one I'm working with isn't restoring. 

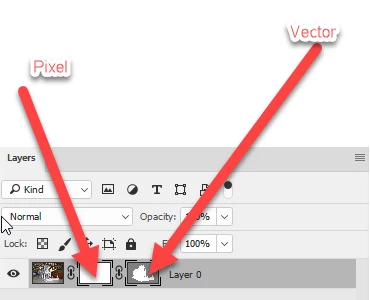
I smart selected, cut to layer, then cut to layer again with a more refined smart select.  The piece I'm missing is left on the middle layer. 

I'm not sure if the restore brush has worked since I started cutting to a new layer, but I could have sworn it had.  Now, it isn't though. 

So am I crazy? Or should it be restoring even though part of the image is on a new layer?

And if it won't, if there any way around going back to the second layer, cutting an area out, making a new fourth layer, then flattening it down to the third? Because that seems like the long way around when the brush would be two clicks if it could actually do this.

Thanks!

This topic has been closed for replies.
Correct answer davescm

Okay... I'm not sure I understand completely... but here is the image.


Hi

To do a mask of that machine the best is the pen tool :

Draw with Pen tools in Photoshop

Set the pen tool to path and the path to combine shapes

Draw around the outside of the machine so you have a path outlining the whole machine

Draw a point on an inside shape that you will exclude from your selection and set the pen tool to subtract front shape.

Continue to draw round the inner shapes until you have a path outlining your selection and with the bits you don't want - excluded

So now you have a path - you can convert it to a mask :

With your layer selected in the layers panel and the path selected in the paths panel go to the bottom of the paths panel and click twice on the mask icon

This will add an empty pixel mask and a vector mask to your layer in the shape of the path you just made.

You can adjust the mask by clicking on the vector mask and re-adjusting the path points on the image with the direct selection (white arrow) tool.

You can also paint on the pixel mask in black /white to fine tune or feather where you want any semi-transparent areas (not really needed in yours)

The result with a gradient layer behind it:

No pixels have been removed - therefore the mask is fully adjustable later

Dave

3 replies

Generon
GeneronAuthor
Participating Frequently
June 28, 2017

Thank you both!

The pen tutorial helps a lot!

I've sort of seen it when playing around learning photoshop. but it seemed quite the overwhelming task hahah.  But you did it so quickly that I guess I have no choice but to learn!

And I appreciate the keystone comment! I don't get to take the pictures, so I'm stuck with the awful angles and lighting these guys give me lol. 

davescm
Community Expert
Community Expert
June 28, 2017

You're welcome.

The pen tool can be a bit tricky at first , but with a bit of practise you can quickly produce nice clean edges that are difficult with any other tool and with the huge advantage that you can go back and alter the path later if you spot an error.

Dave

Norman Sanders
Legend
June 28, 2017

One small additional suggestion for a more professional presentation: drag out a few vertical reference lines from the left Ruler and use Edit > Transform > Distort to correct the keystoning. It can be done at the start of the project or later. If later, be sure the image and mask are linked in the Layers panel.

(Forgive me, Dave. I am an old view camera curmudgeon.)

davescm
Community Expert
Community Expert
June 28, 2017

Nothing to forgive Norman, I agree with you. I just tried to keep the last post as simple as possible - probably without succeeding

There is a good read here about camera movements vs Photoshop. It comes out in favour of camera movements - then again it is written by Rodenstock !

The tips on correction are good though.

http://www.rodenstock-photo.com/Archiv/Perspective%20Control.pdf

Dave

davescm
Community Expert
Community Expert
June 28, 2017

Hi A couple of things

History Brush restores a layer to the condition it was in at the selected history point. It will not work on a new layer that was not around at the history point.

You should really use masks for this job. That way nothing is removed permanently and the mask can be adjusted at any time.

When a mask is associated with a layer, where the mask is white the layer shows, where the mask is black the layer becomes transparent and the underlying layer(s) show through.  Grey is semi transparent.

Dave

Generon
GeneronAuthor
Participating Frequently
June 28, 2017

Okay, see, how do I use those?? I've seen them in previous tutorials but never could find a clear answer about where to locate them or how to set them up! I'm running CC 2017 btw

Generon
GeneronAuthor
Participating Frequently
June 28, 2017

So I did this.

Smart select

The Layer > Layer and mask

Then I added a black layer behind it all since layer and mask left me with a transparent background.

But were back to my original problem, that the history brush isn't working?


This is the type of beast I'm editing.  See all the nooks and crannies?

The background is inside the shop, so I cut the majority out, then have to go in and revise.

Which is where i find little pieces missing, not carried over by the smart select.

But by the time I find what wasn't included, or see that it cut a little too much off of the edge of something that now looks weird, I'm an hour of detailed background removal into this thing and I can't just go back to the orginal and remask it.

If it were a simple image like what you used, layer and mask might would work, but it seems my answer is just to not use any layers.  If I stay in one layer and one layer only, the history brush should always work?