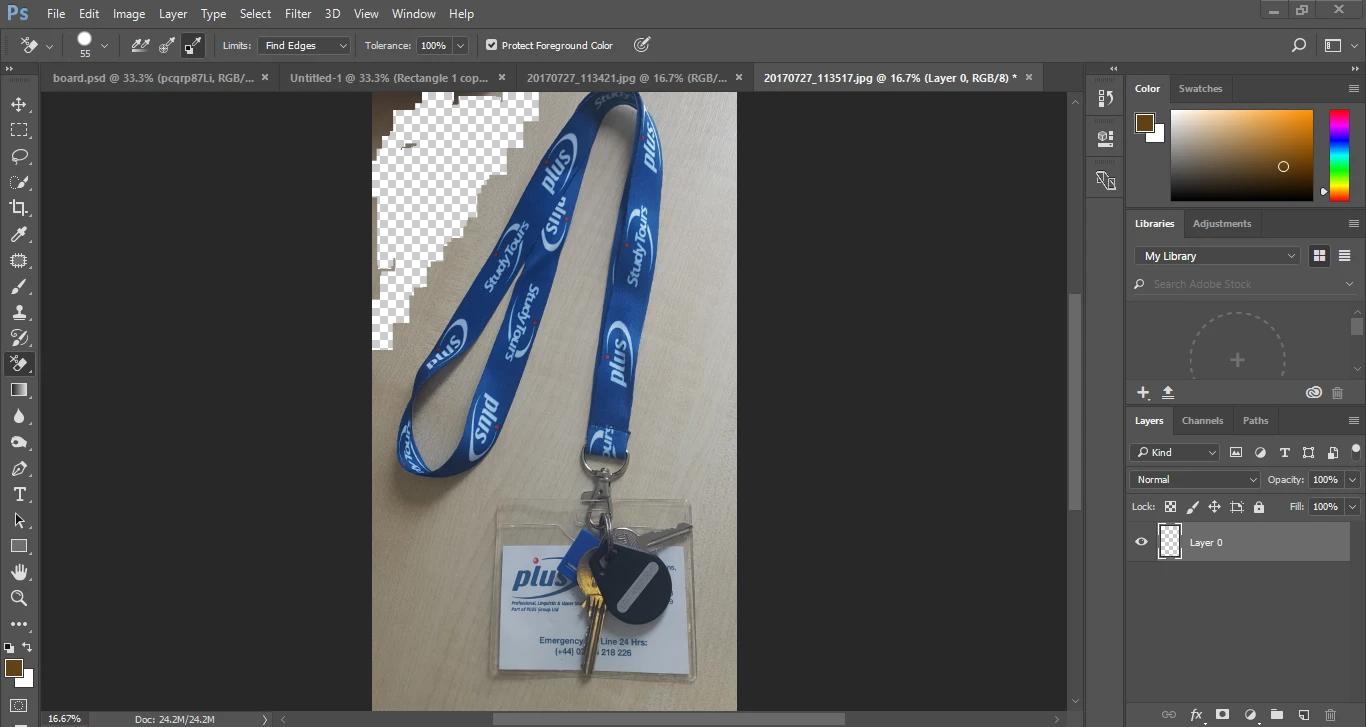
The problem, in part, is that you are working at 16.75% of size. In addition, your choise of tools should be reconsidered. First, I suggest that you work in a size far closer to 100% or more. You may move the view of the image segment around on your monitor as you work by holding down the space bar as you shift to another segment of tne image. Next, an eraser is an unforgiving tool. Use one a method that allows for editing your work. One approach is as follows:
1. Place a blank layer below your image layer
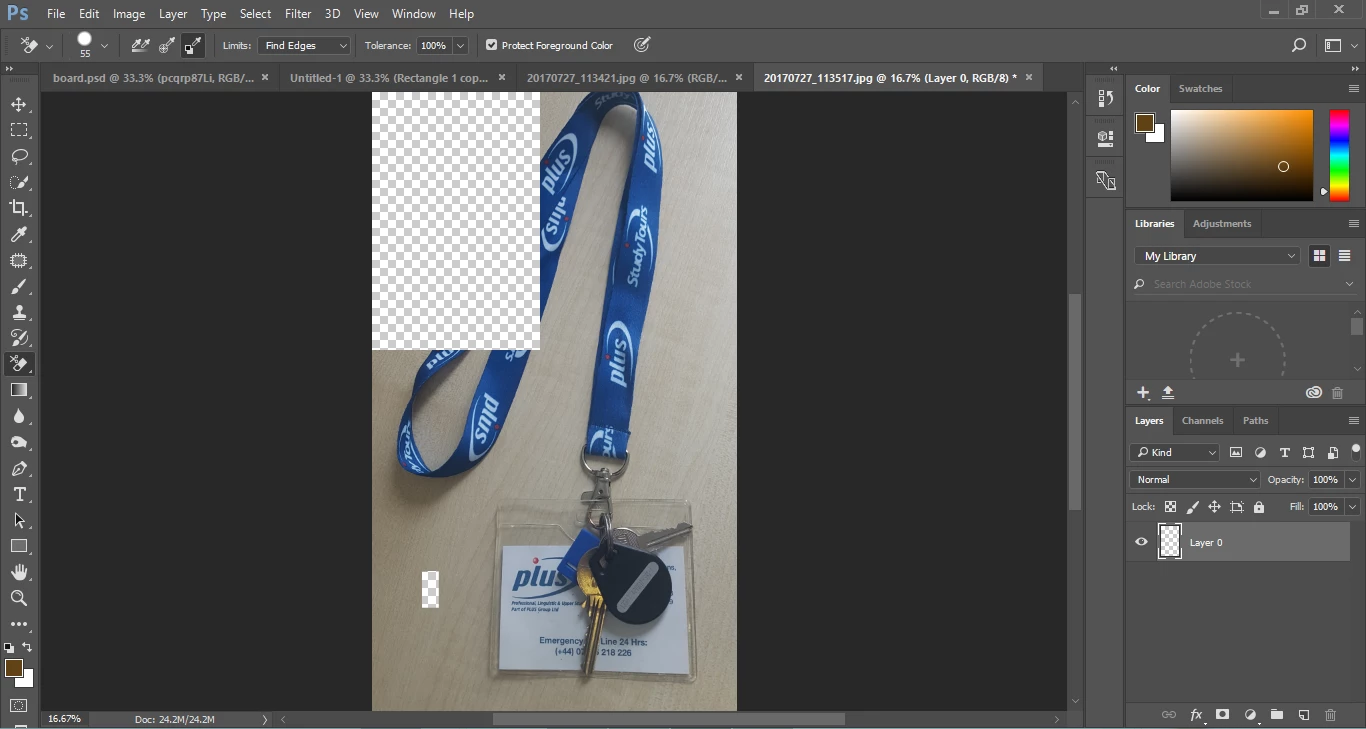
2. Return to the image layer and use the Quick Selection tool (it is nested with the Magic Wand) to select the background area. If it impinges in a local are, hold down the Option key and paint to restore the area. Be as precise as possible, but don't fret if certain areas cannot be selected adequately. You will fix it in the next step. When the selection is complete...
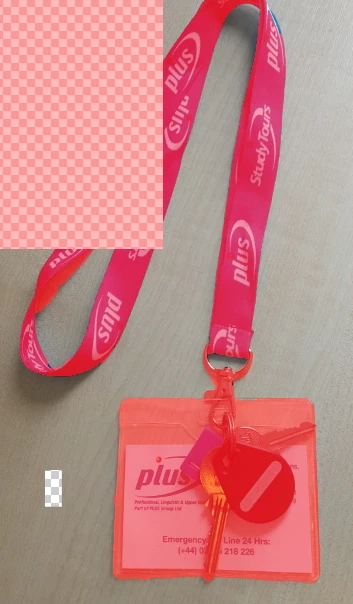
3. Click on the Quick Mask Mode (right below the color patches in the Tools section). Paint with a sharp edged brush… in black to add red in white to remove red to refine you selection. When the editing is complete click on Quick Mask again to return to the marching ants. You can repeat this process as often as necessary.
4. Save your selection by choosing Select > Save Selection, so that, if necessary, you may edit your selection some time in the future without starting from scratch.
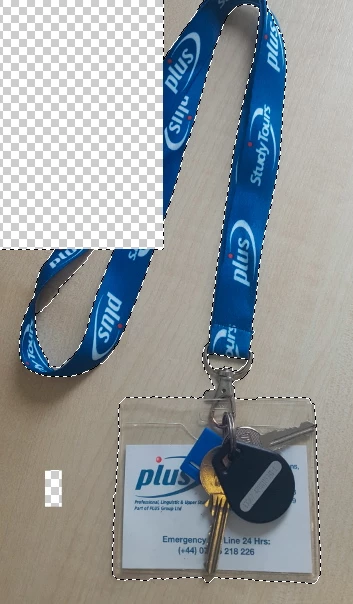
5. Now, back at Layers and with the marching ants showing, hit Delete to eliminate the Background. Then, deselect the marching ants.
Another option would be to make the selection using the Pen tool. I suspect you are not ready for that yet.