WayneJK
Participant
March 17, 2018
Answered

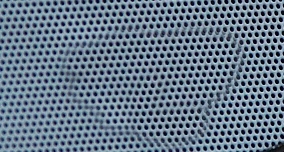
Cloning tool in Photoshop cc 2018 leaves gray outline shadow

  • March 17, 2018
  • 2 replies
  • 2164 views

Please may I ask how to rectify this issue.
As I clone parts of an image, the area I'm cloning is left with a visible gray outline / shadow.
I have not experienced this before.
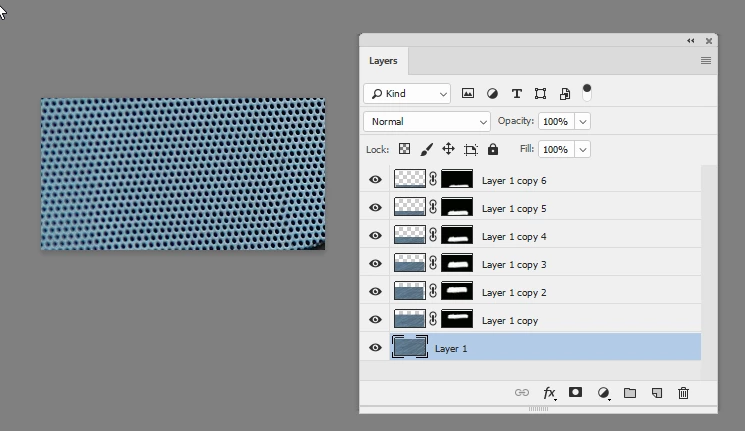
I have tried resetting the clone tool and all tools.
Nothing seems to help.
Thank you.

    This topic has been closed for replies.
    Correct answer davescm

    The cloning is badly aligned so the holes do not line up. Doing that with a soft brush is combining dark holes with lighter mesh and giving you the grey areas.

    Work in small sections with the clone tool or with the content aware patch tool , ensuring alignment as you go.

    Or , as below, do it the old fashioned way and copy the good section at the top and use a mask to cover the misaligned area. I repeated this by copying the masked version (Ctrl+J) and moving it down a few rows at a time

    Dave

    2 replies

    Norman Sanders
    Legend
    March 17, 2018

    You may want choose one row (200% view/ rotated pattern to horizontal):

    Duplicate the row, move it down and shift right to create this (200% view):

    Choose Edit > Define Pattern. Open a new file and Edit > Fill with the Pattern

    (Note: Any lack of perfect uniformity you may see is caused by a variation in blue and black across the line. In addition, the image is not as sharp as we would like. If it was crisp, the blue could easily be replaced using the Blend If command.)

    WayneJK
    WayneJKAuthor
    Participant
    March 17, 2018

    Thank you Norman.
    Very helpful too.
    Much appreciated.

    macpawel
    Participating Frequently
    March 17, 2018

    Try to check your Clone Stamp tool Options

    Check:

    Blendnig mode

    Opacity,

    Hadrness

    pawel

    WayneJK
    WayneJKAuthor
    Participant
    March 17, 2018

    Thank you for your reply.
    Everything is set I believe as it should be.
    Hardness is 0%, Opacity 100% (Not sure of Blending Mode, but all settings I thing are normal / default)
    Still experiencing the issue as shown in the uploaded file example.
    Thanks

    davescm
    Community Expert
    davescmCommunity ExpertCorrect answer
    Community Expert
    March 17, 2018

    The cloning is badly aligned so the holes do not line up. Doing that with a soft brush is combining dark holes with lighter mesh and giving you the grey areas.

    Work in small sections with the clone tool or with the content aware patch tool , ensuring alignment as you go.

    Or , as below, do it the old fashioned way and copy the good section at the top and use a mask to cover the misaligned area. I repeated this by copying the masked version (Ctrl+J) and moving it down a few rows at a time

    Dave