Design a creative photo frame on your iPad
- November 6, 2019
- 1 reply
- 9193 views
Frame it! Paint in Fresco, then add text and enhance your creation in Photoshop on the iPad
Do you like to paint? Do you take photos? Try your hand at using Fresco and Photoshop on the iPad to make a creative photo frame and post it directly to social media. See how seamless the transition is going from one app to the other when using cloud documents. Lets get started!

1) Create a new file in Fresco
- Open Fresco and tap create new to open a new file
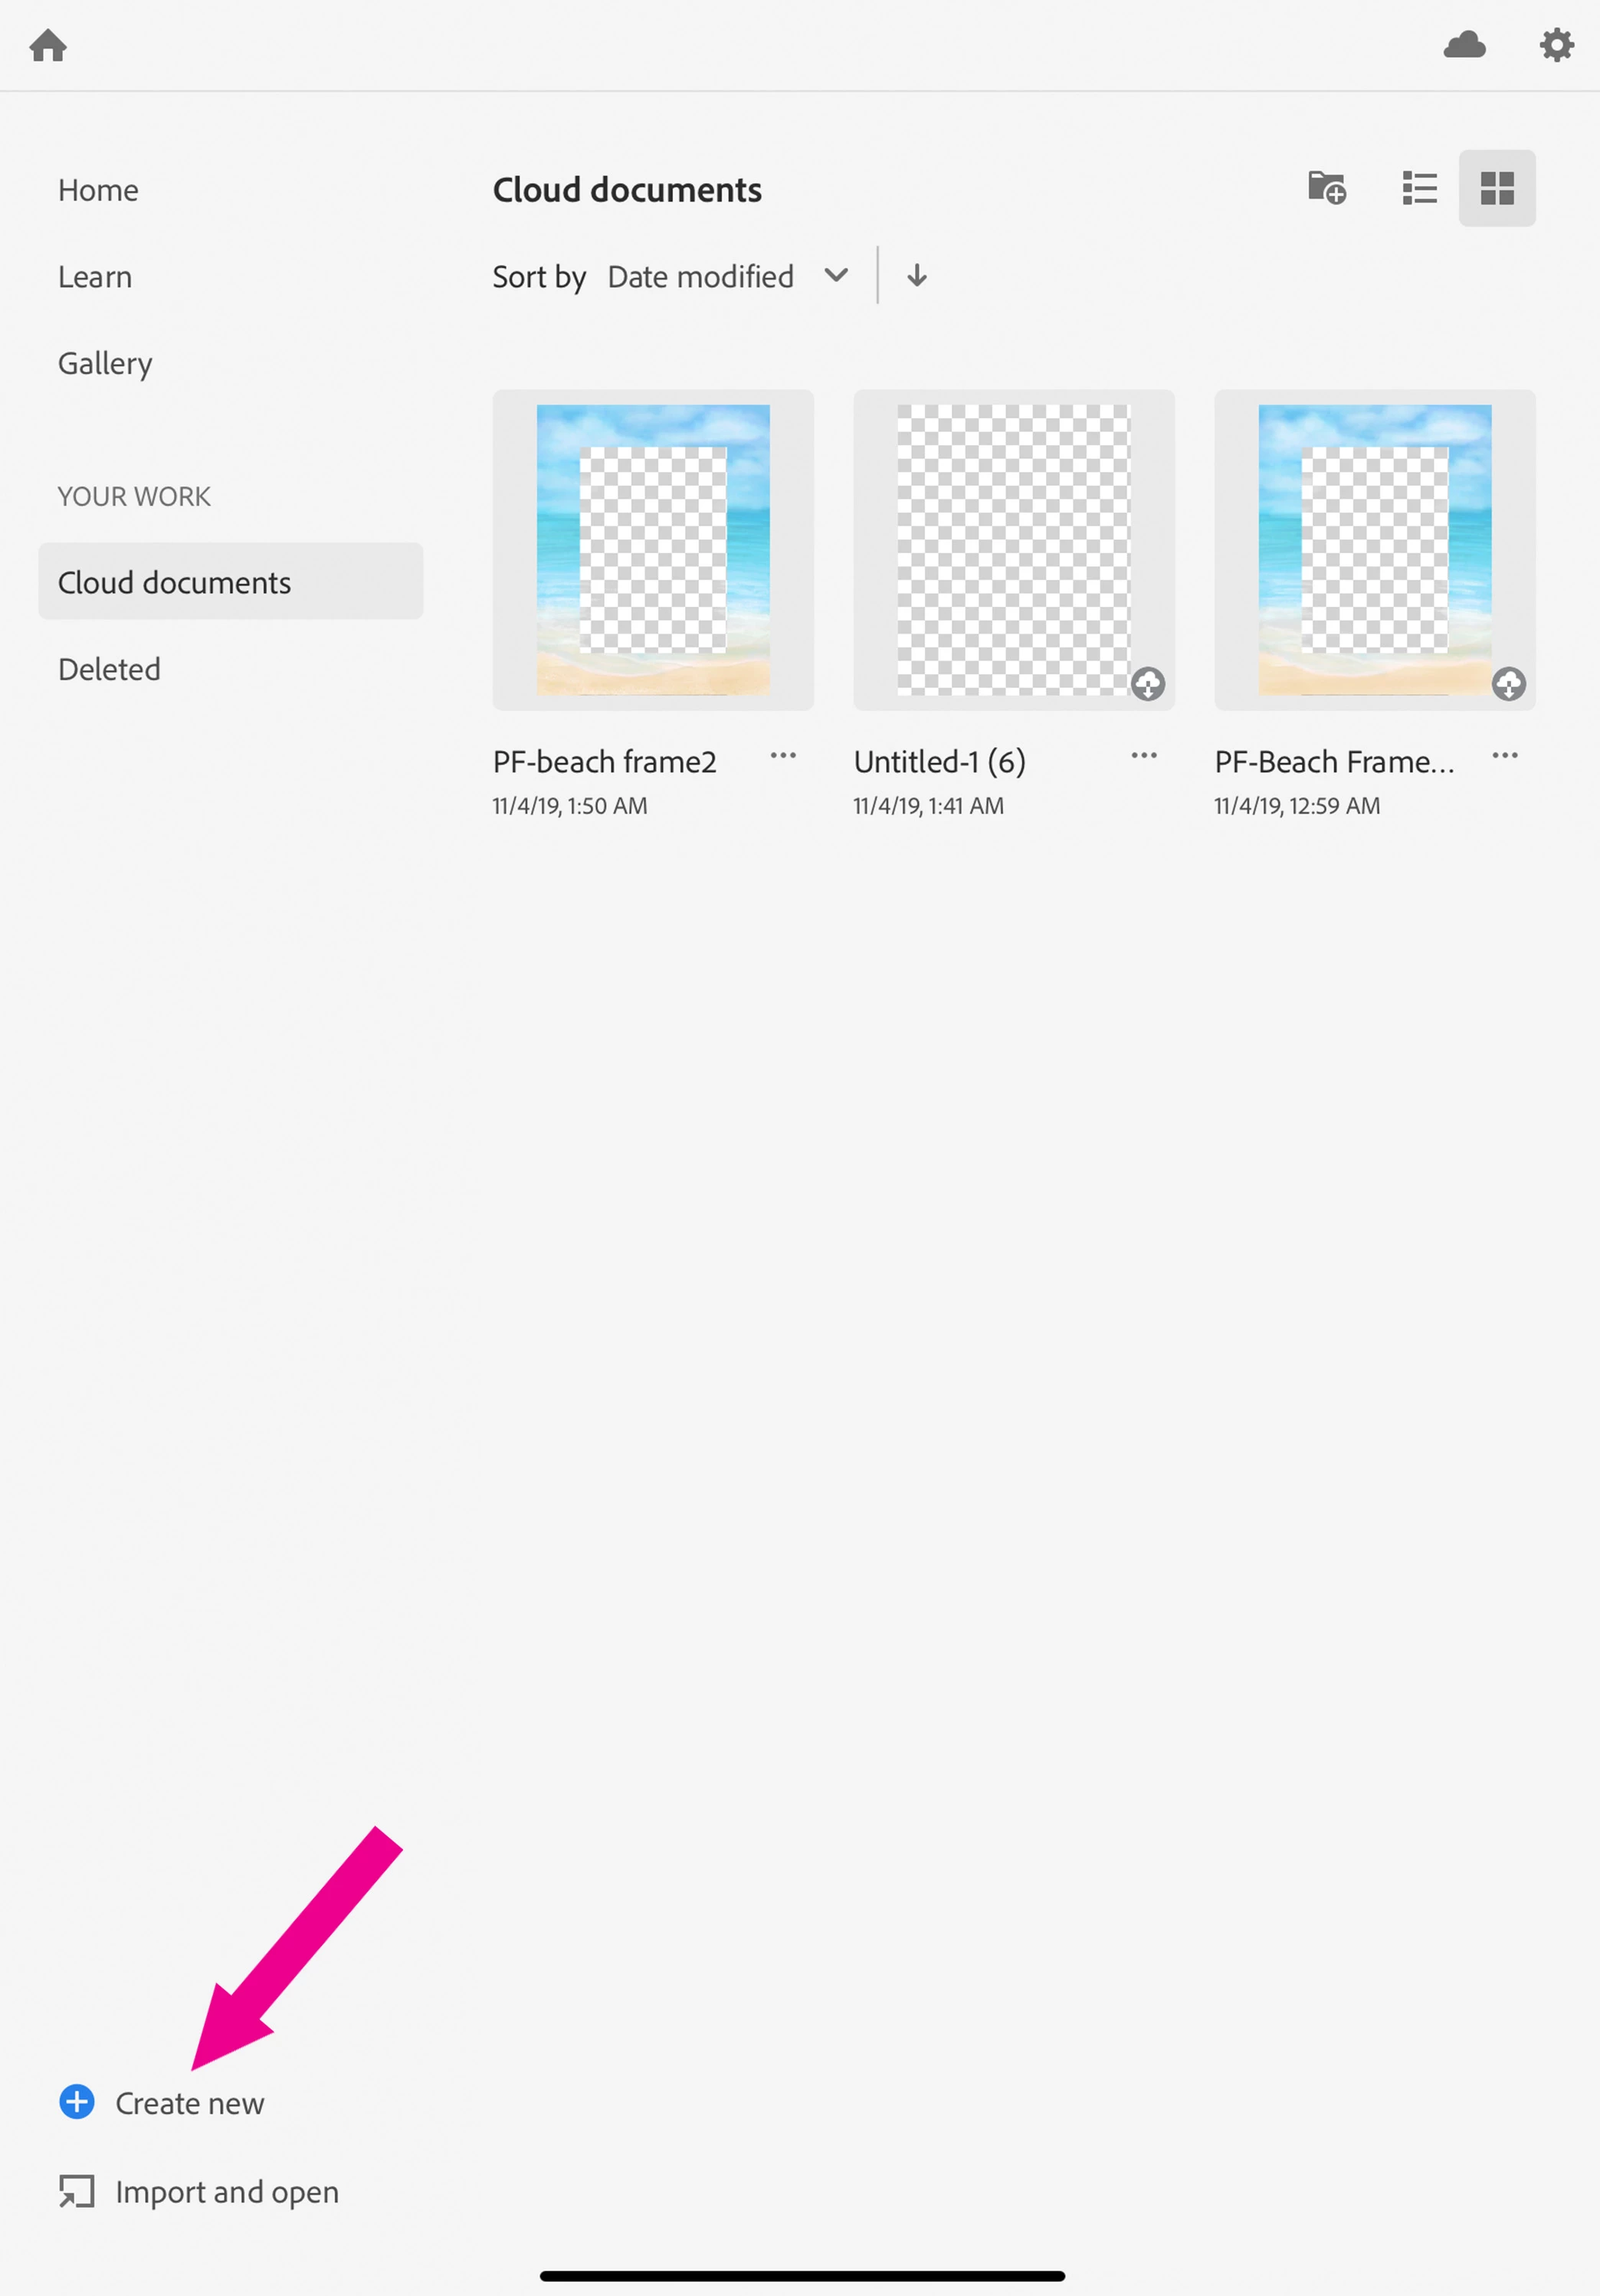
- Tap on Custom size and set the dimensions you choose. Select a transparent background. If you see the word "white", tap on it and select transparent. Then, tap Create document.
2) Make a frame
- Pinch two fingers together on the screen a bit to shrink the canvas view to see the entire canvas on the screen
- Long press on the selection tool to see the options, and then tap on the rectangular marquee to select it
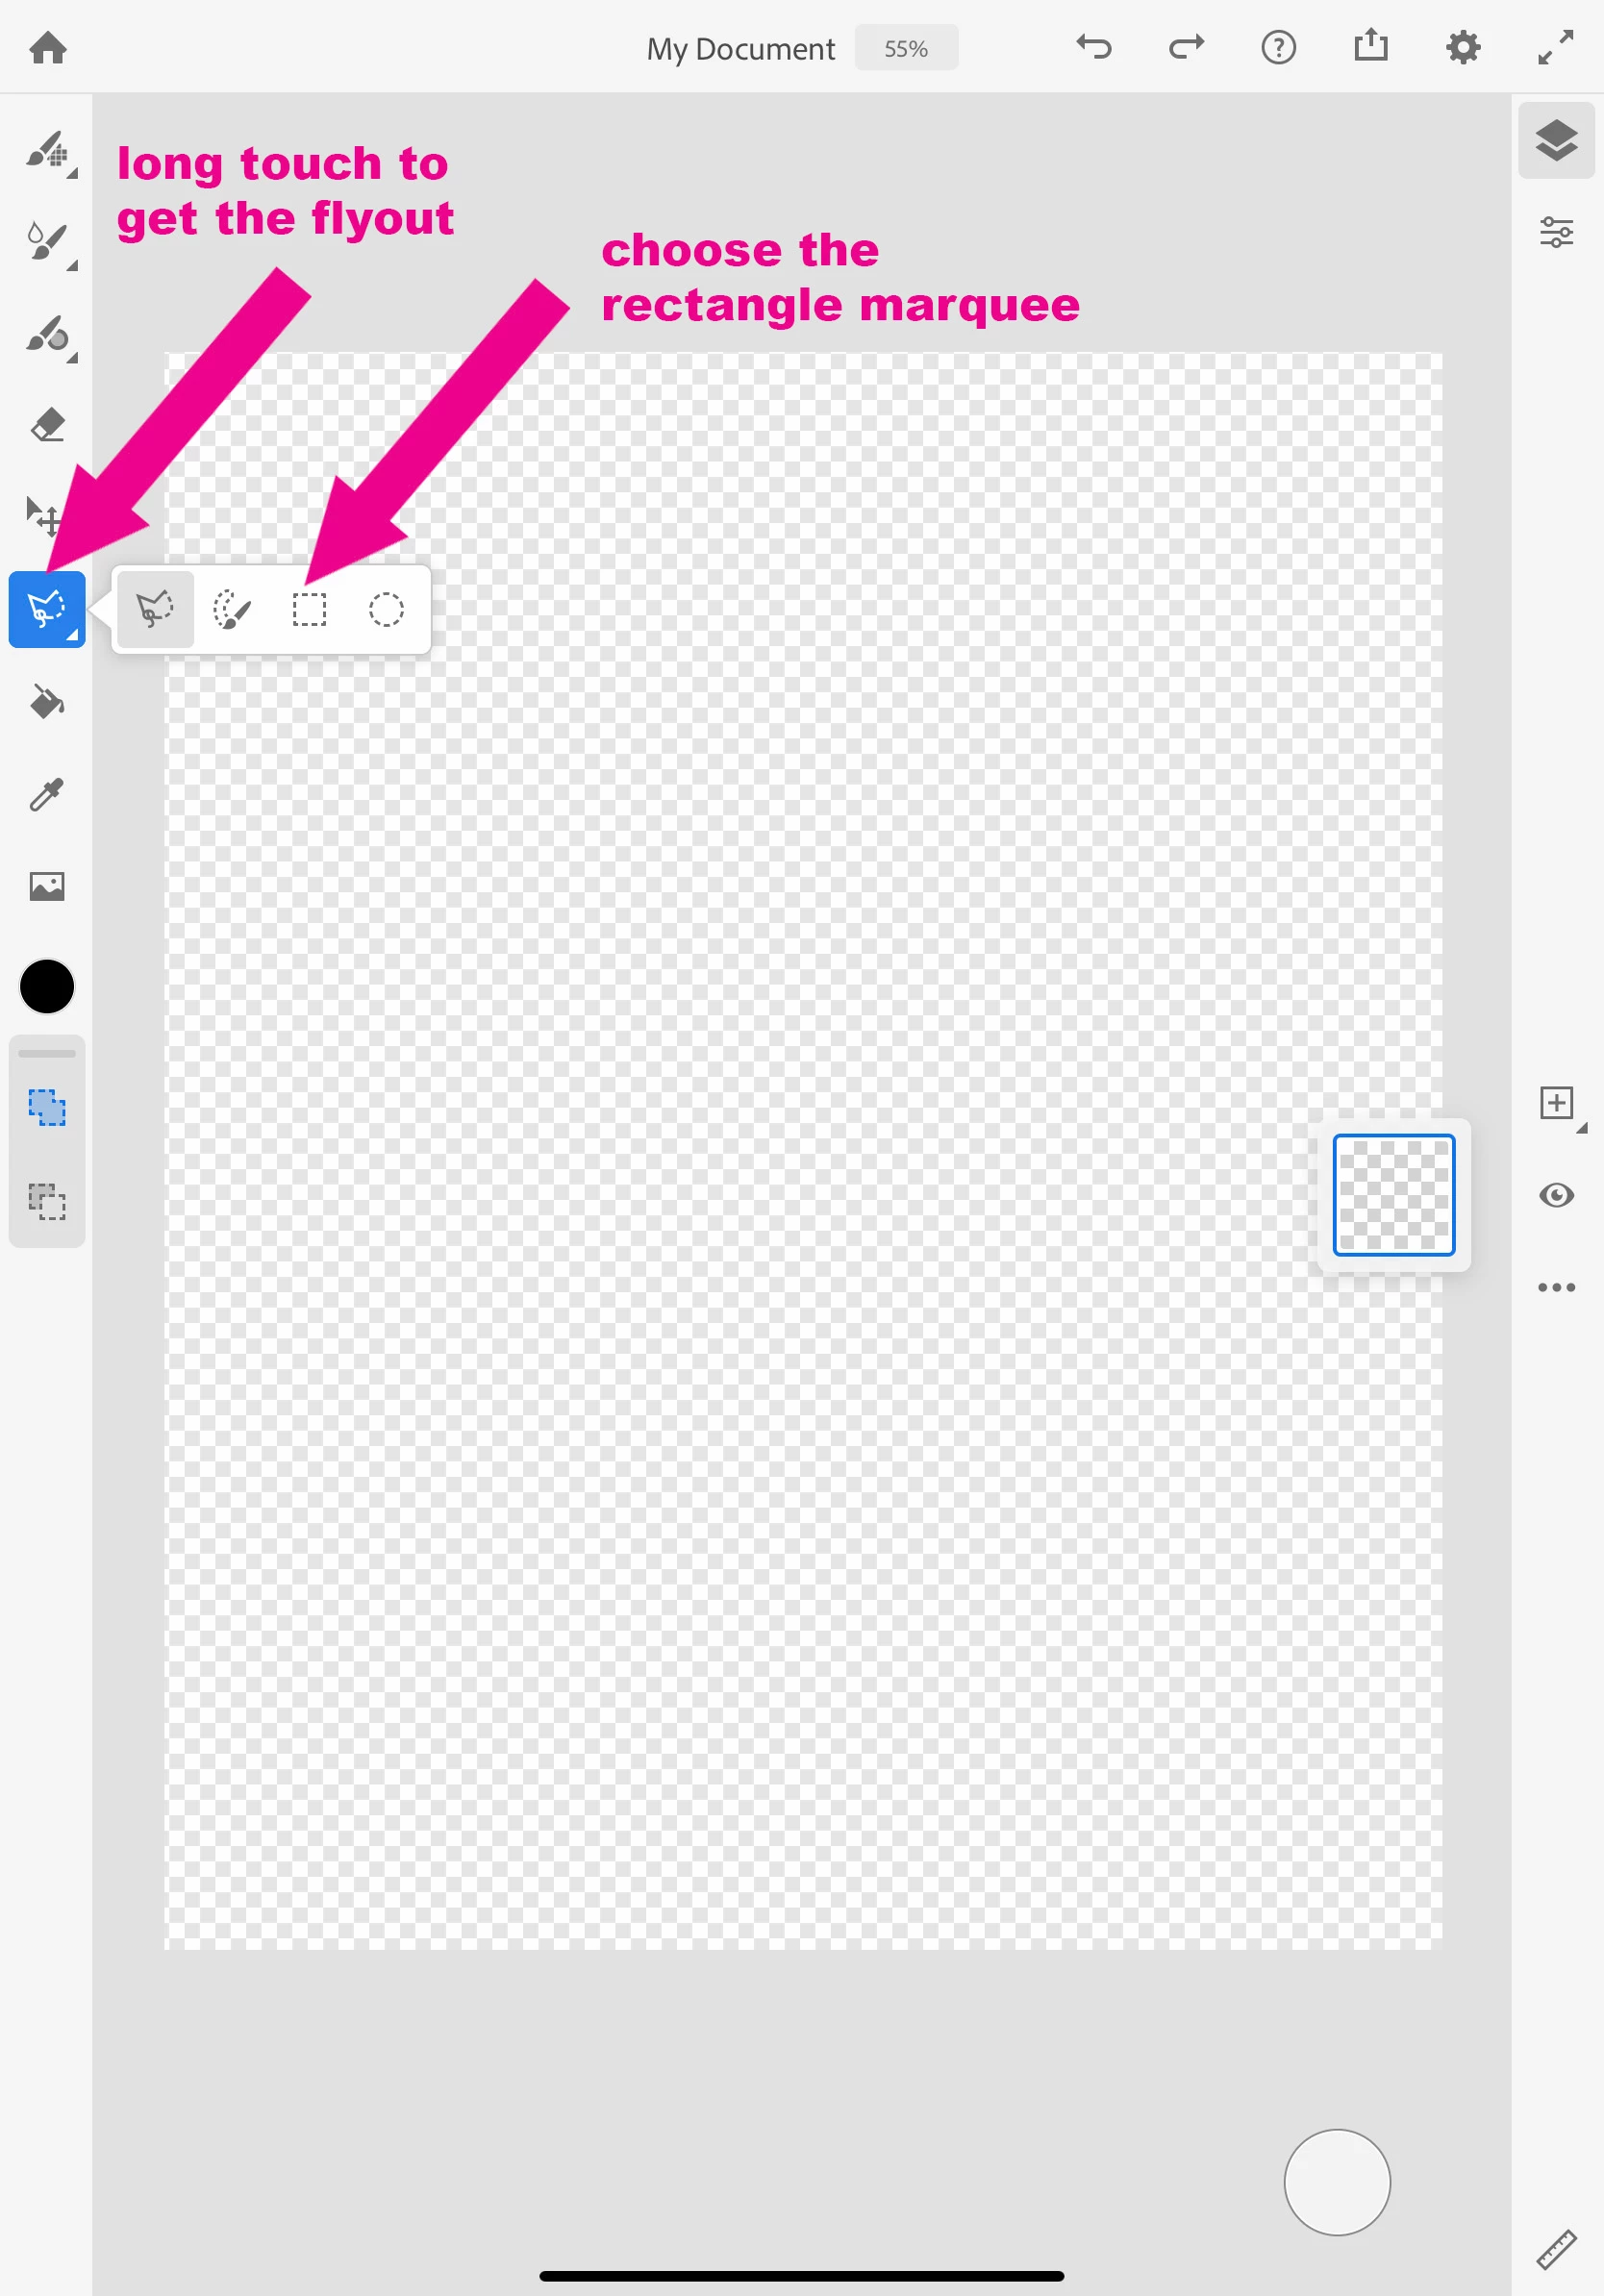
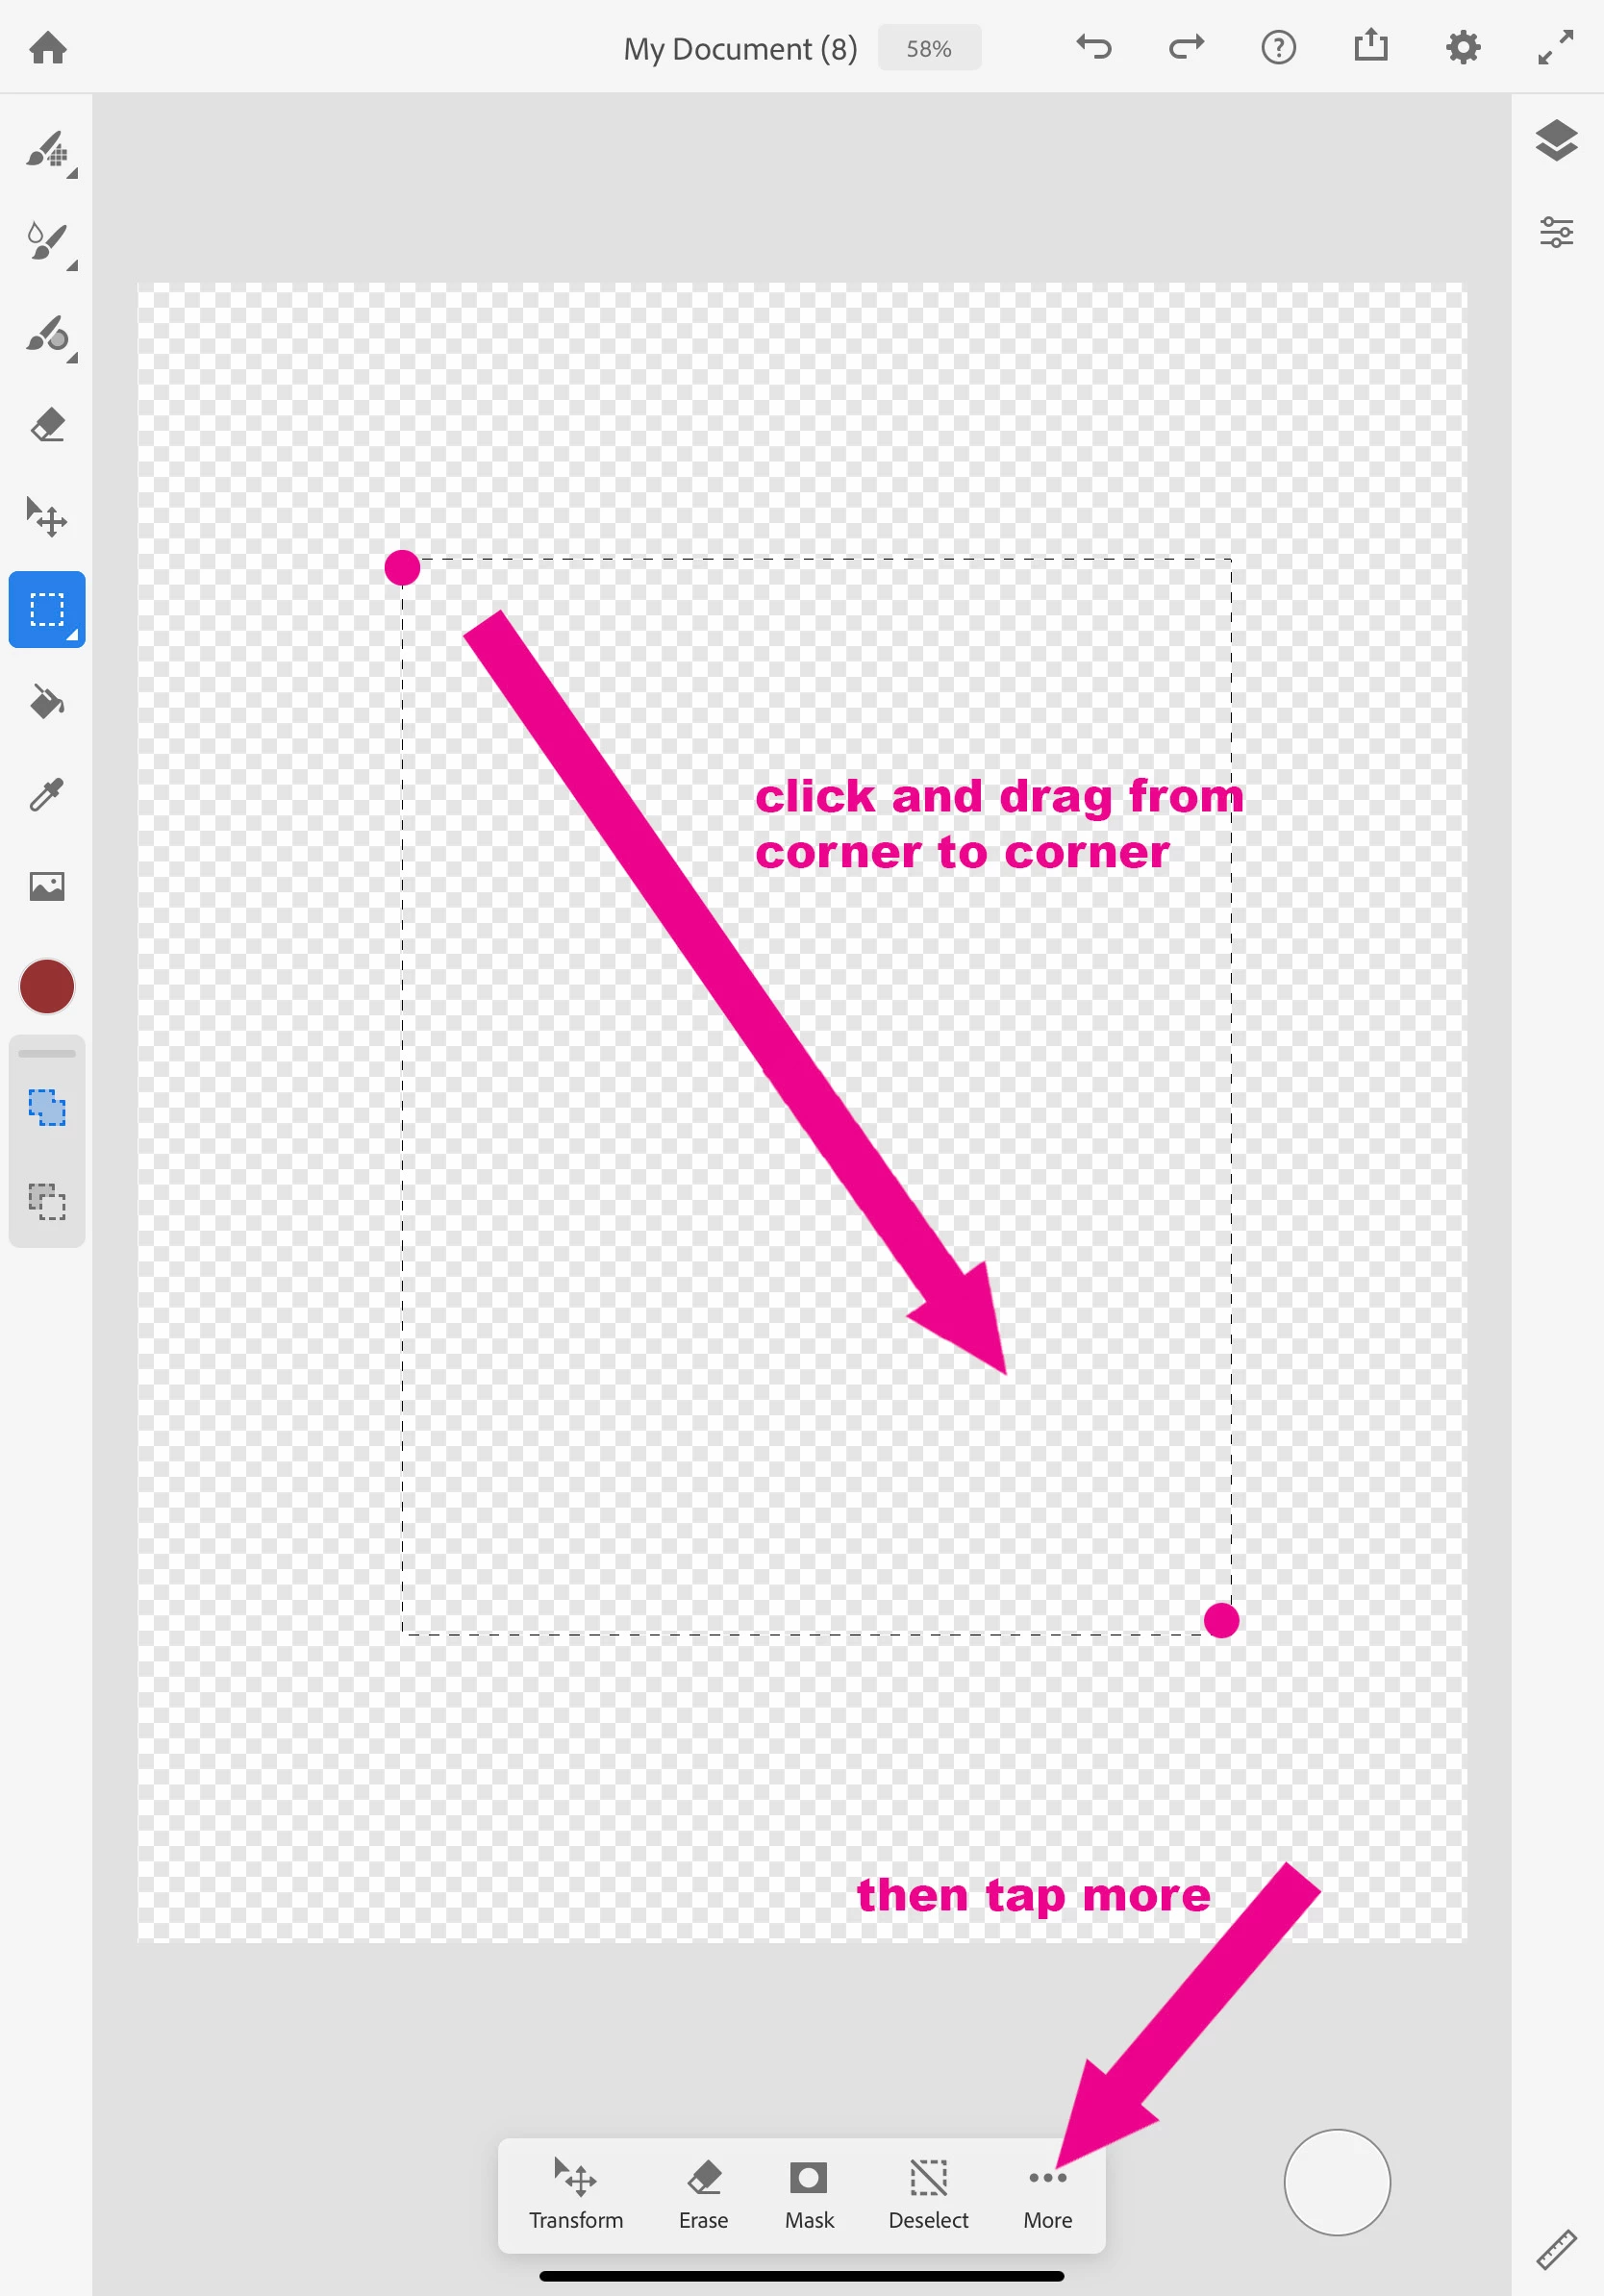
- Tap where you want the top left of the photo to show through and drag down to the bottom right to create a selection of the area for the photo. Then, In the selection toolbar at the bottom of the screen, choose more, invert selection to change the selection to the frame area
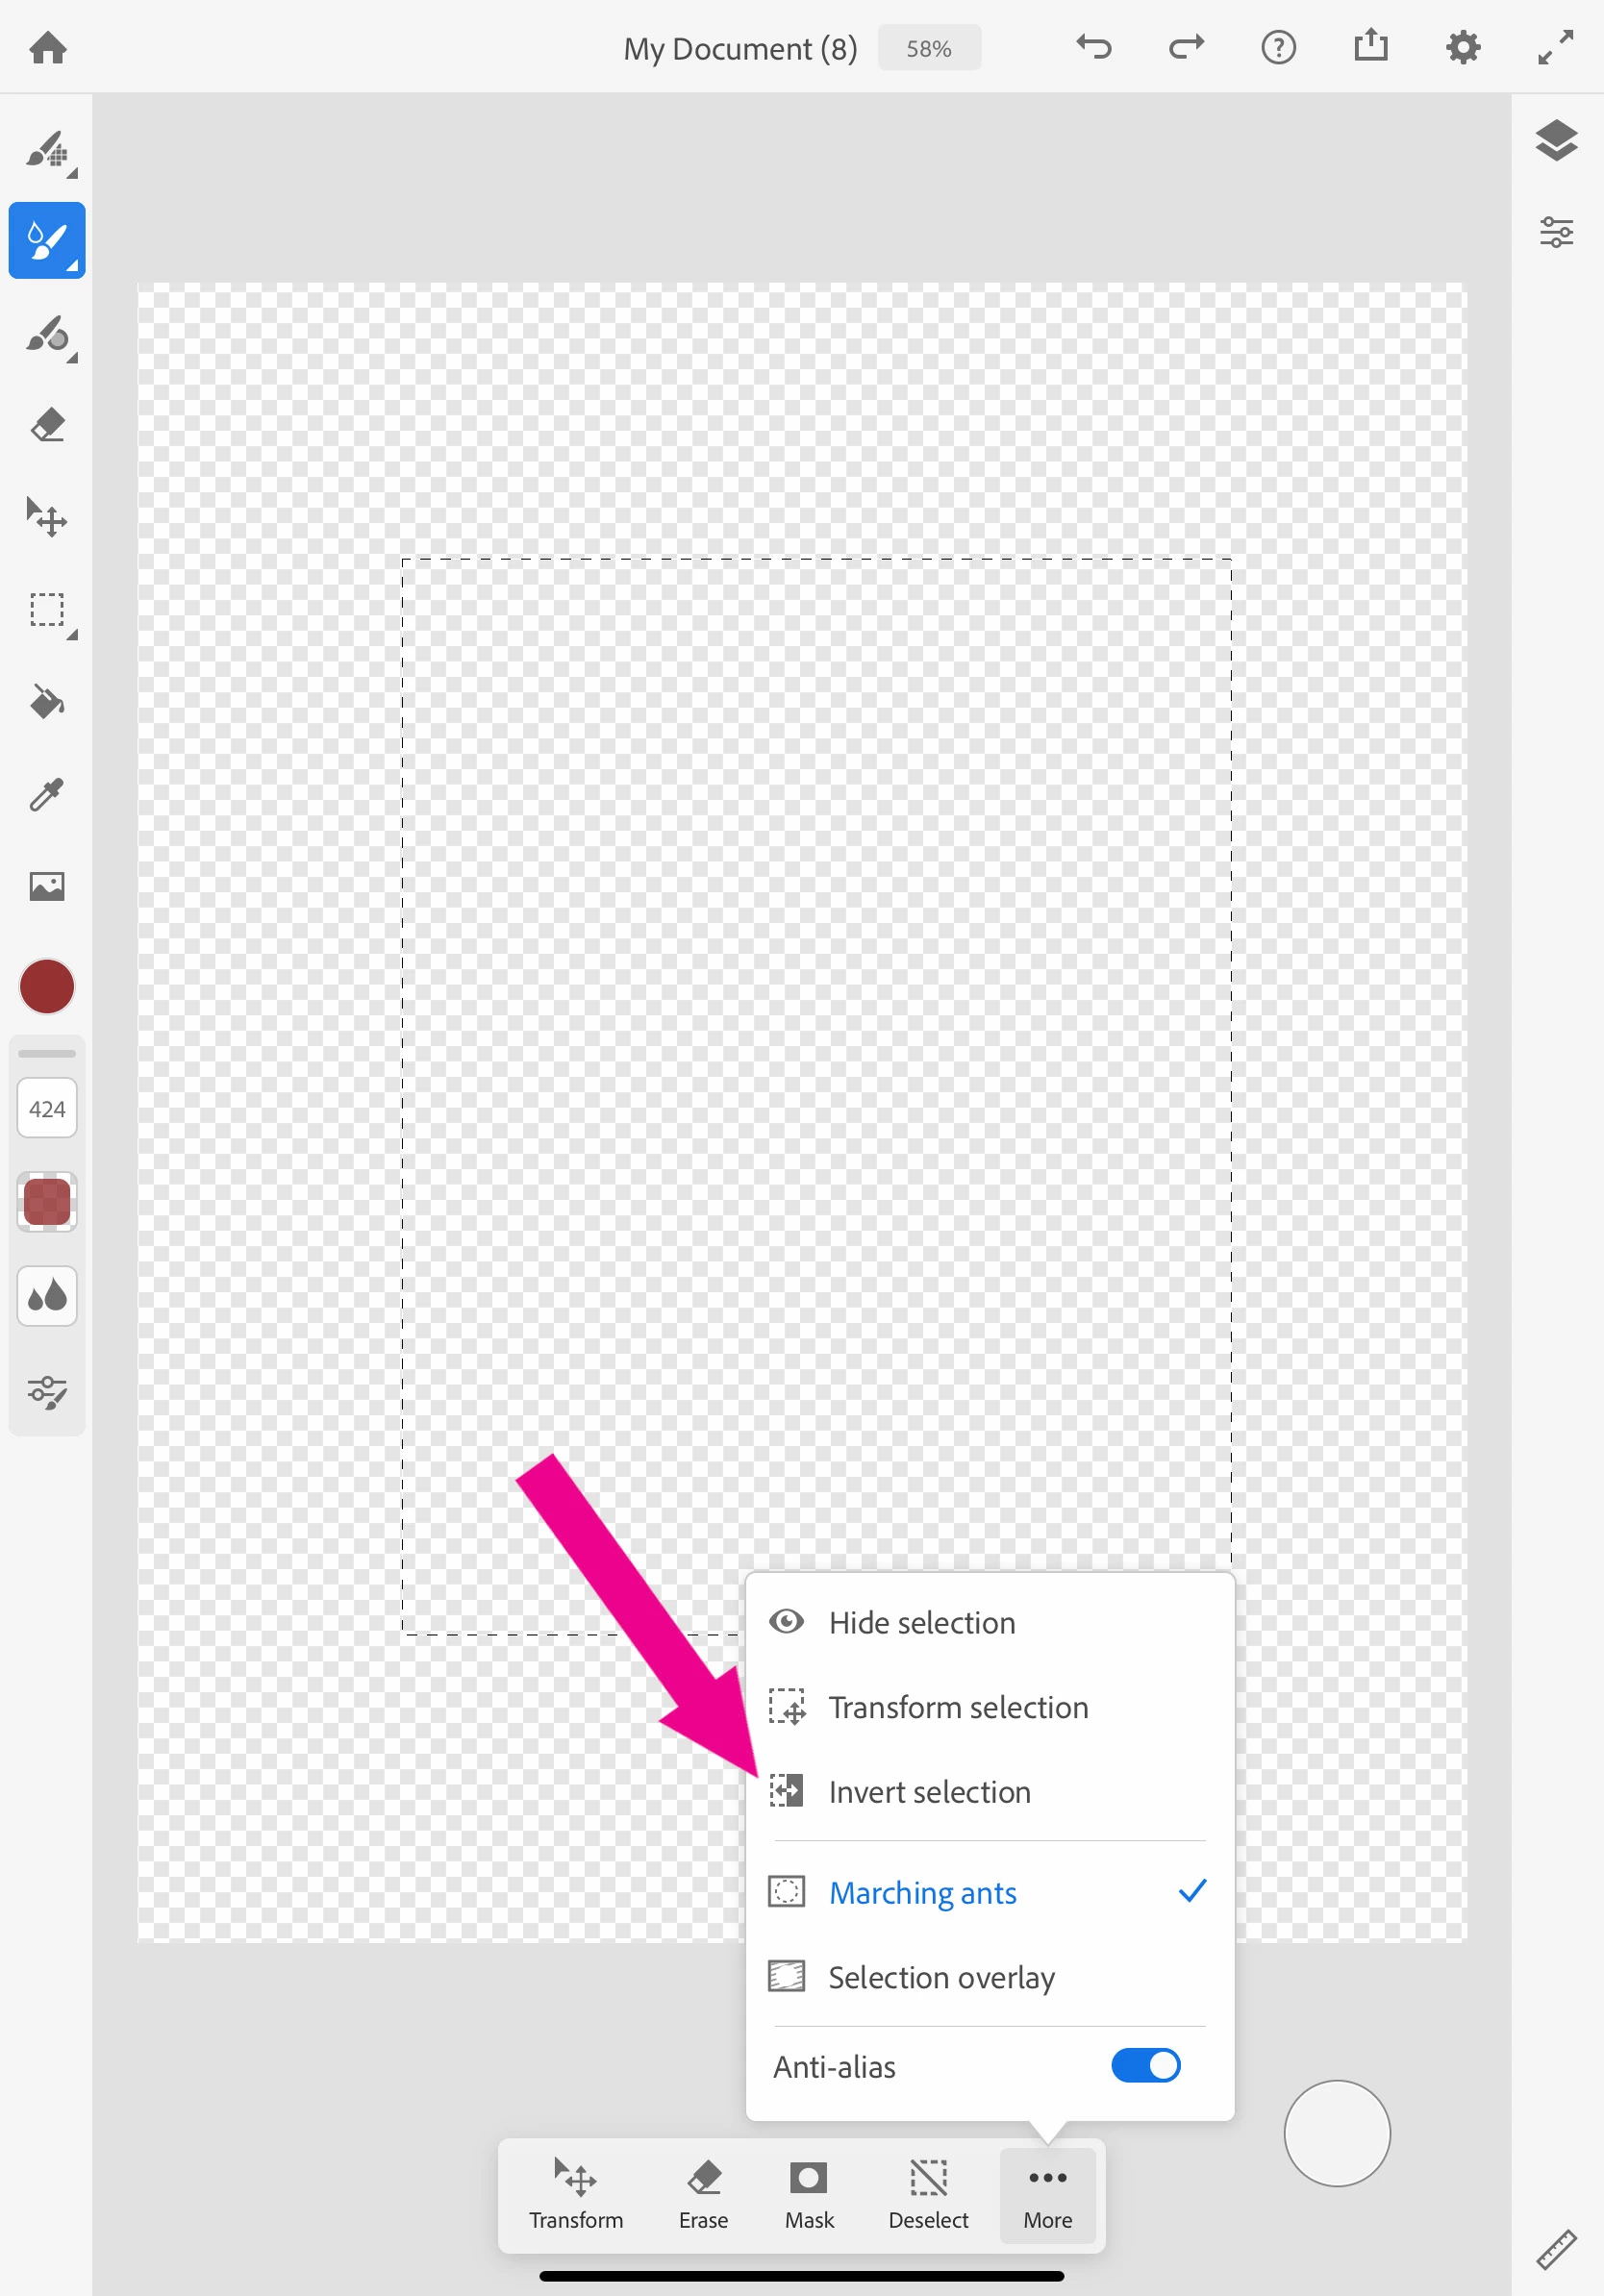
3) Paint the frame
- Now you are ready to paint on the frame. Select the live brush tool and experiment with live water color painting. Long press the live brush icon to open the flyout menu. Tap on Watercolor.
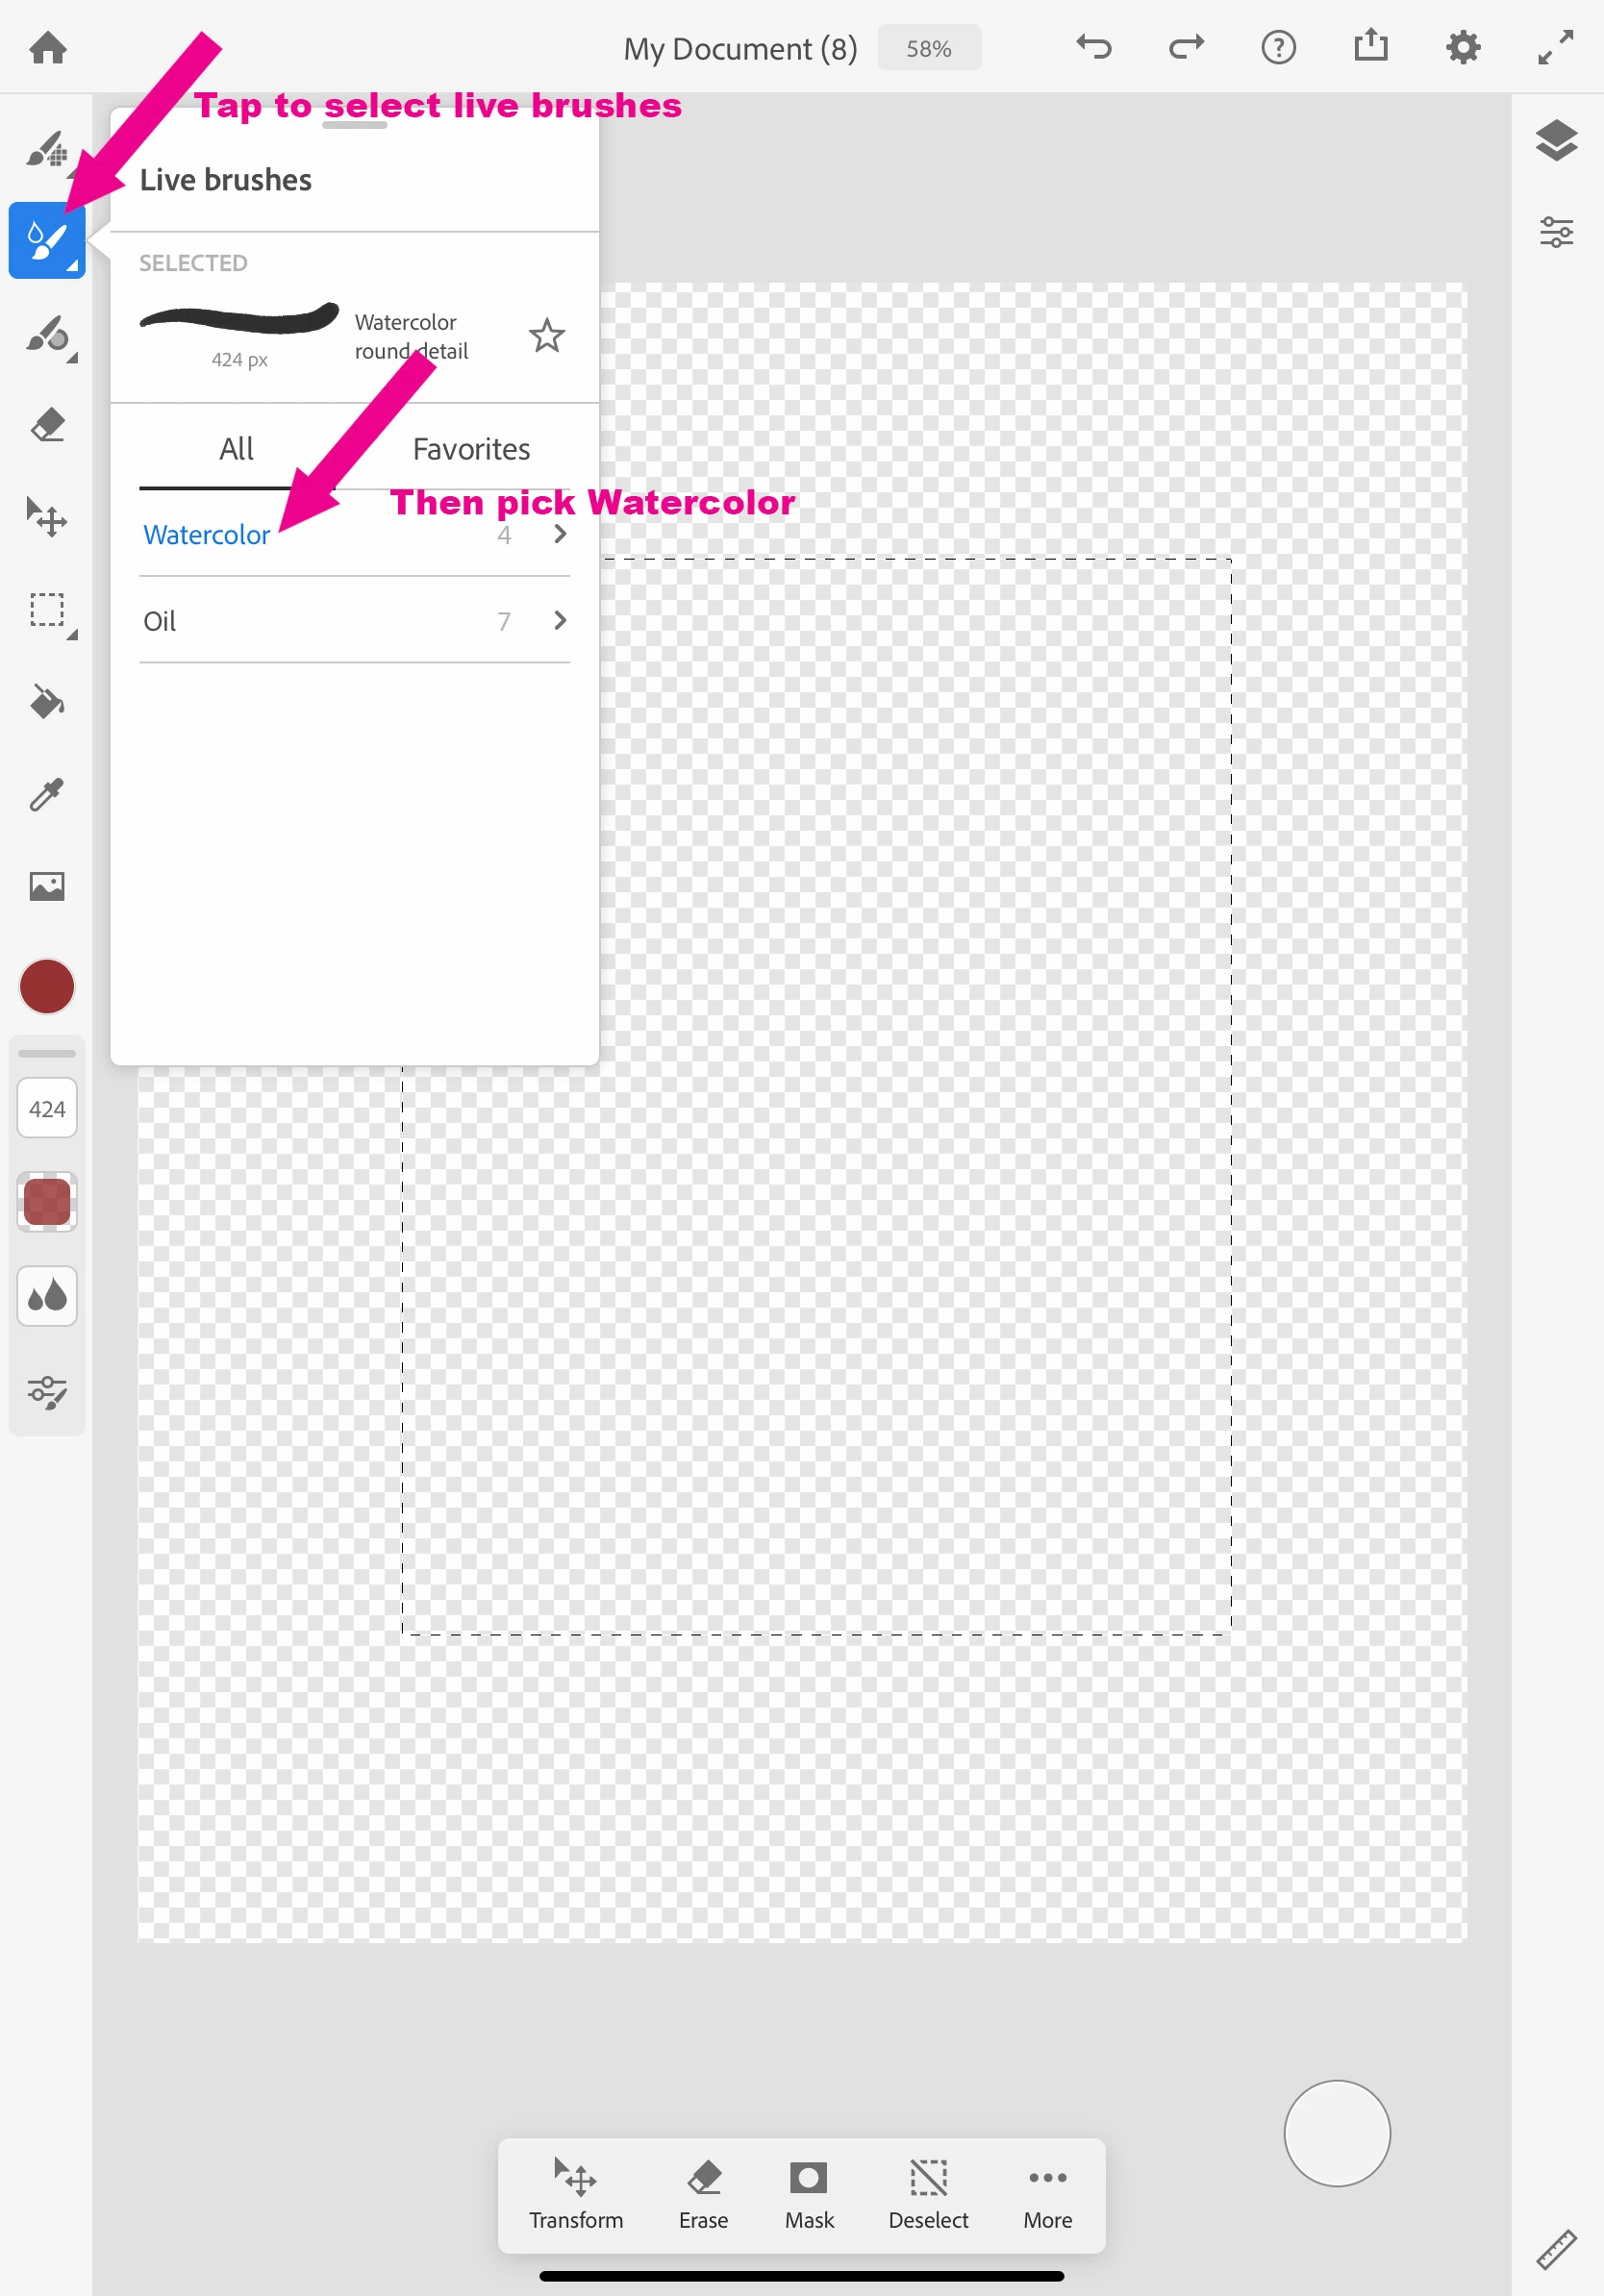
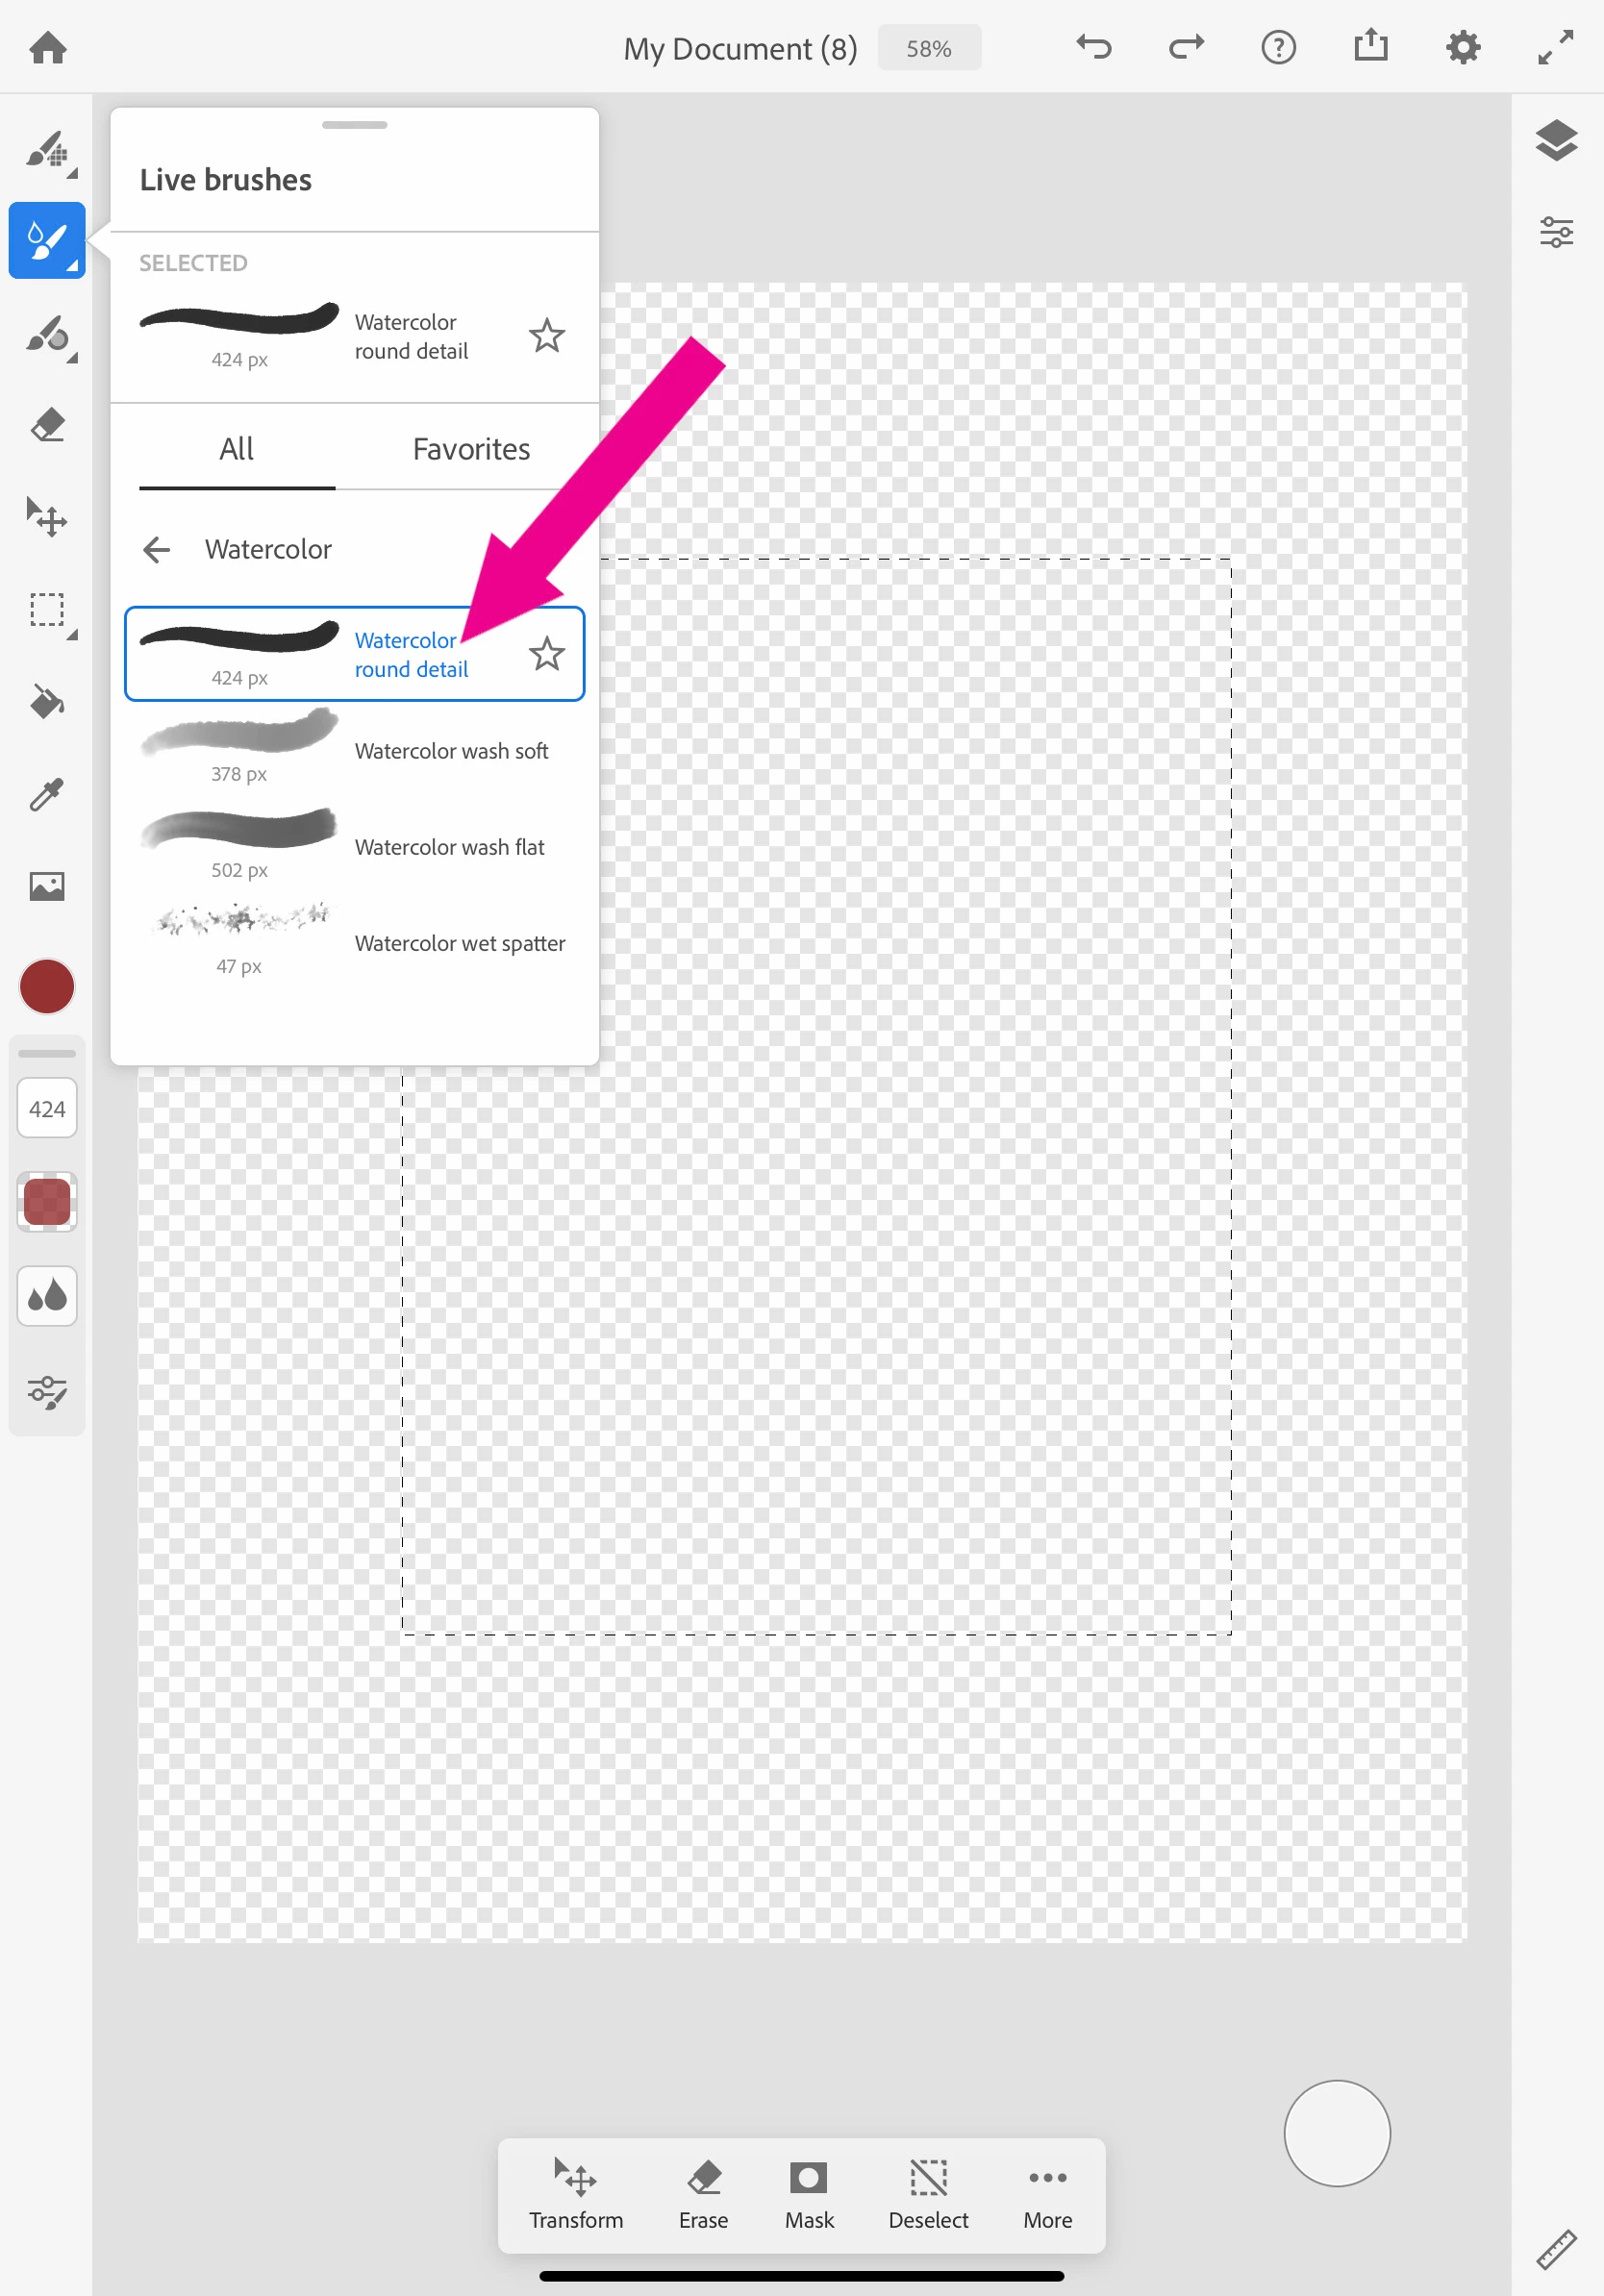
- Now, let's choose the Watercolor roud detail brush. Tap on the brush icon again to hide the flyout menu.
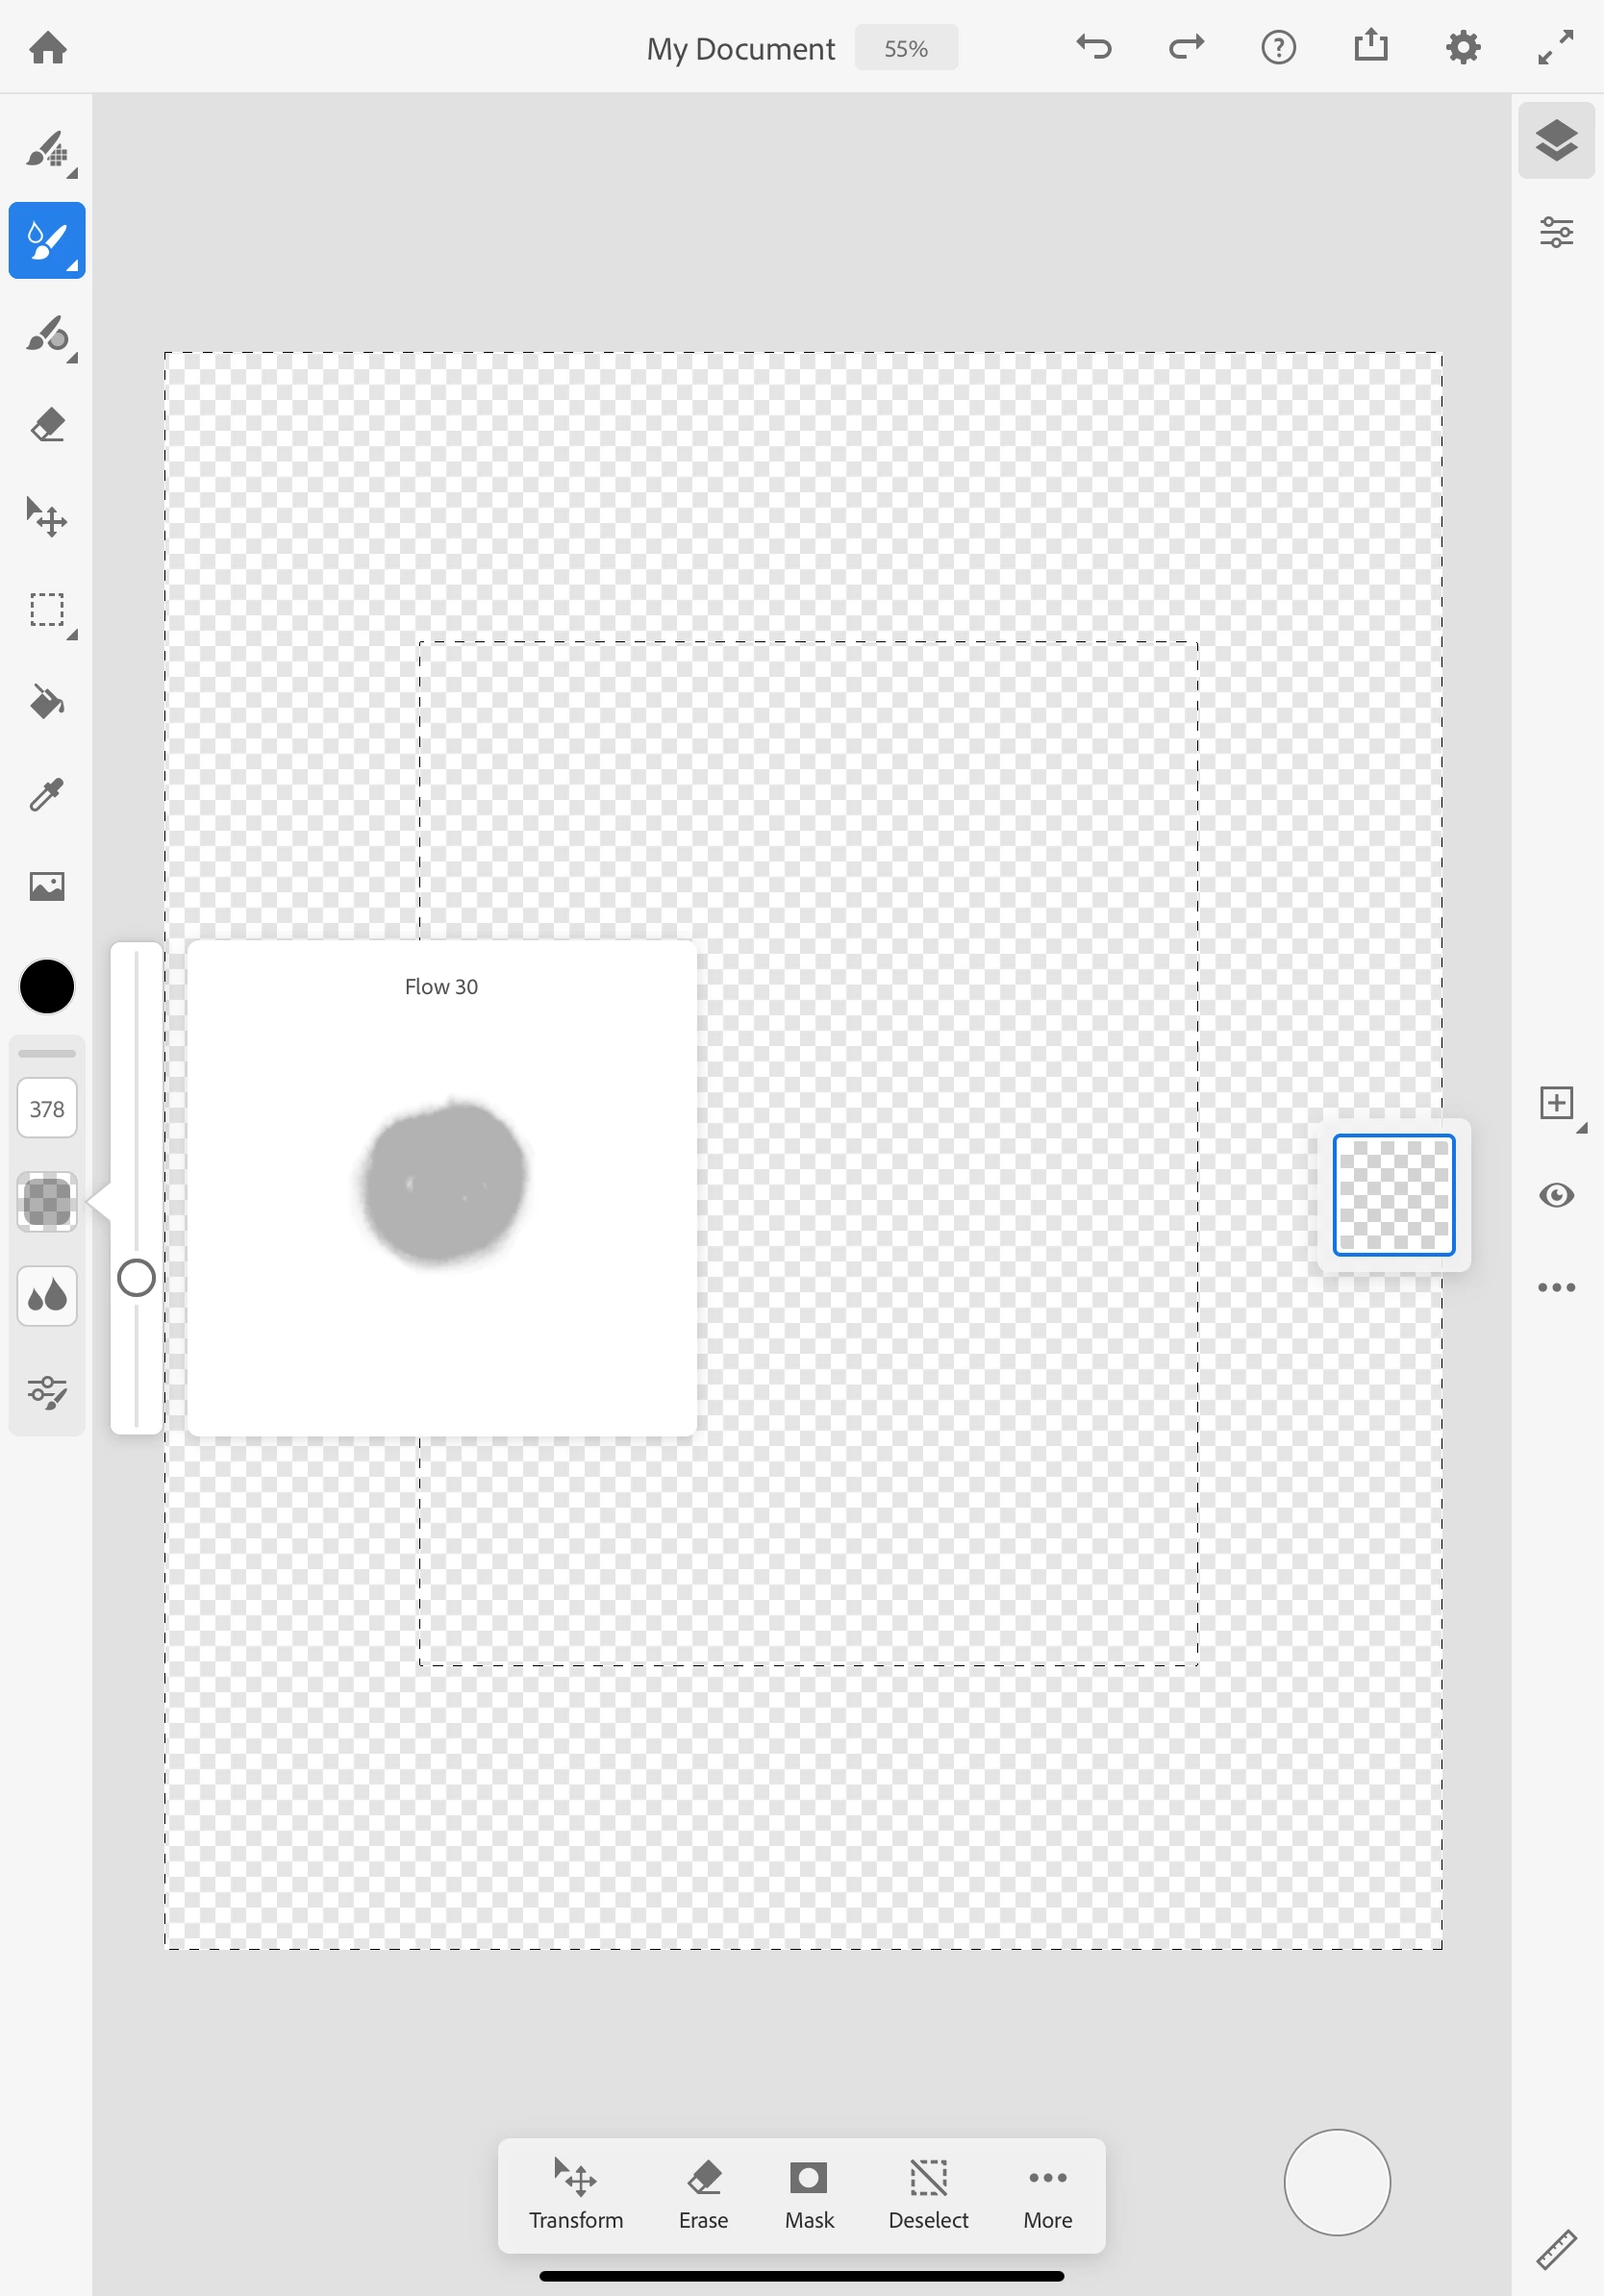
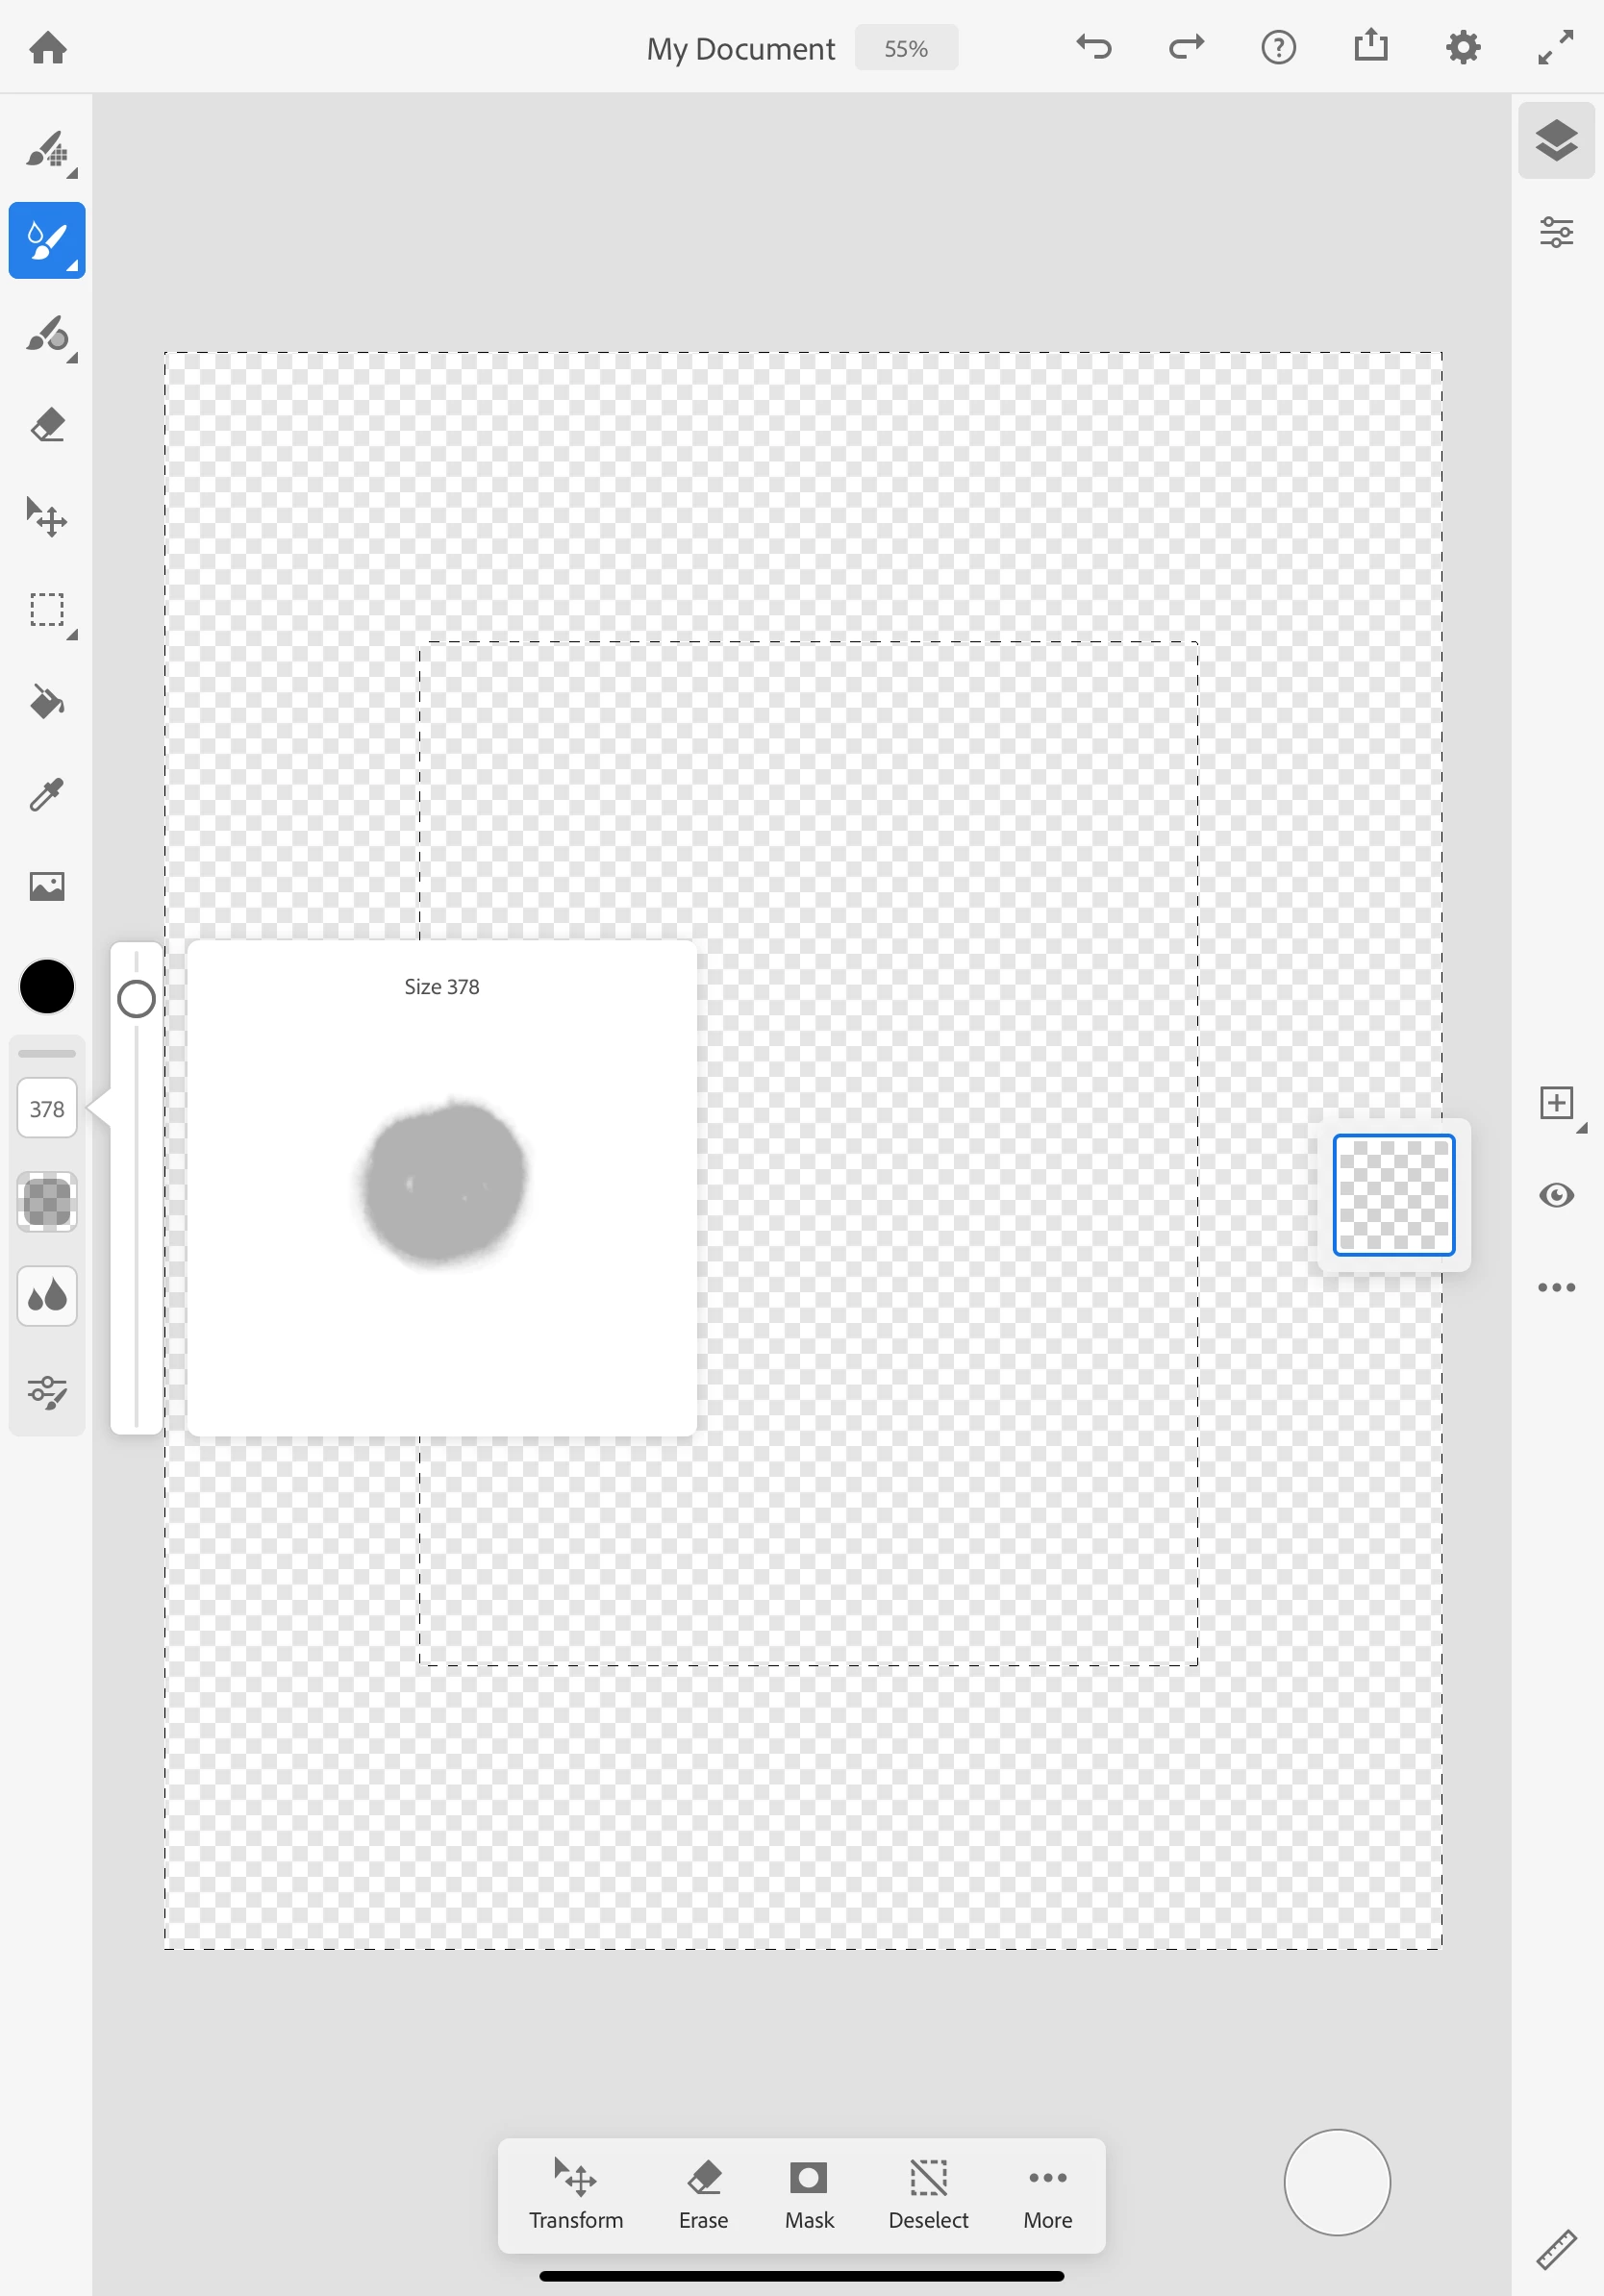
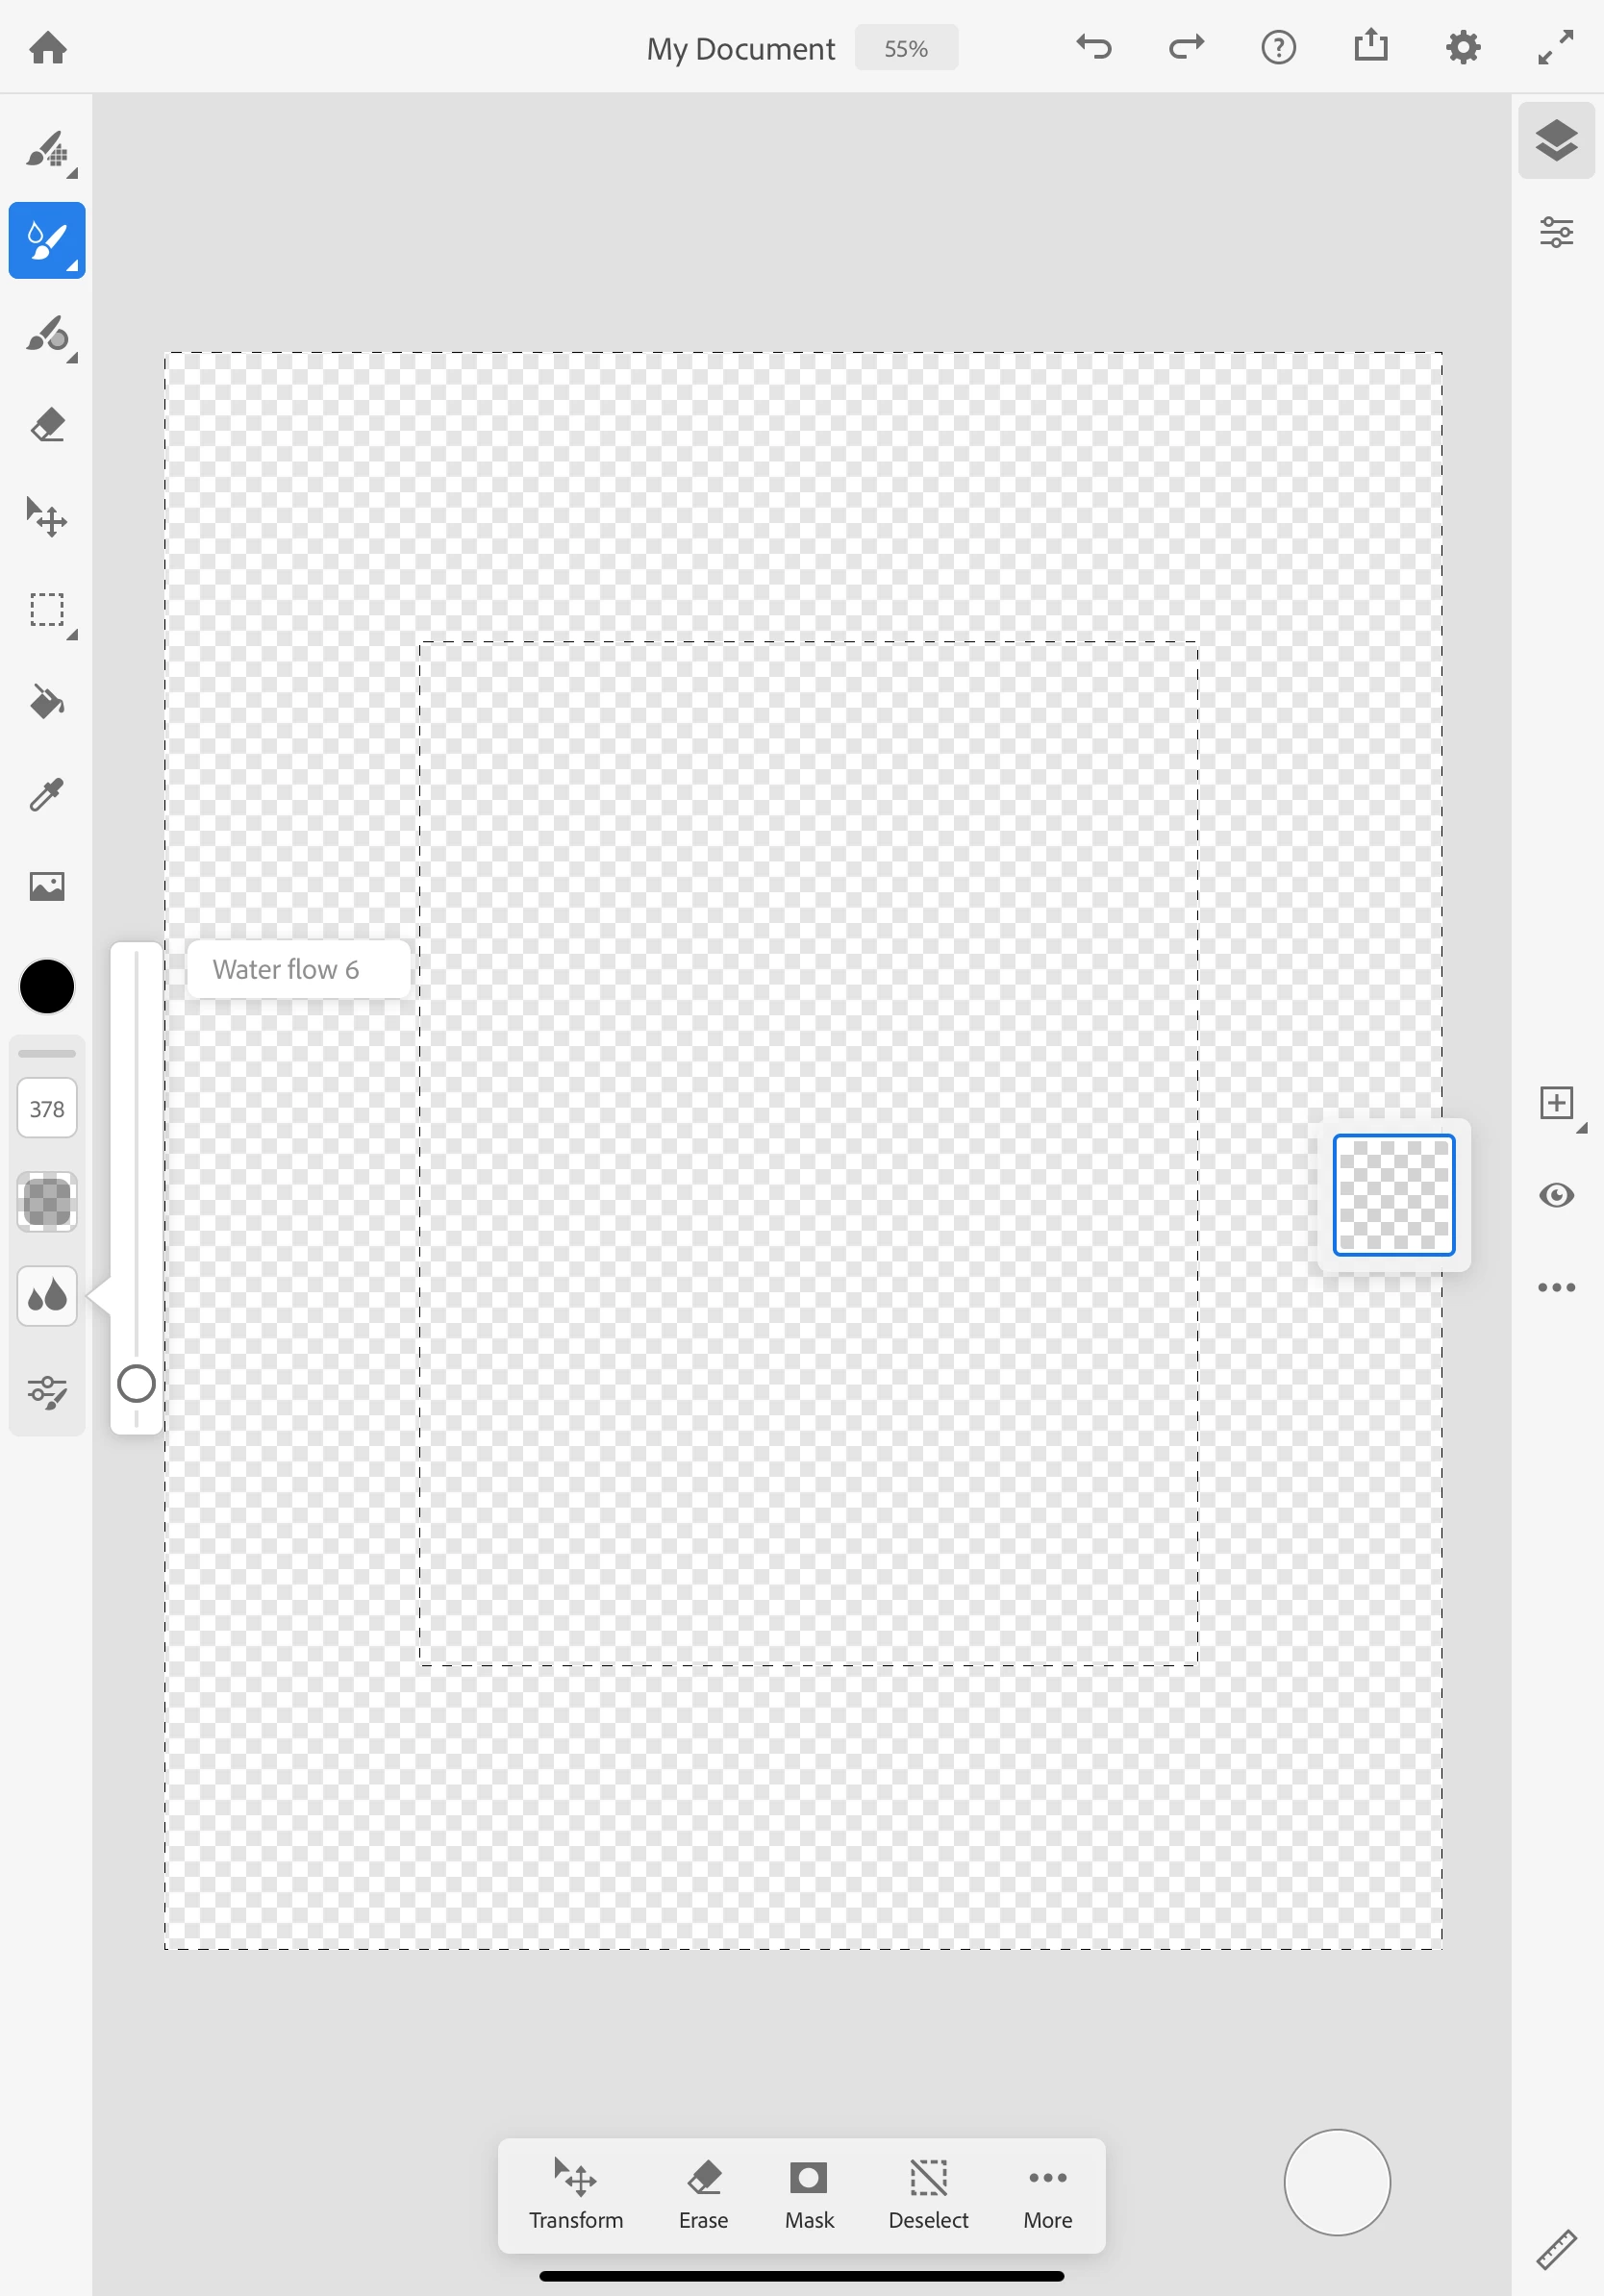
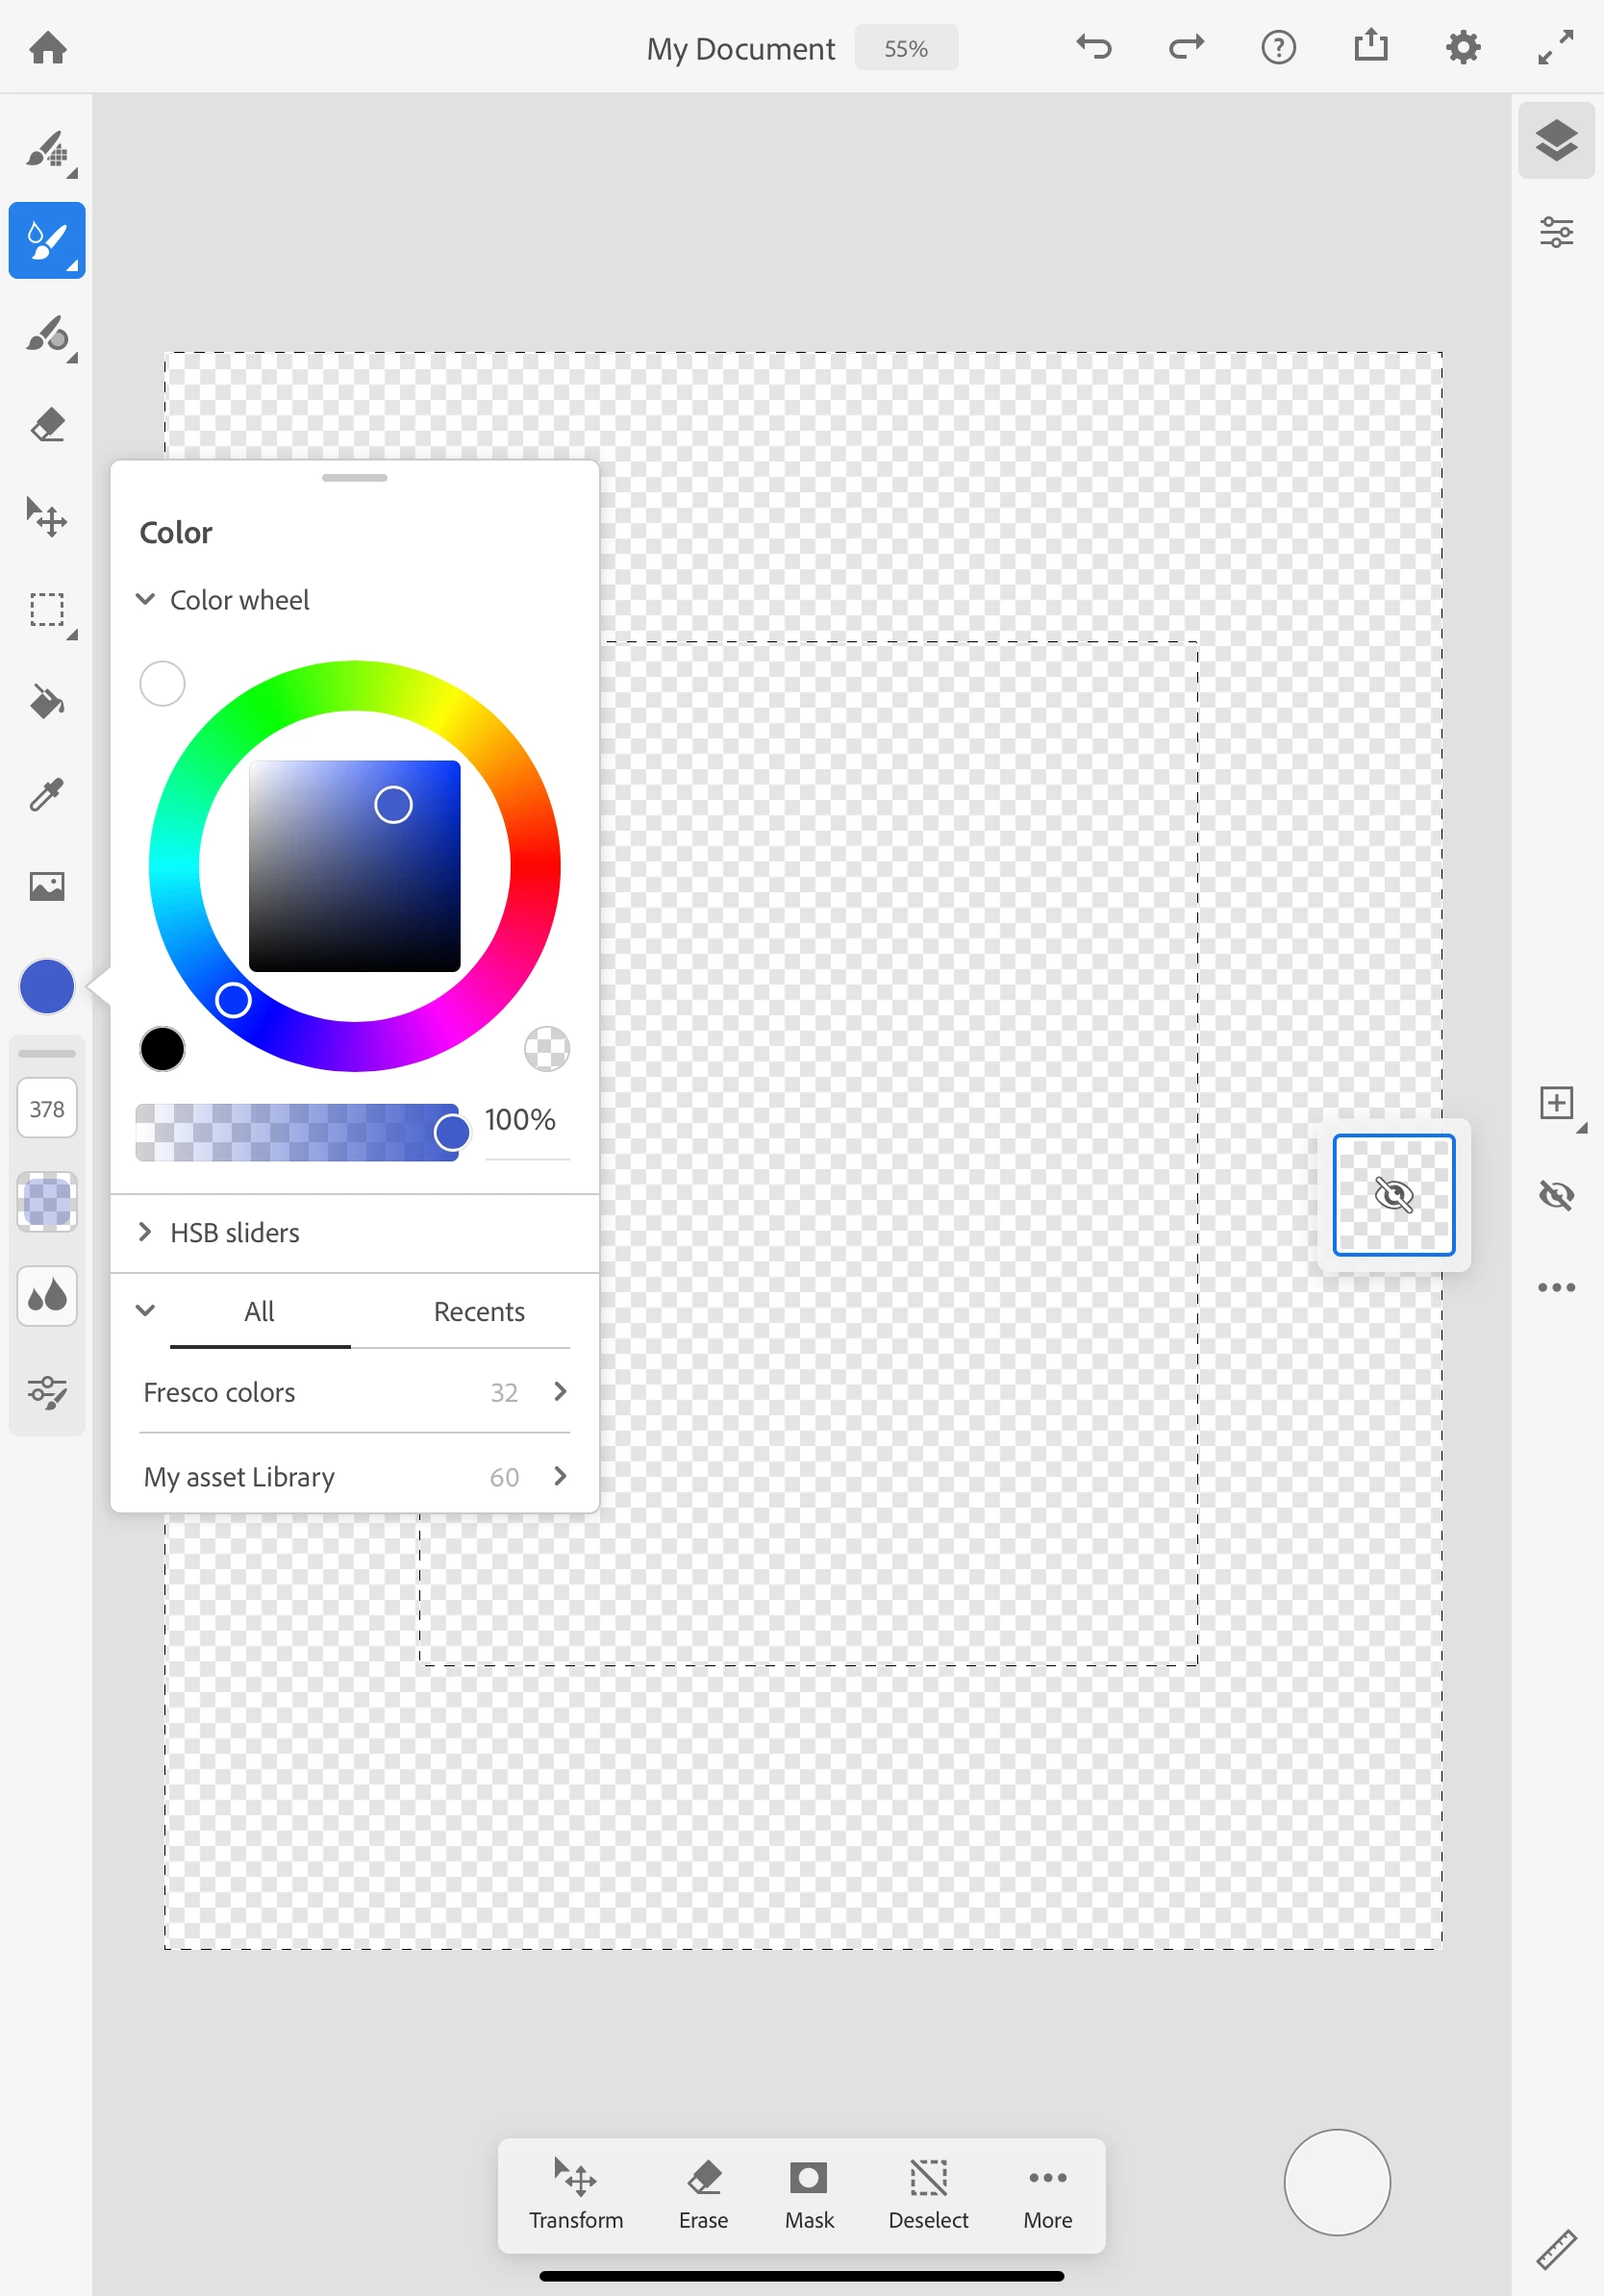
- You can change brush settings to suit your needs. Try different brush sizes, flow, and water content to see what you like. Tap on the color circle to choose a color. Choose the pure hues on the outside circle and then the tint or tone (the color mixed with white or black) if you prefer a more muted color. Now, start painting!
Tips:
- Once you are comfortable with Fresco, you may choose to paint on multiple layers and use layer masks to hide strokes instead of a selection. You can learn more about such features here: Layers, Layer masks.
-
You can learn more about live brushes here: Live brushes
Want to learn more about Fresco? Check out these helpful links:
- Adobe Fresco user guide
- Layers
- Layer masks
- Colors
- Pixel brushes
- Live brushes
- Vector brushes
- Access Creative Cloud libraries in Fresco
- Straight edge tool
- Publish, export, and share
- Using Fresco and Photoshop on the iPad
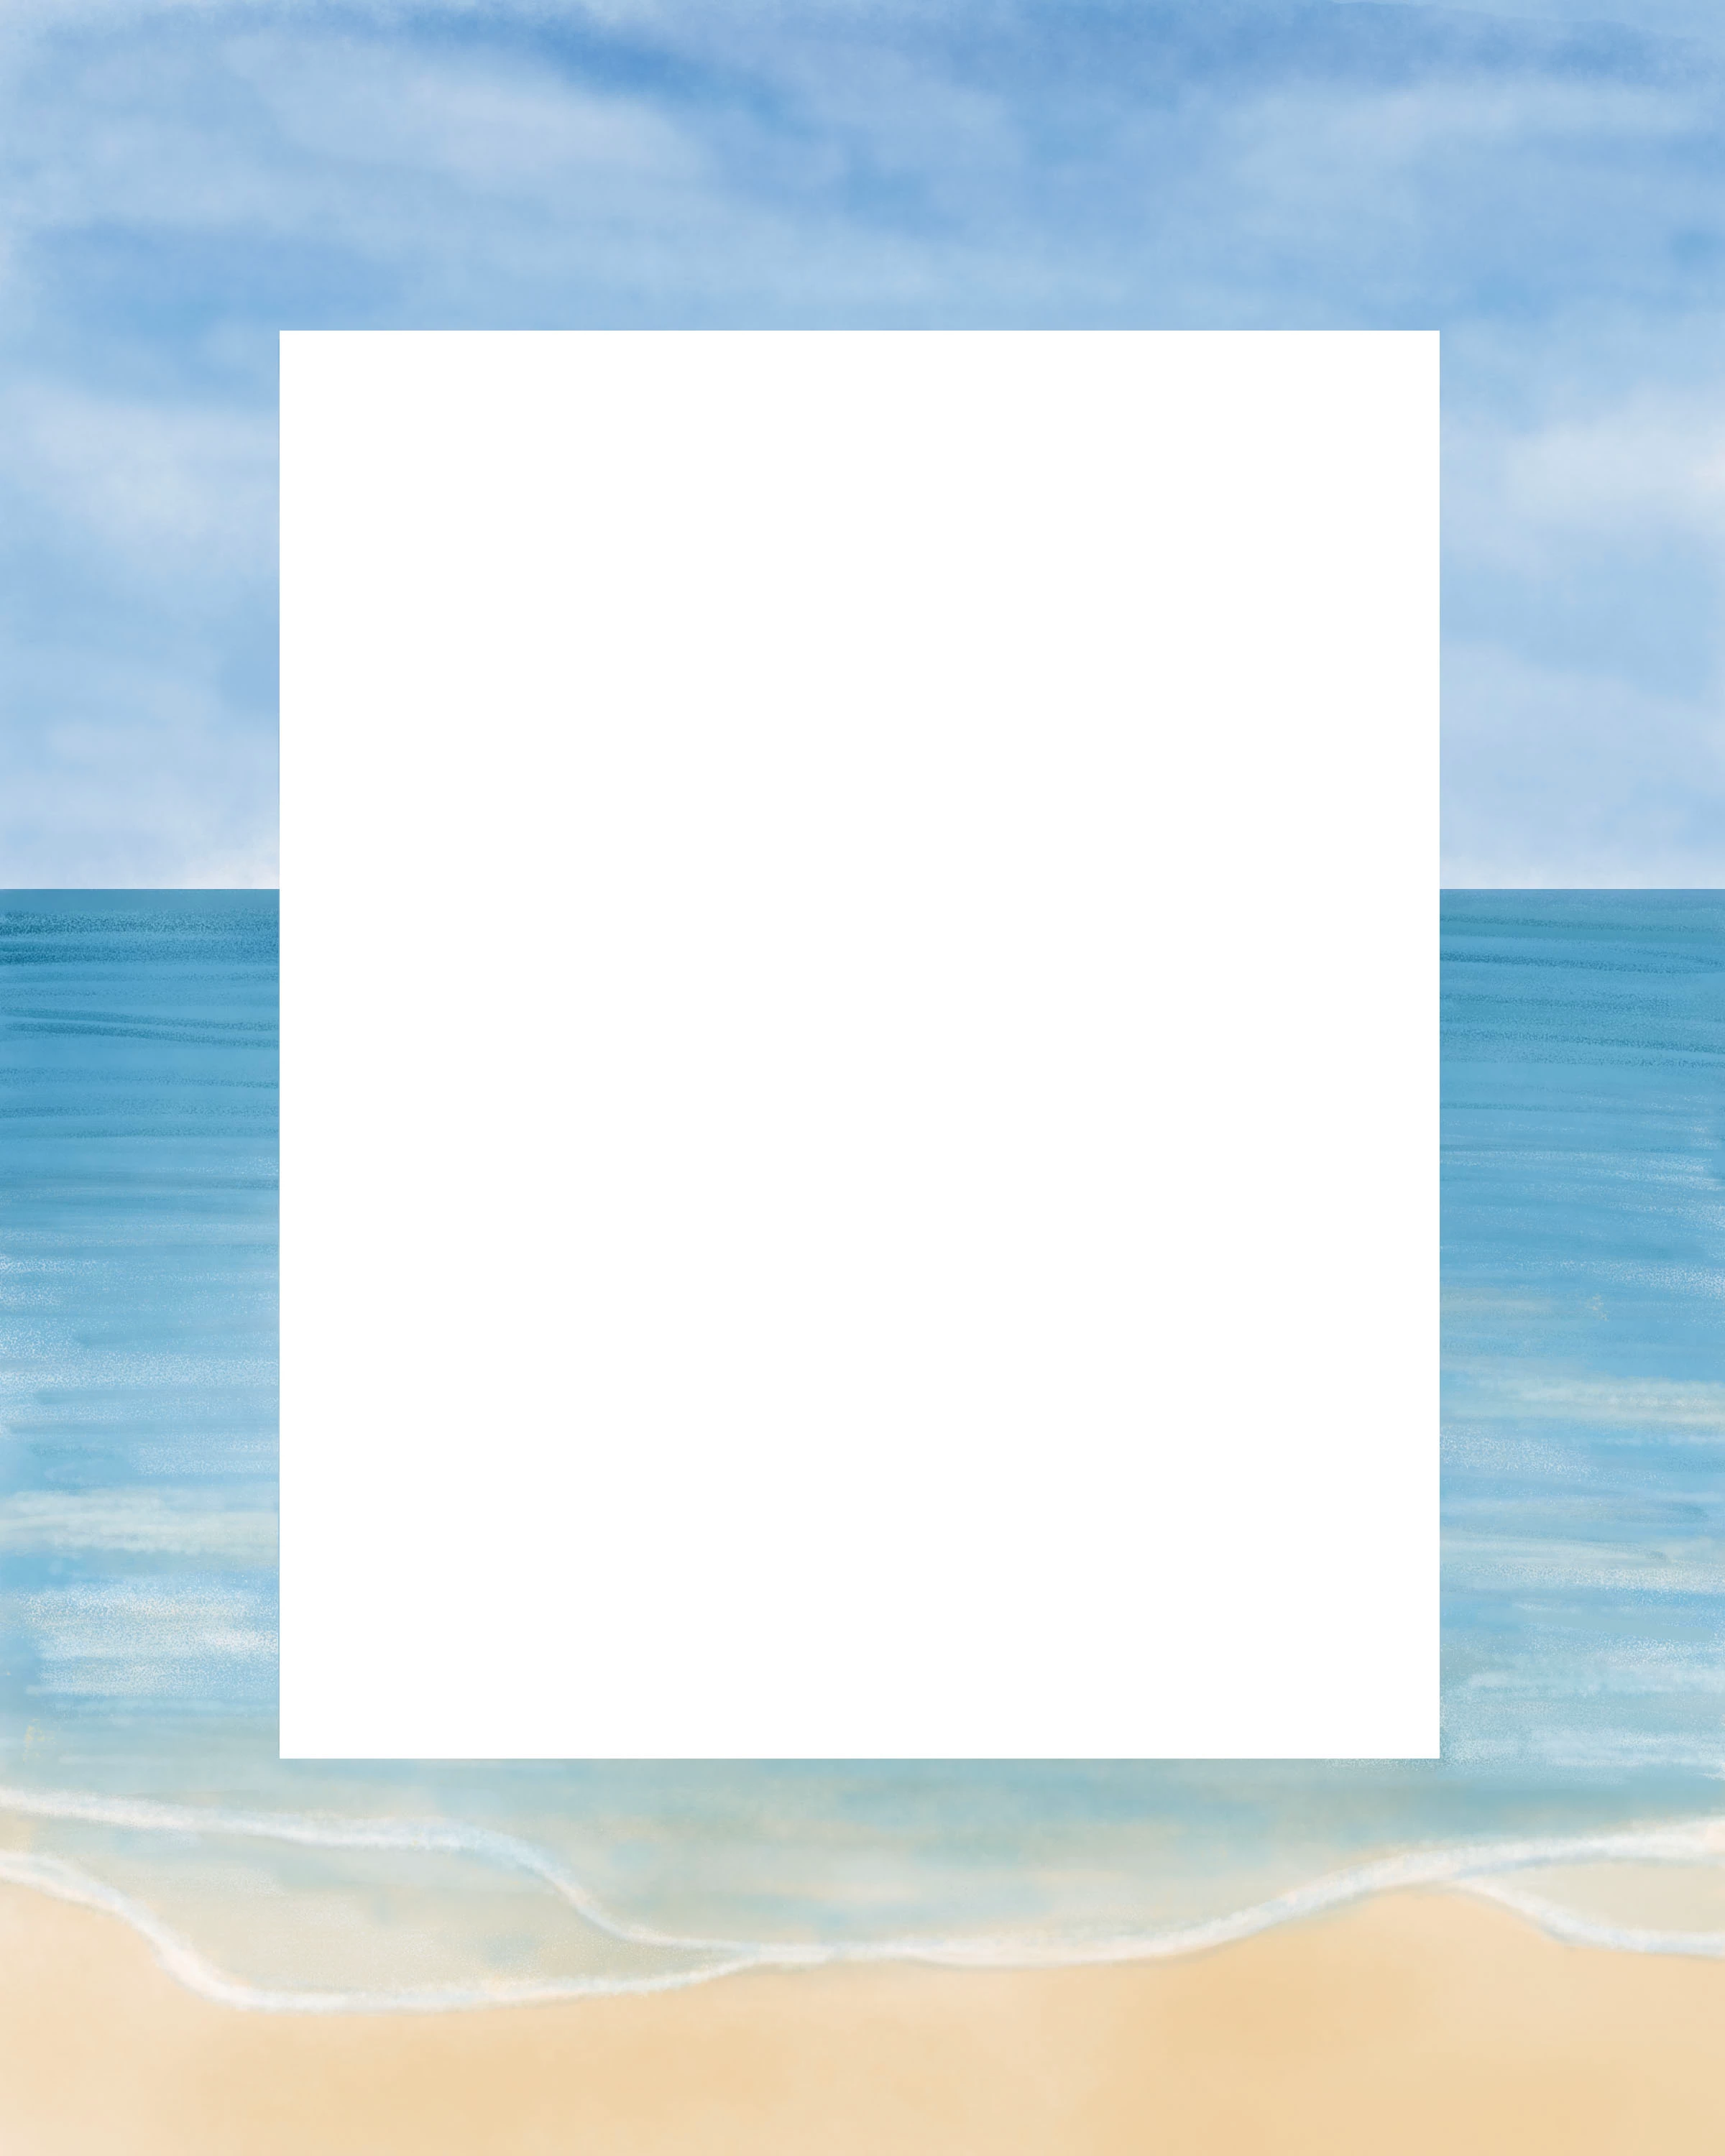
- Here are two samples of what you can create

4) Save the frame file and open it in Photoshop on the iPad
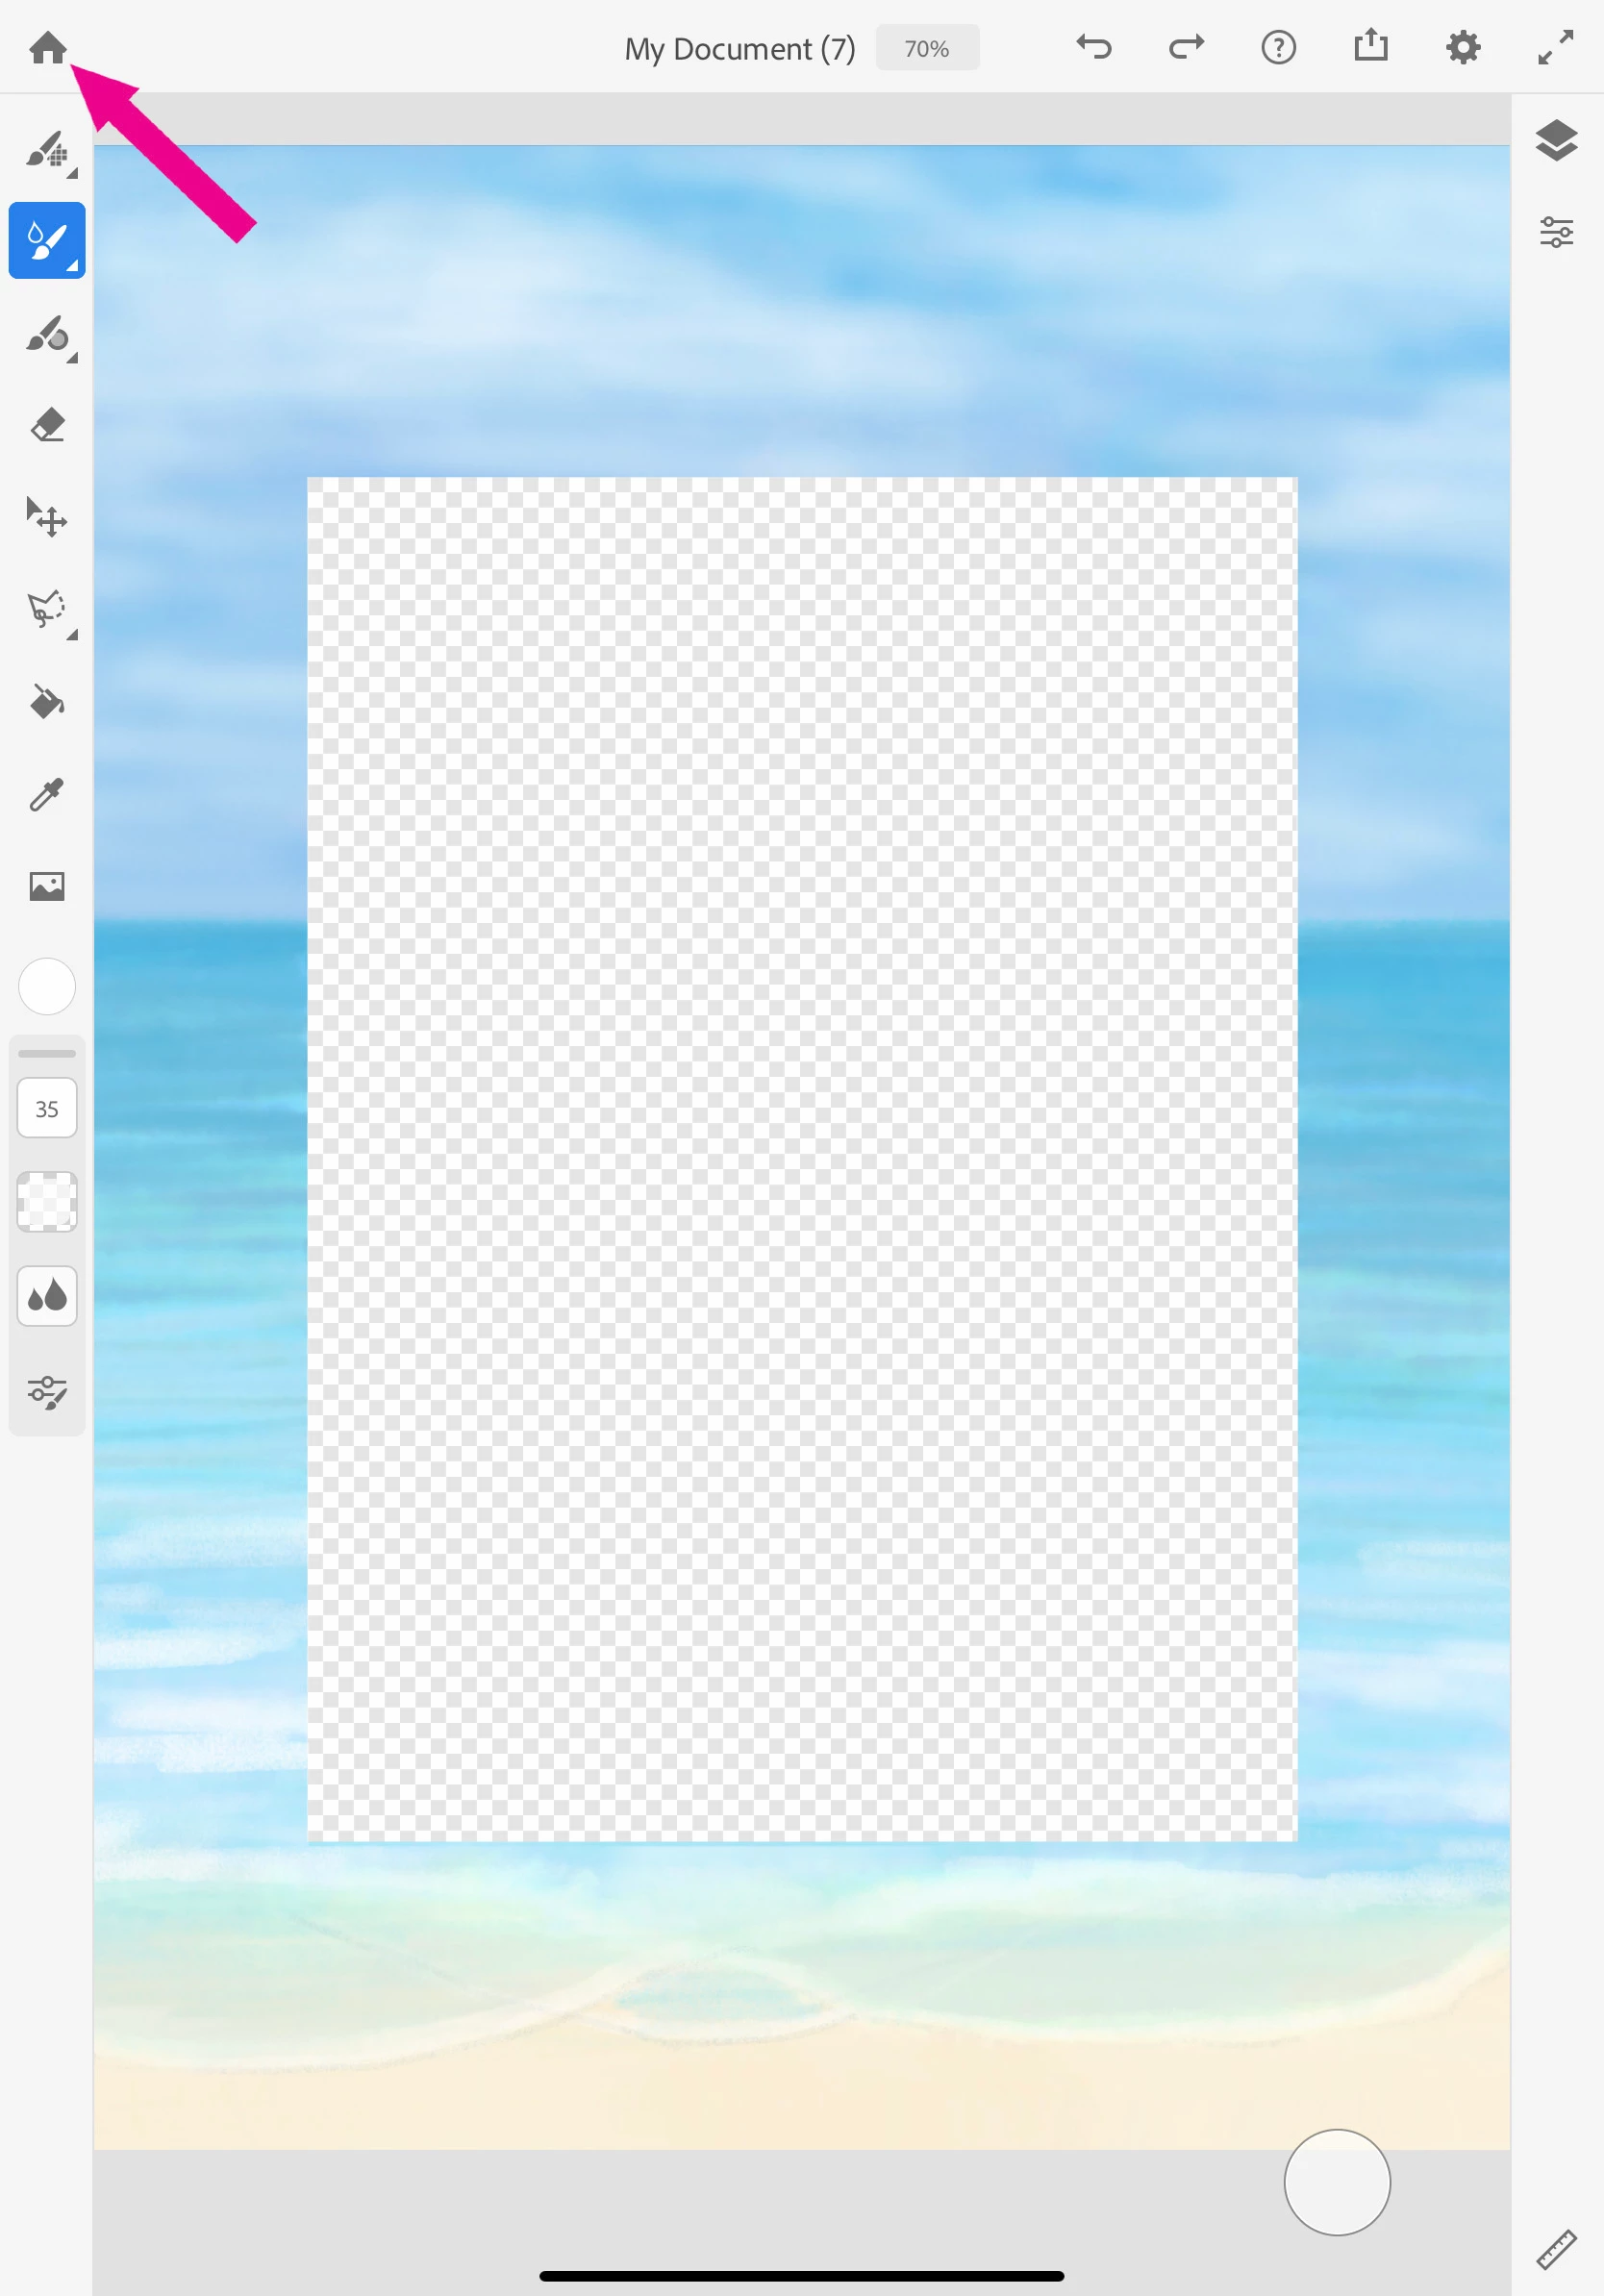
- Tap the home icon in the top left corner of the screen to save your creation as a cloud document that Photoshop on the iPad can open.
- Open Photoshop on on the iPad and tap on Cloud documents on the left menu
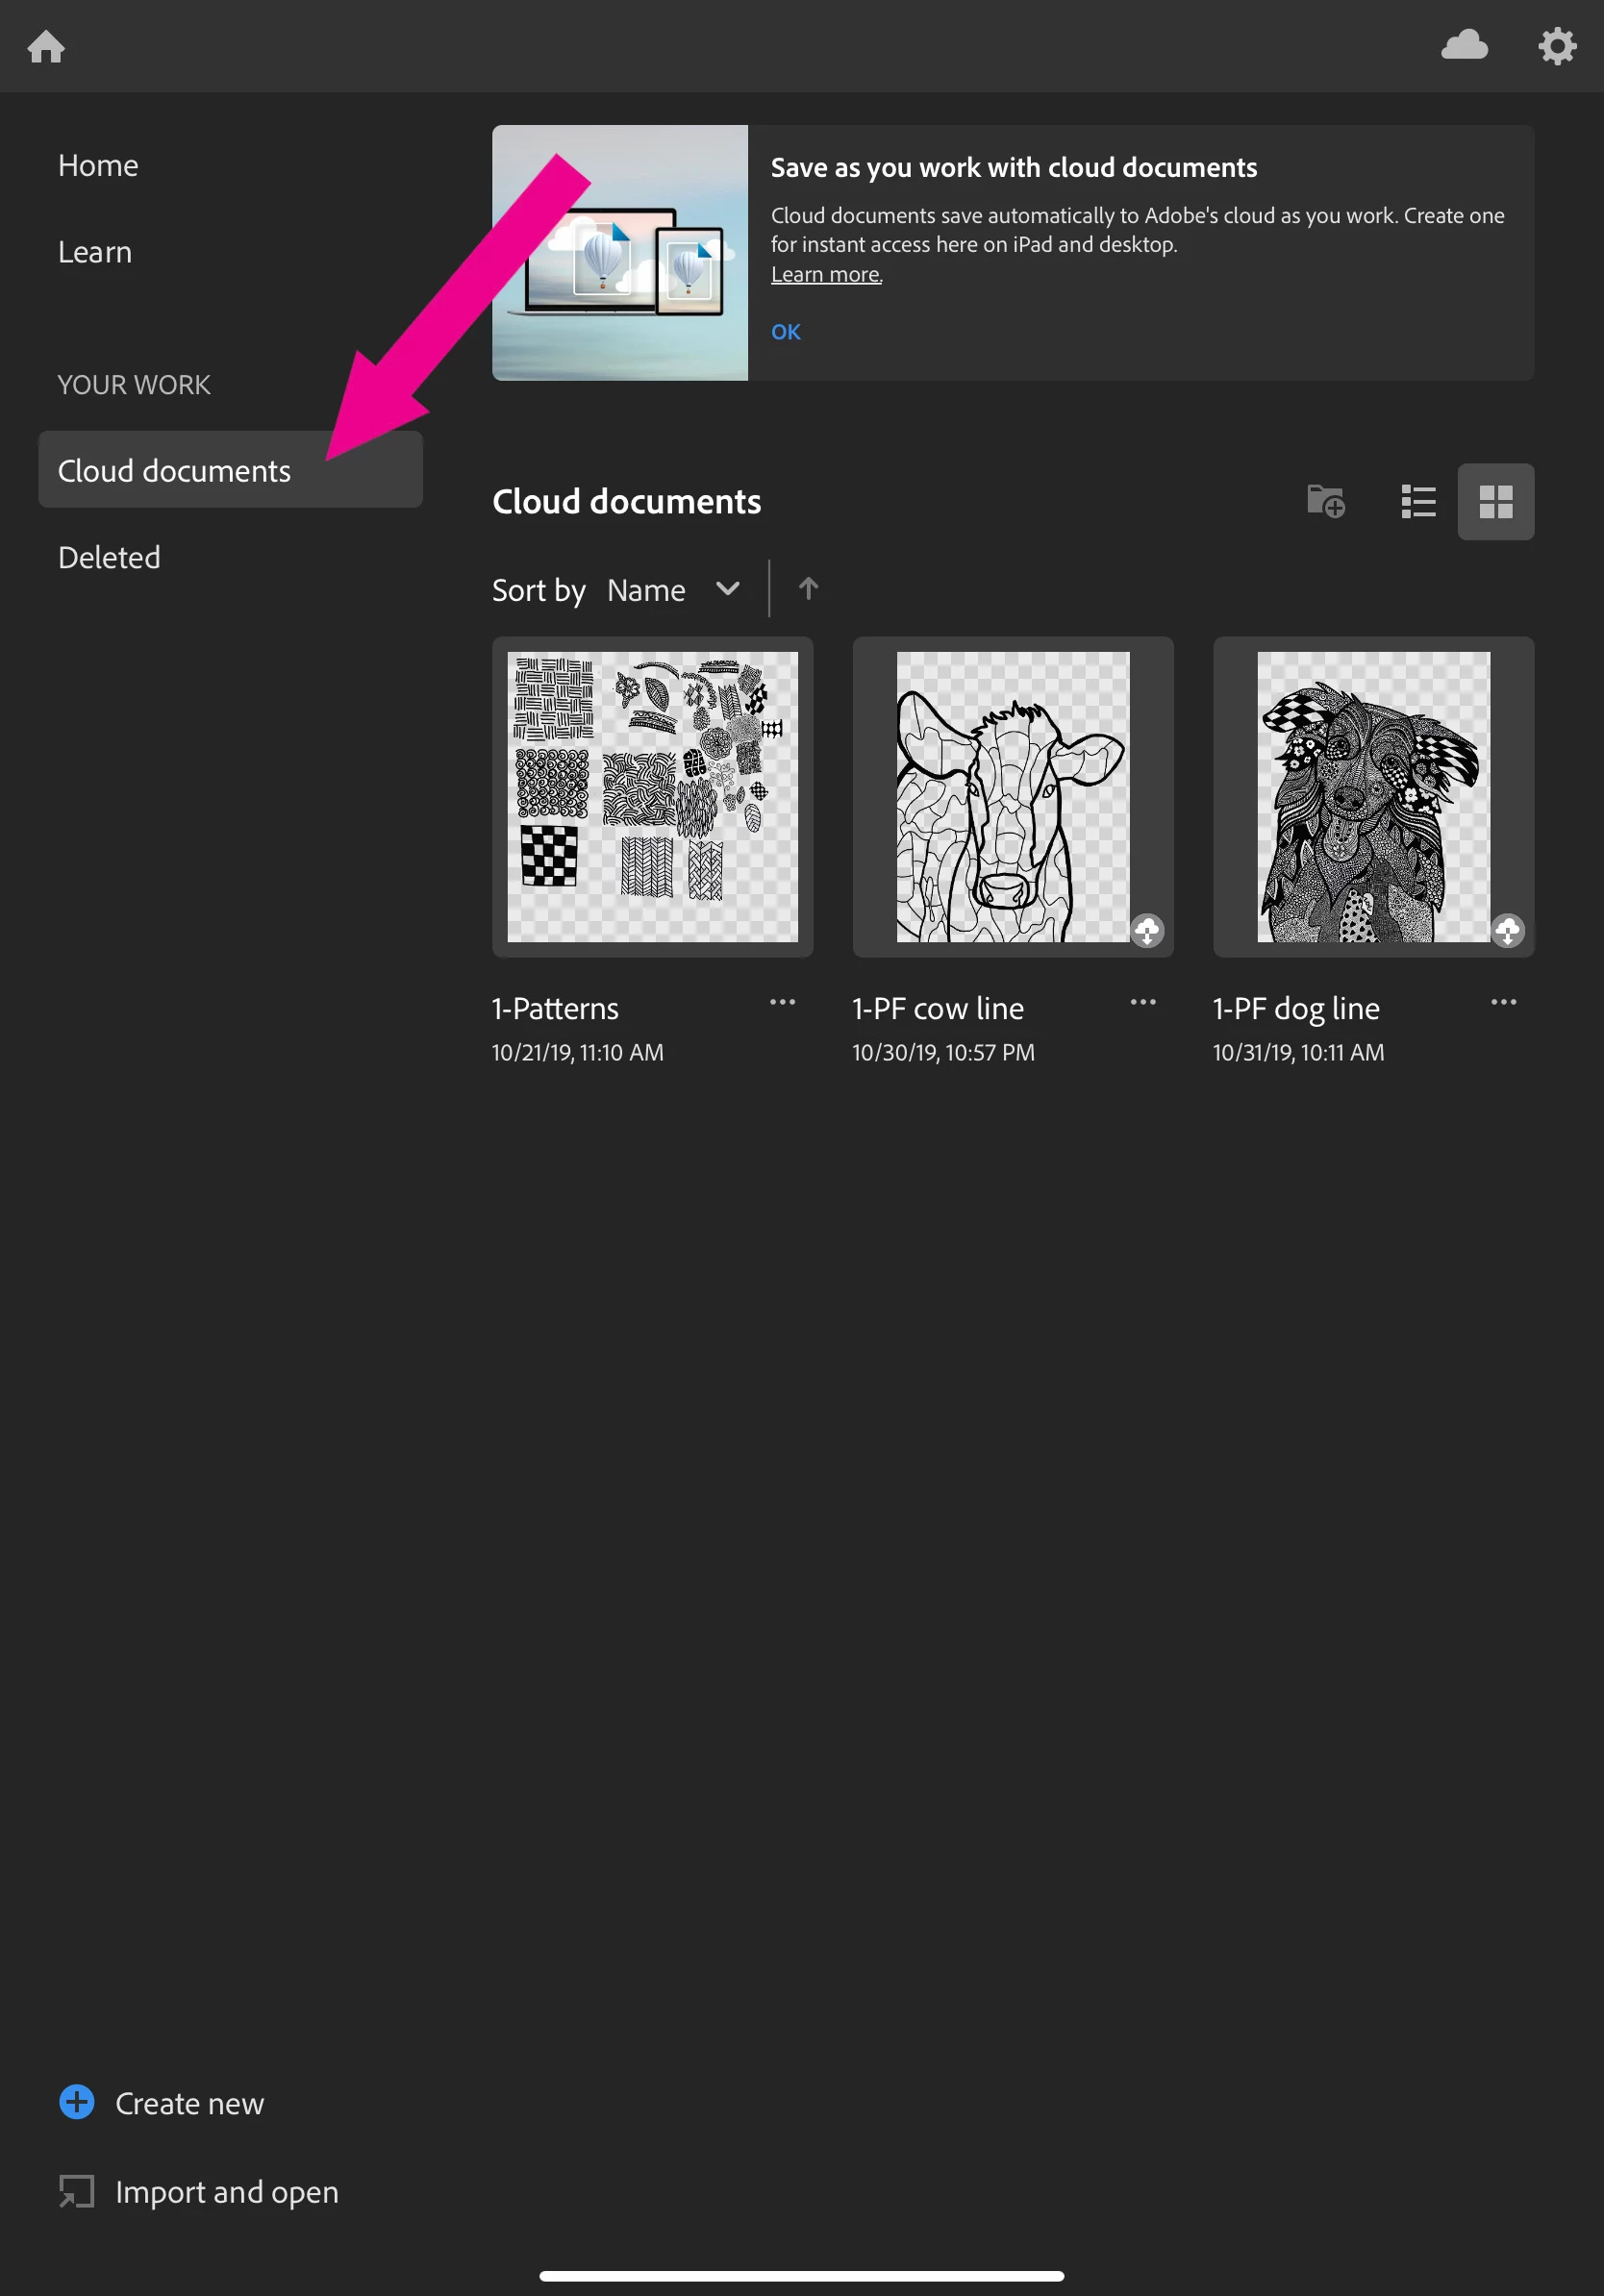
- Select your frame document file to open it
5) Add a border
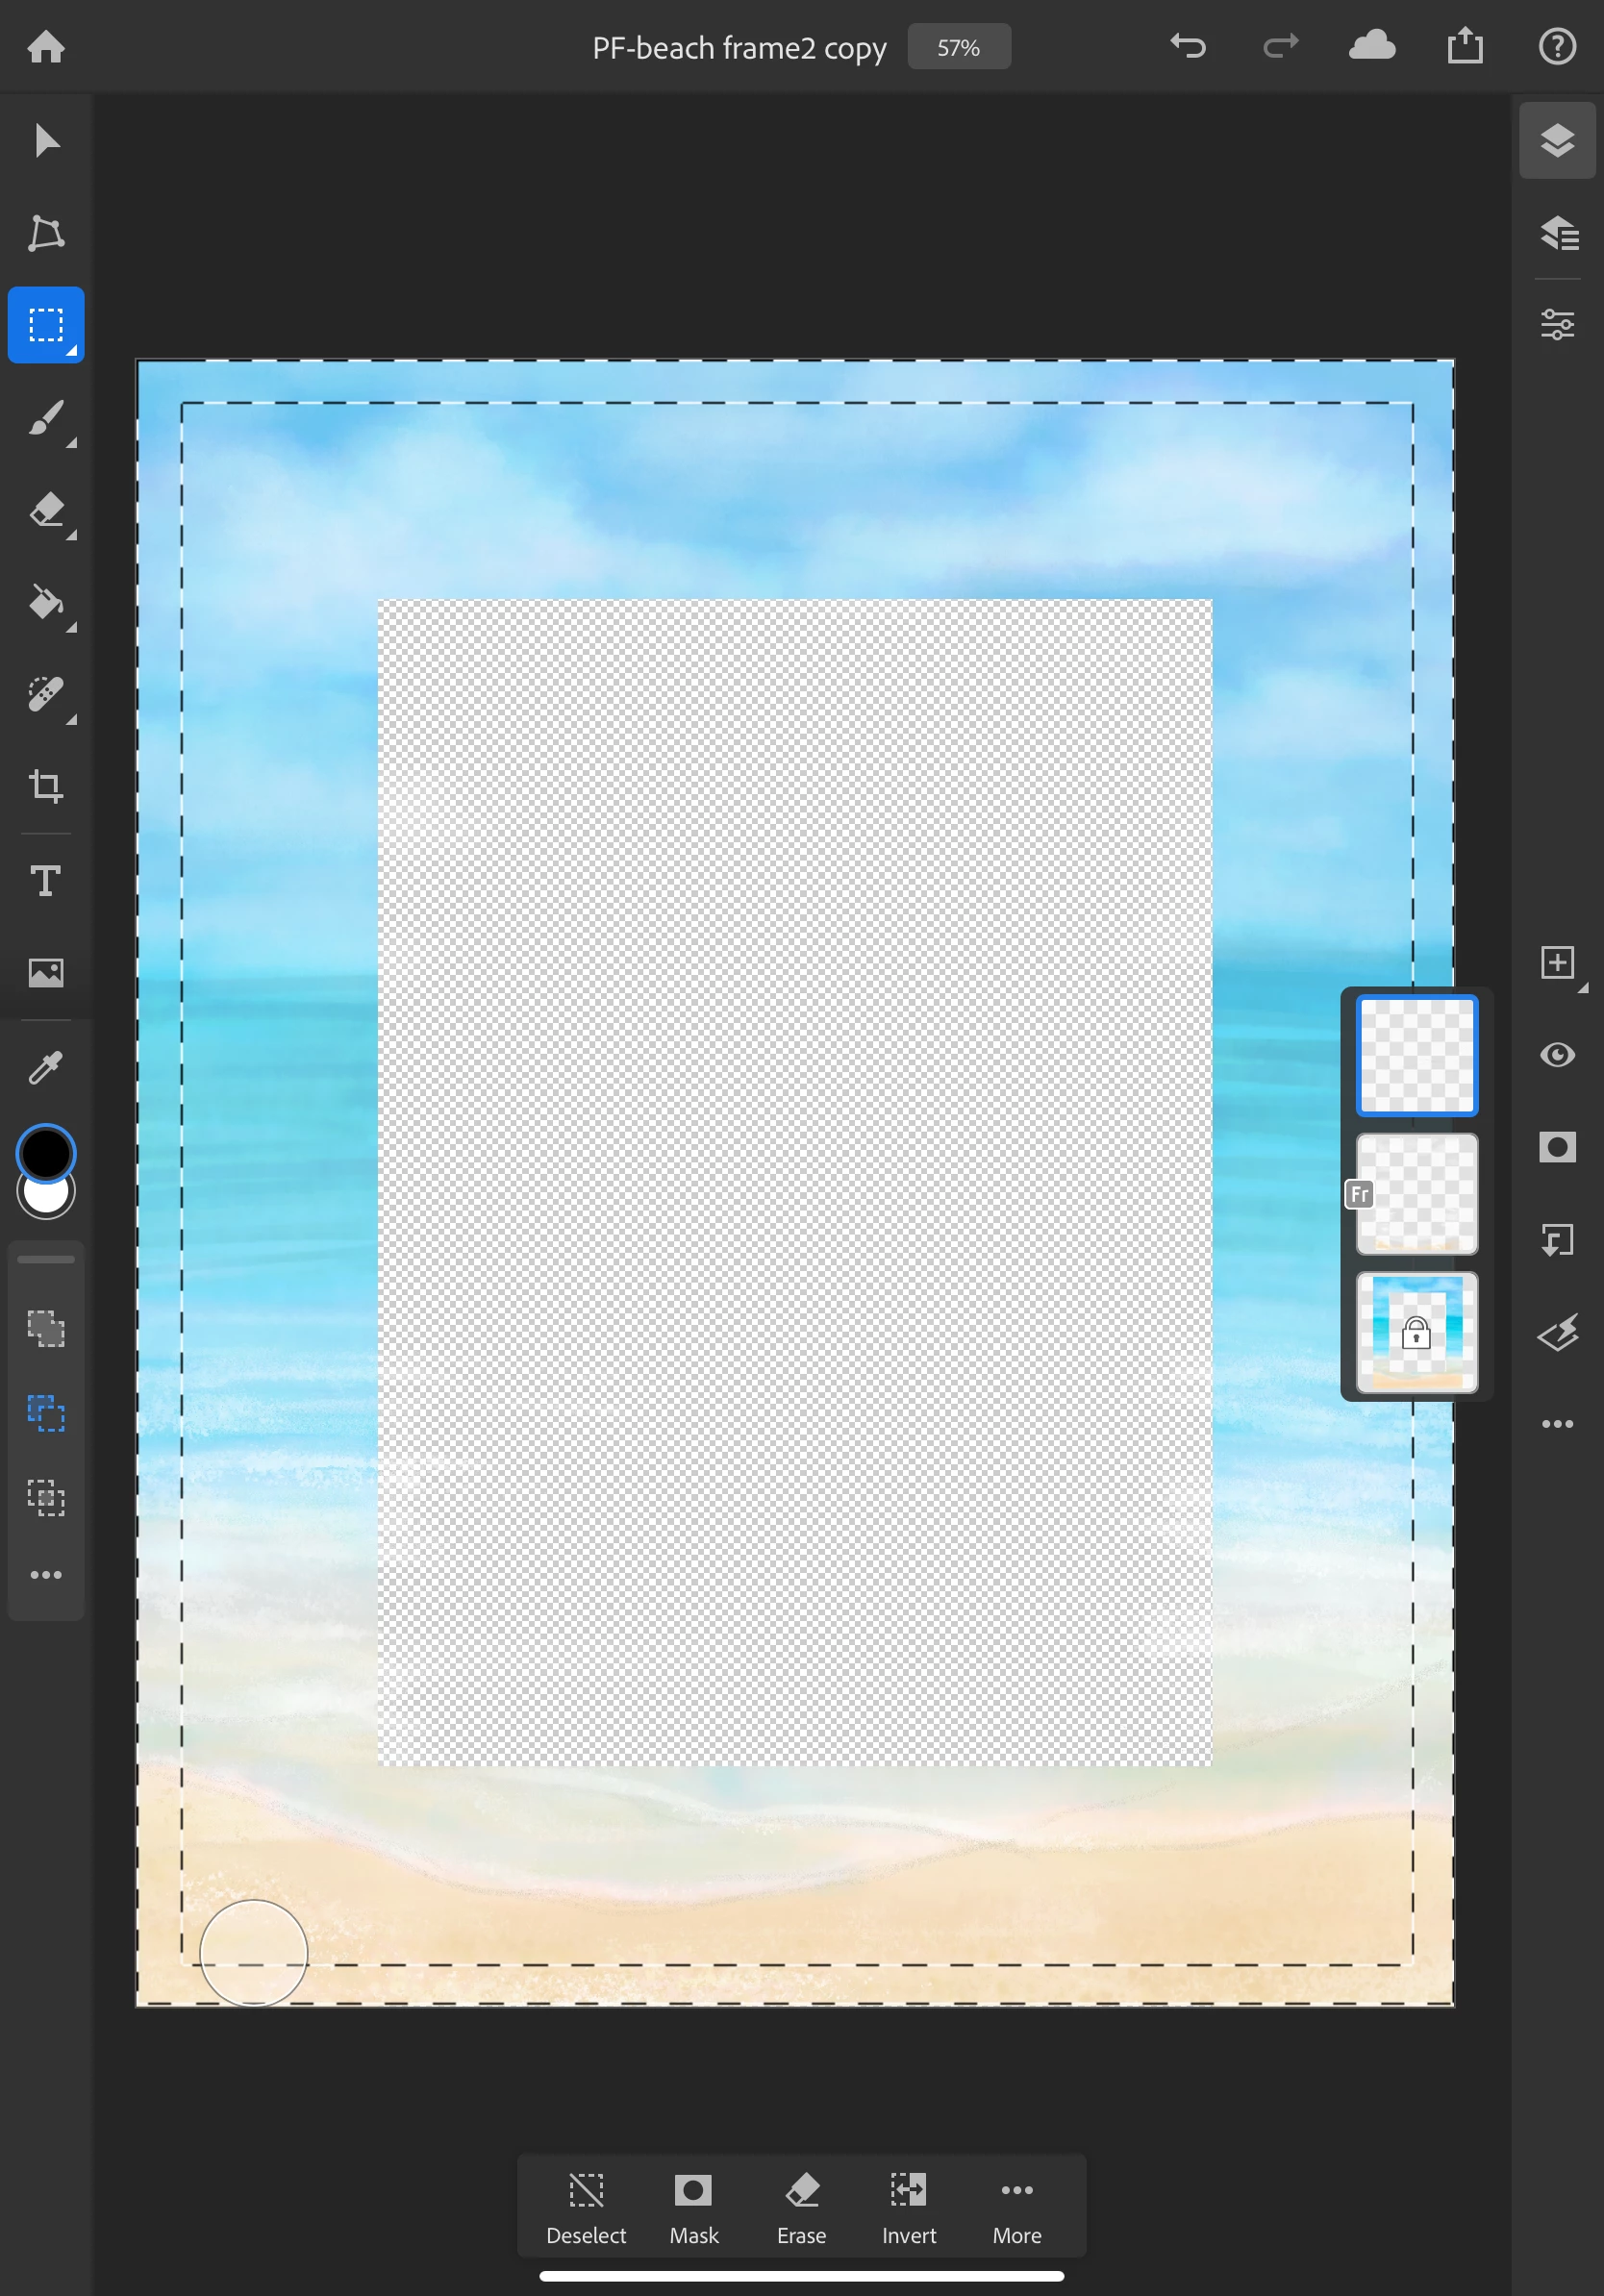
- Tap + on the menu on the right side to create a new layer
- You can hide the layer view anytime by tapping on the layer icon on the taskbar on the right
- For more information on the workspace, see Get to know the workspace
- For more information on layers, see Managing layers
- Long press on the selection tool to see the options, and then tap on the rectangular marquee to select it
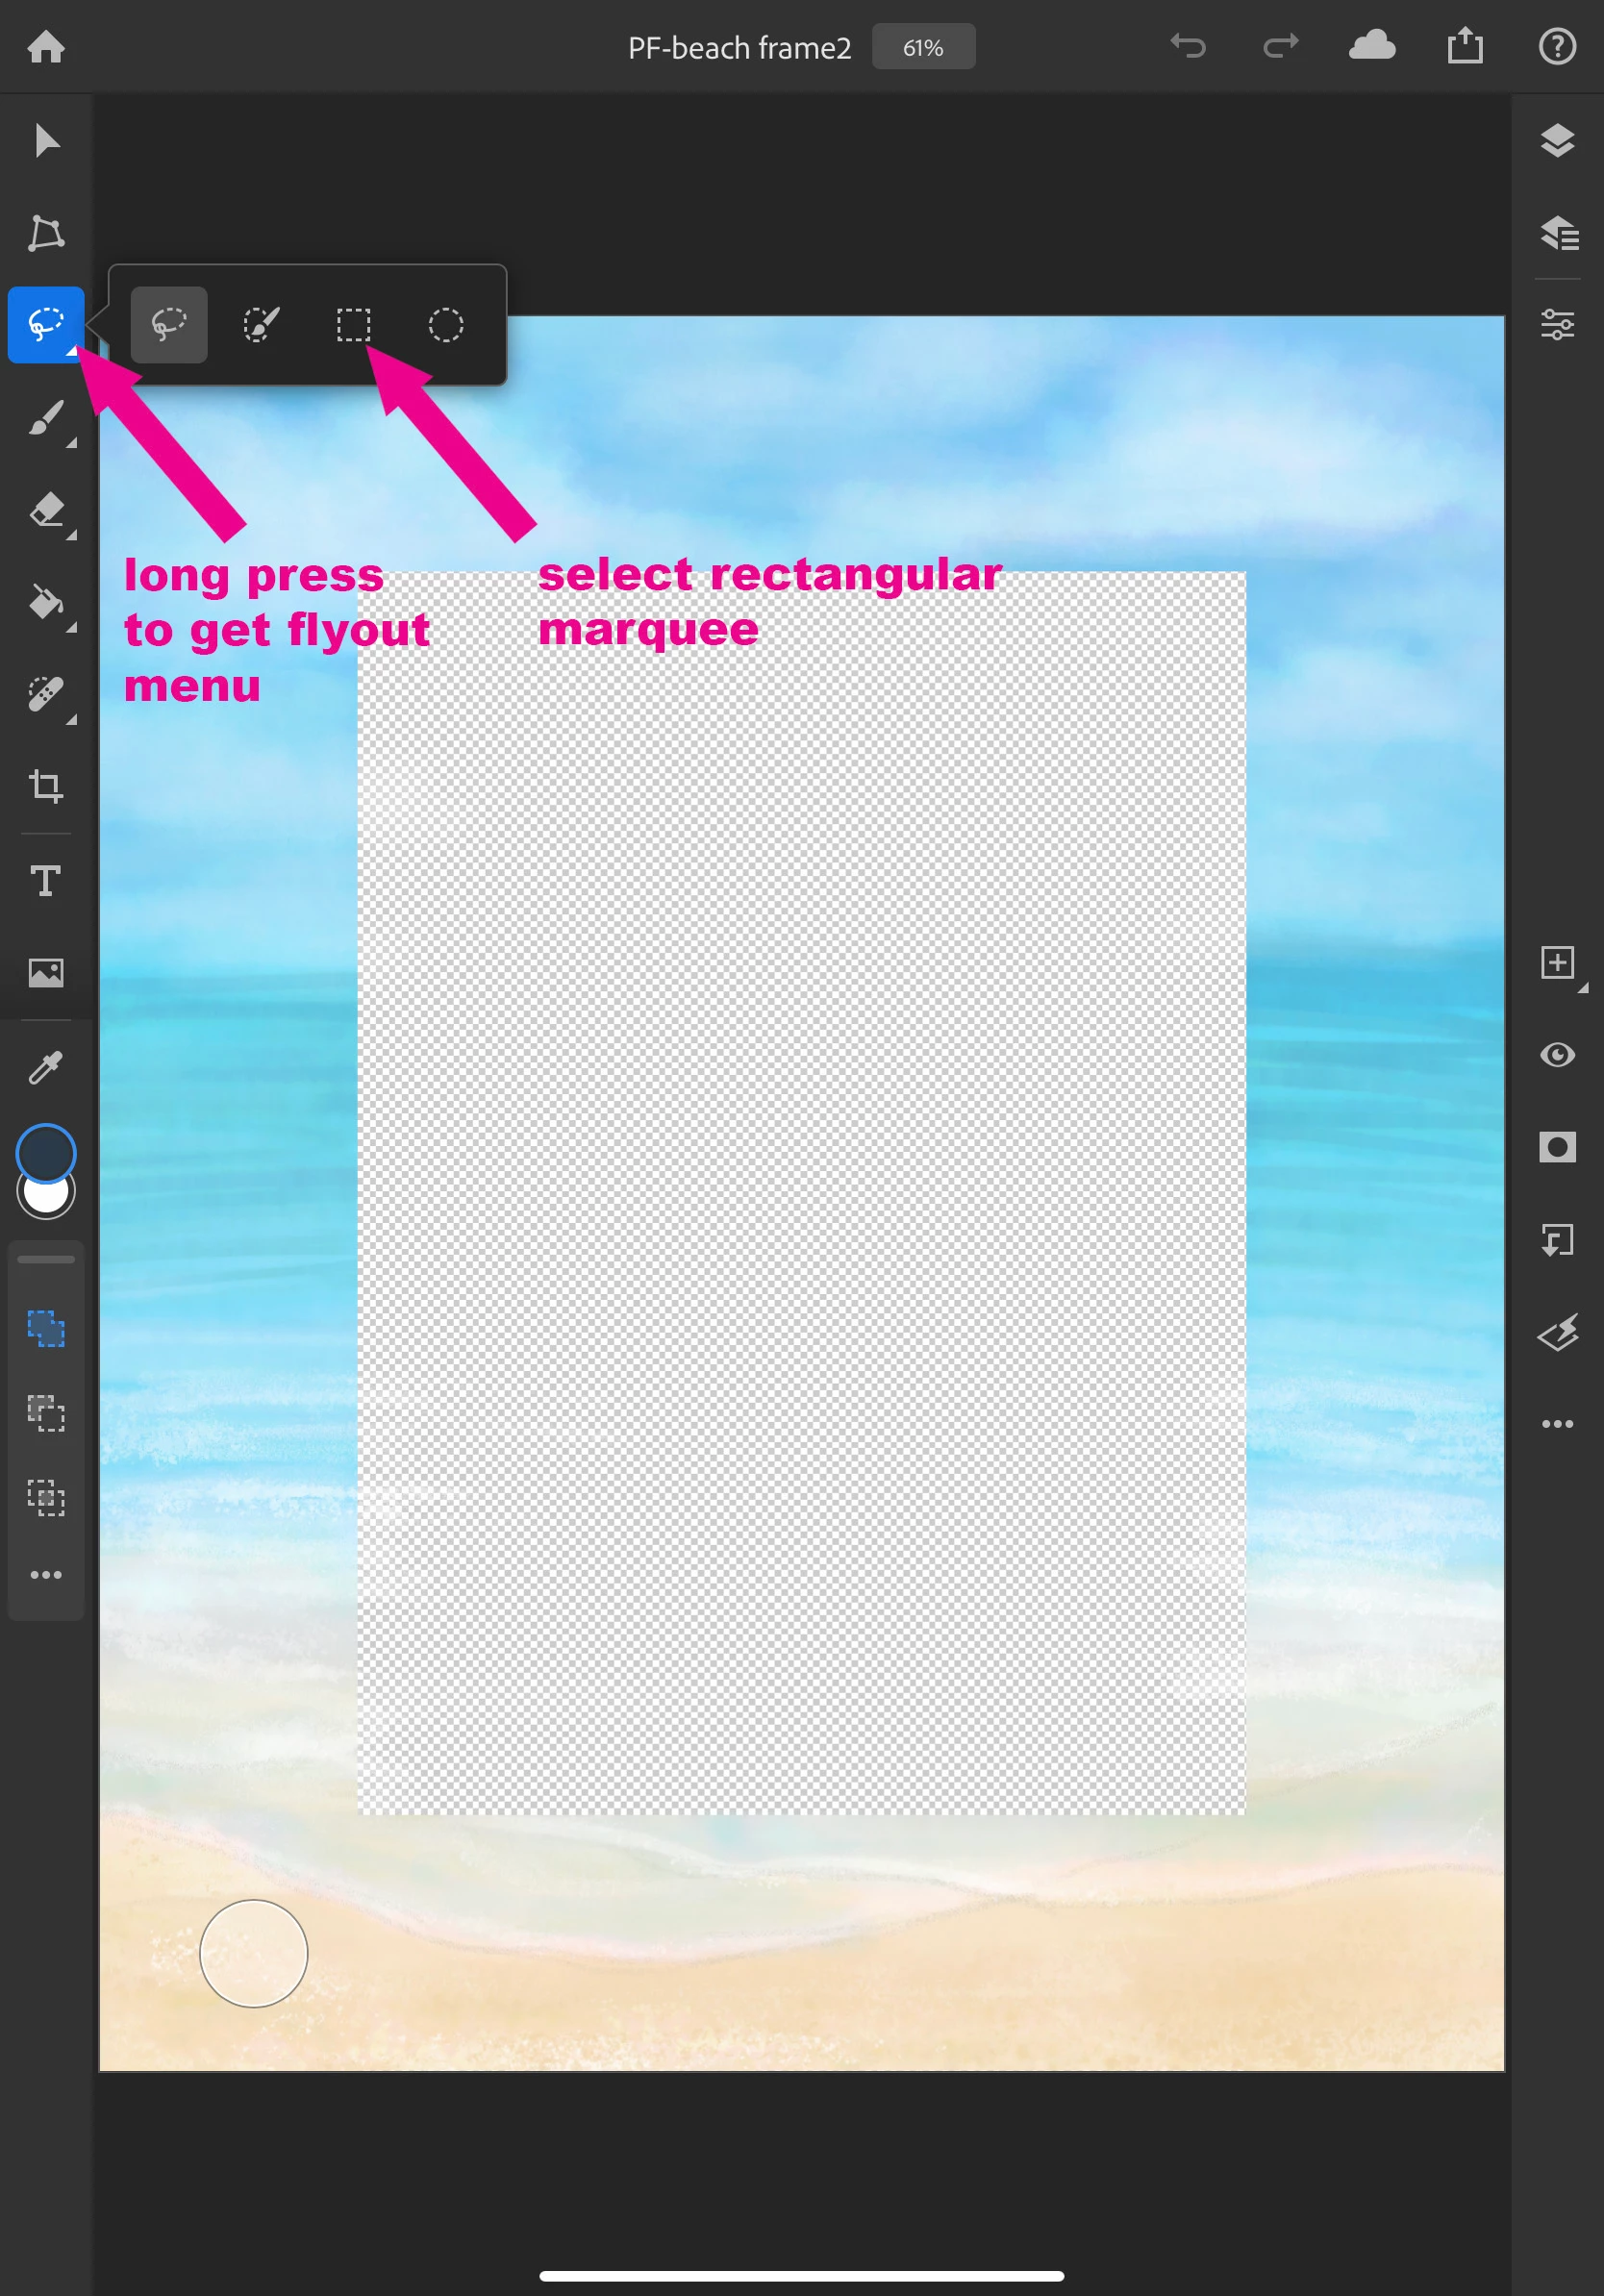
- Tap in the top left of the frame and drag down to the bottom right to create a selection of the area for the photo like we did above.
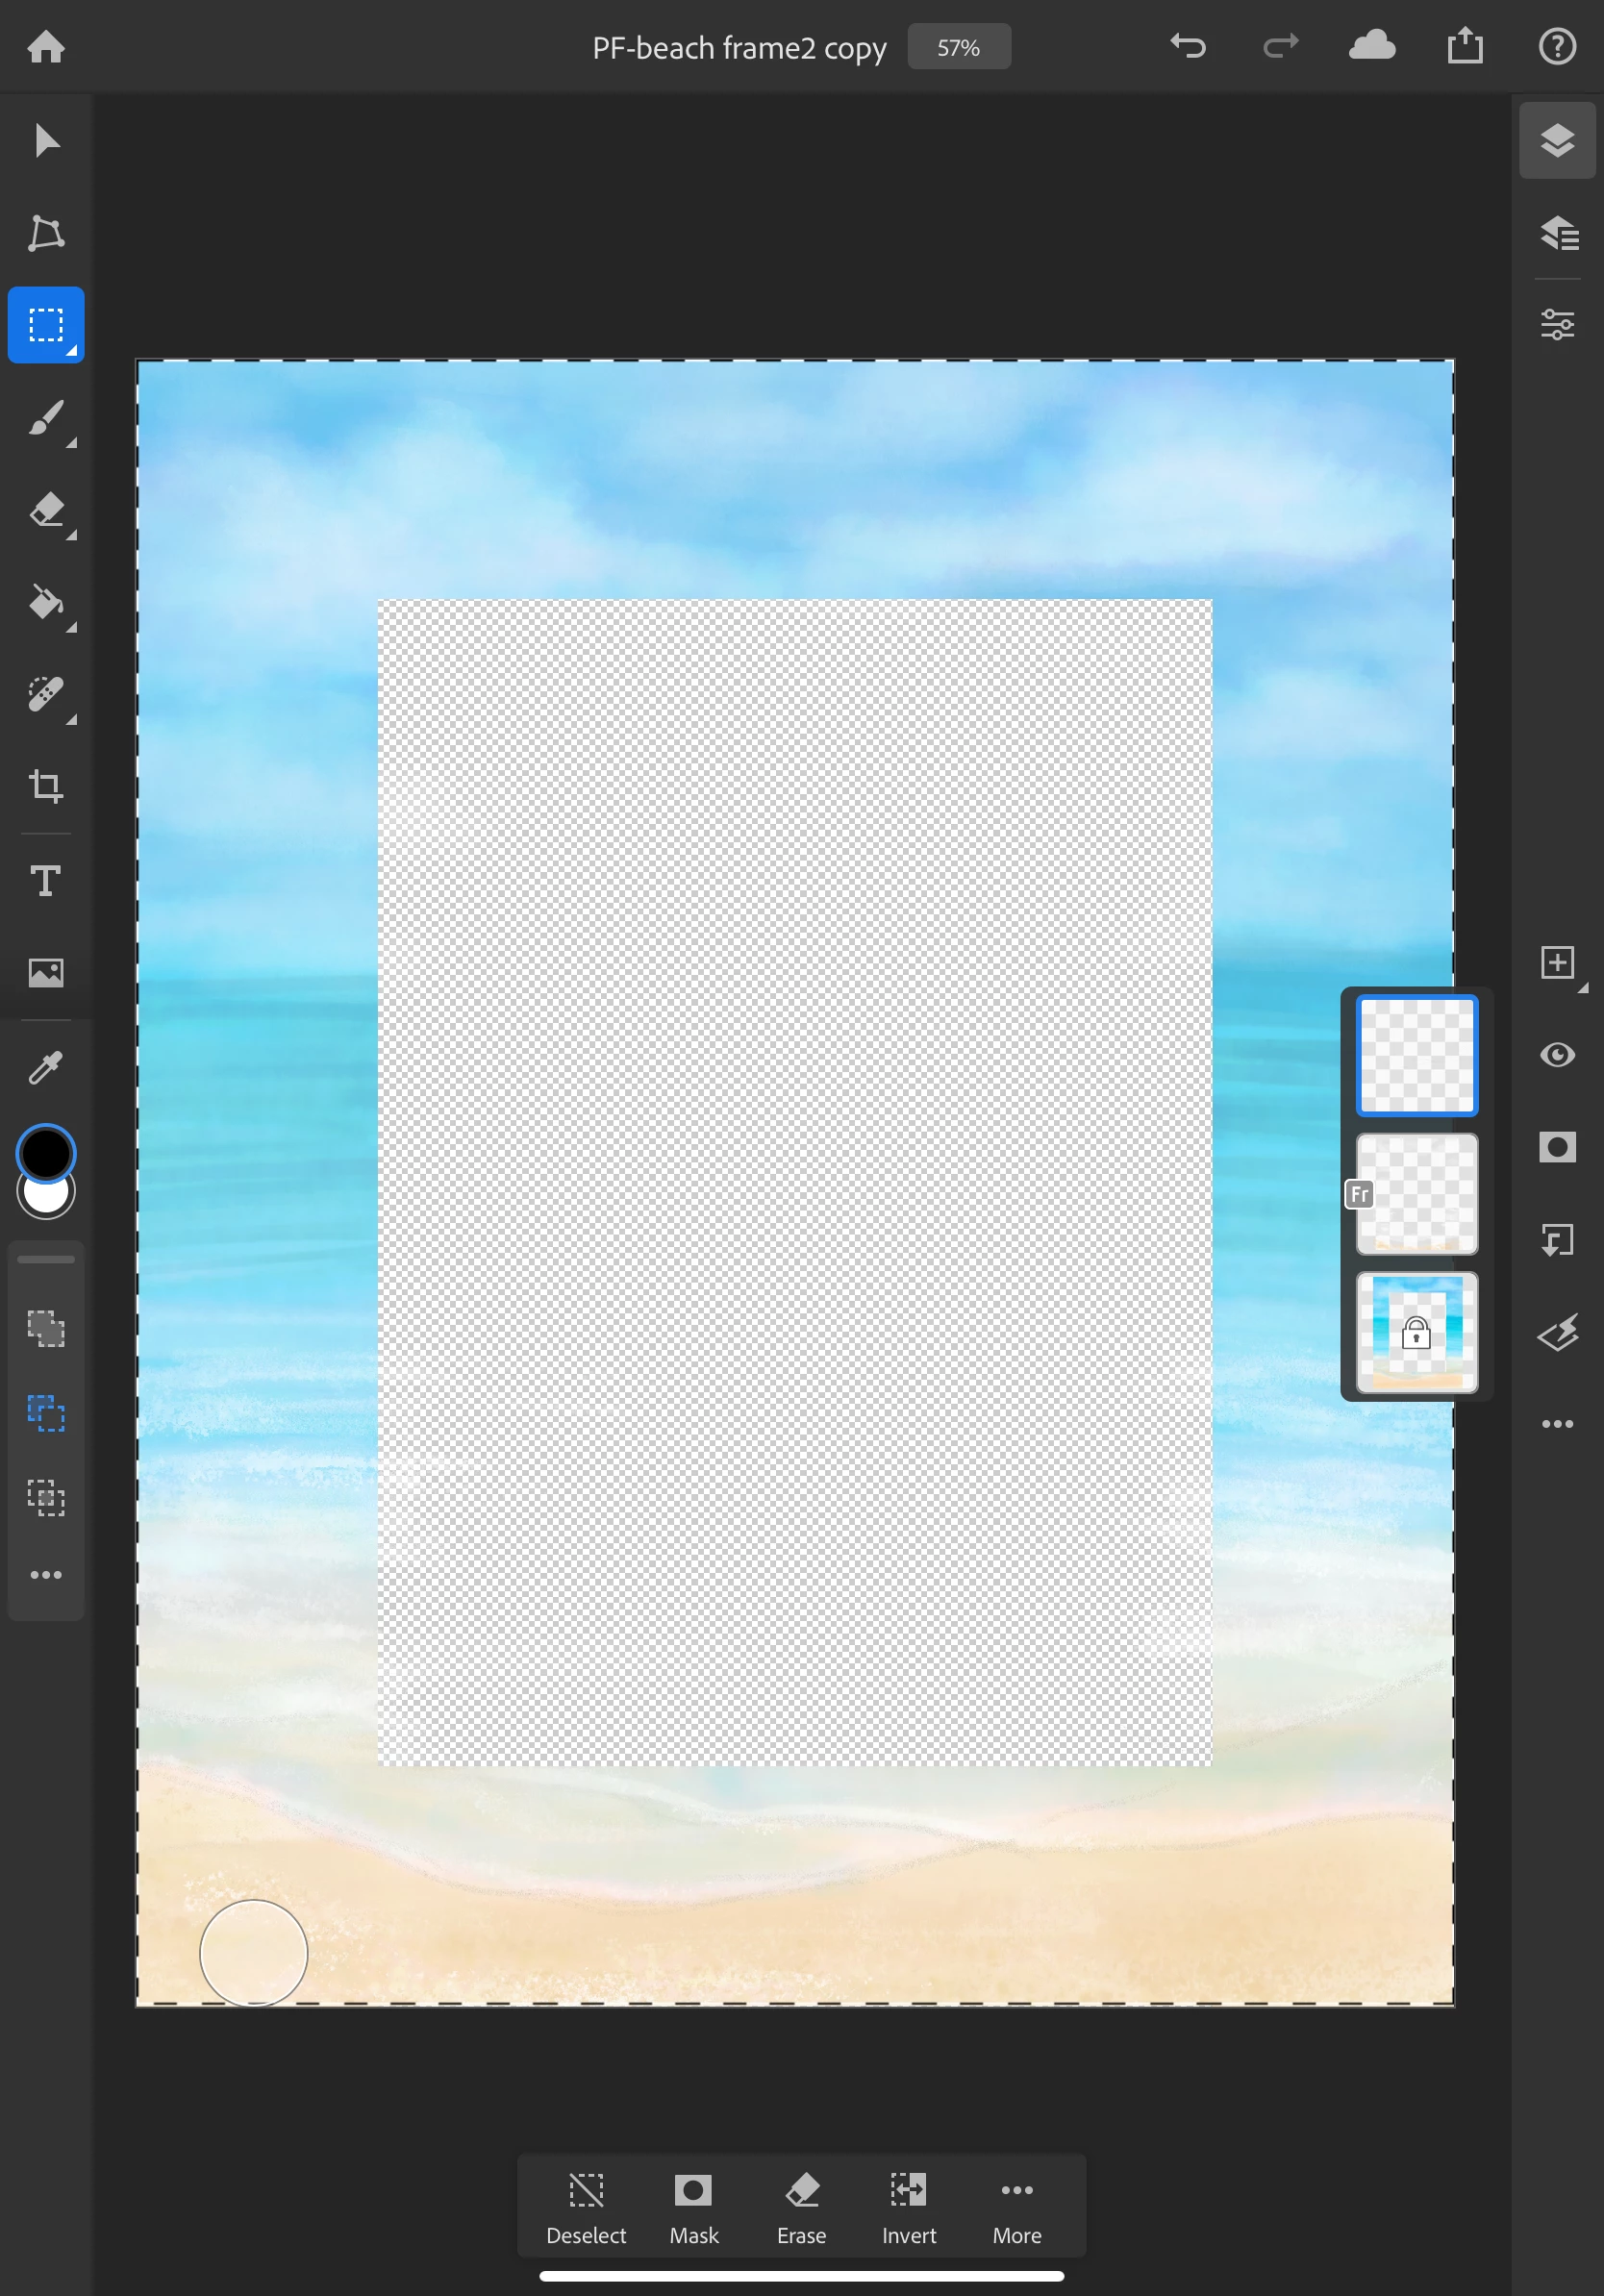
- Tap on the subtract from icon in the selection toolbar
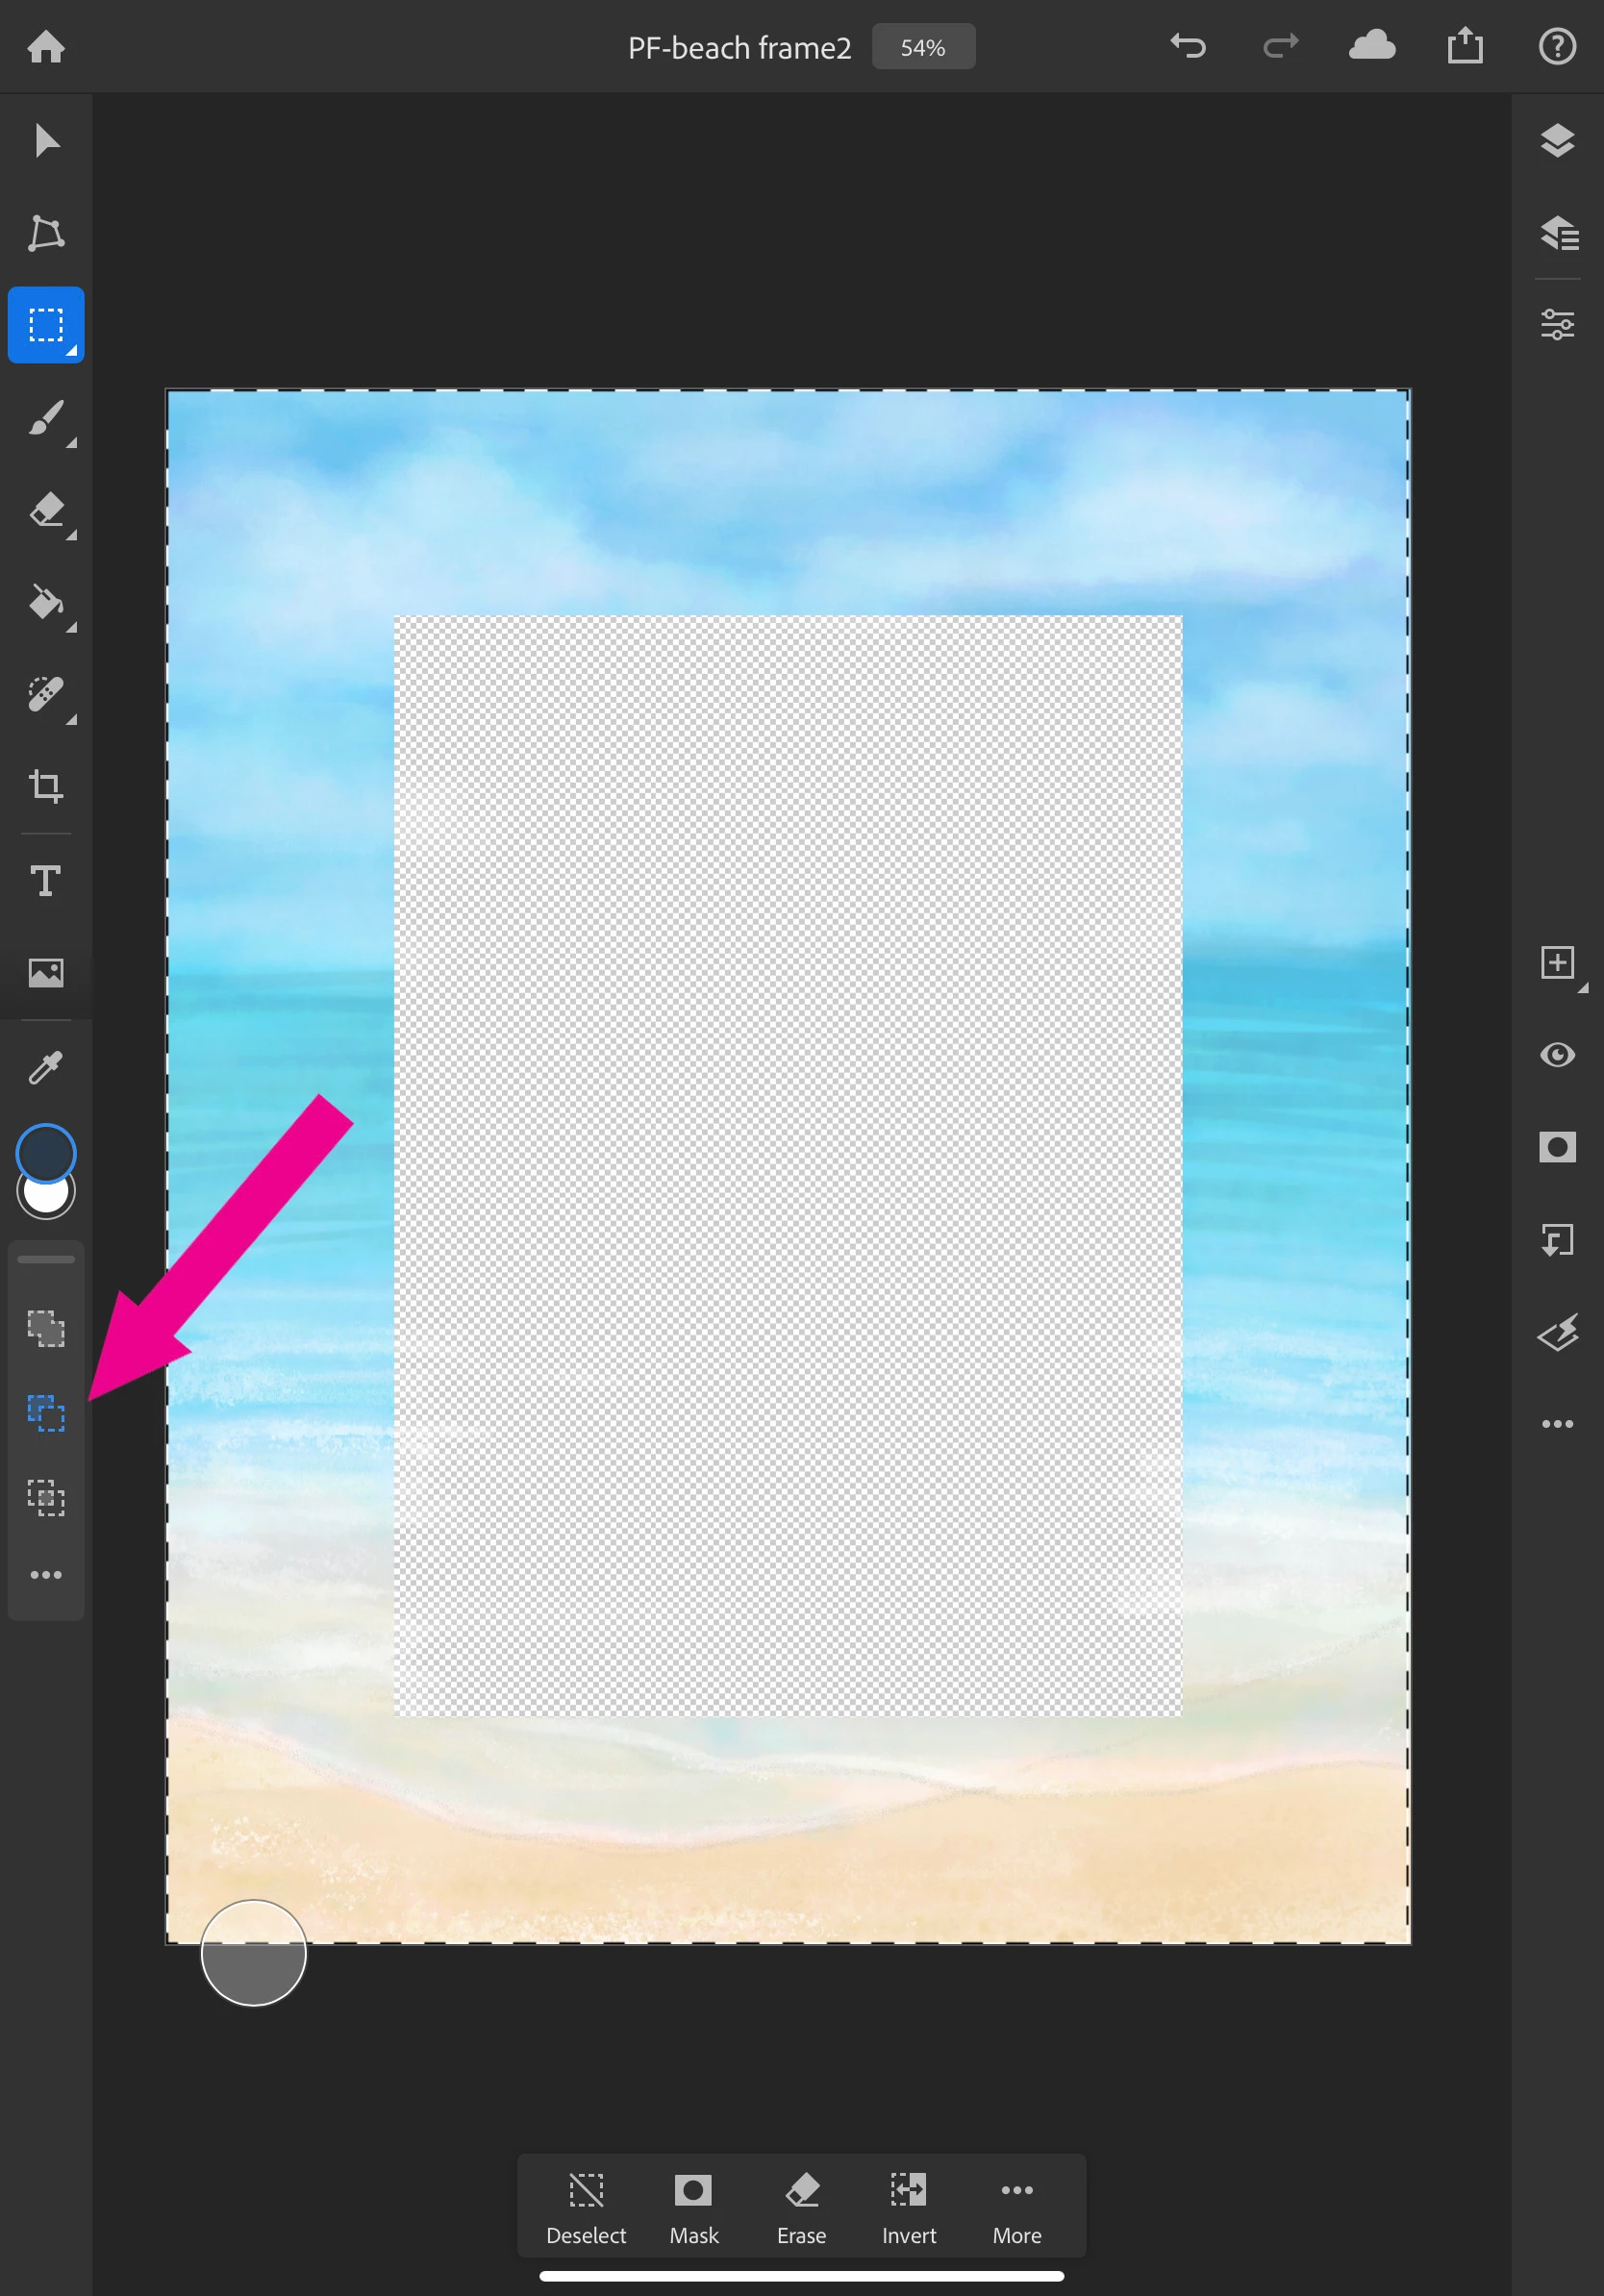
- Now, tap and drag a rectangle slightly inside the selection you just made. This will create a border area on the outside of your frame.
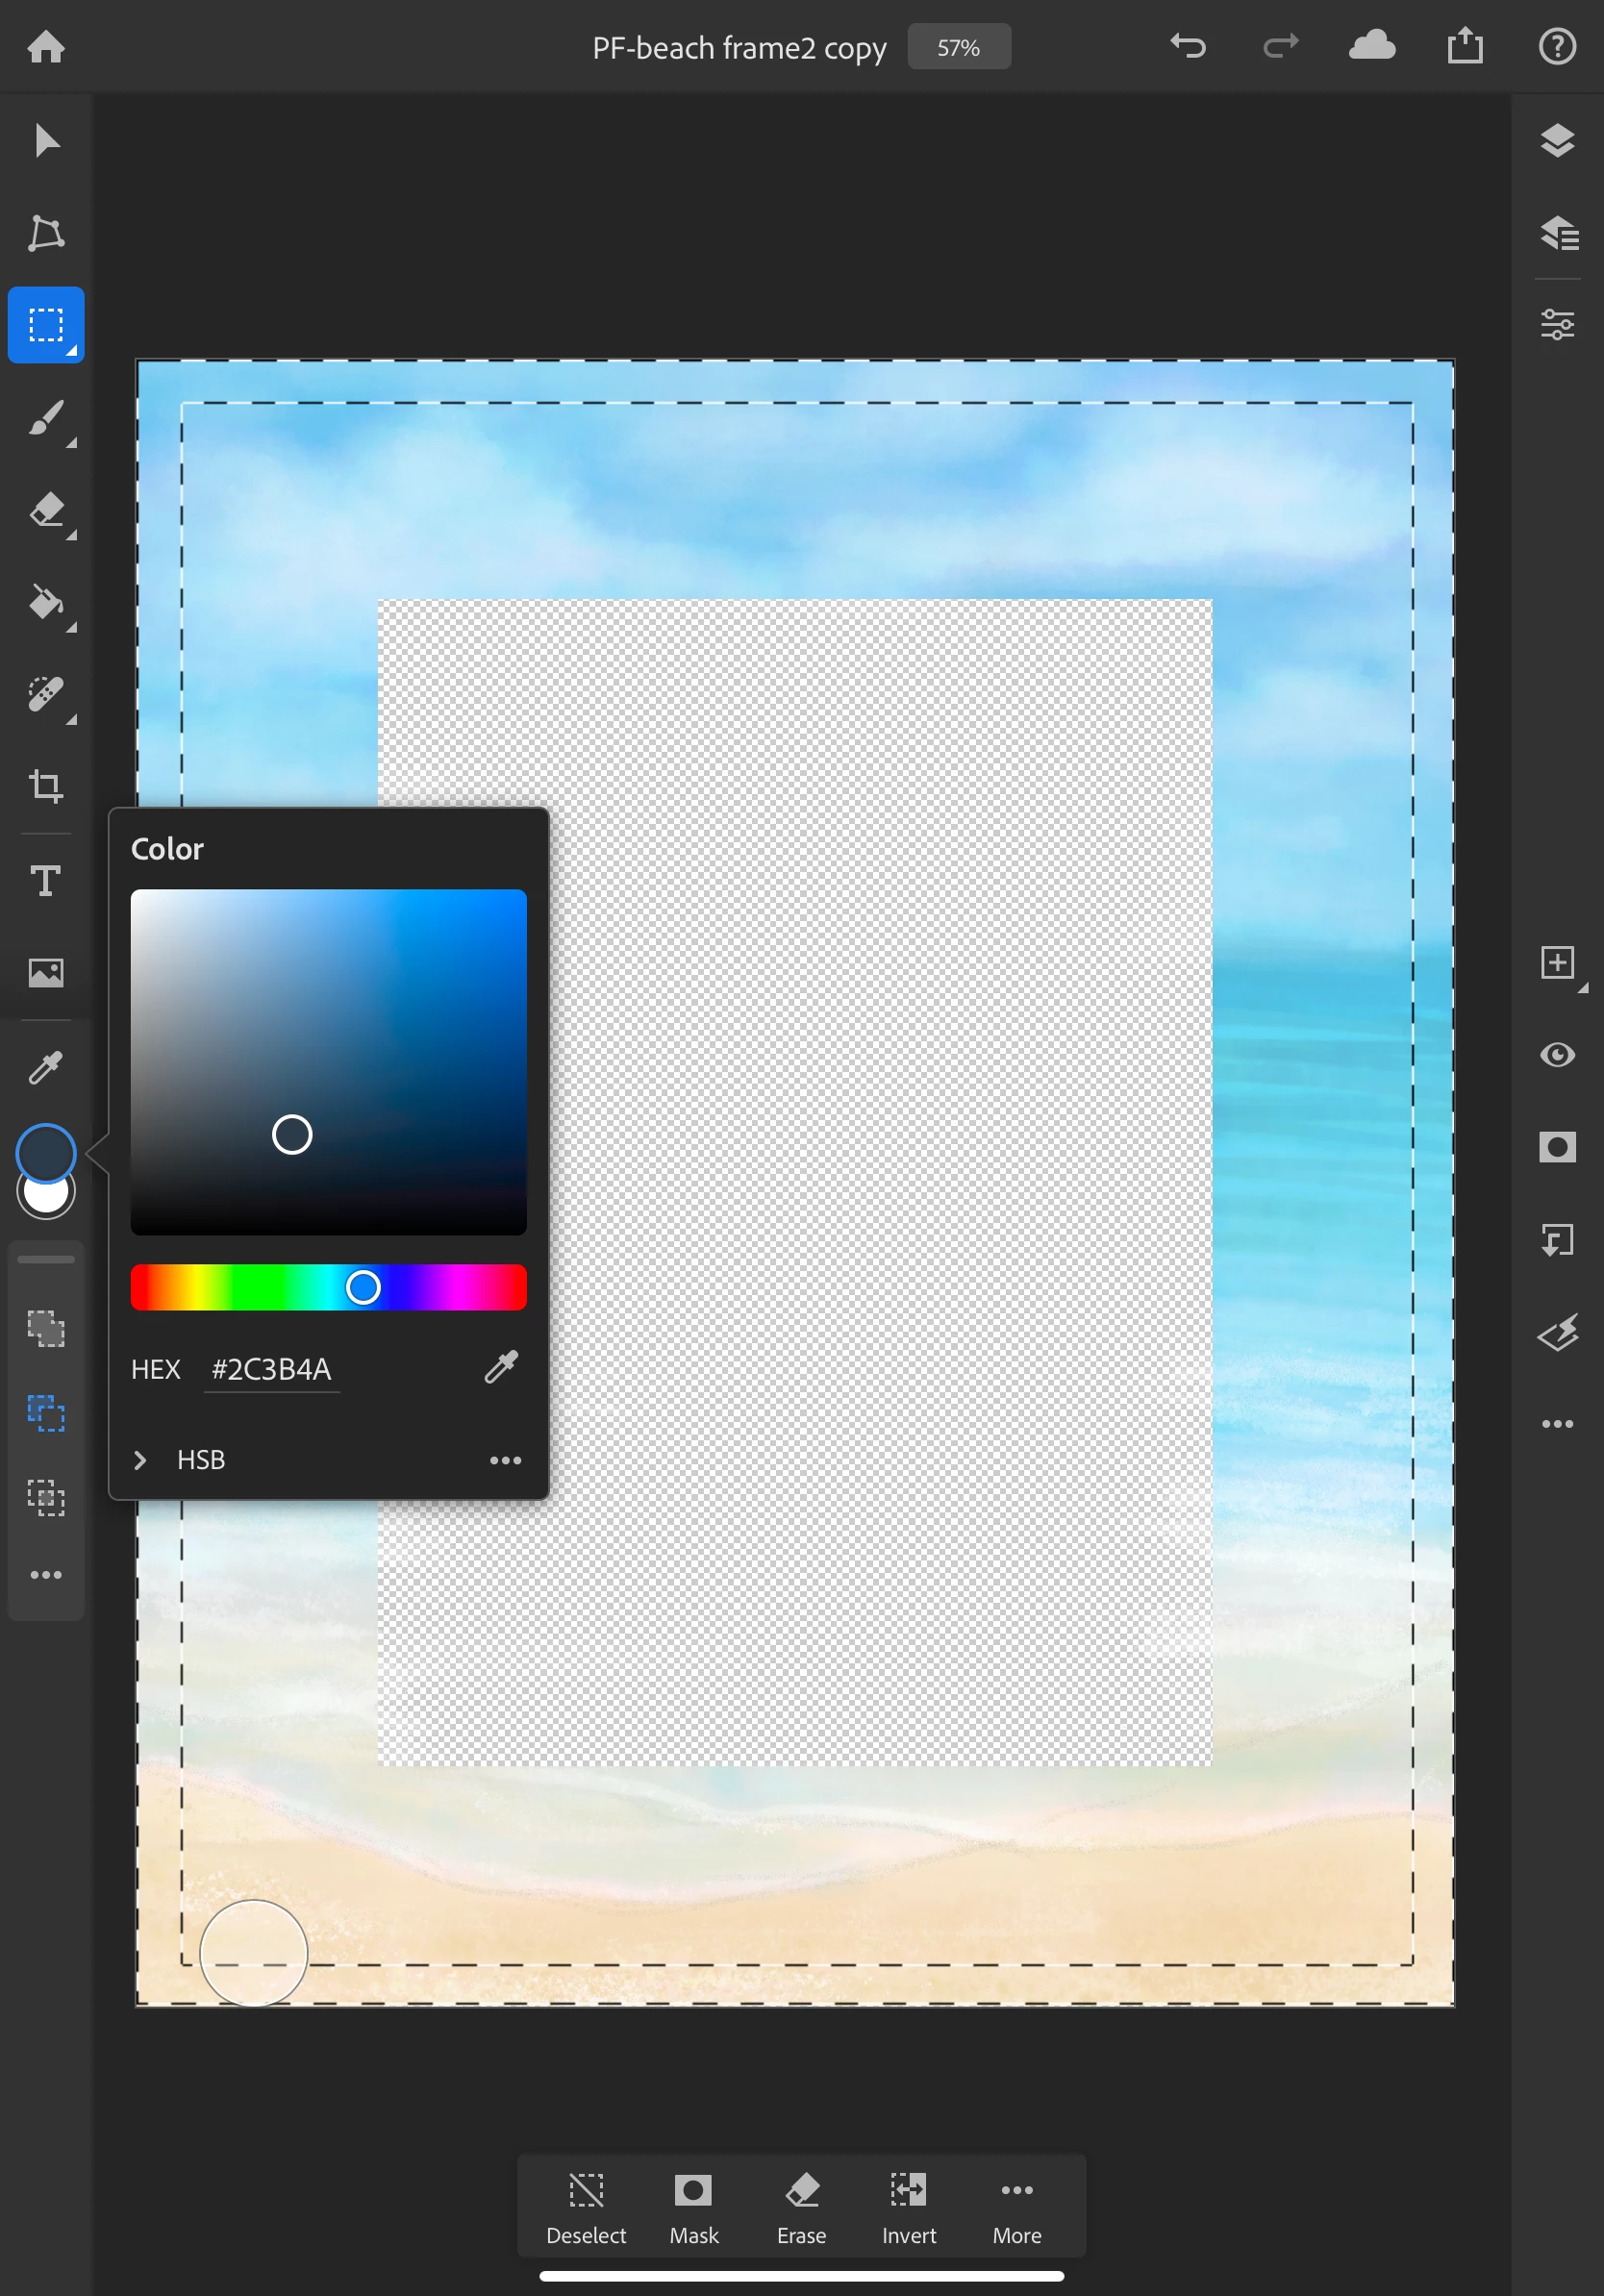
- Tap the color circle and choose a color for your border
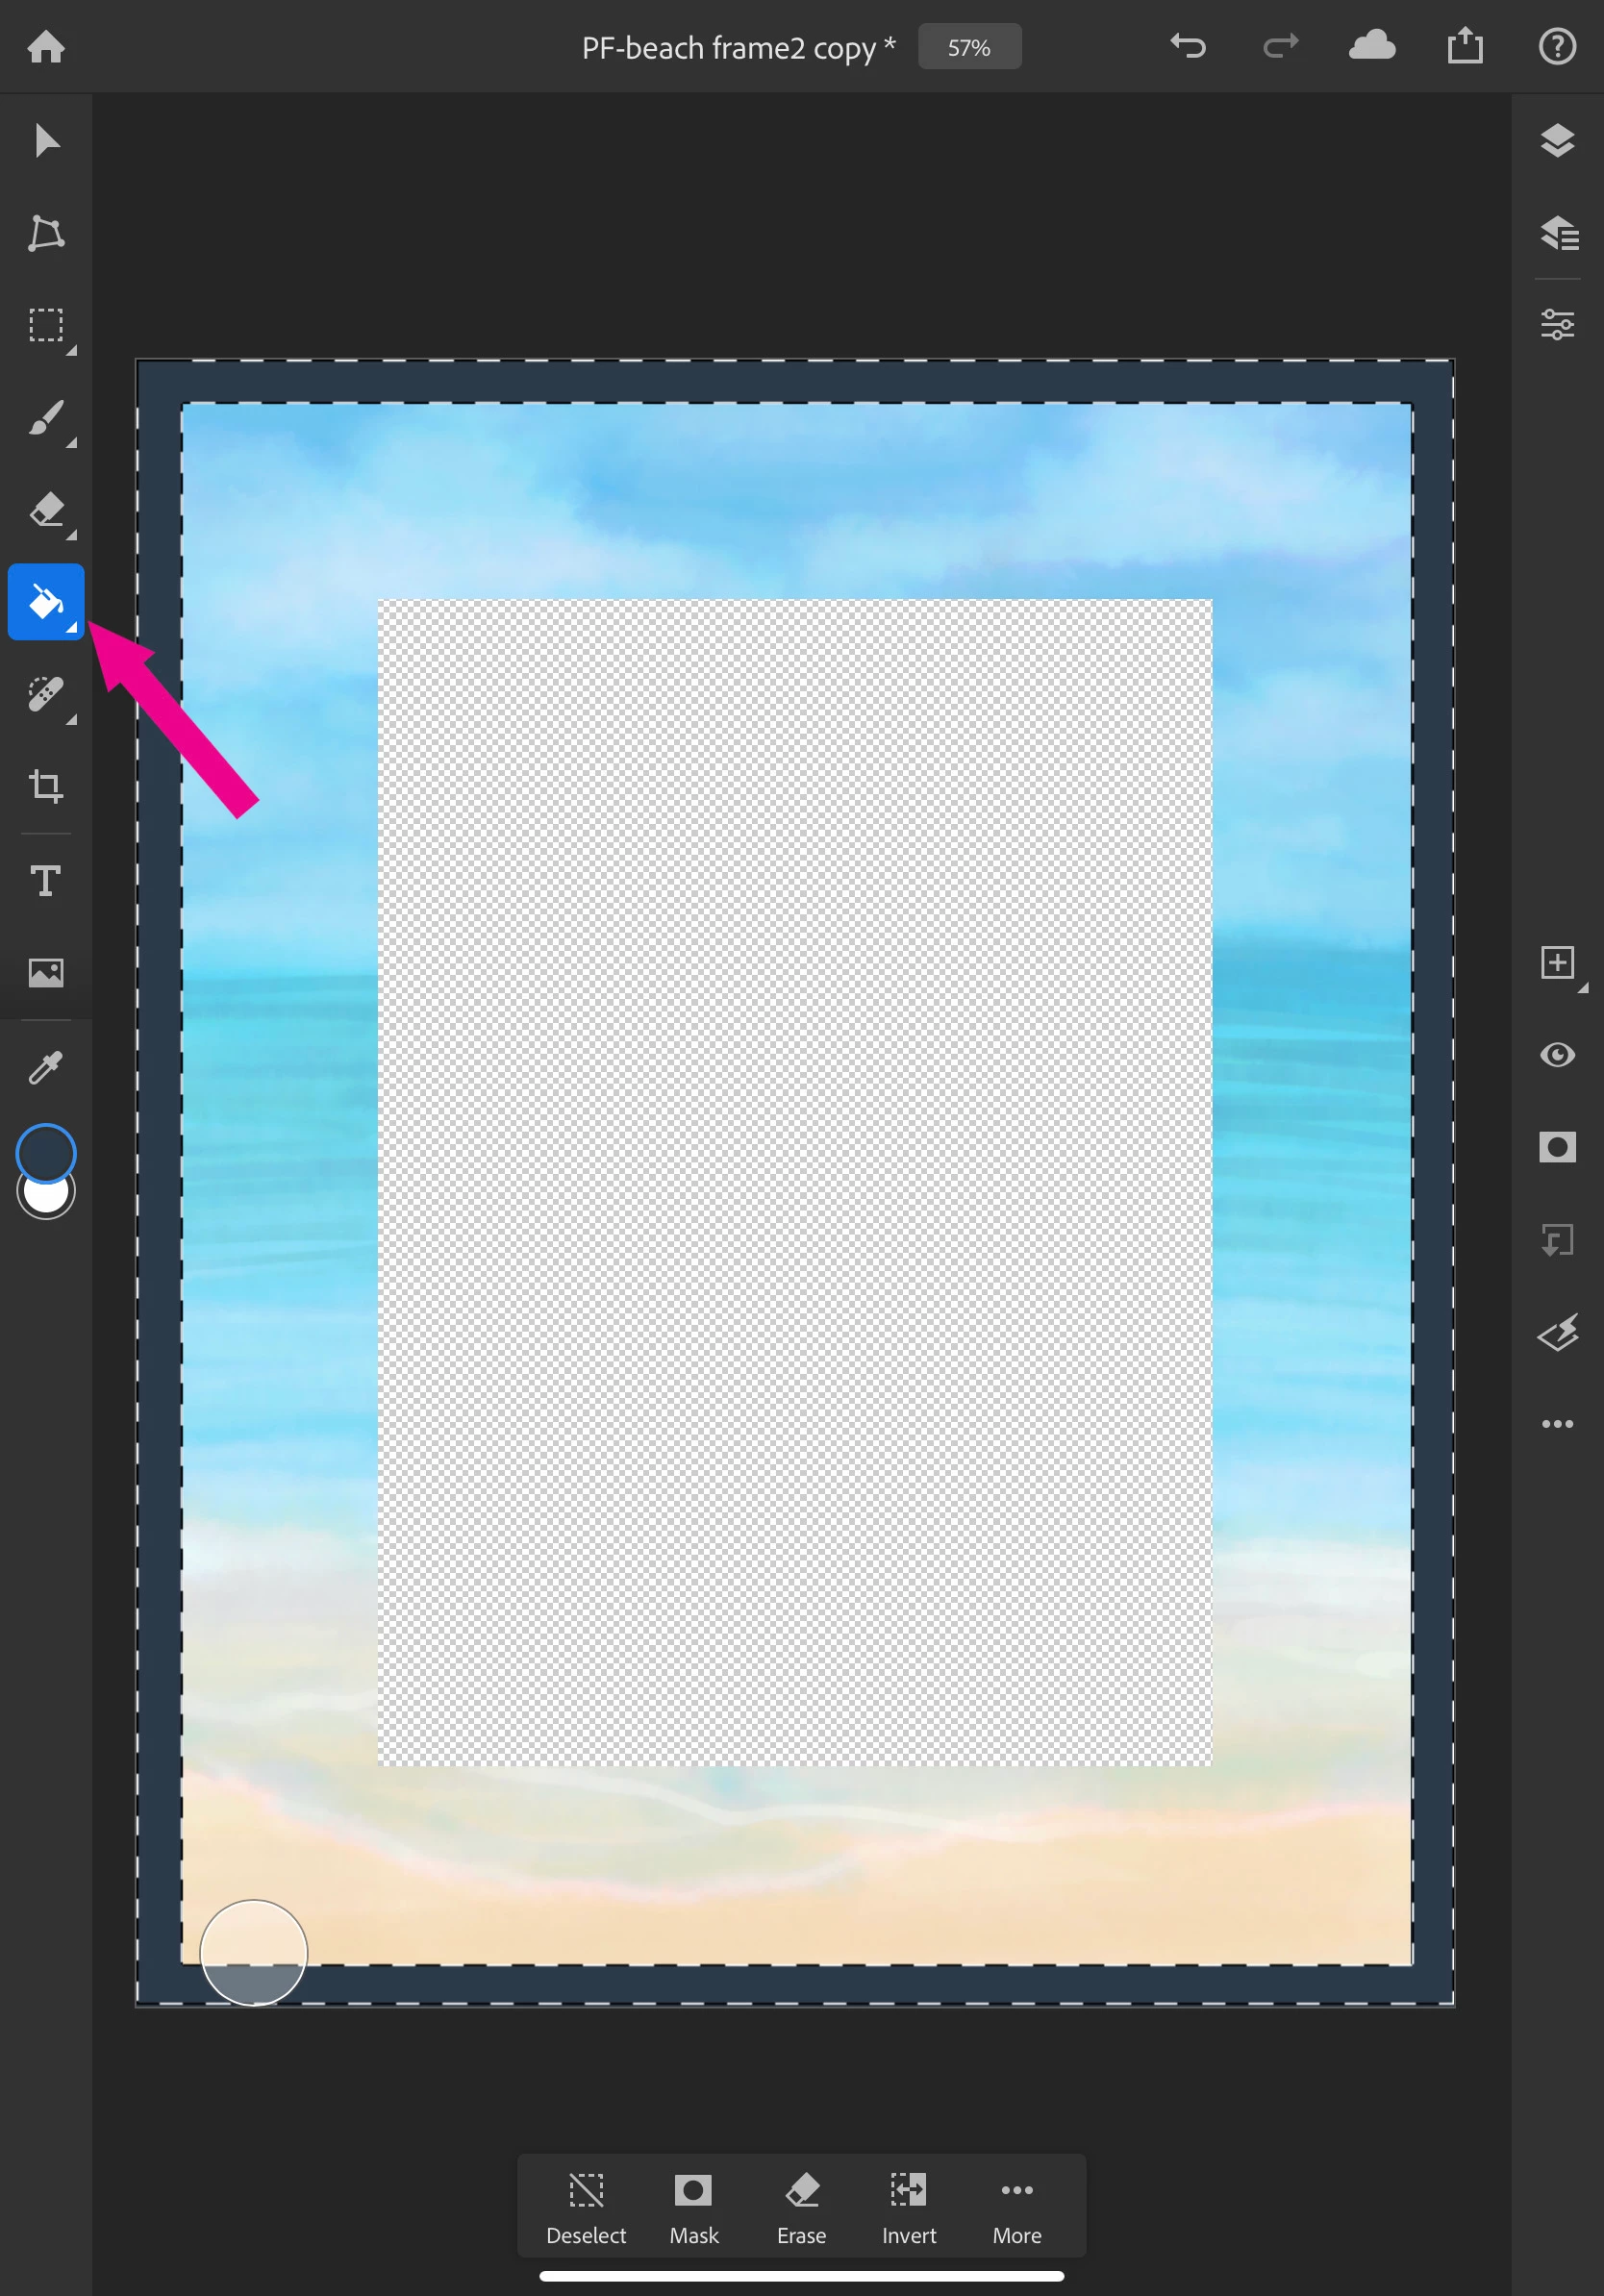
- Tap the fill bucket tool and tap inside the border selection to fill it with color (you can create another border on the inside using the same steps if you desire)
- Tap deselect from the bottom bar
6) Add text
- Tap on the text tool
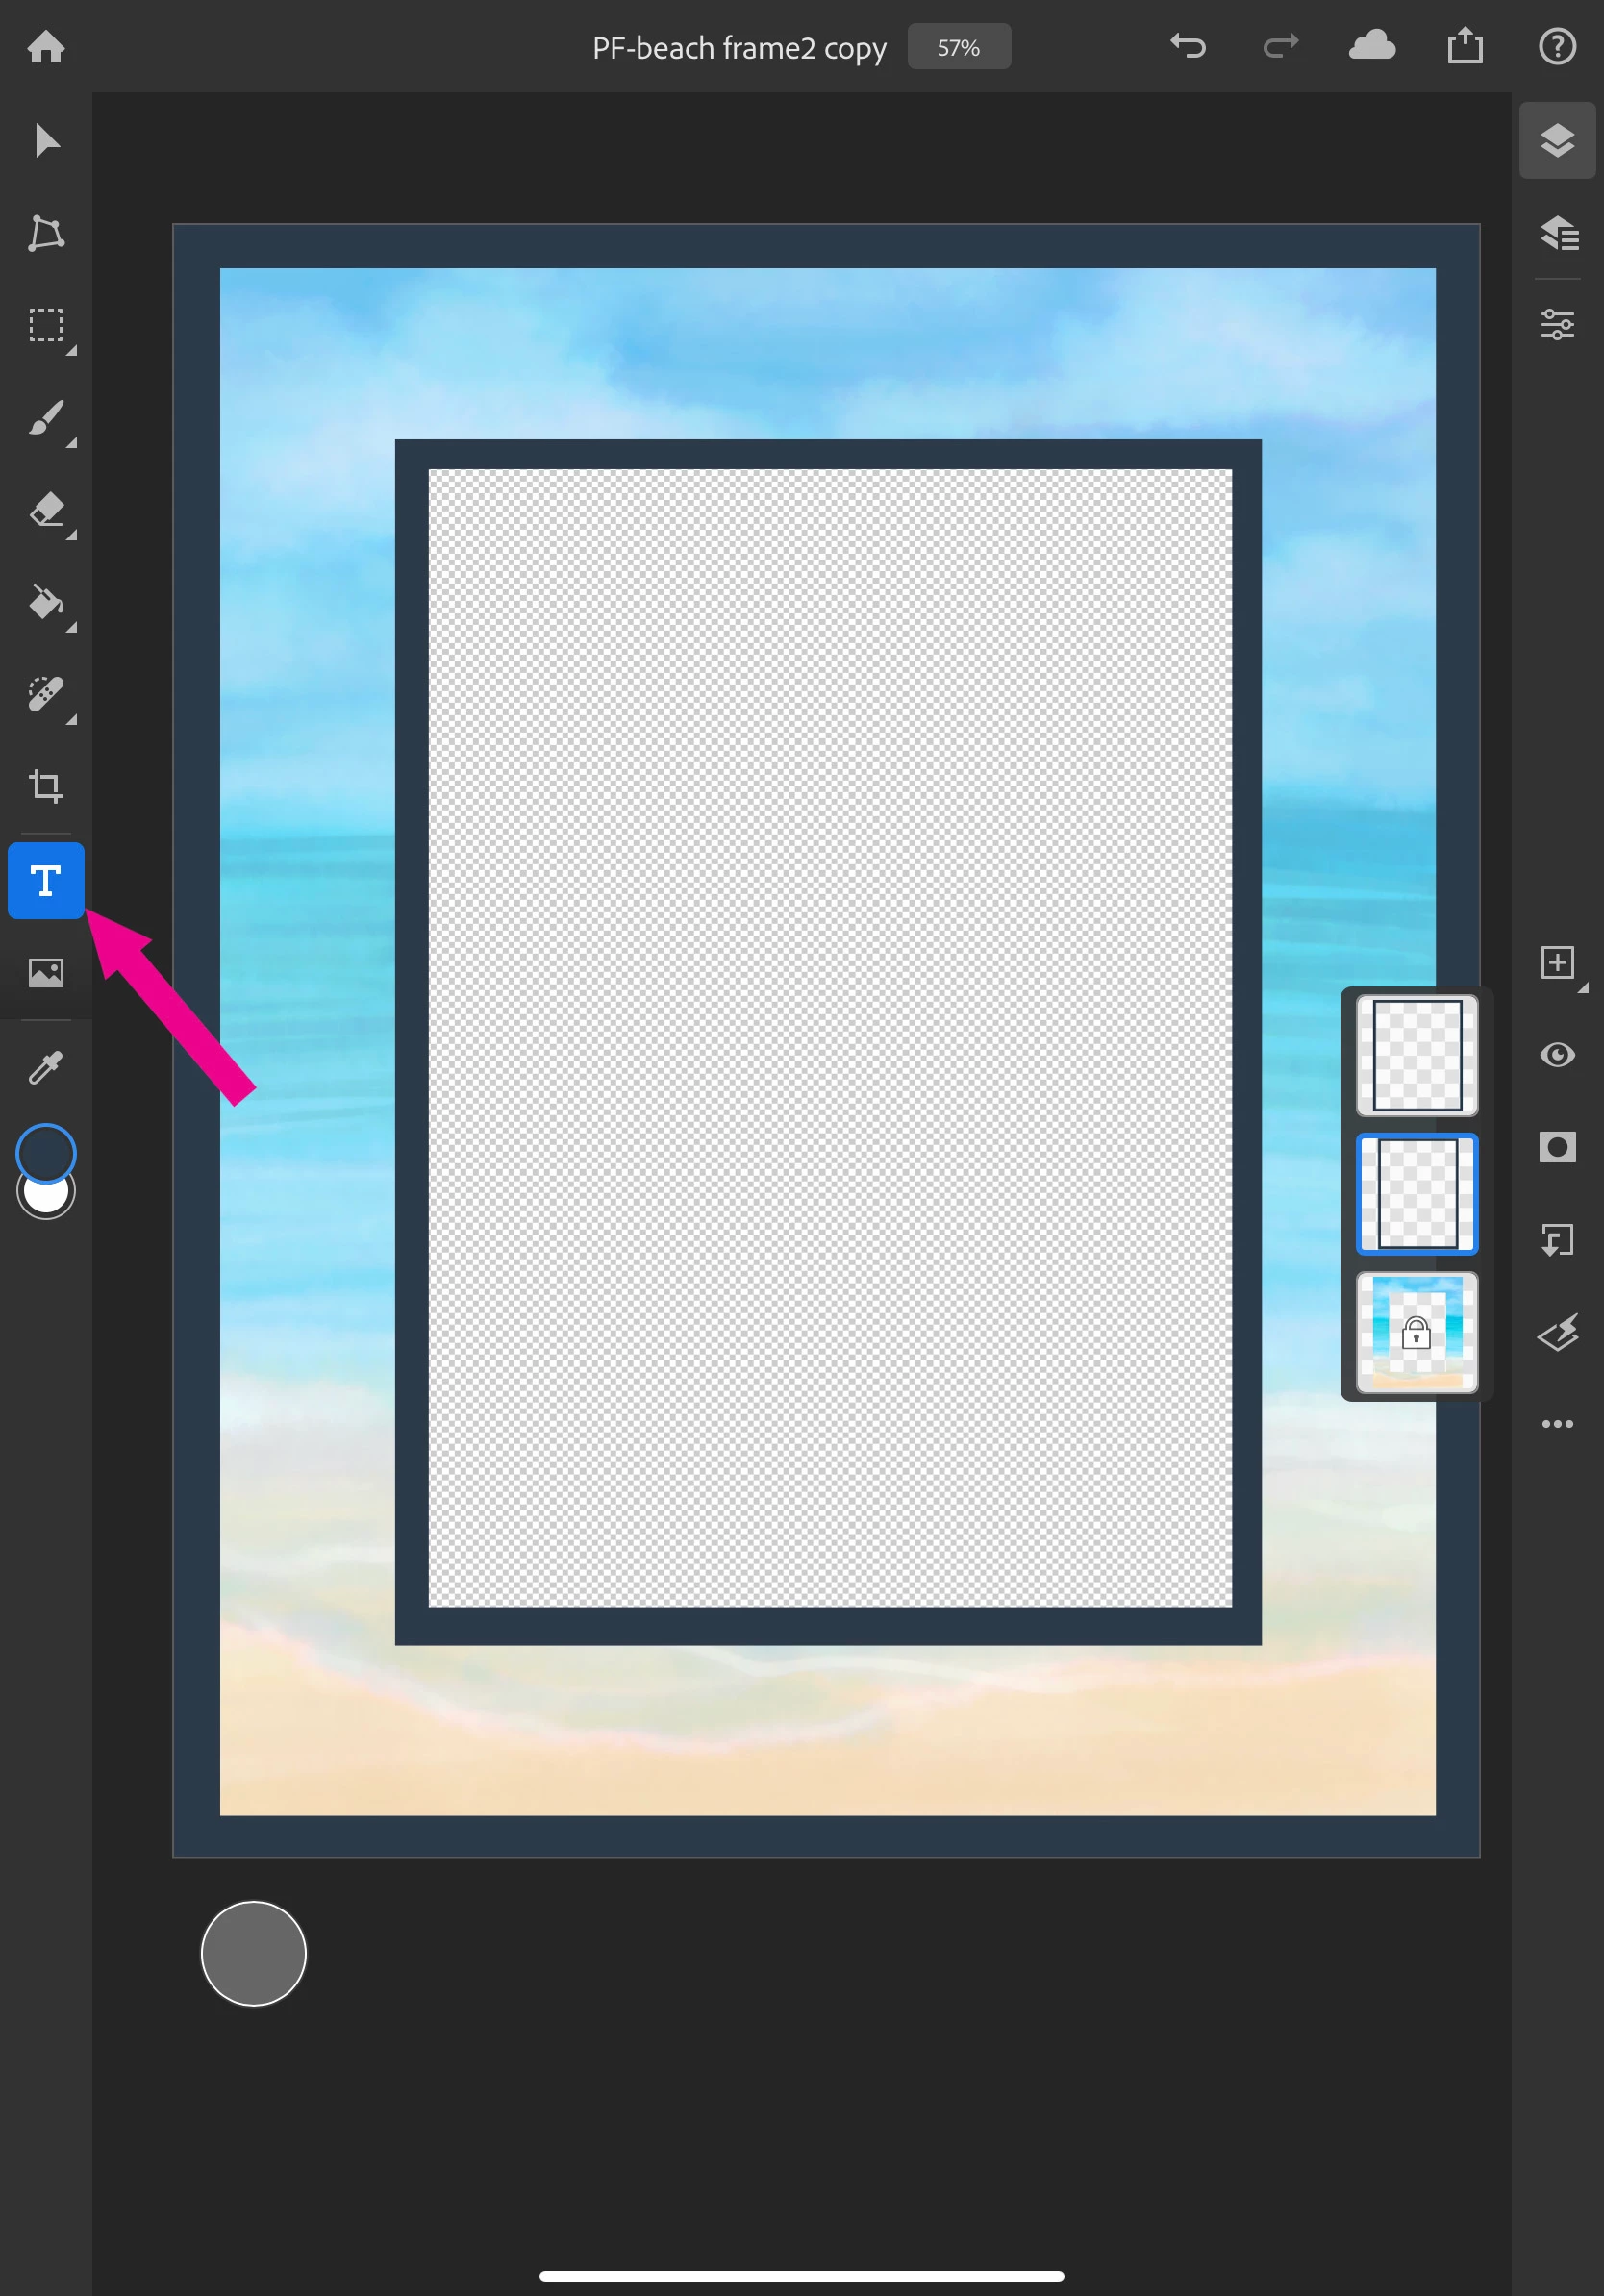
- Now tap on the frame where you want to add text. Text options and a keyboard will appear
- Type in your text and select the options you prefer
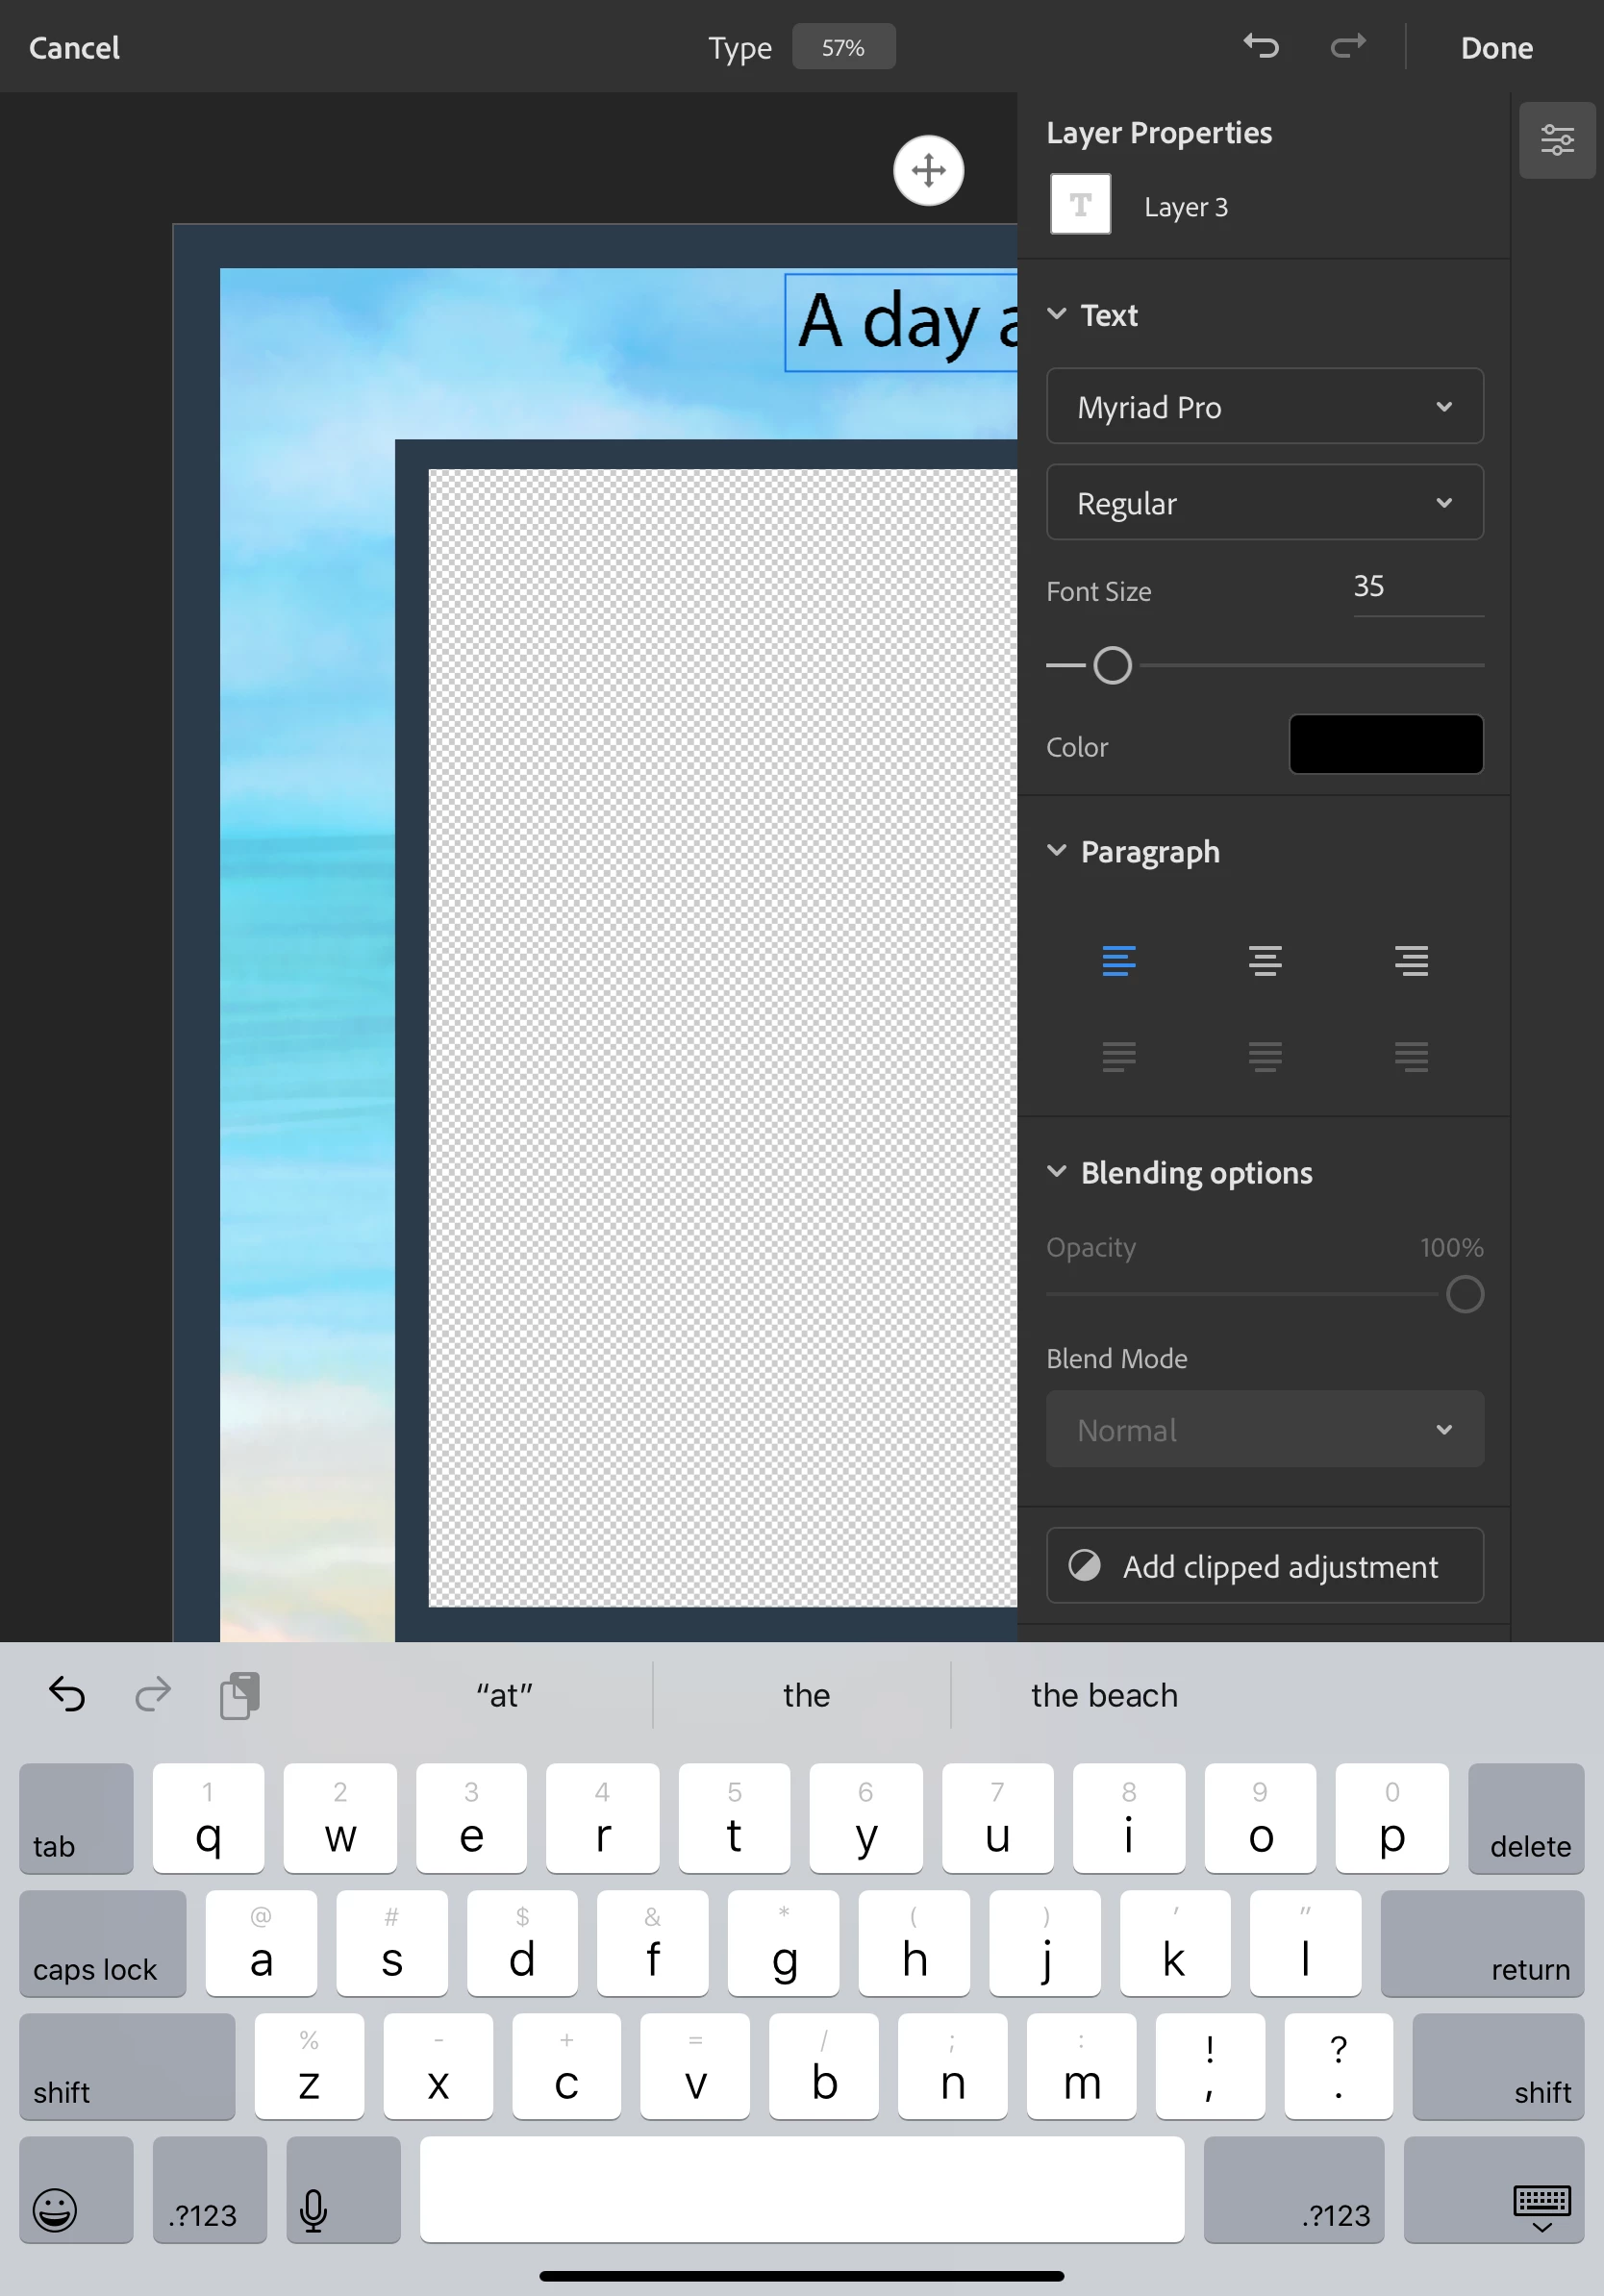
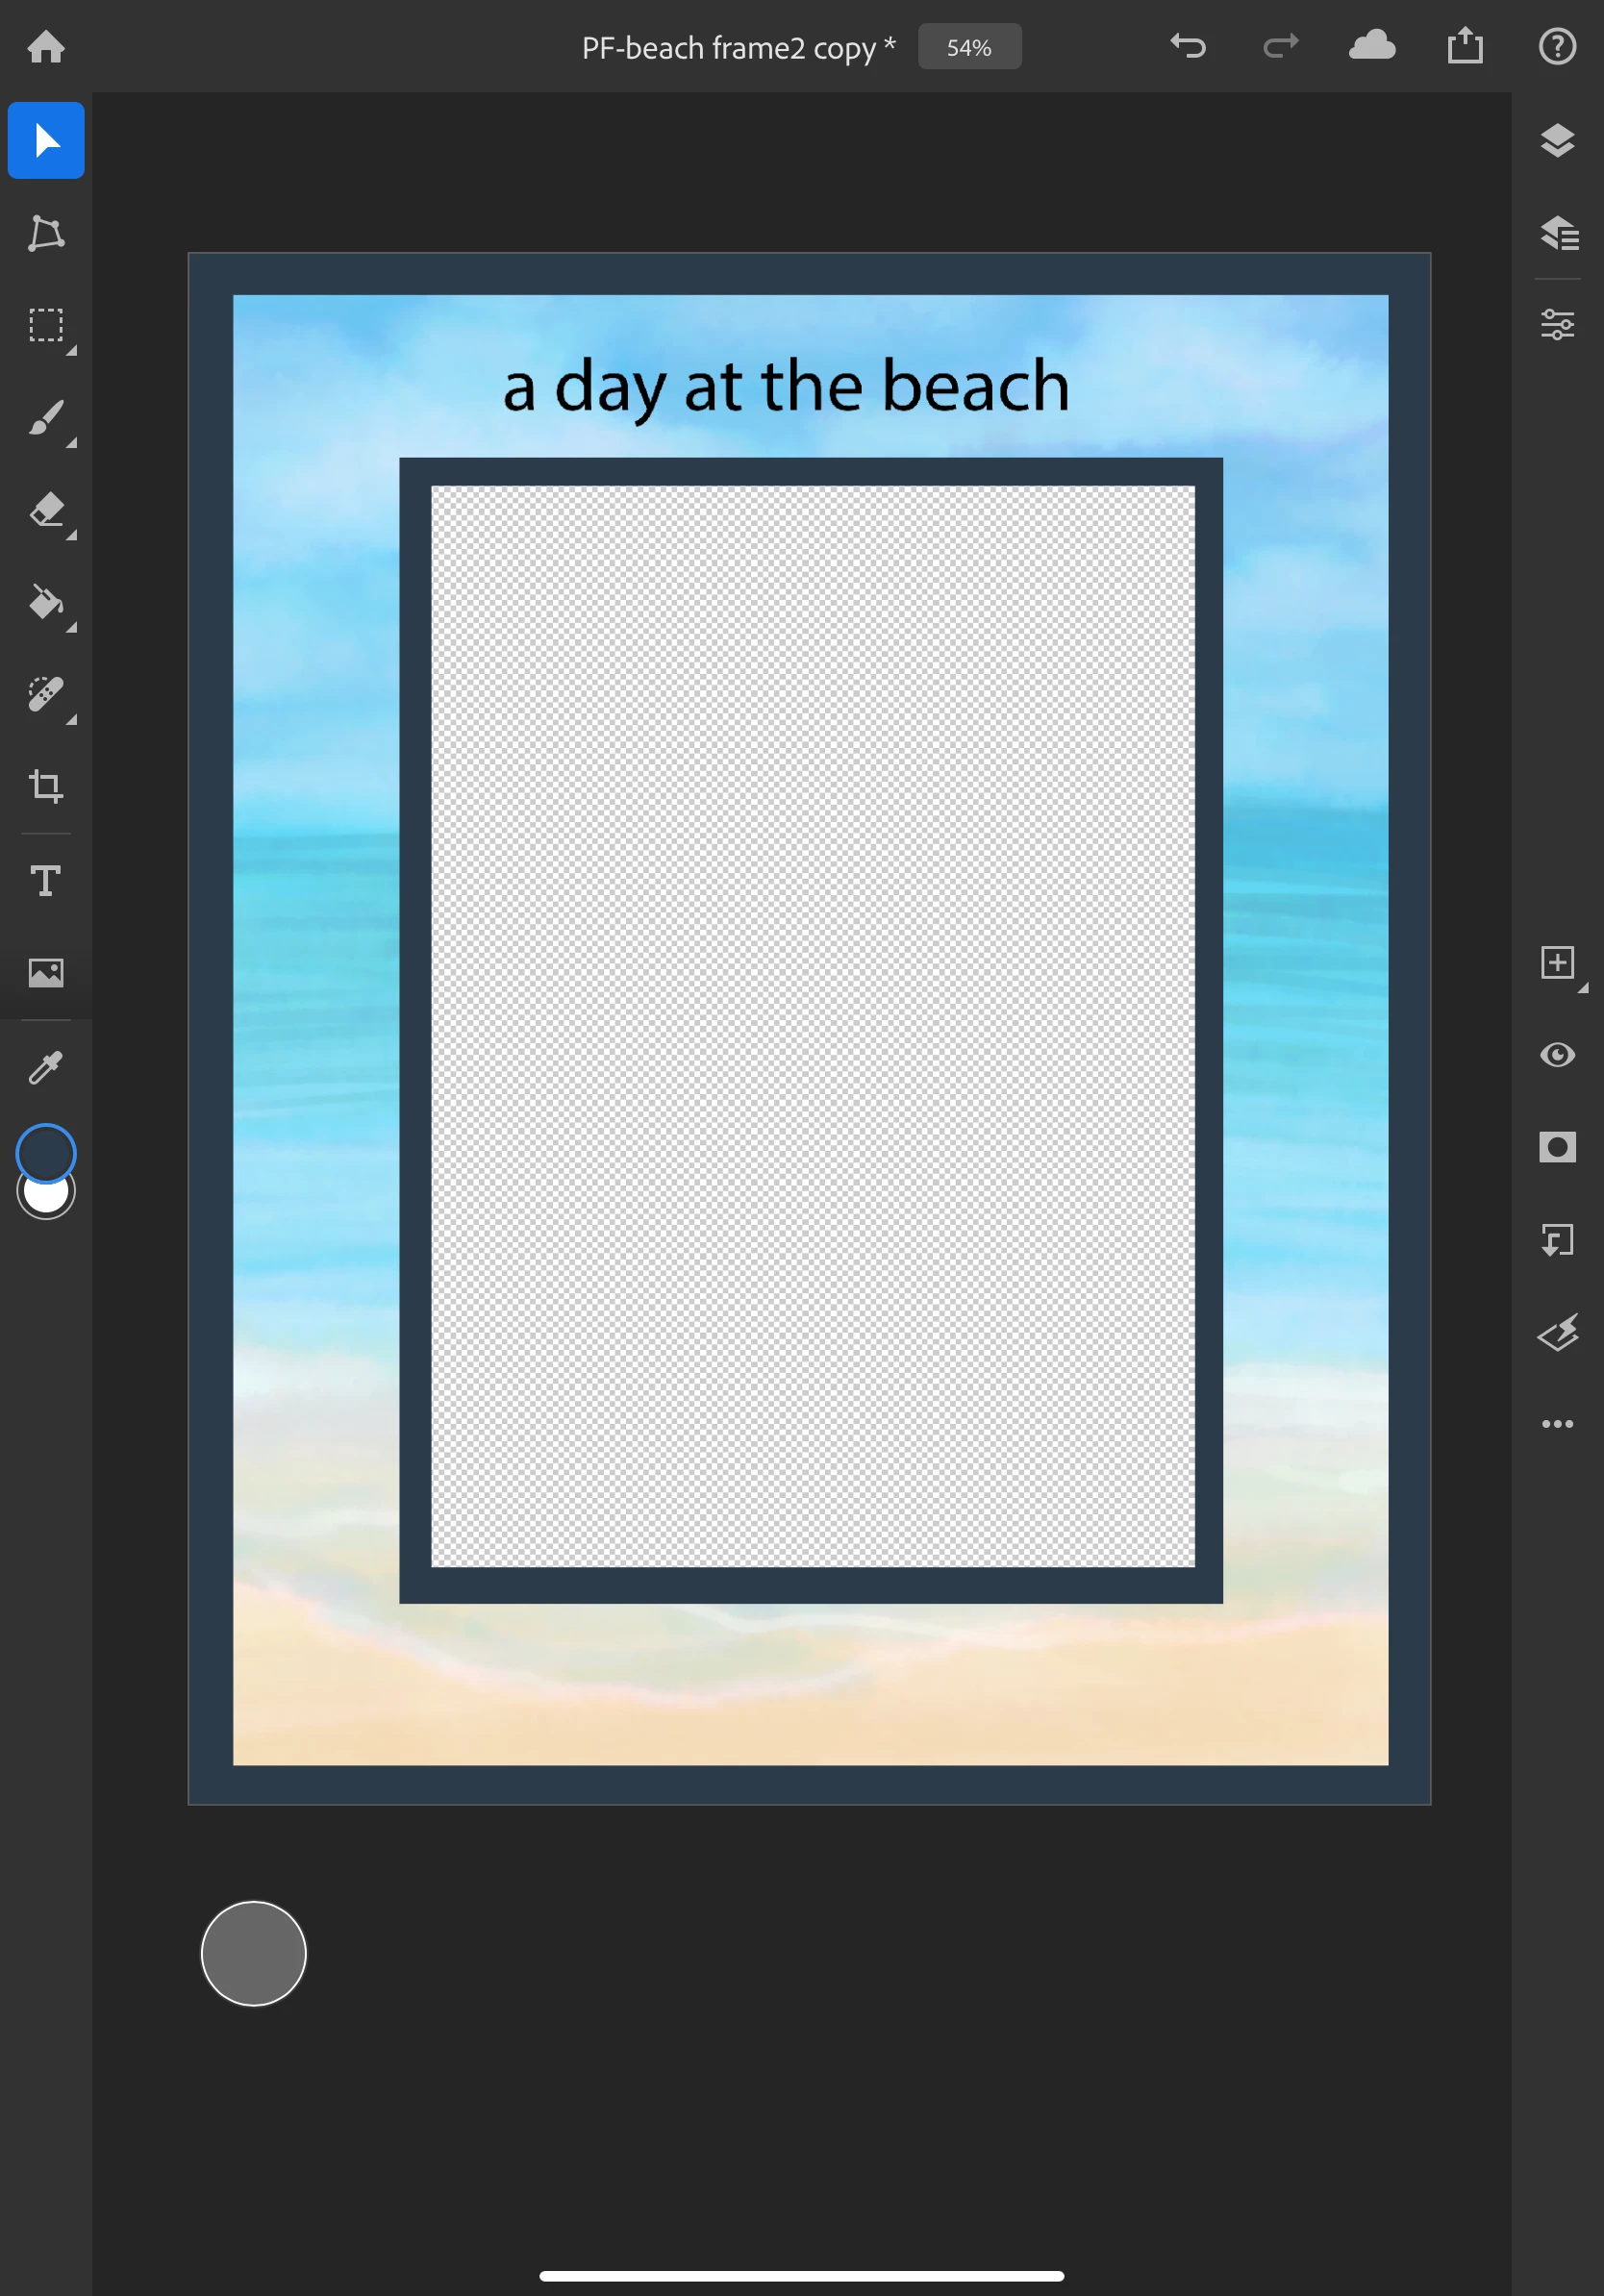
- Select Done when you complete your selections. It will look something like this. If you need to move the text tap on the triangle just below the home icon and then touch and move the text
7) Add your photo
-
Tap the photo icon on the toolbar on the left side of the canvas and select the location of your photo.
- Choose your photo
- For more information about placing photos, see: import your photo
- You can also edit your photo if you need to.

You can also find this post is also on the Fresco forum:
Fresco: Design a creative photo frame on your iPad
Want to learn more about Photoshop on the iPad? Check out these helpful links:
- Create, open, and save documents
- Get to know the workspace
- Managing layers
- Draw and paint with brushes
- Touch gesture shortcuts
- Keyboard shortcuts
- Managing cloud documents
Share your creation with the Adobe Community and on Social!
- Share your frame as a reply to this post!
- Tap the share icon in the app and select Publish to send your creation to social media or save it on your device
- Share it on Facebook, Instagram and Twitter with #MakeIt #FrameIt #PhotoshopontheiPad for a chance to be featured on Adobe's page
Are you attending Adobe Max? Download our colorful Adobe Max frame below, add your picture, and post on social media with #AdobeMax
