


Enhance your photos quickly using adjustment layers
Learn the difference between a global adjustment layer and a clipped adjustment layer
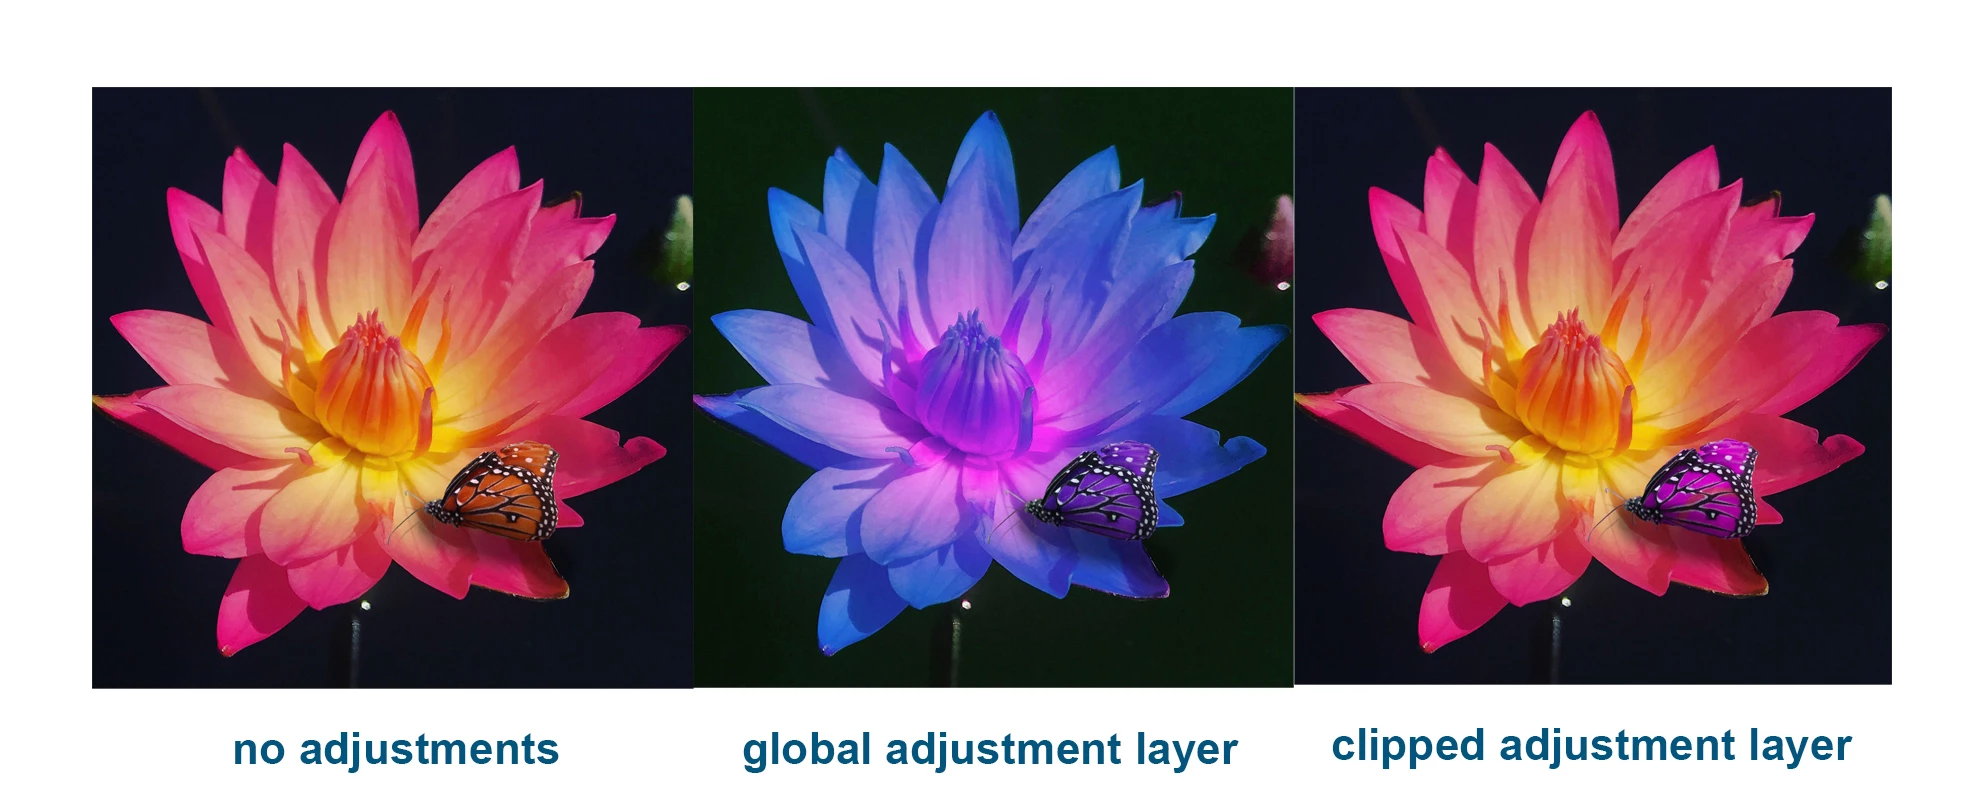
Are you uncertain whether you need to use a global adjustment layer or a clipped adjustment layer? This tutorial demonstrates the difference so you can choose the correct option. If you create a global adjustment layer above several layers, it will modify all the layers below it. If you do not want all the layers modified, but want to adjust just one of the layers, use a clipped adjustment layer. Try the demo below for yourself to see how both types of adjustment layers work.
*Before you begin, you may want to review these links
- Create, open, and save documents
- Get to know the workspace
- Managing layers
- Draw and paint with brushes
- Touch gesture shortcuts
Now that you are familiar with the workspace and layers, lets begin:
➊ Start by creating a new file
- Open Photoshop on your iPad and tap import and open in the bottom left corner.
- Choose the size you prefer.
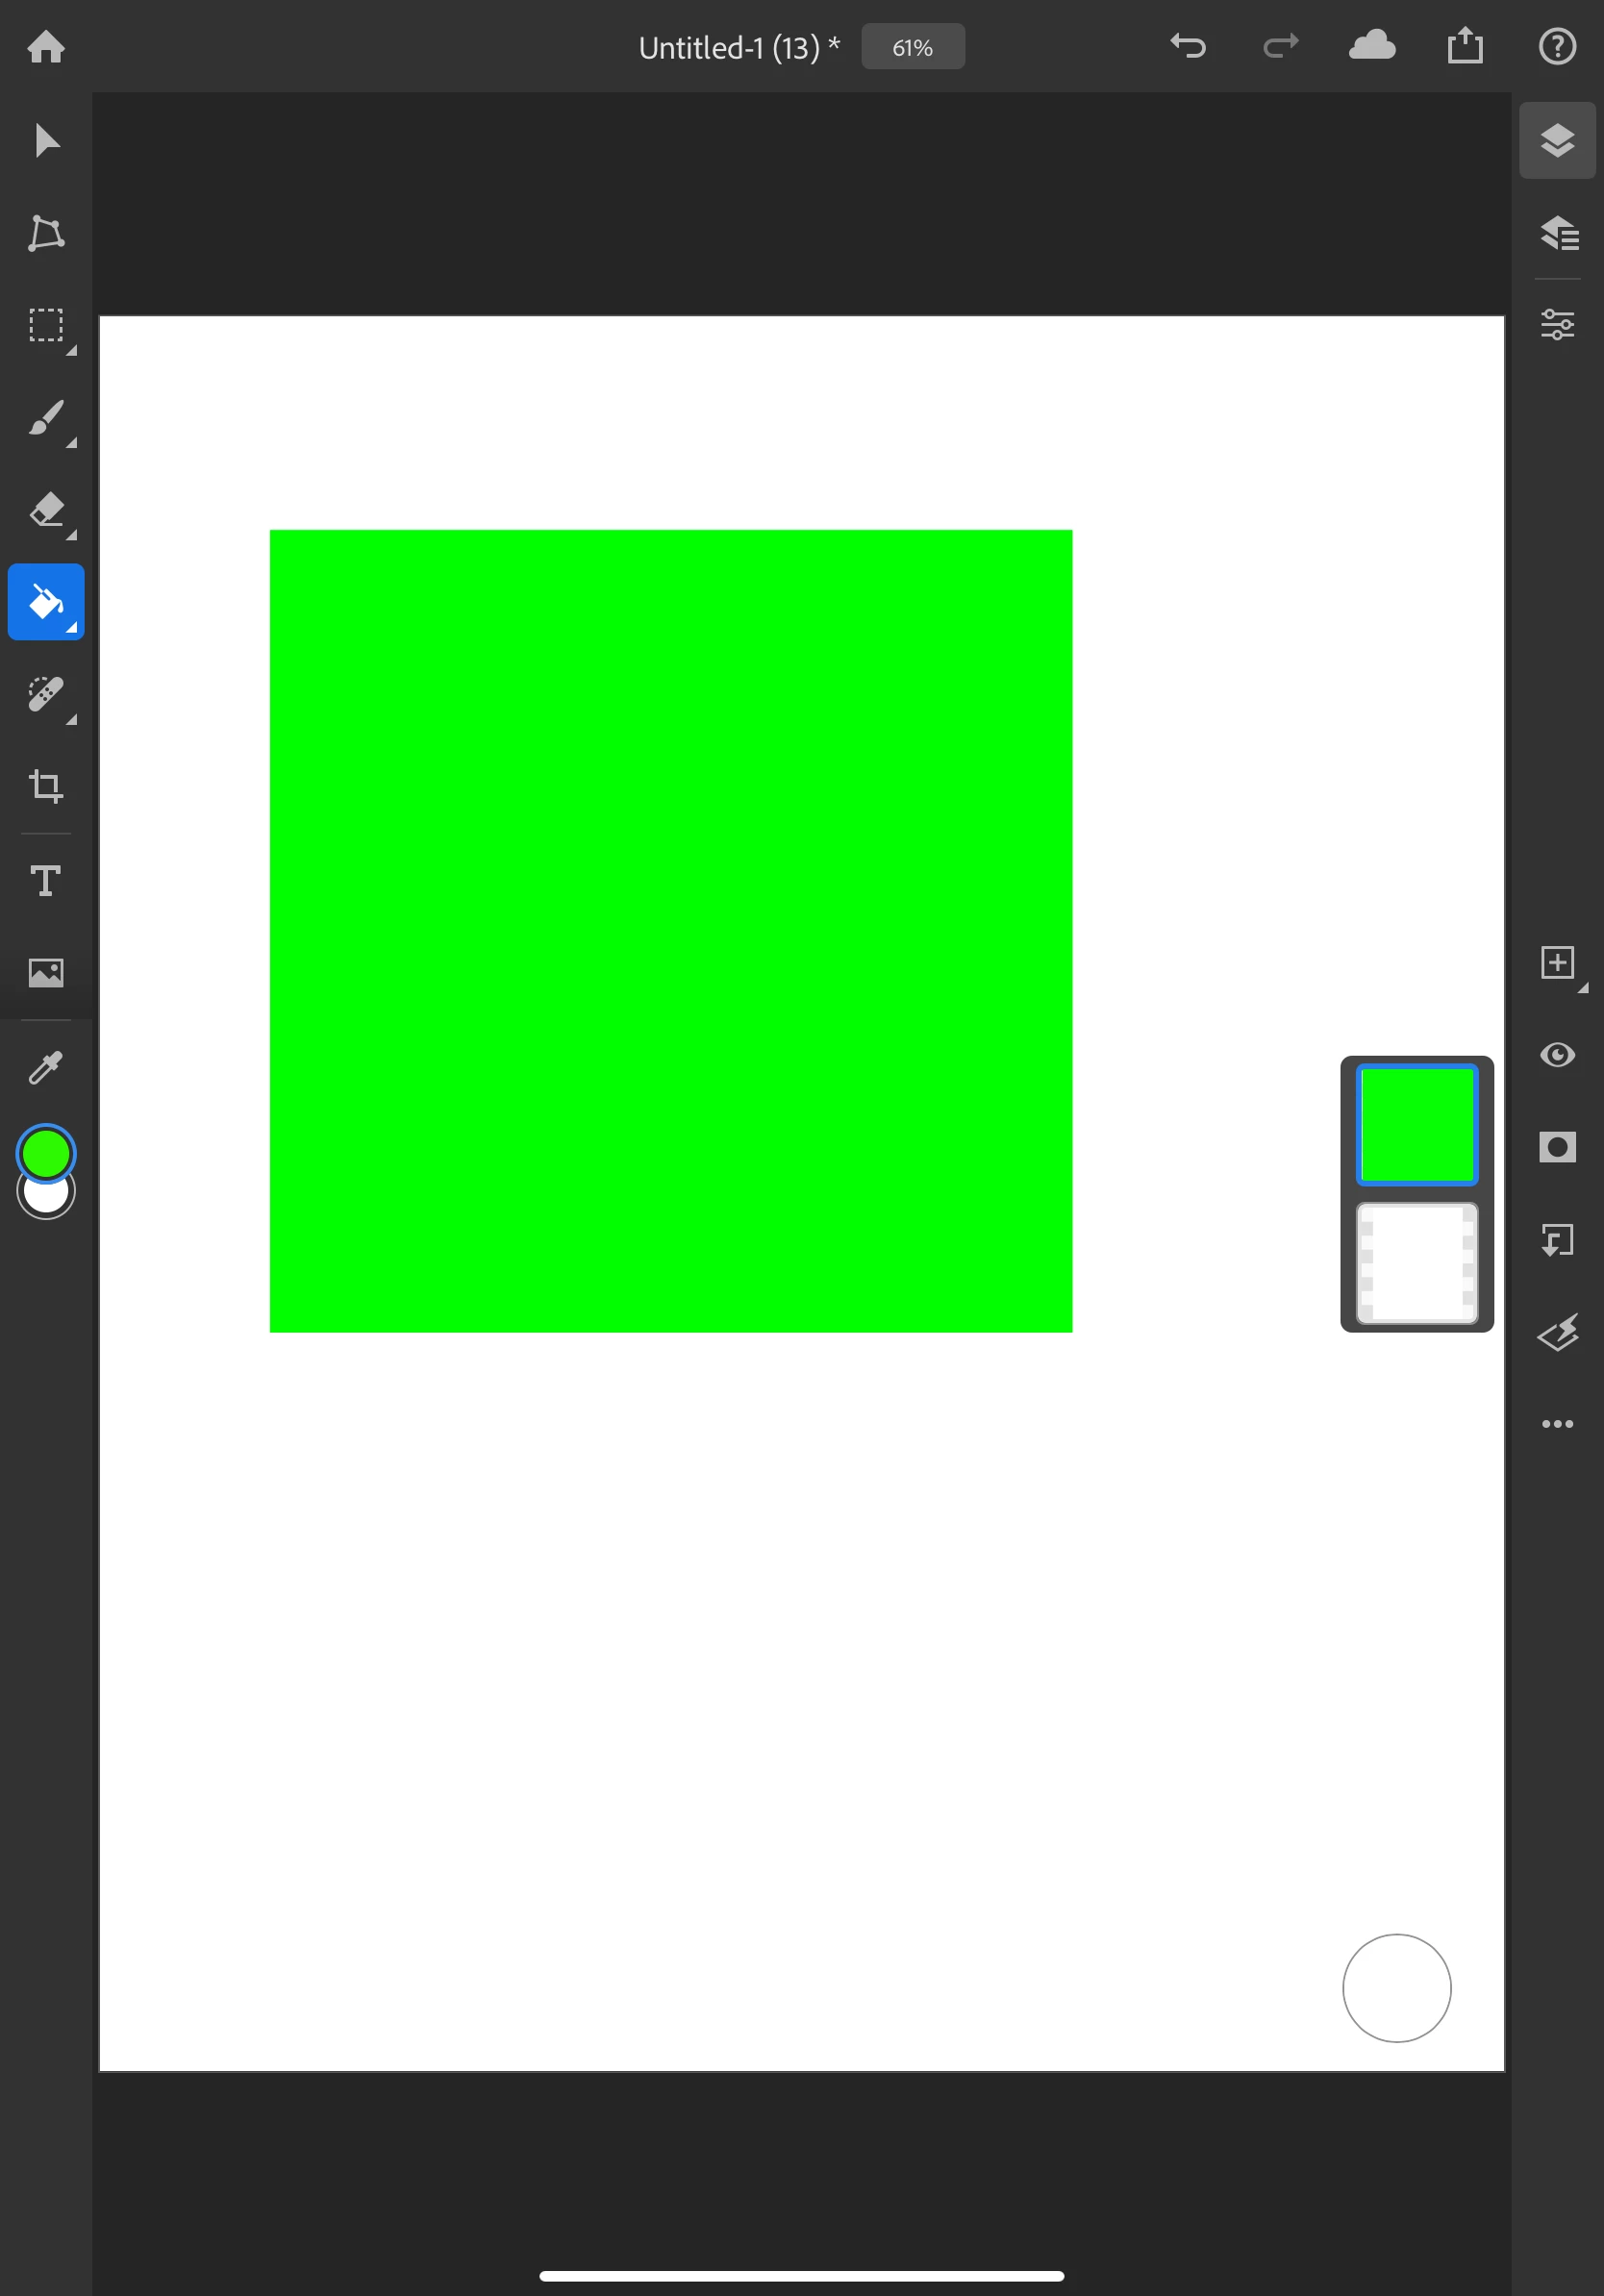
➋ Add shapes on different layers
- ·Tap + on the taskbar on the right to create a new layer.
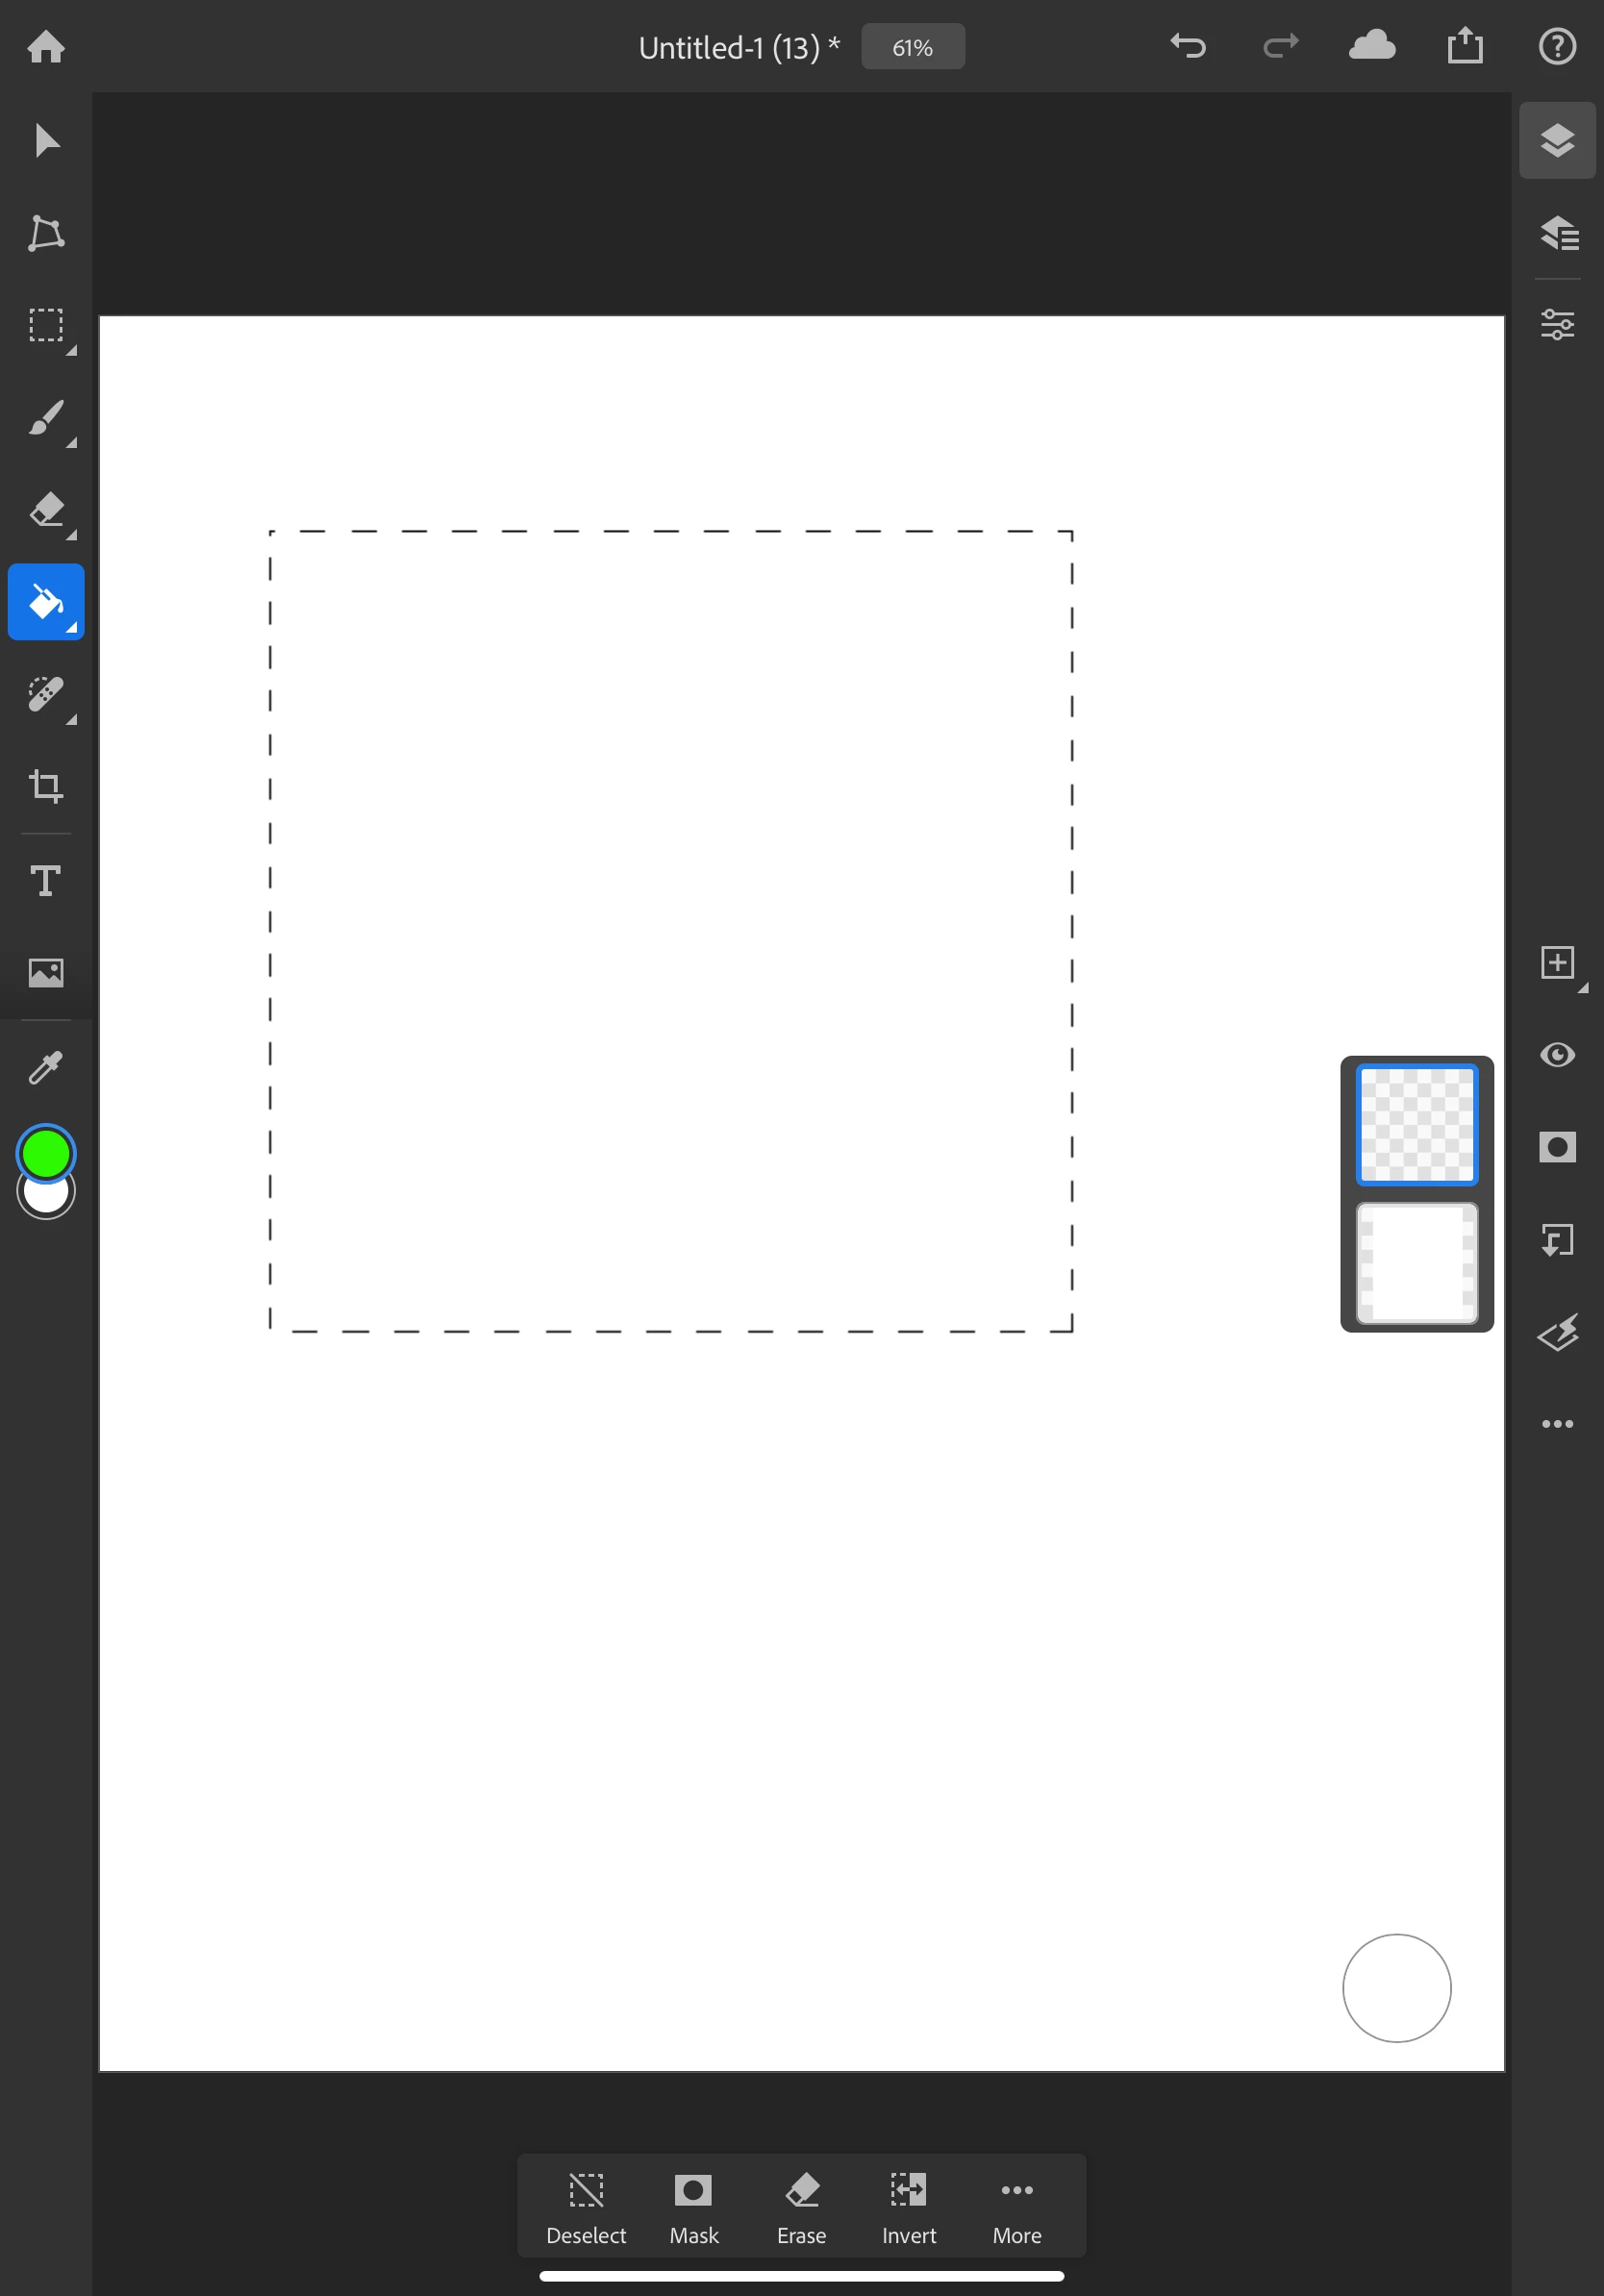
- Long press (touch and hold) the select tool in the toolbar on the left until the select flyout appears
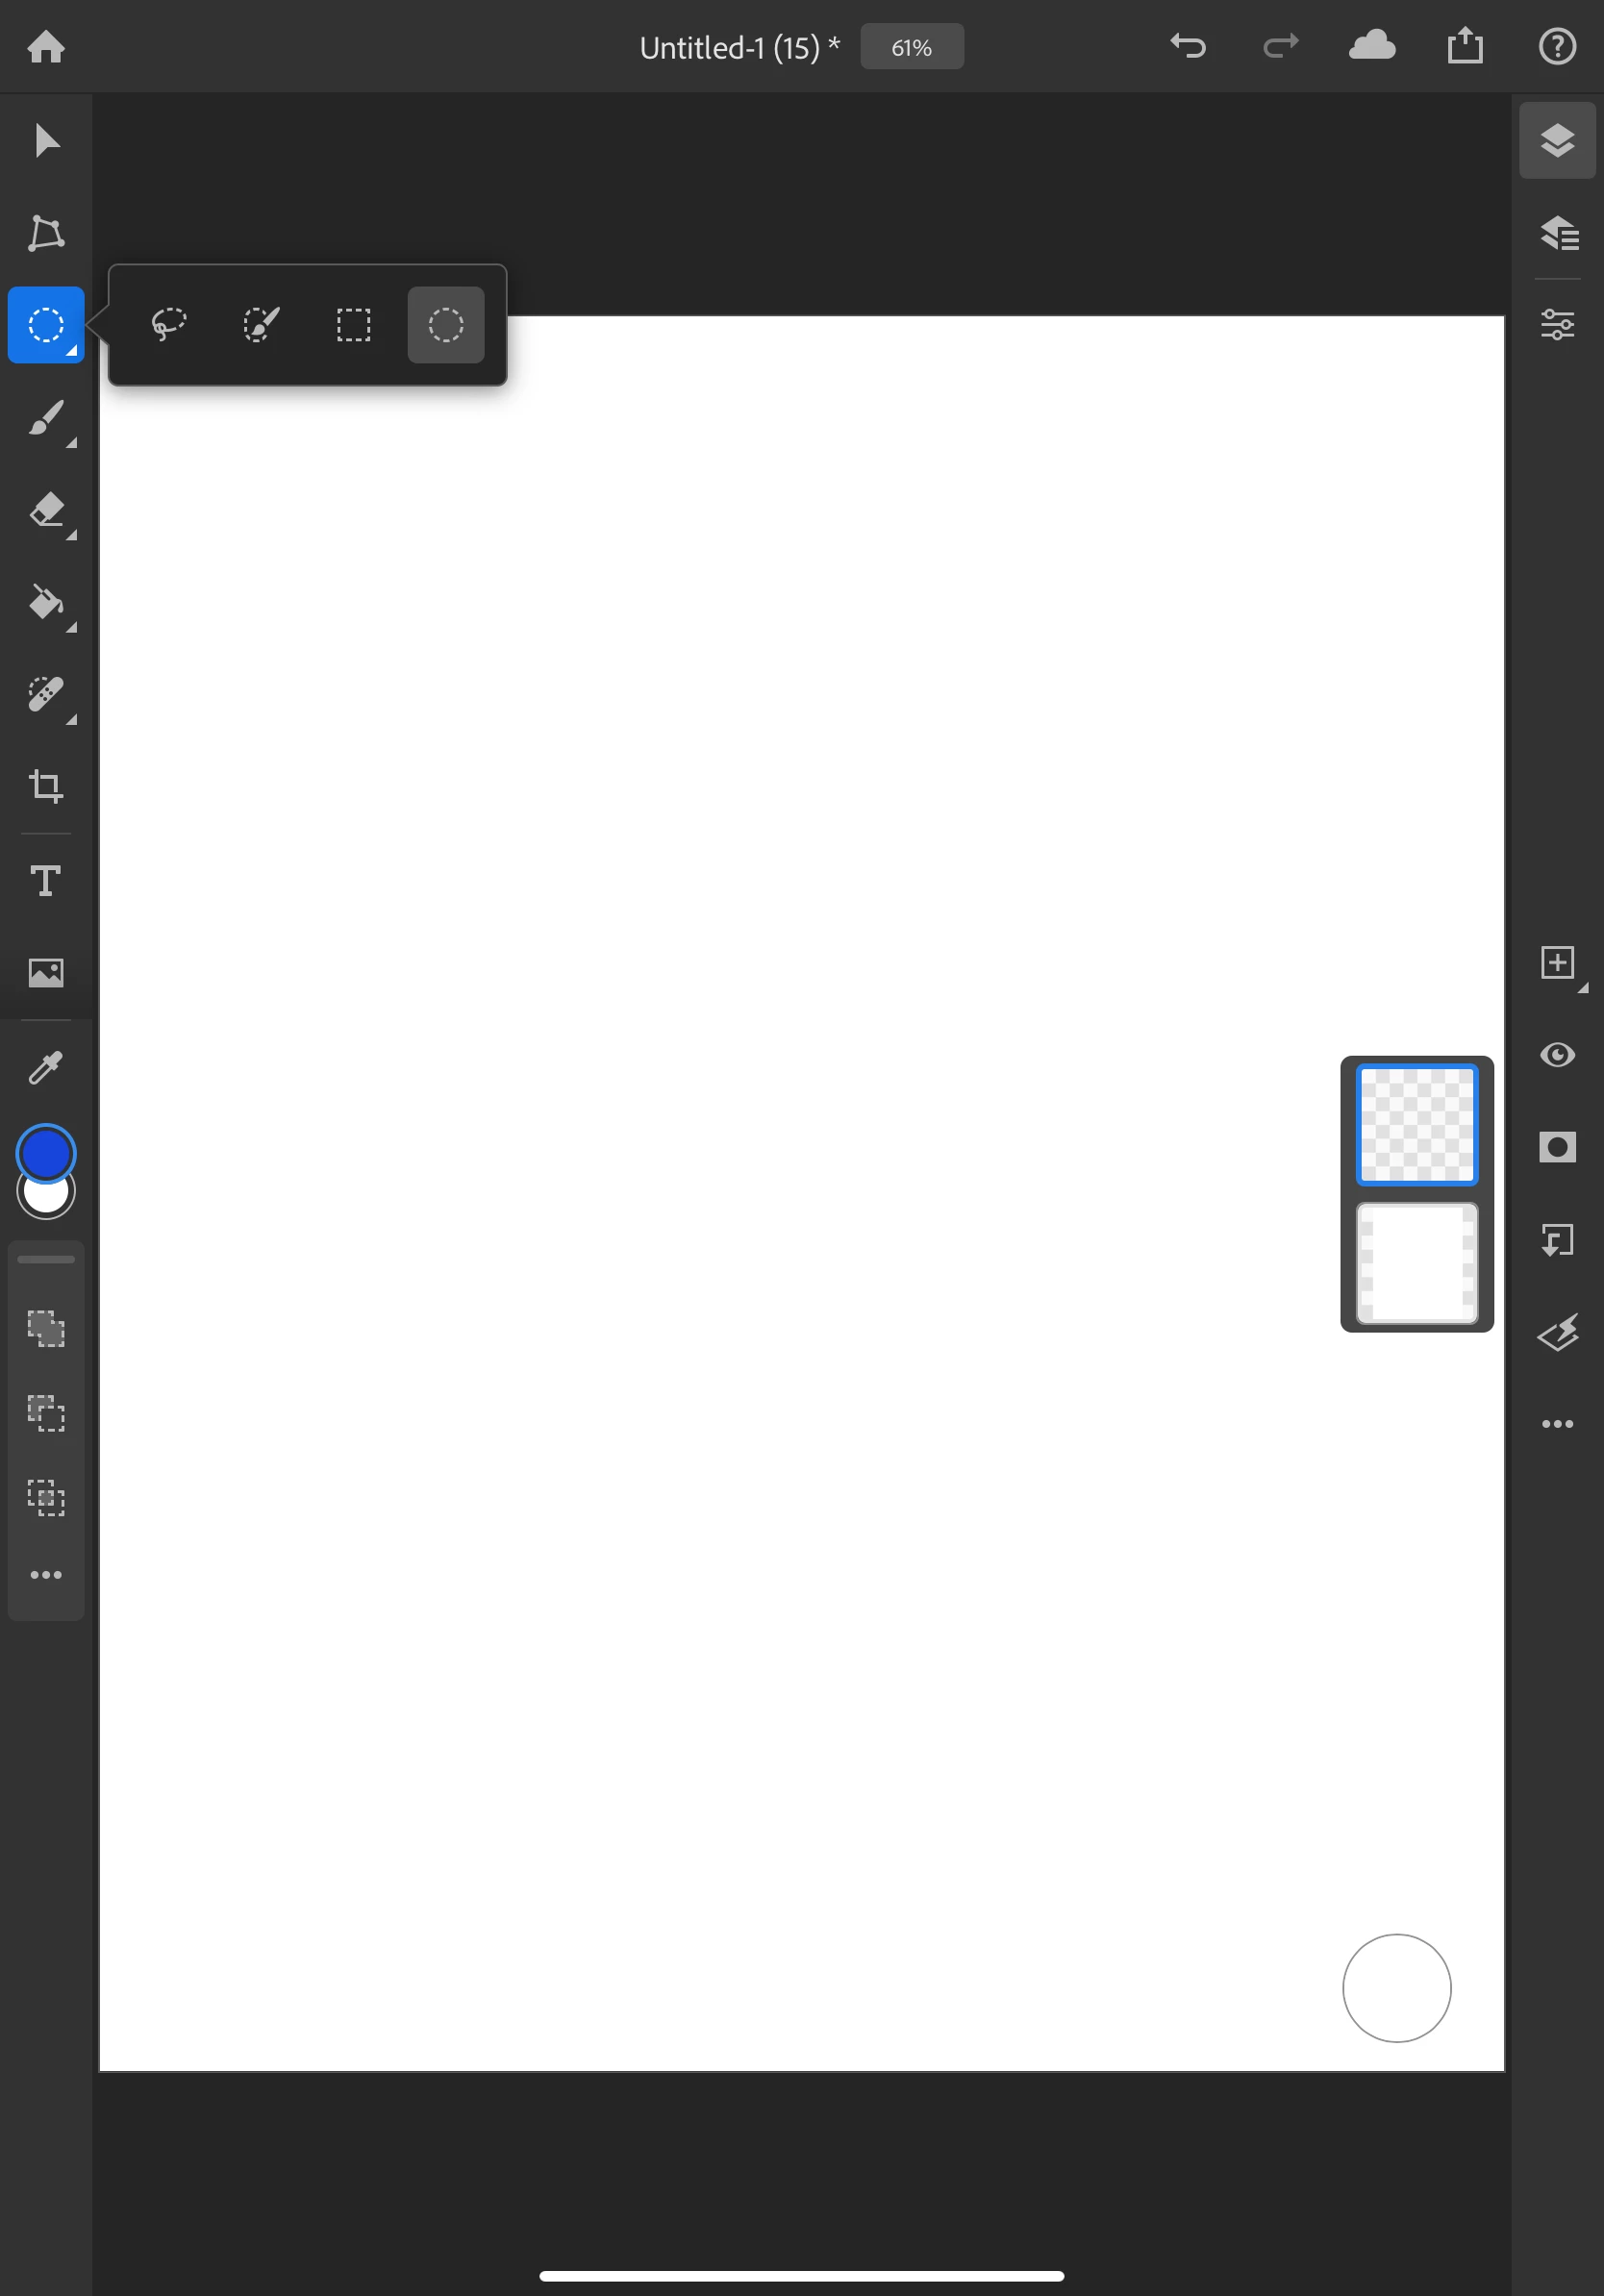
- Tap the rectangular marquee tool to select it.
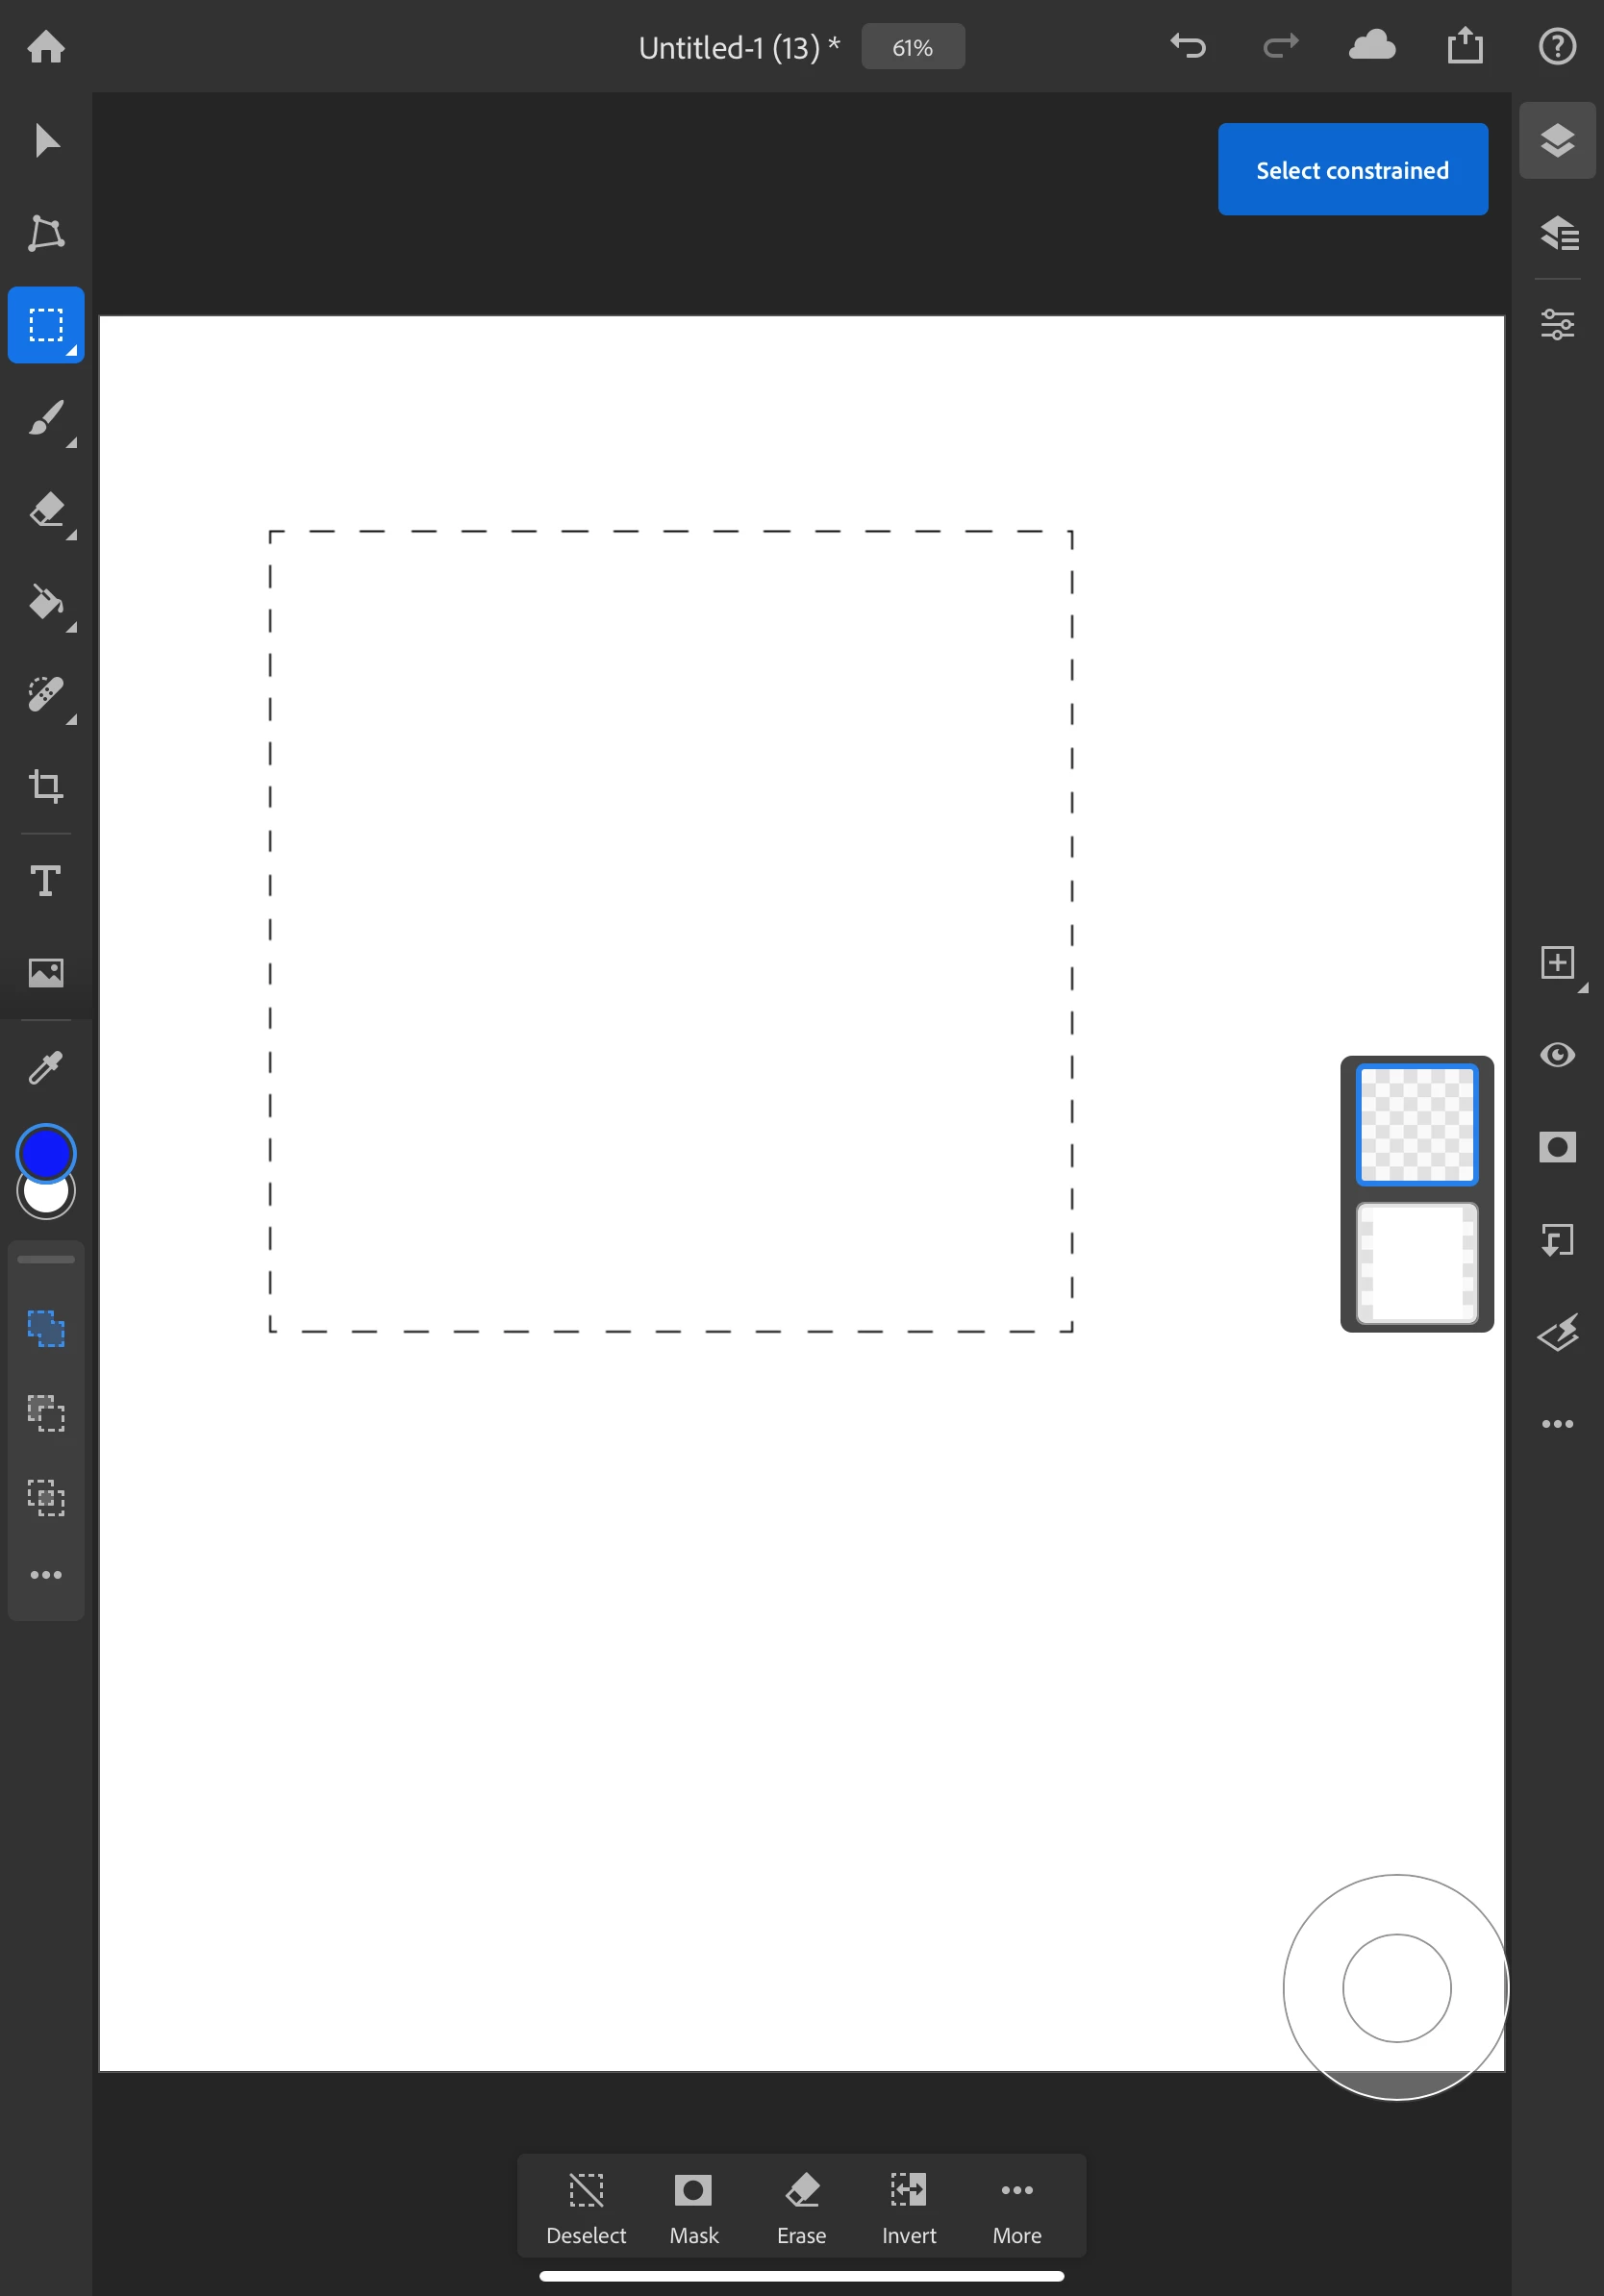
- Click and drag to create a rectangle.
(*TIP: holding a finger on the adjustment modifier will constrain your shape to a square)
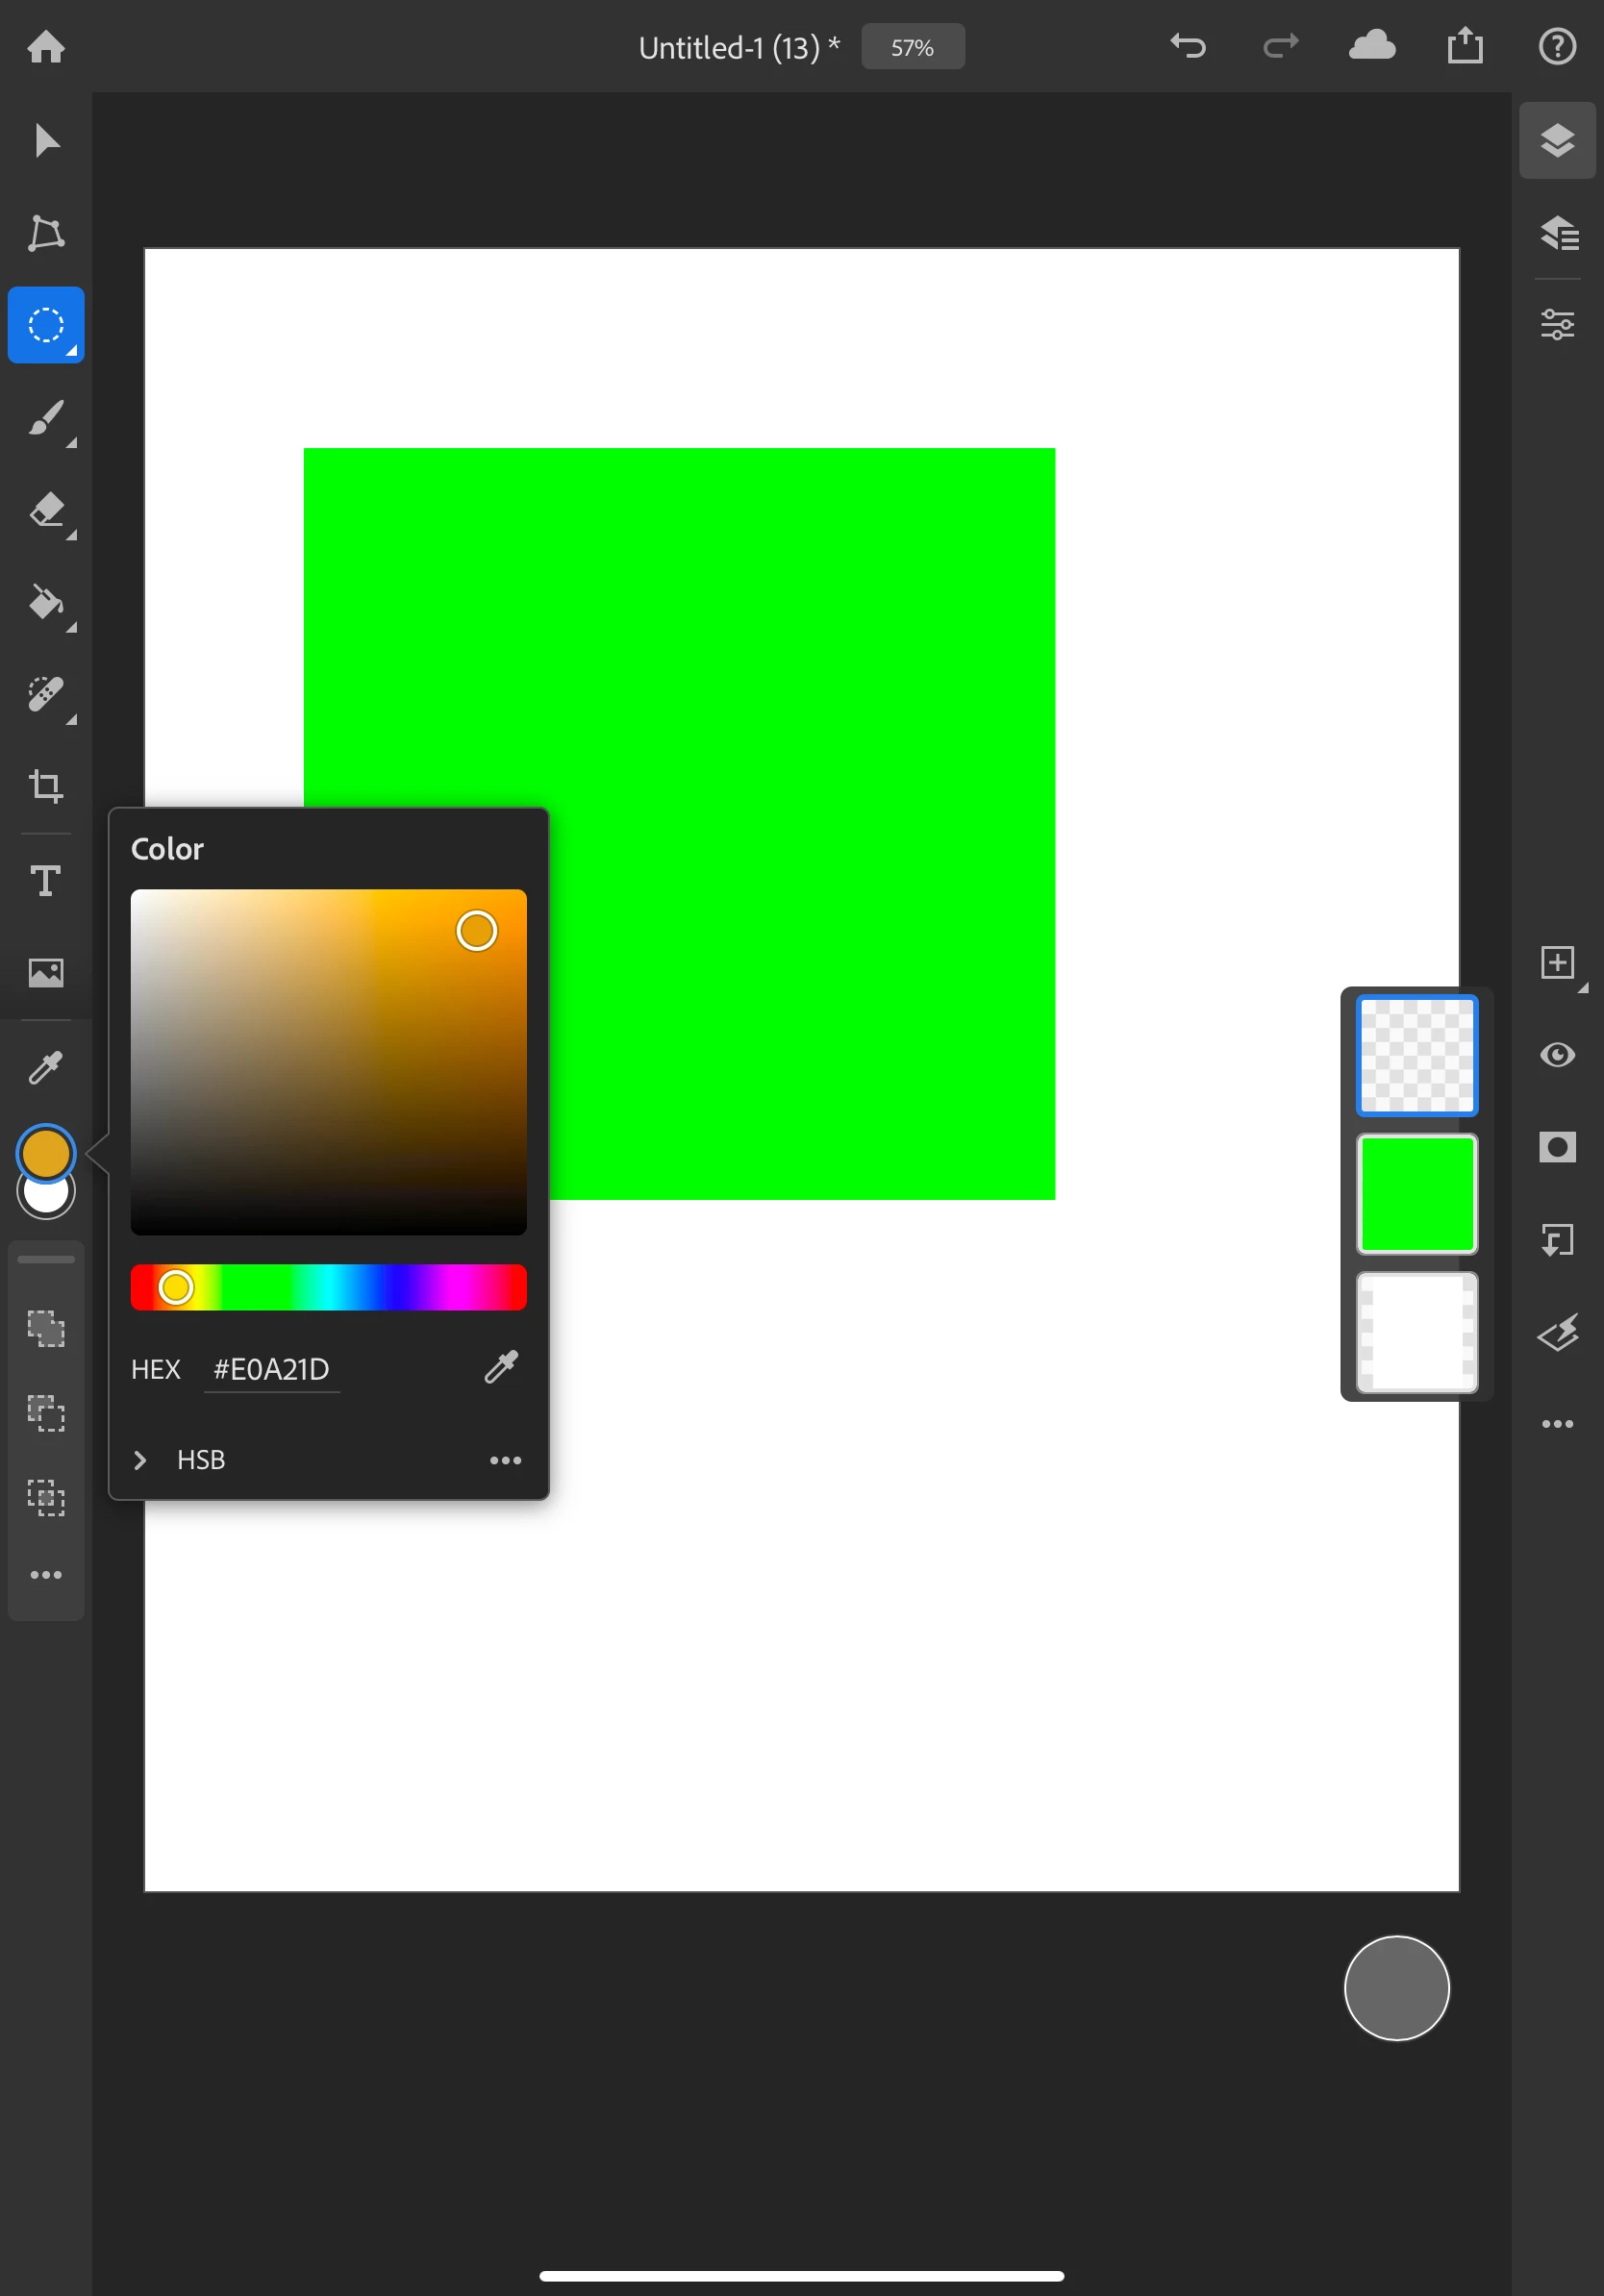
- Tap on the color chip on the toolbar and select a color.
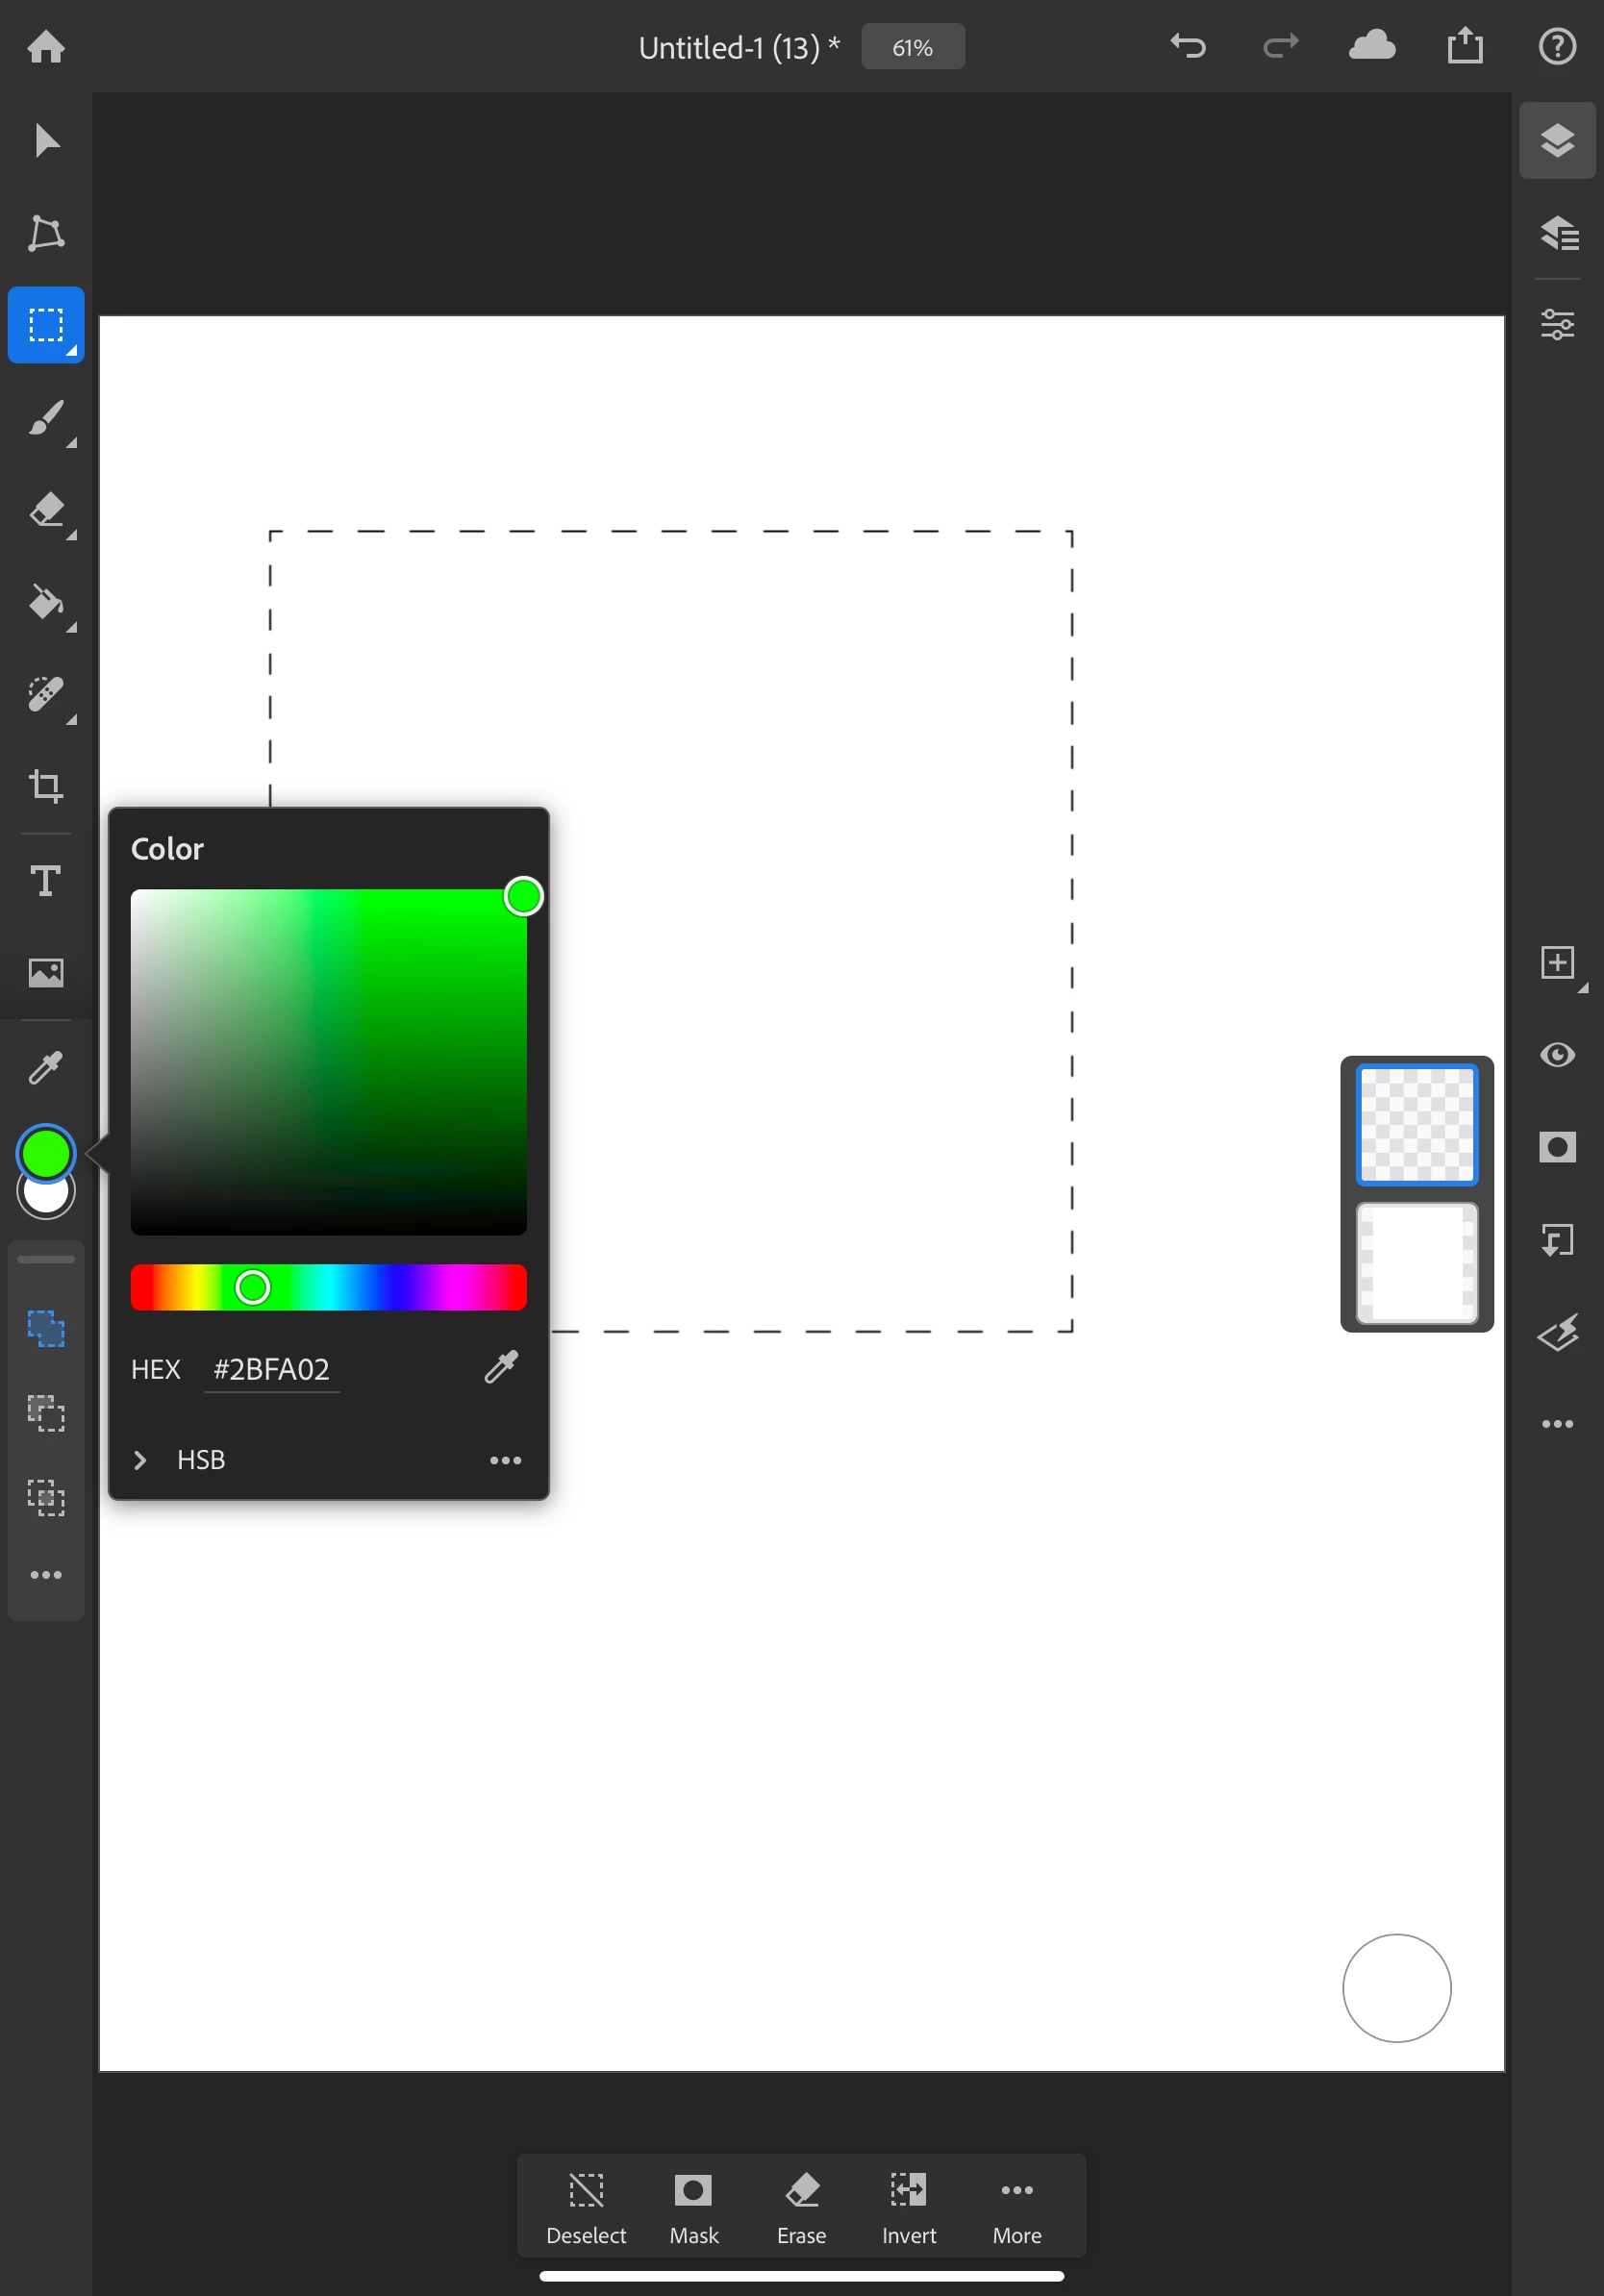
- Tap on the fill bucket on the toolbar
- Now, tap inside your selected shape to fill it with color.
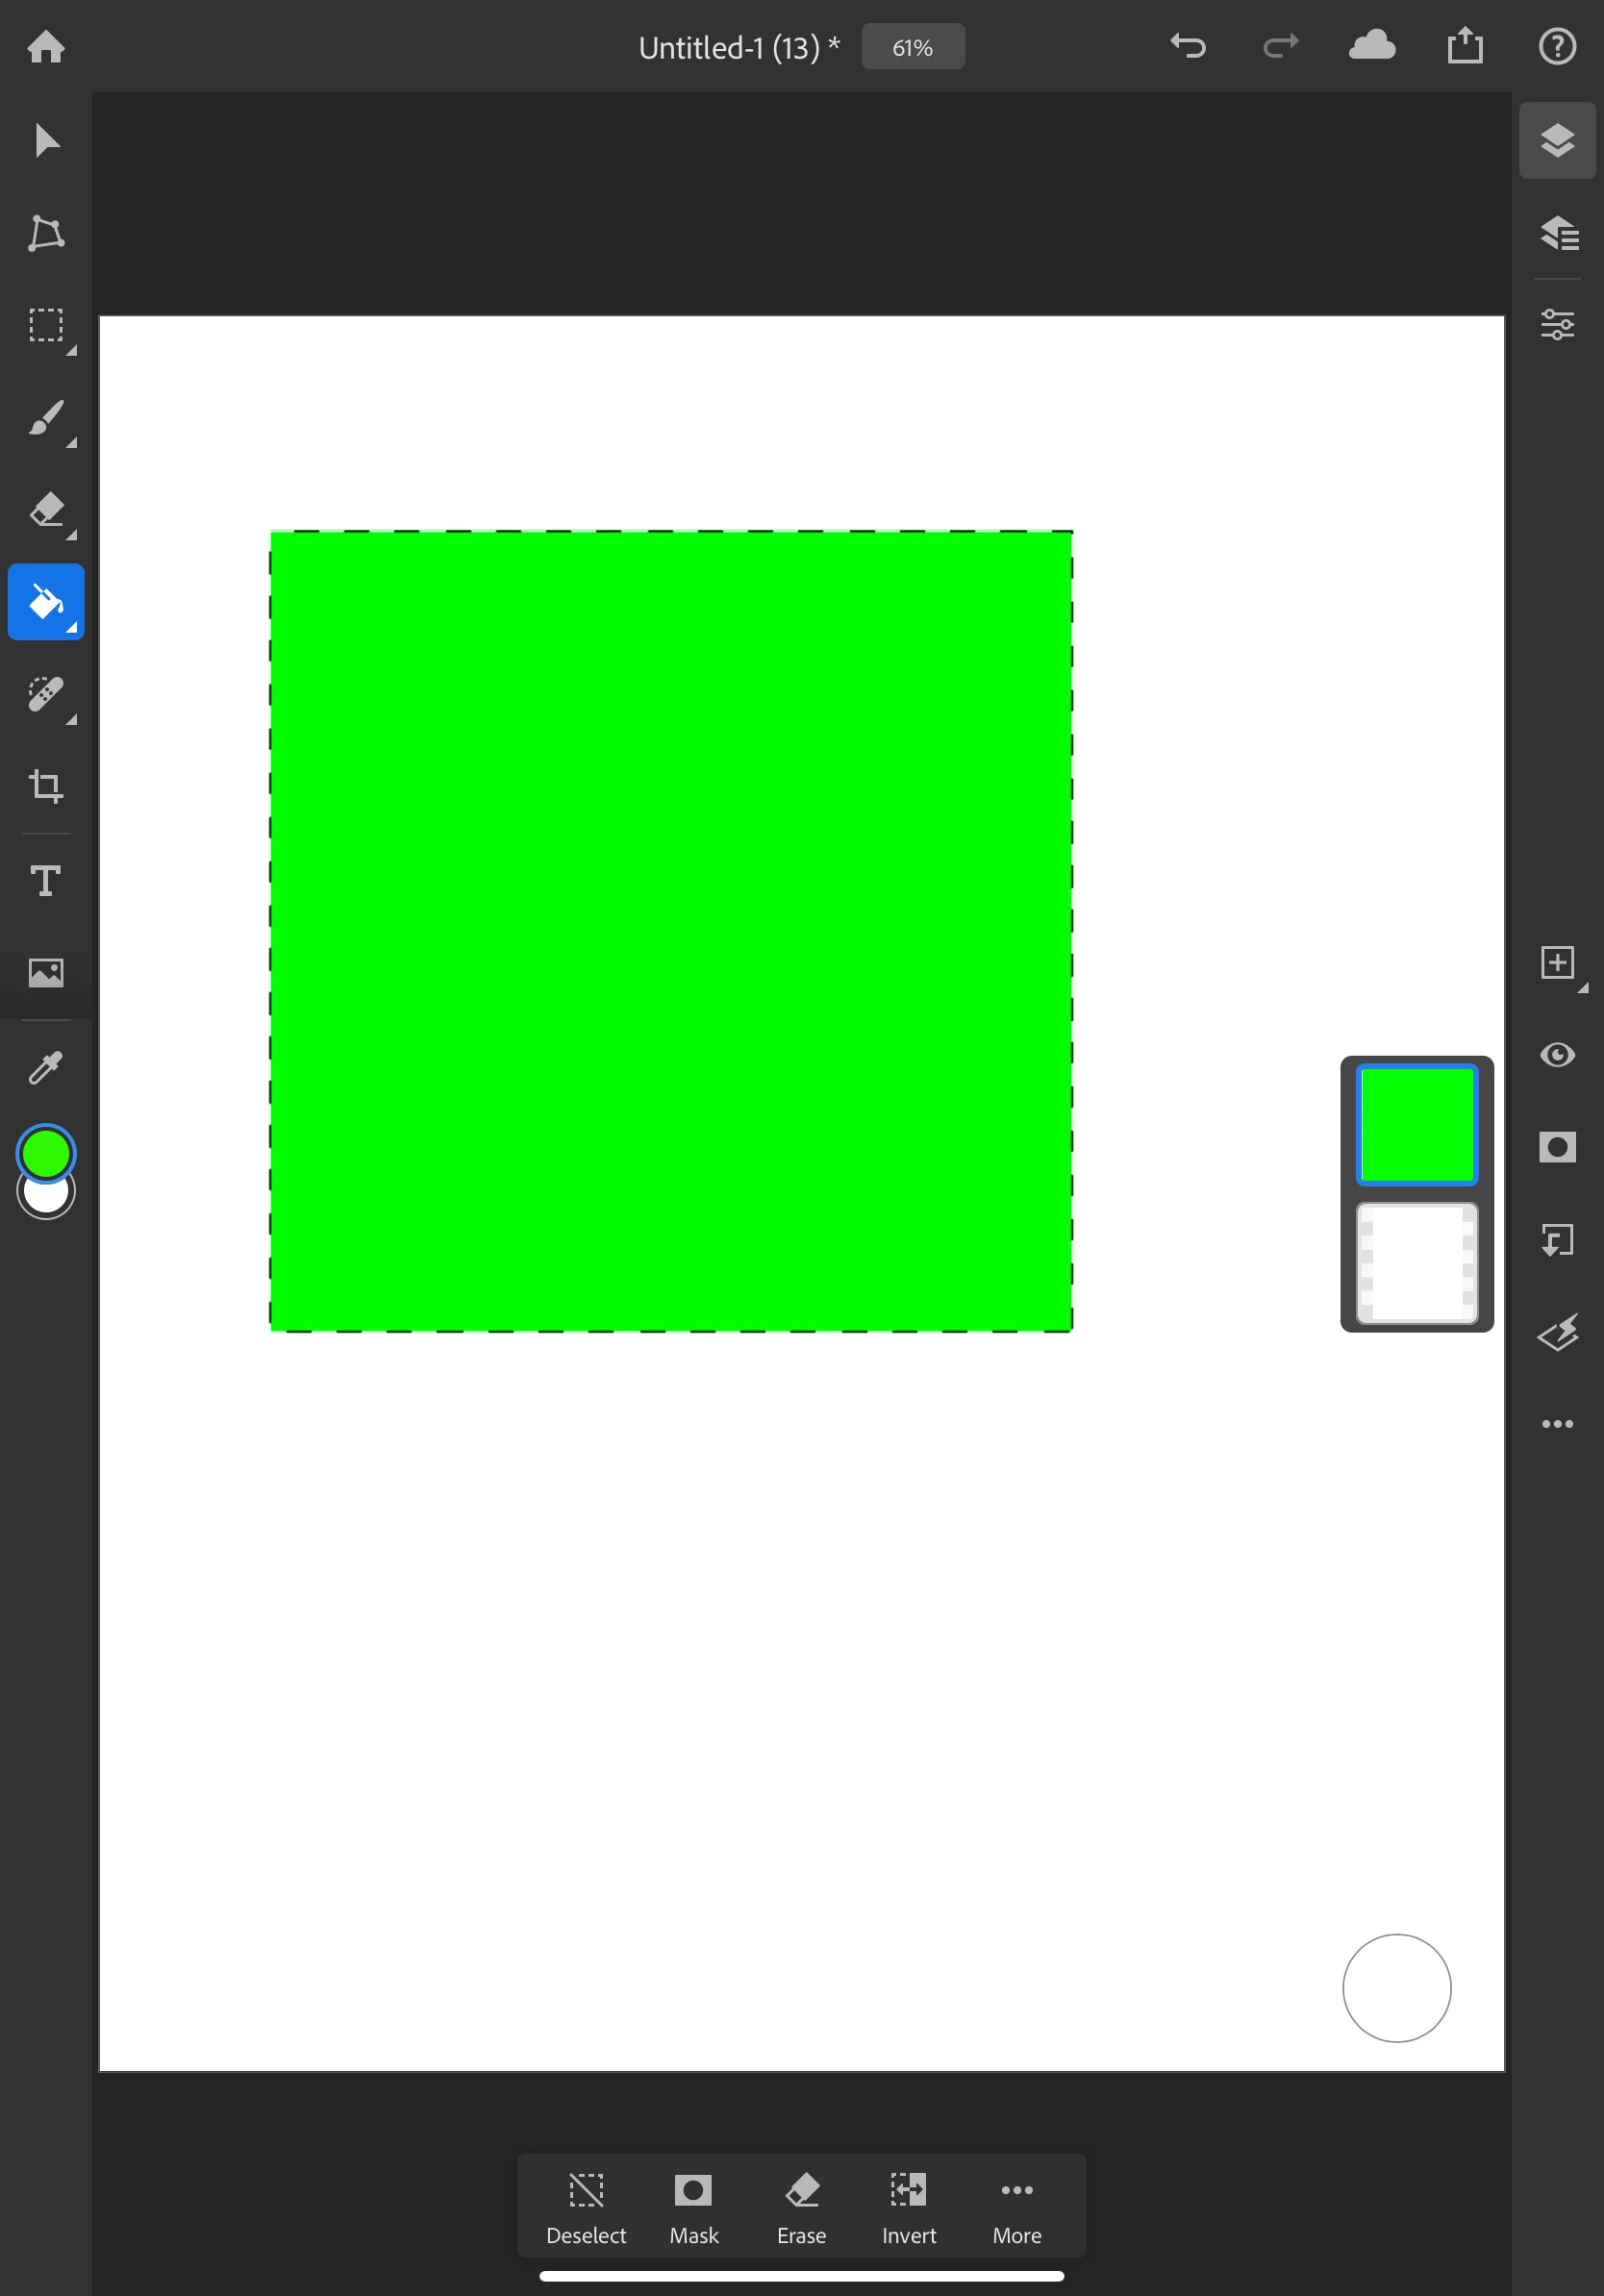
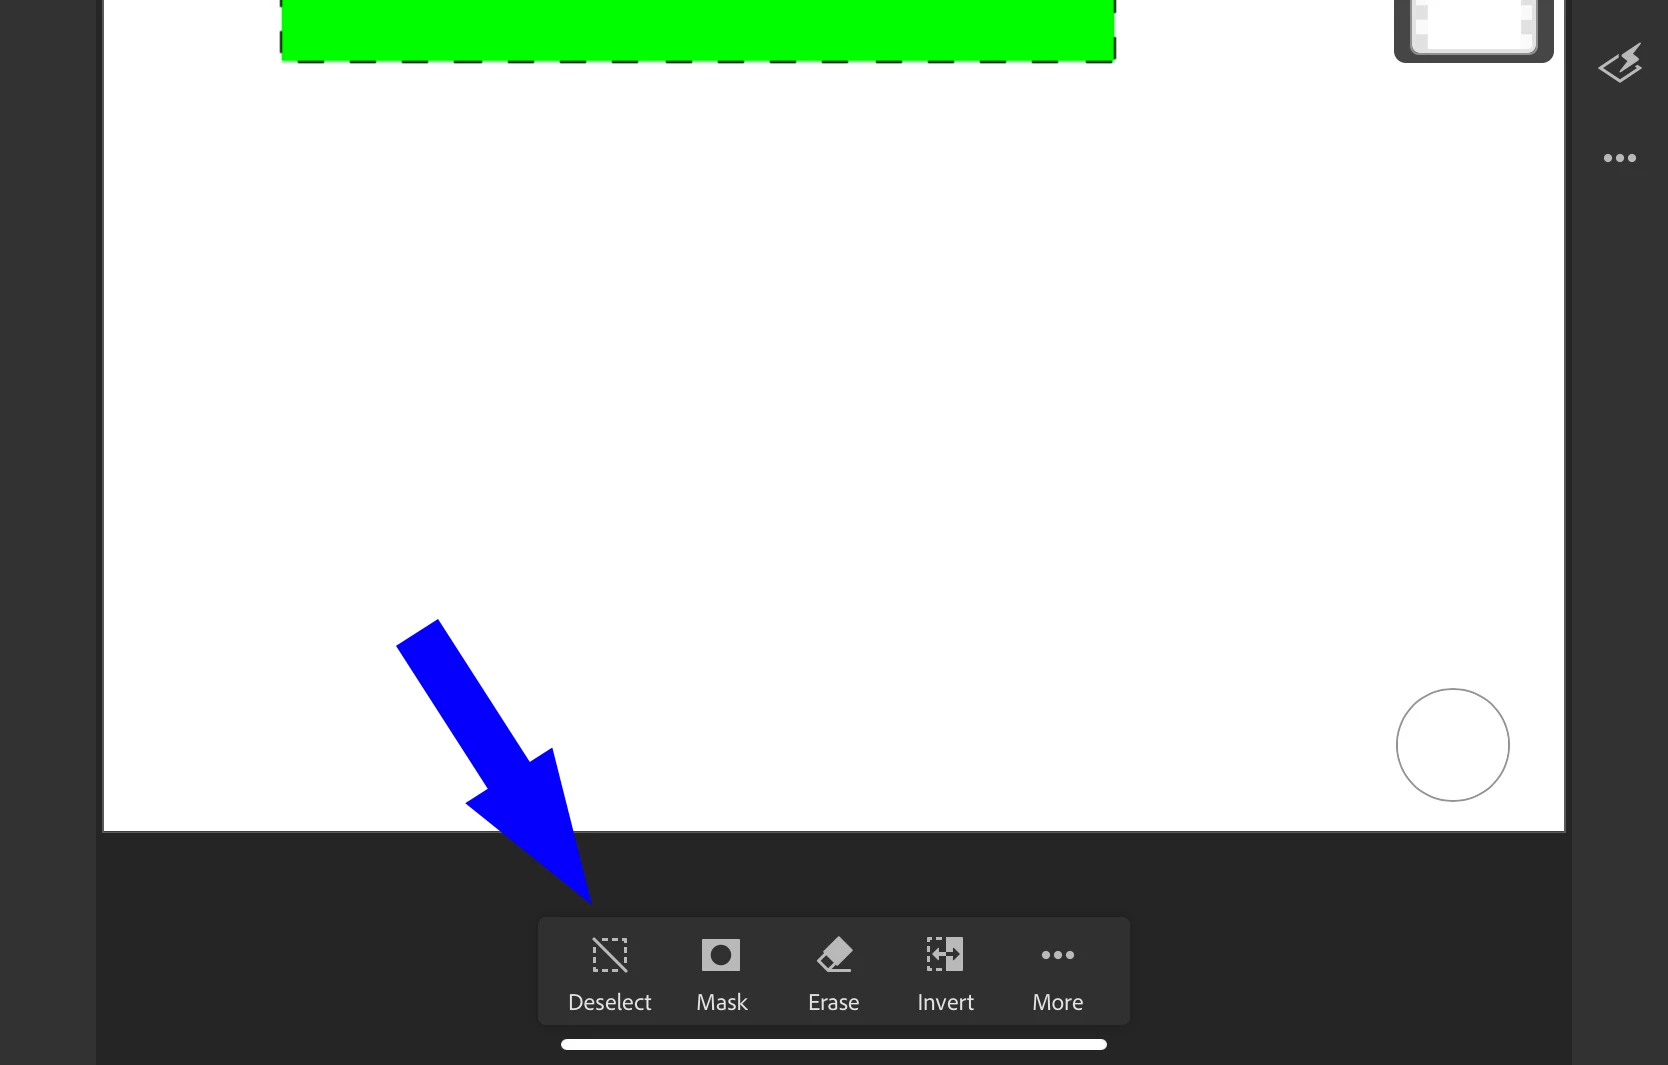
- Tap deselect on the active selection properties bar at the bottom of the workspace to deselect the selection.
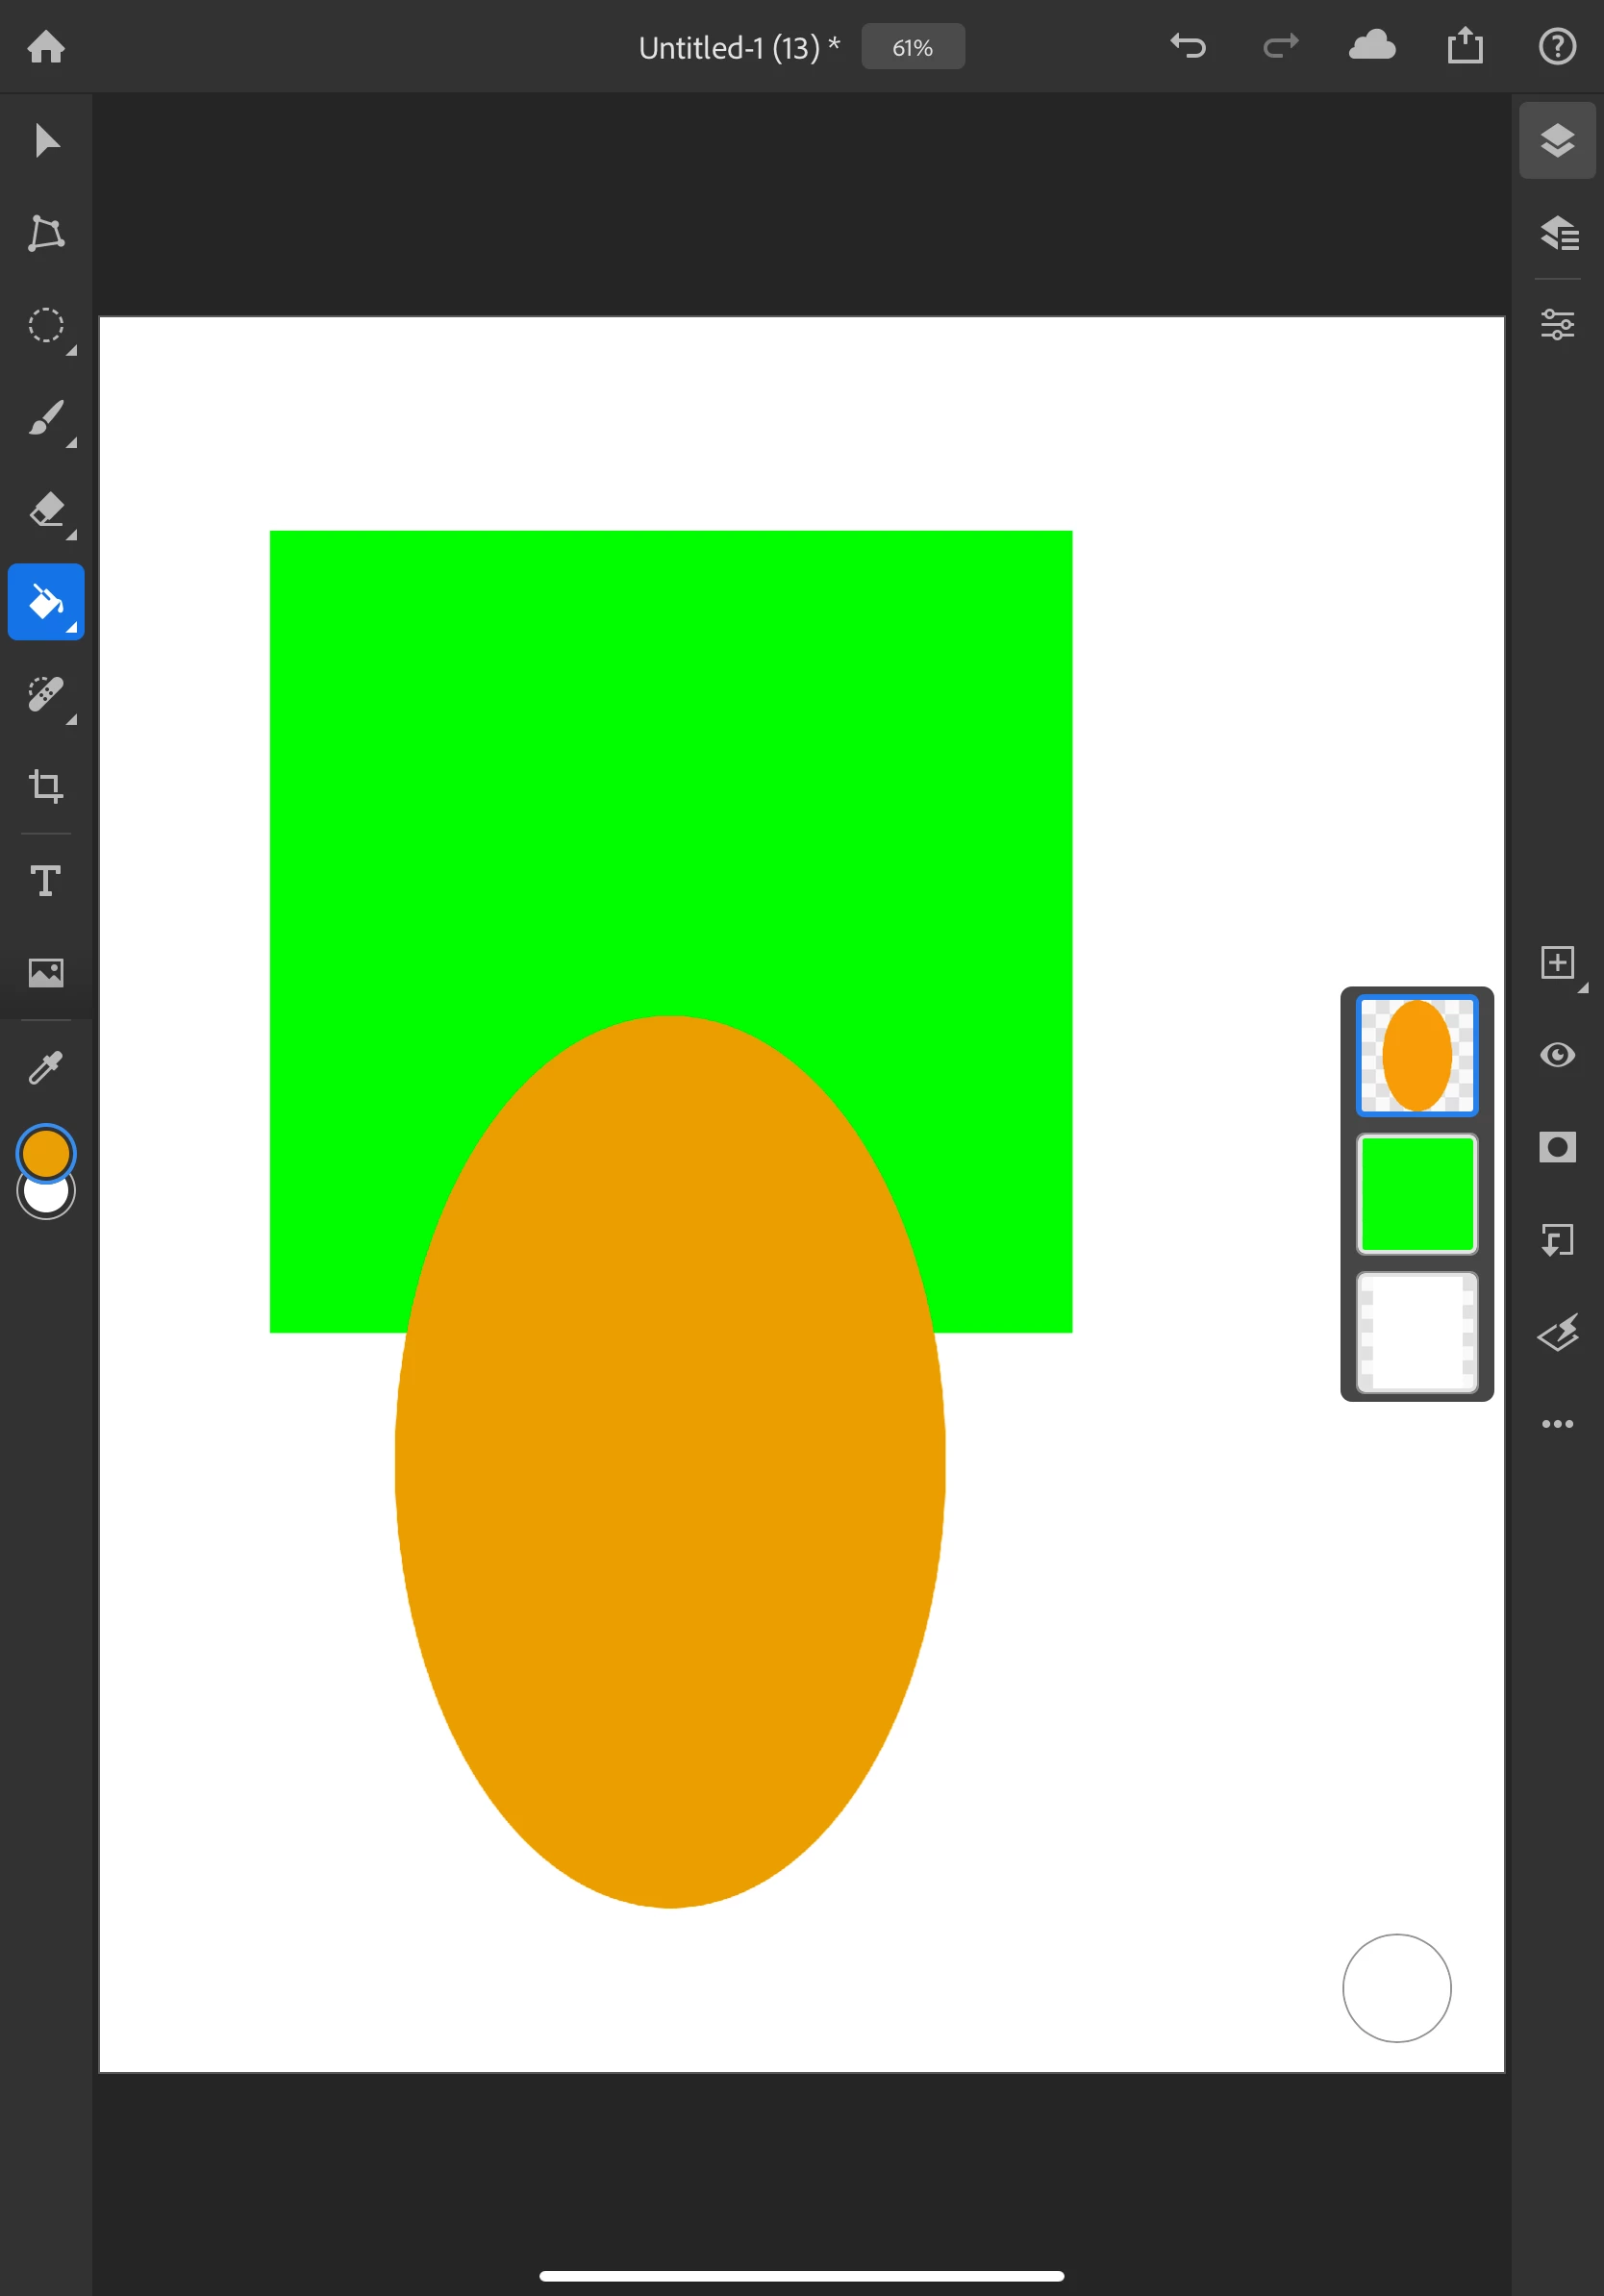
- Your workspace shold now look like this:
- Tap + on the taskbar on the right to create a another new layer.

- Tap on the color chip on the toolbar and select a different color.
- Touch and hold the select tool in the toolbar on the left and tap the elliptical marquee tool to select it.
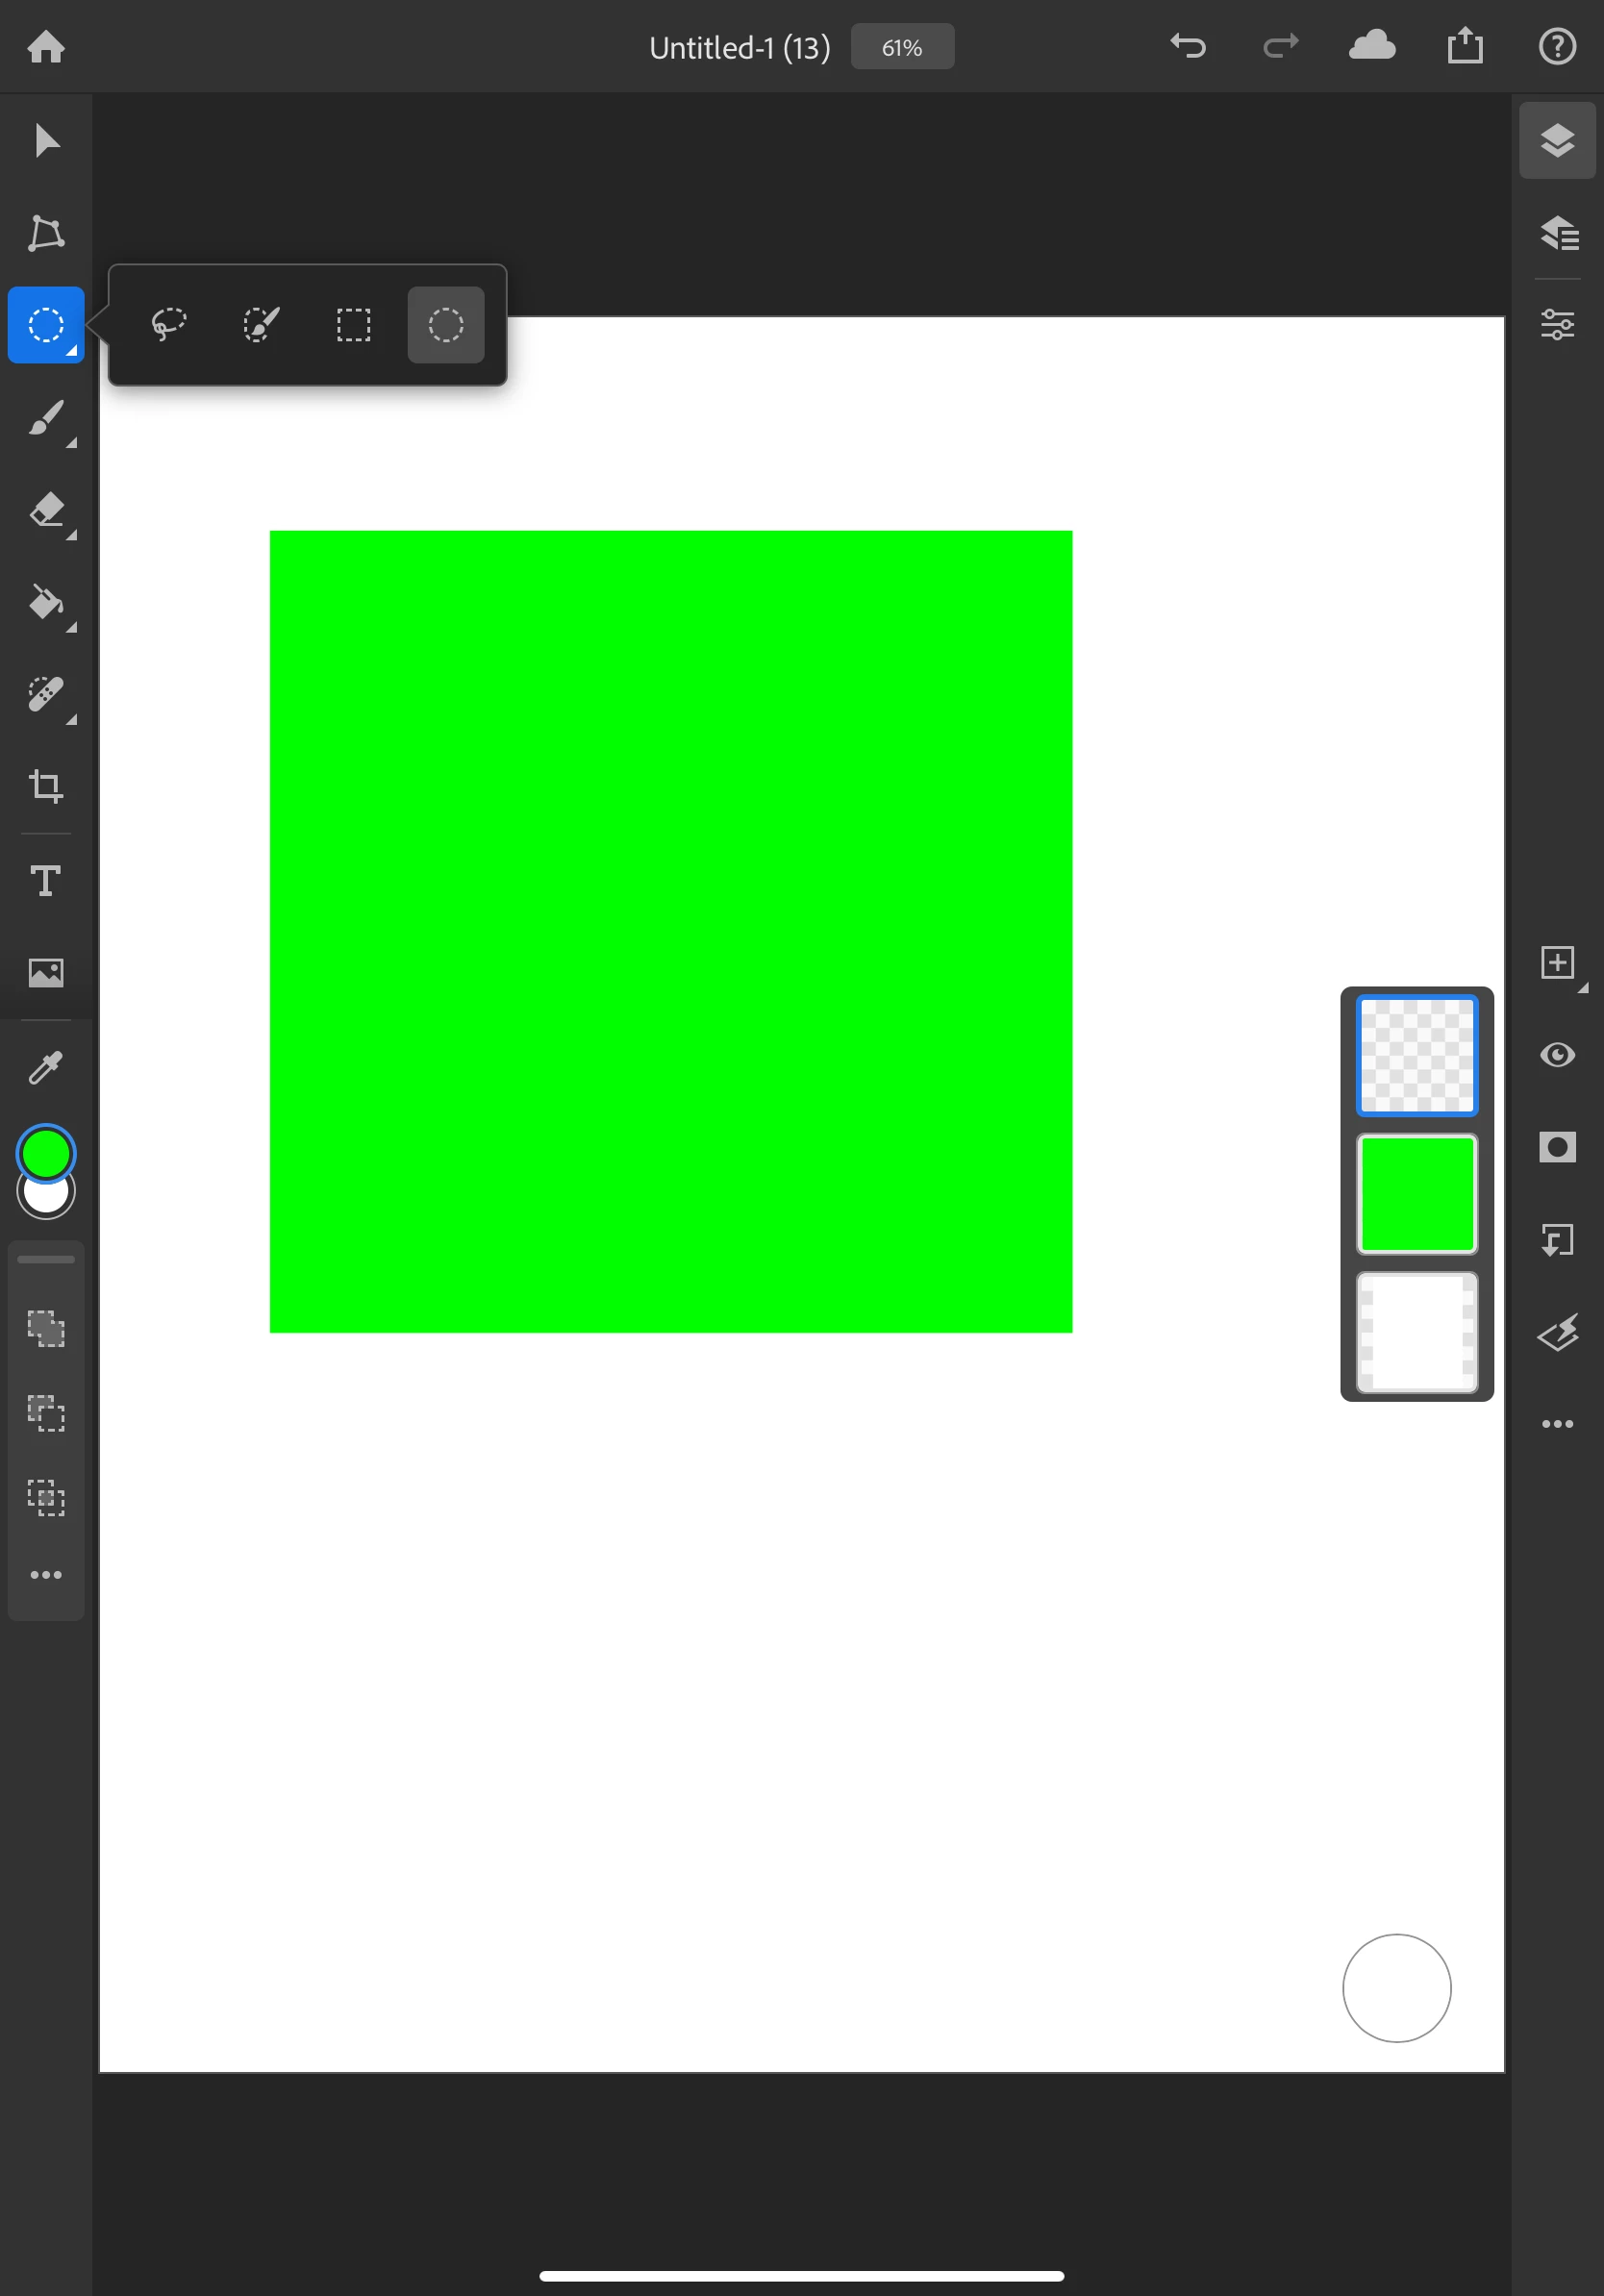
- Click and drag to create an ellipse.
(*TIP: holding a finger on the adjustment modifier will constrain your shape to a circle)
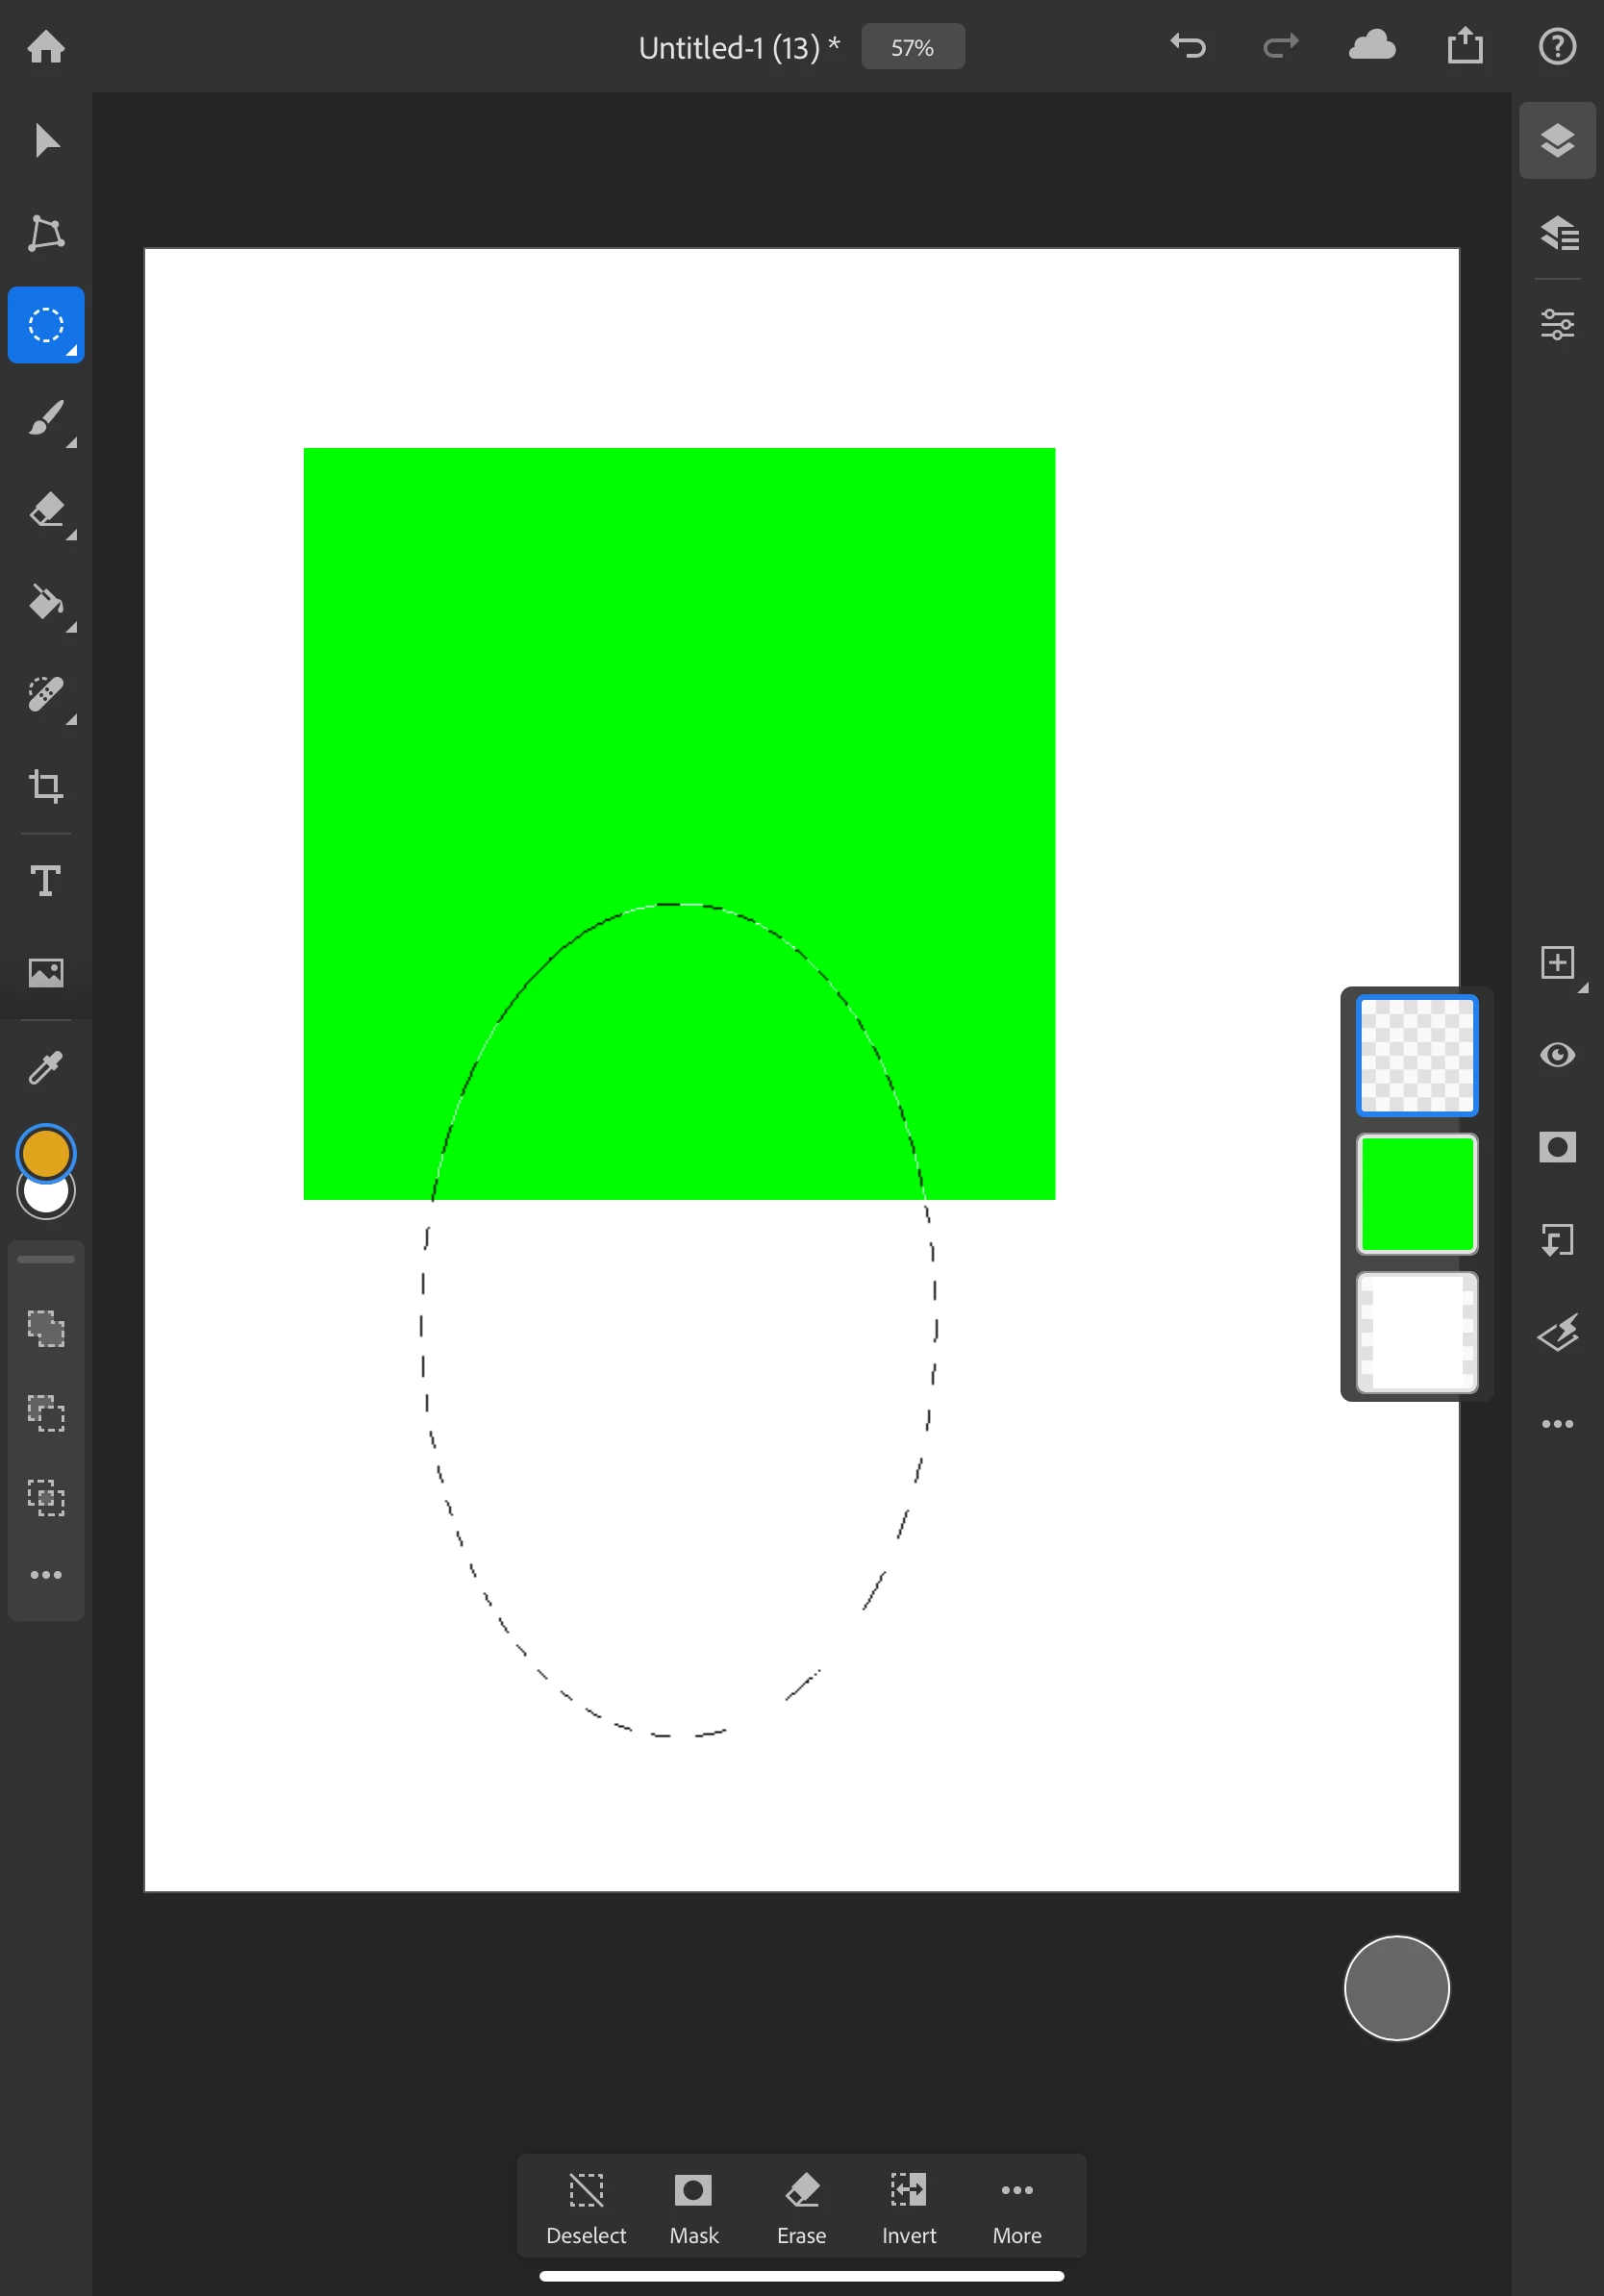
- Tap on the fill bucket on the toolbar and tap inside your selected shape to fill it with color, just as we did with the green square in the previous layer.
- Tap deselect on the active selection properties bar at the bottom of the workspace.
- Now you have two shapes on two different layers.
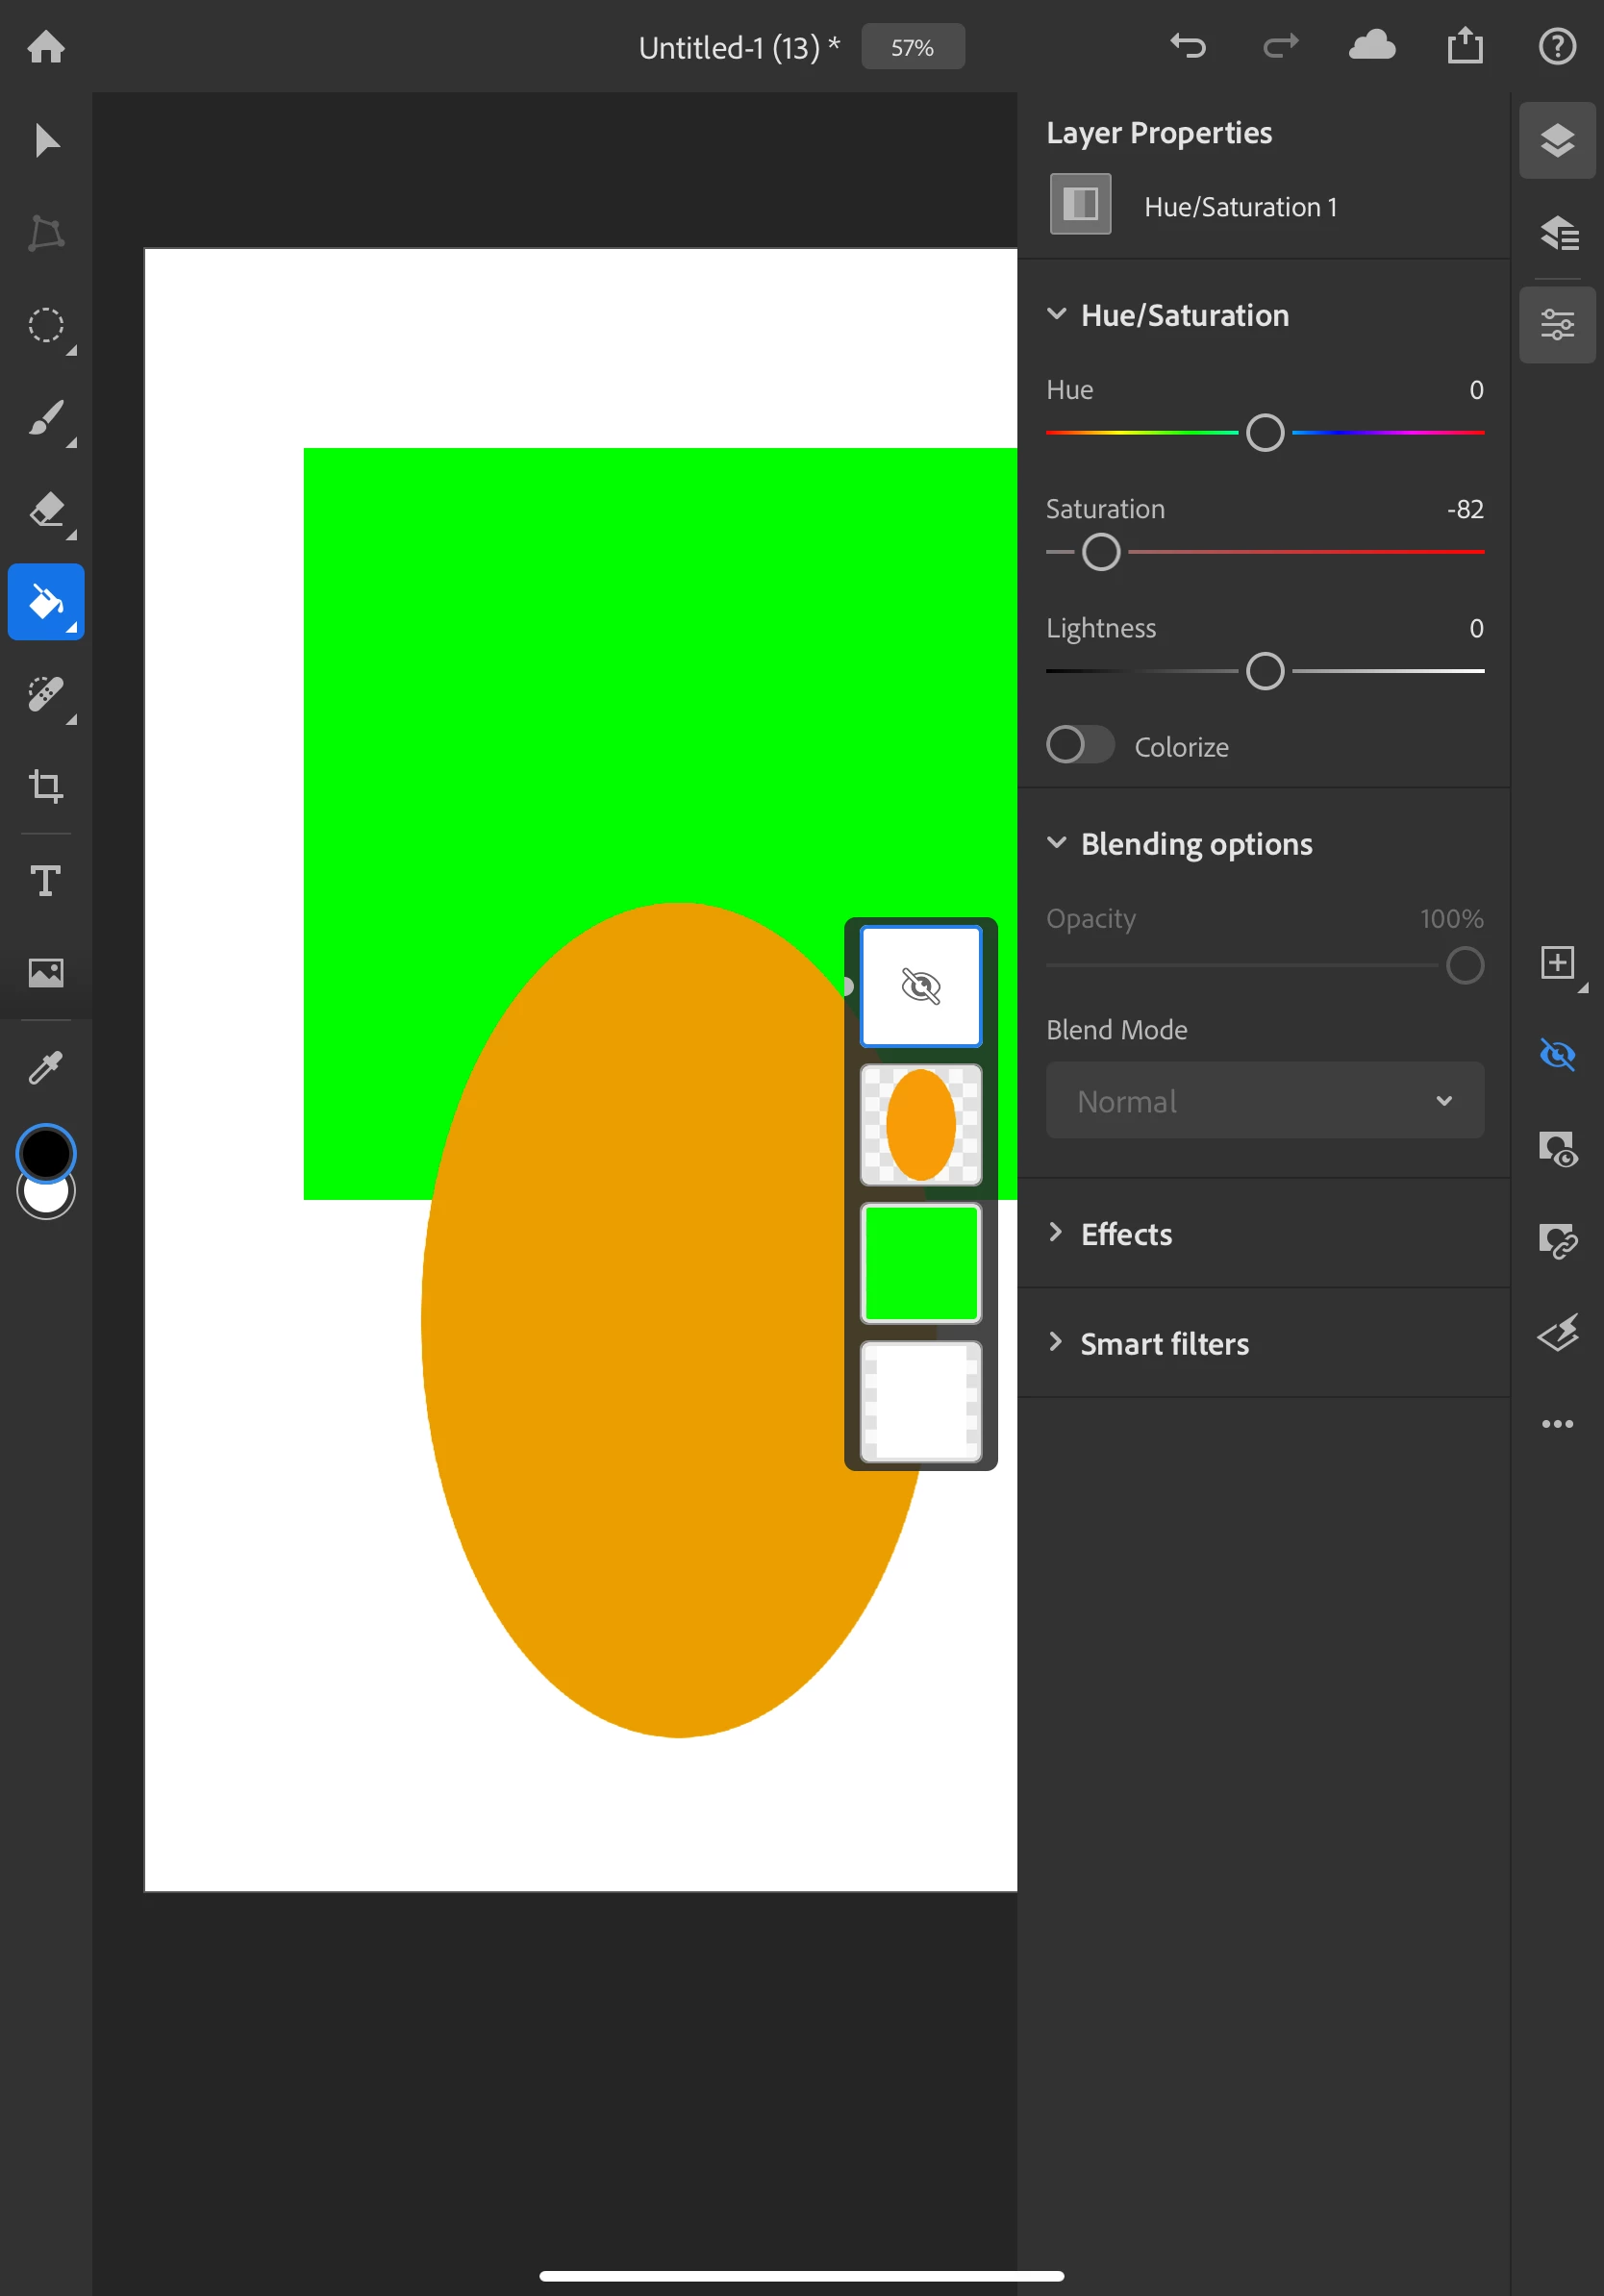
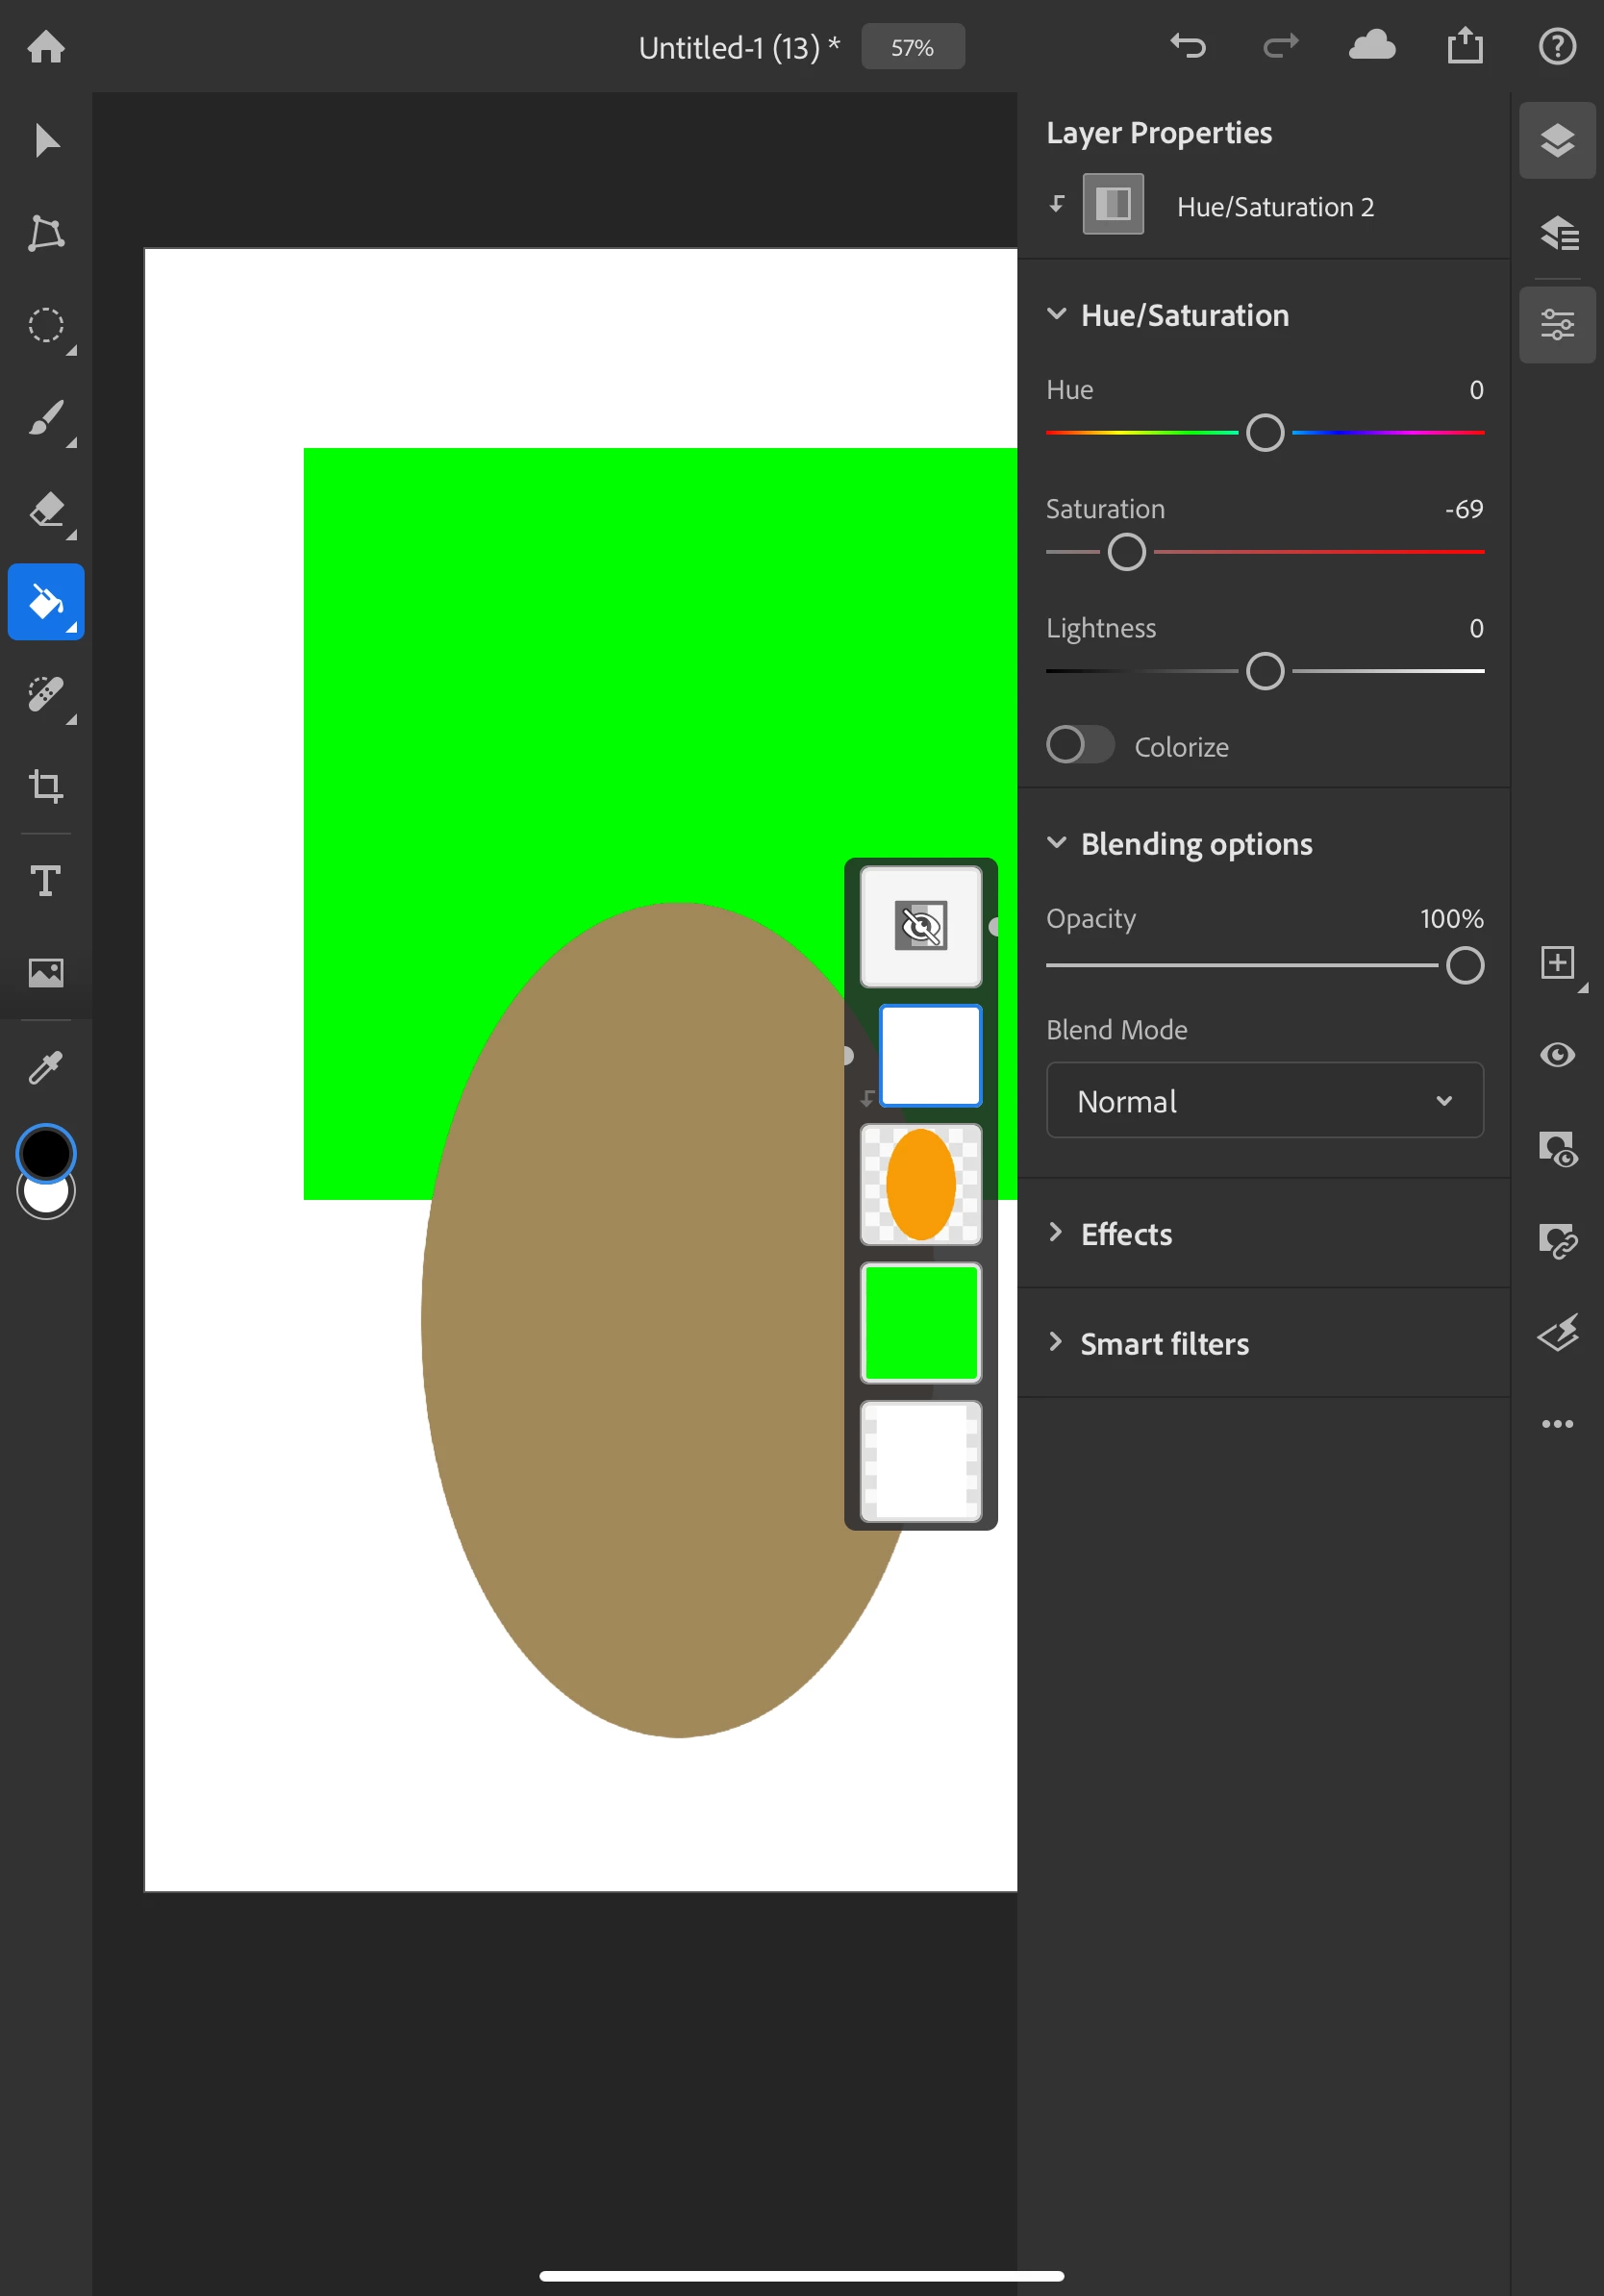
➌ Add a global adjustment layer
- Long press the + on the taskbar on the right until you see the flyout with options.
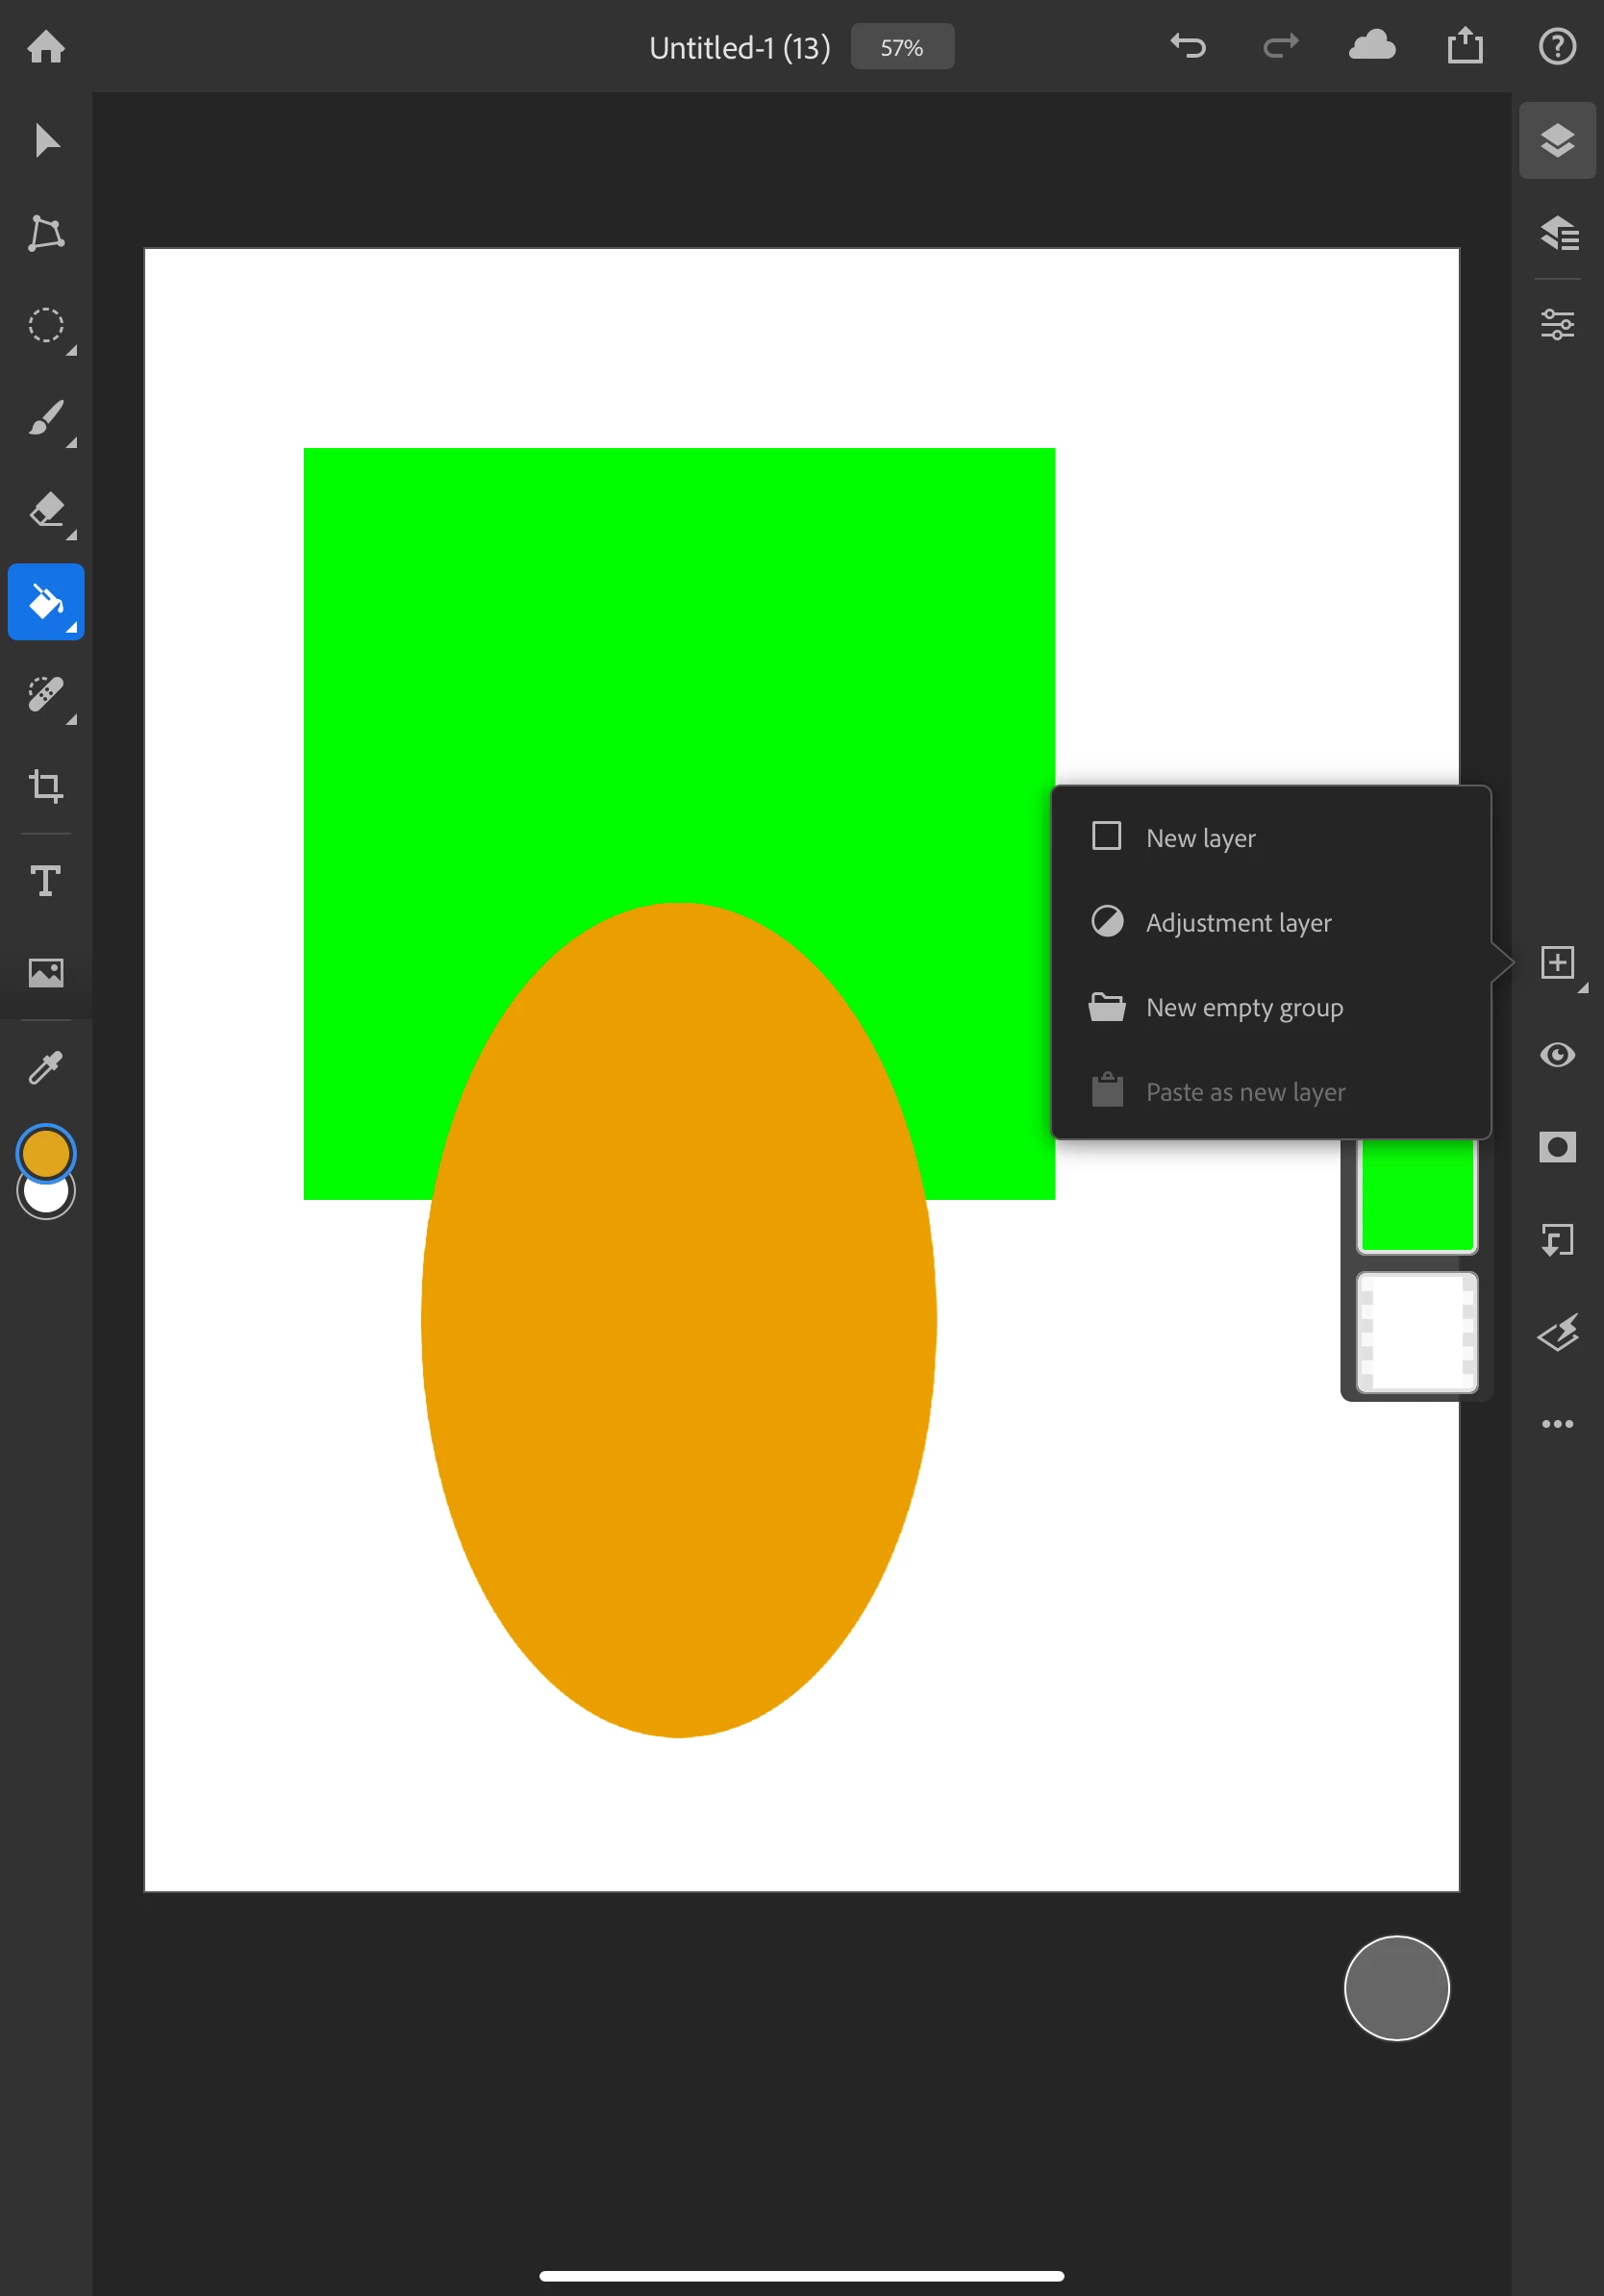
- Select adjustment layer
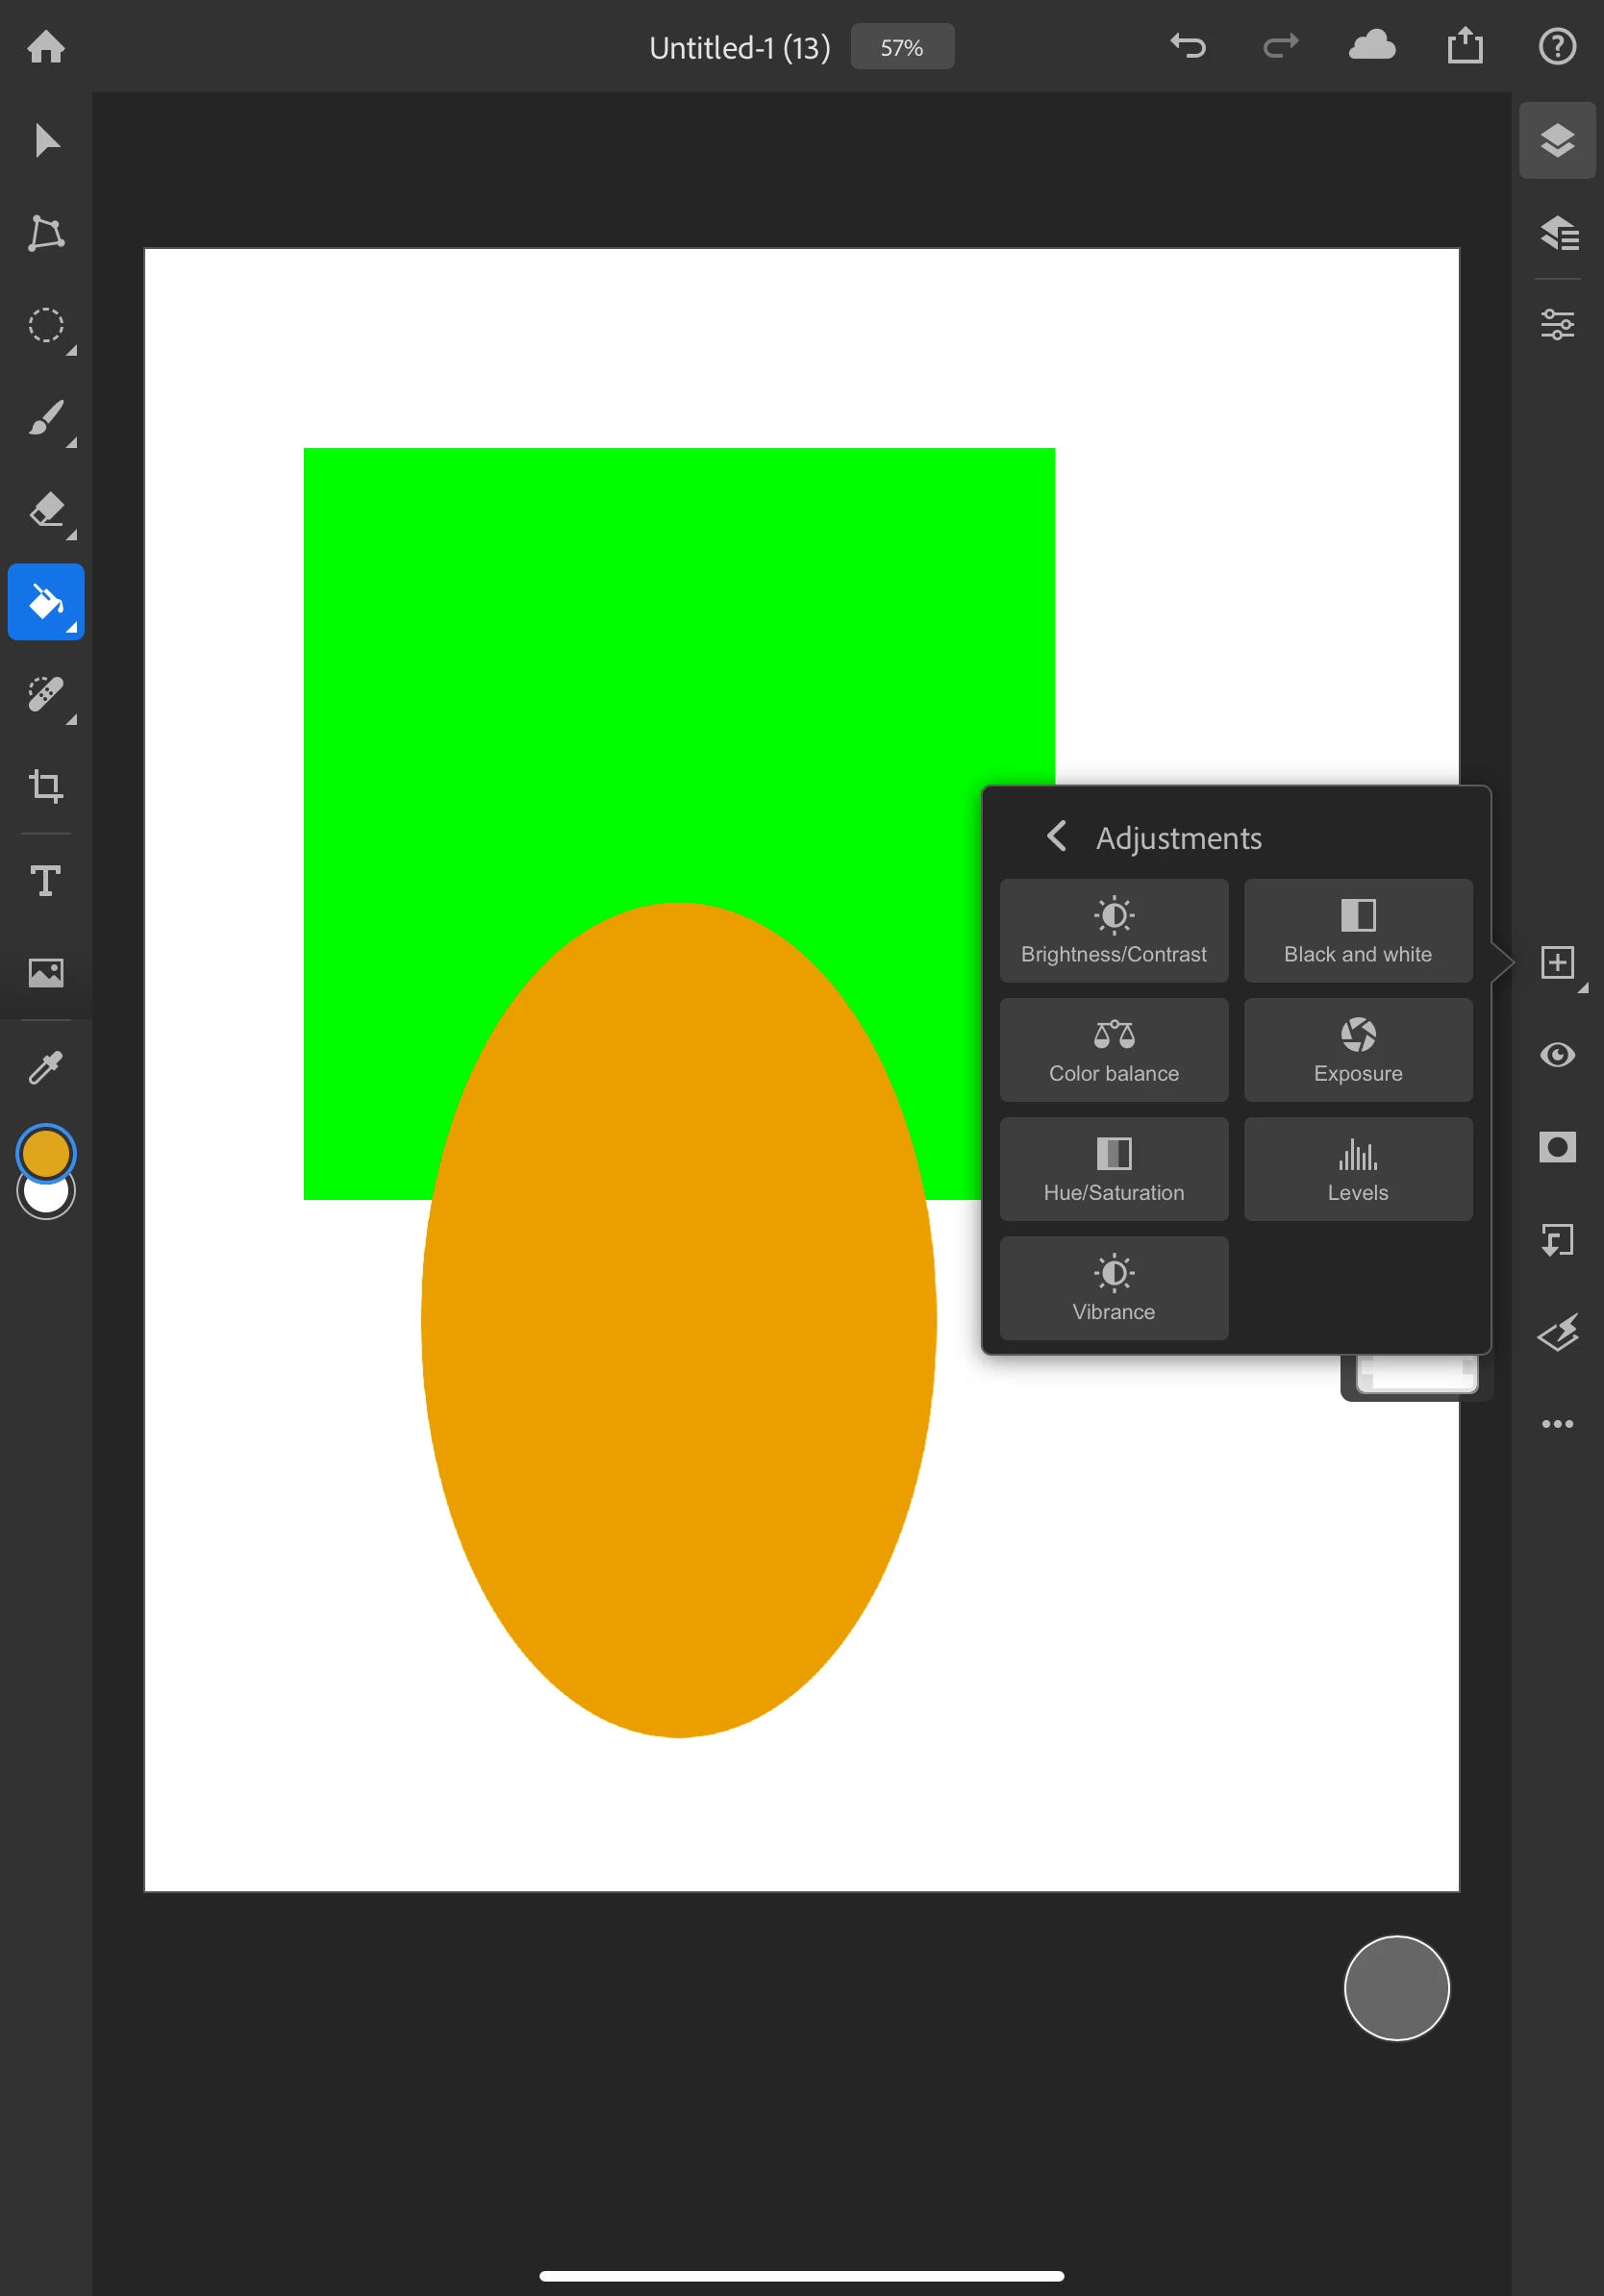
- Tap on Hue/Saturation to create a global Hue/Saturation Adjustment layer.

- Slide the Saturation slider to the left to desaturate the layers. Sliding all the way to the left will remove all color.
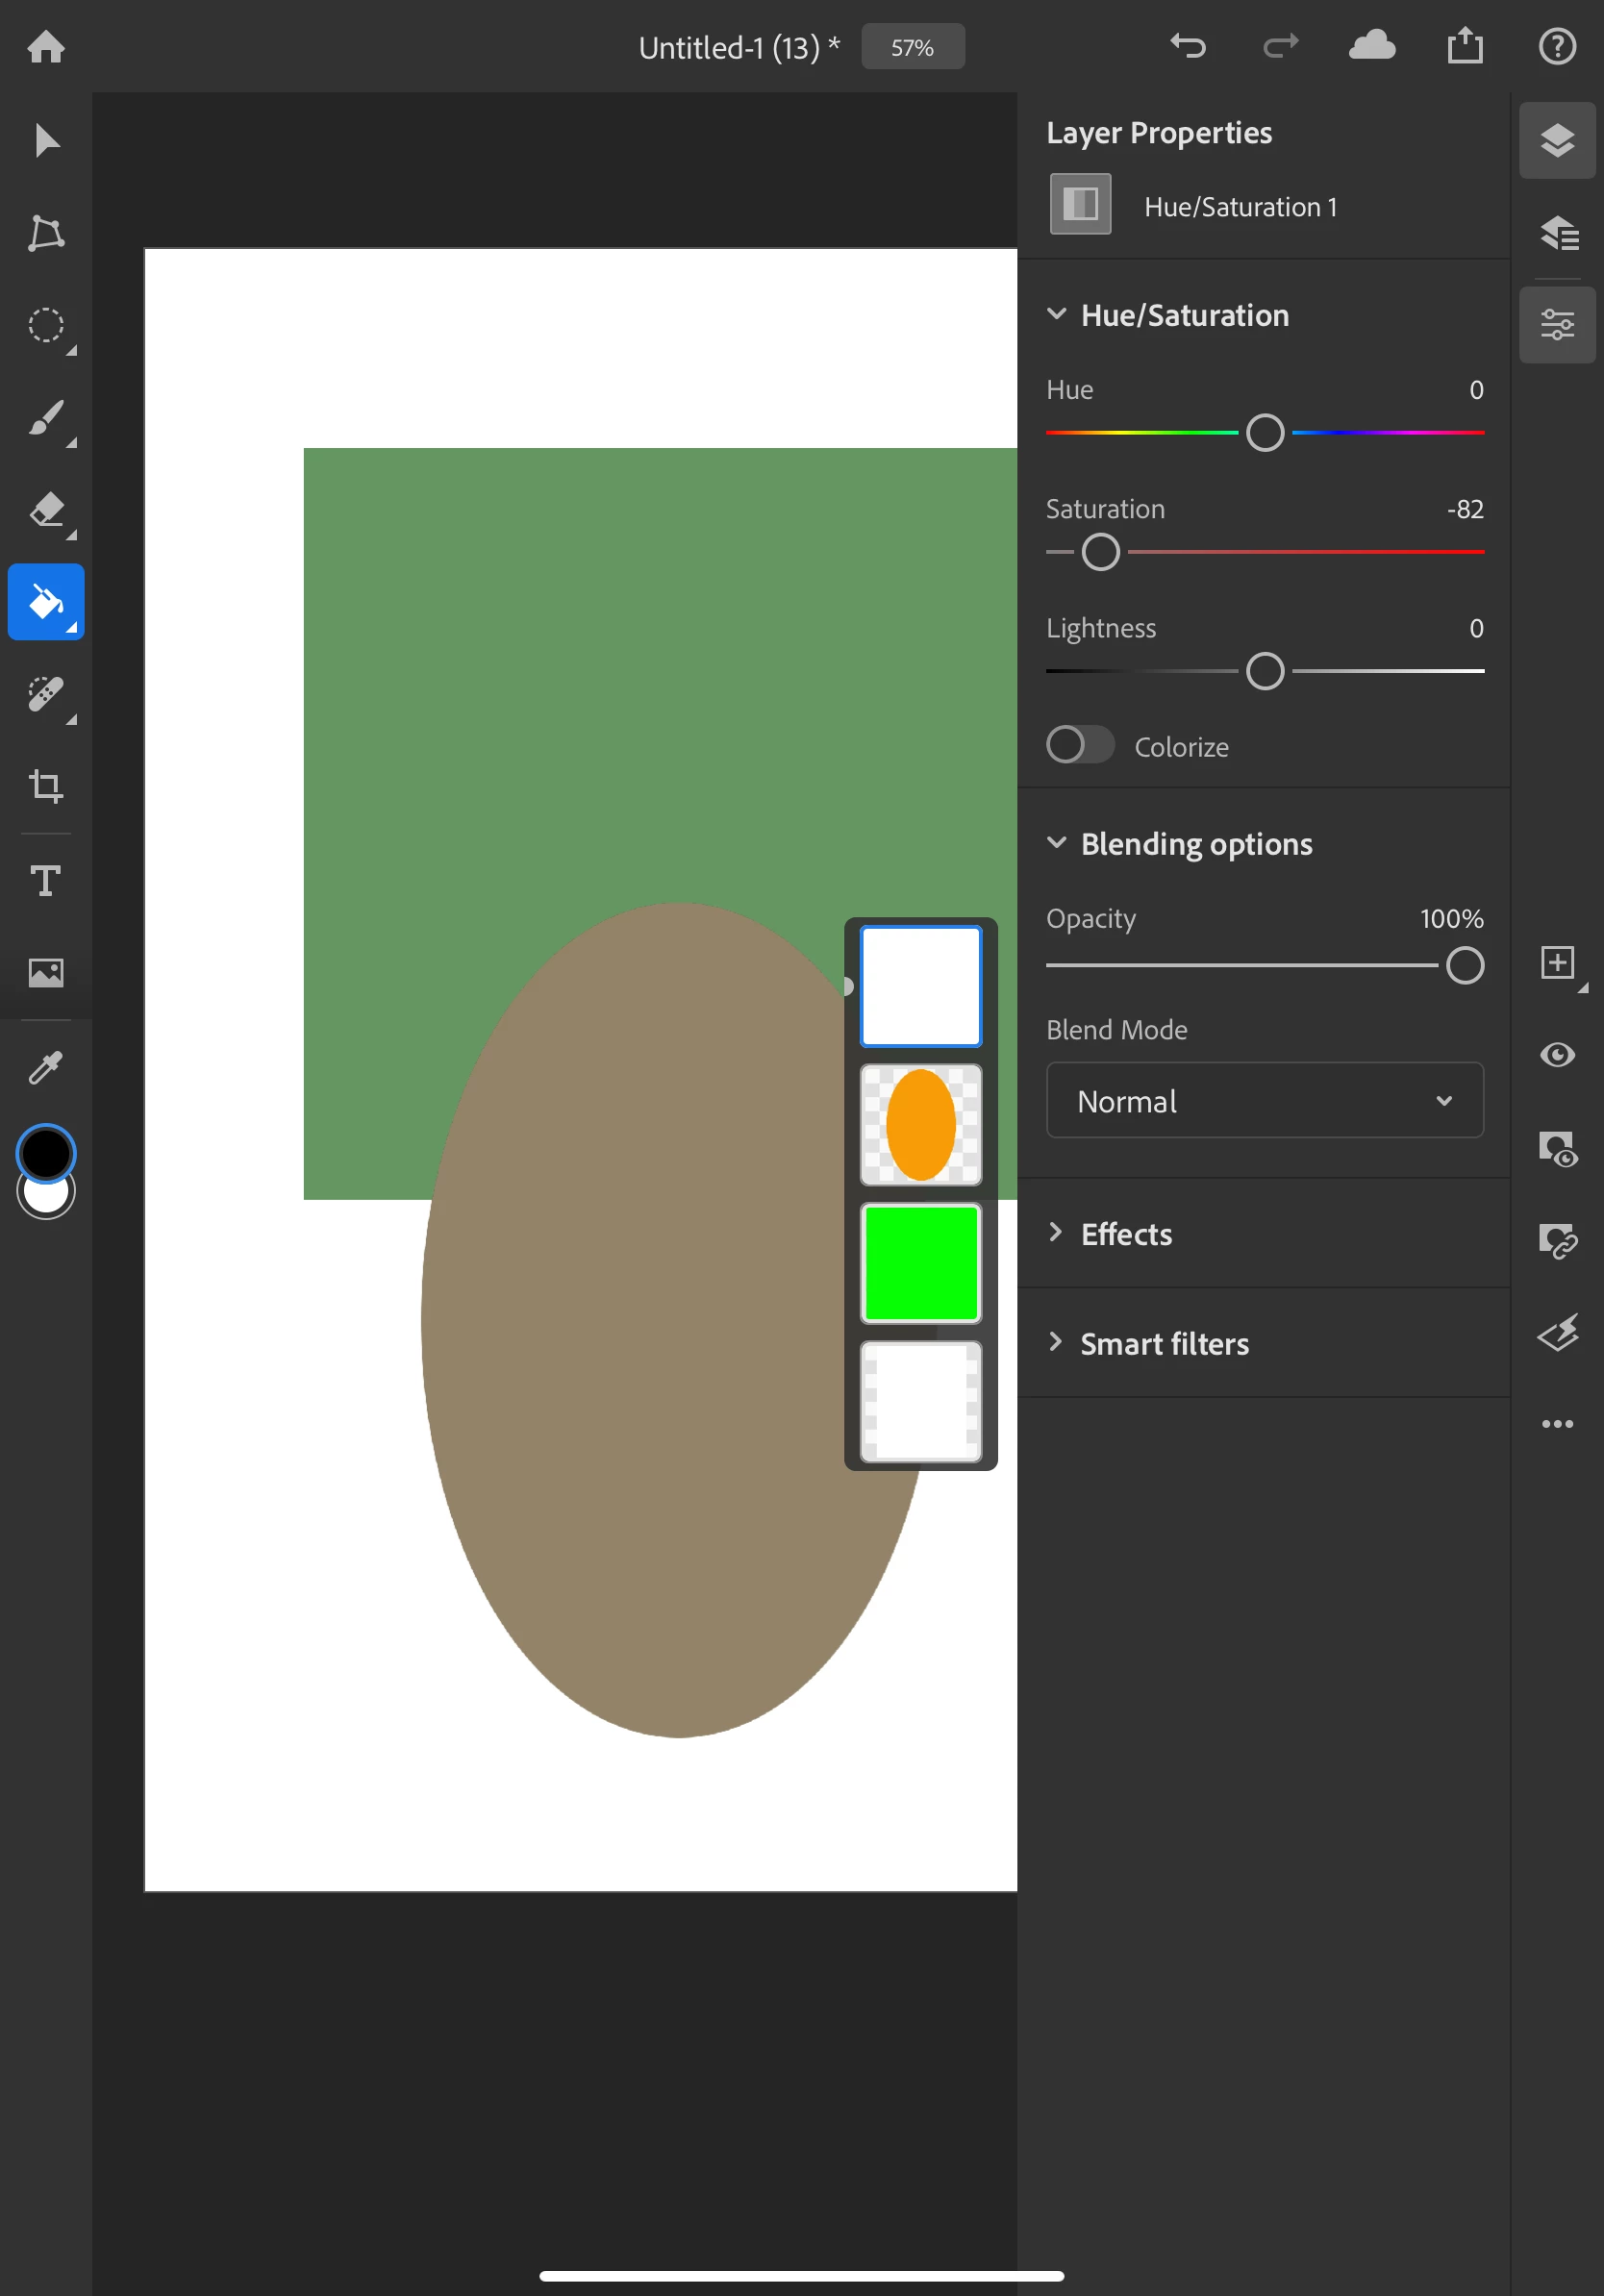
- Now, to hide that adjustment for now, tap on the eyeball in the taskbar along the right side. You will see an icon in the compact layer view for that layer, indicating that it is now hidden. You will also noticet that the effect of the global adjustment is also being hidden.
- Here's what it looks like when making a global adjustment layer when using photos. This example uses the hue/saturation adjustment with the hue changed to make the photos both turn bluish-purple:
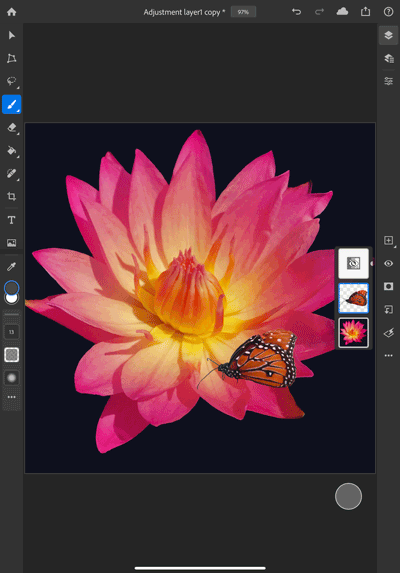
➍ Add a local adjustment layer
- Tap on the layer icon for the orange ellipse shape to select it. The active layer is outlined in blue in the compact layer view.
- Tap on add clipped adjustment in the layer properties.
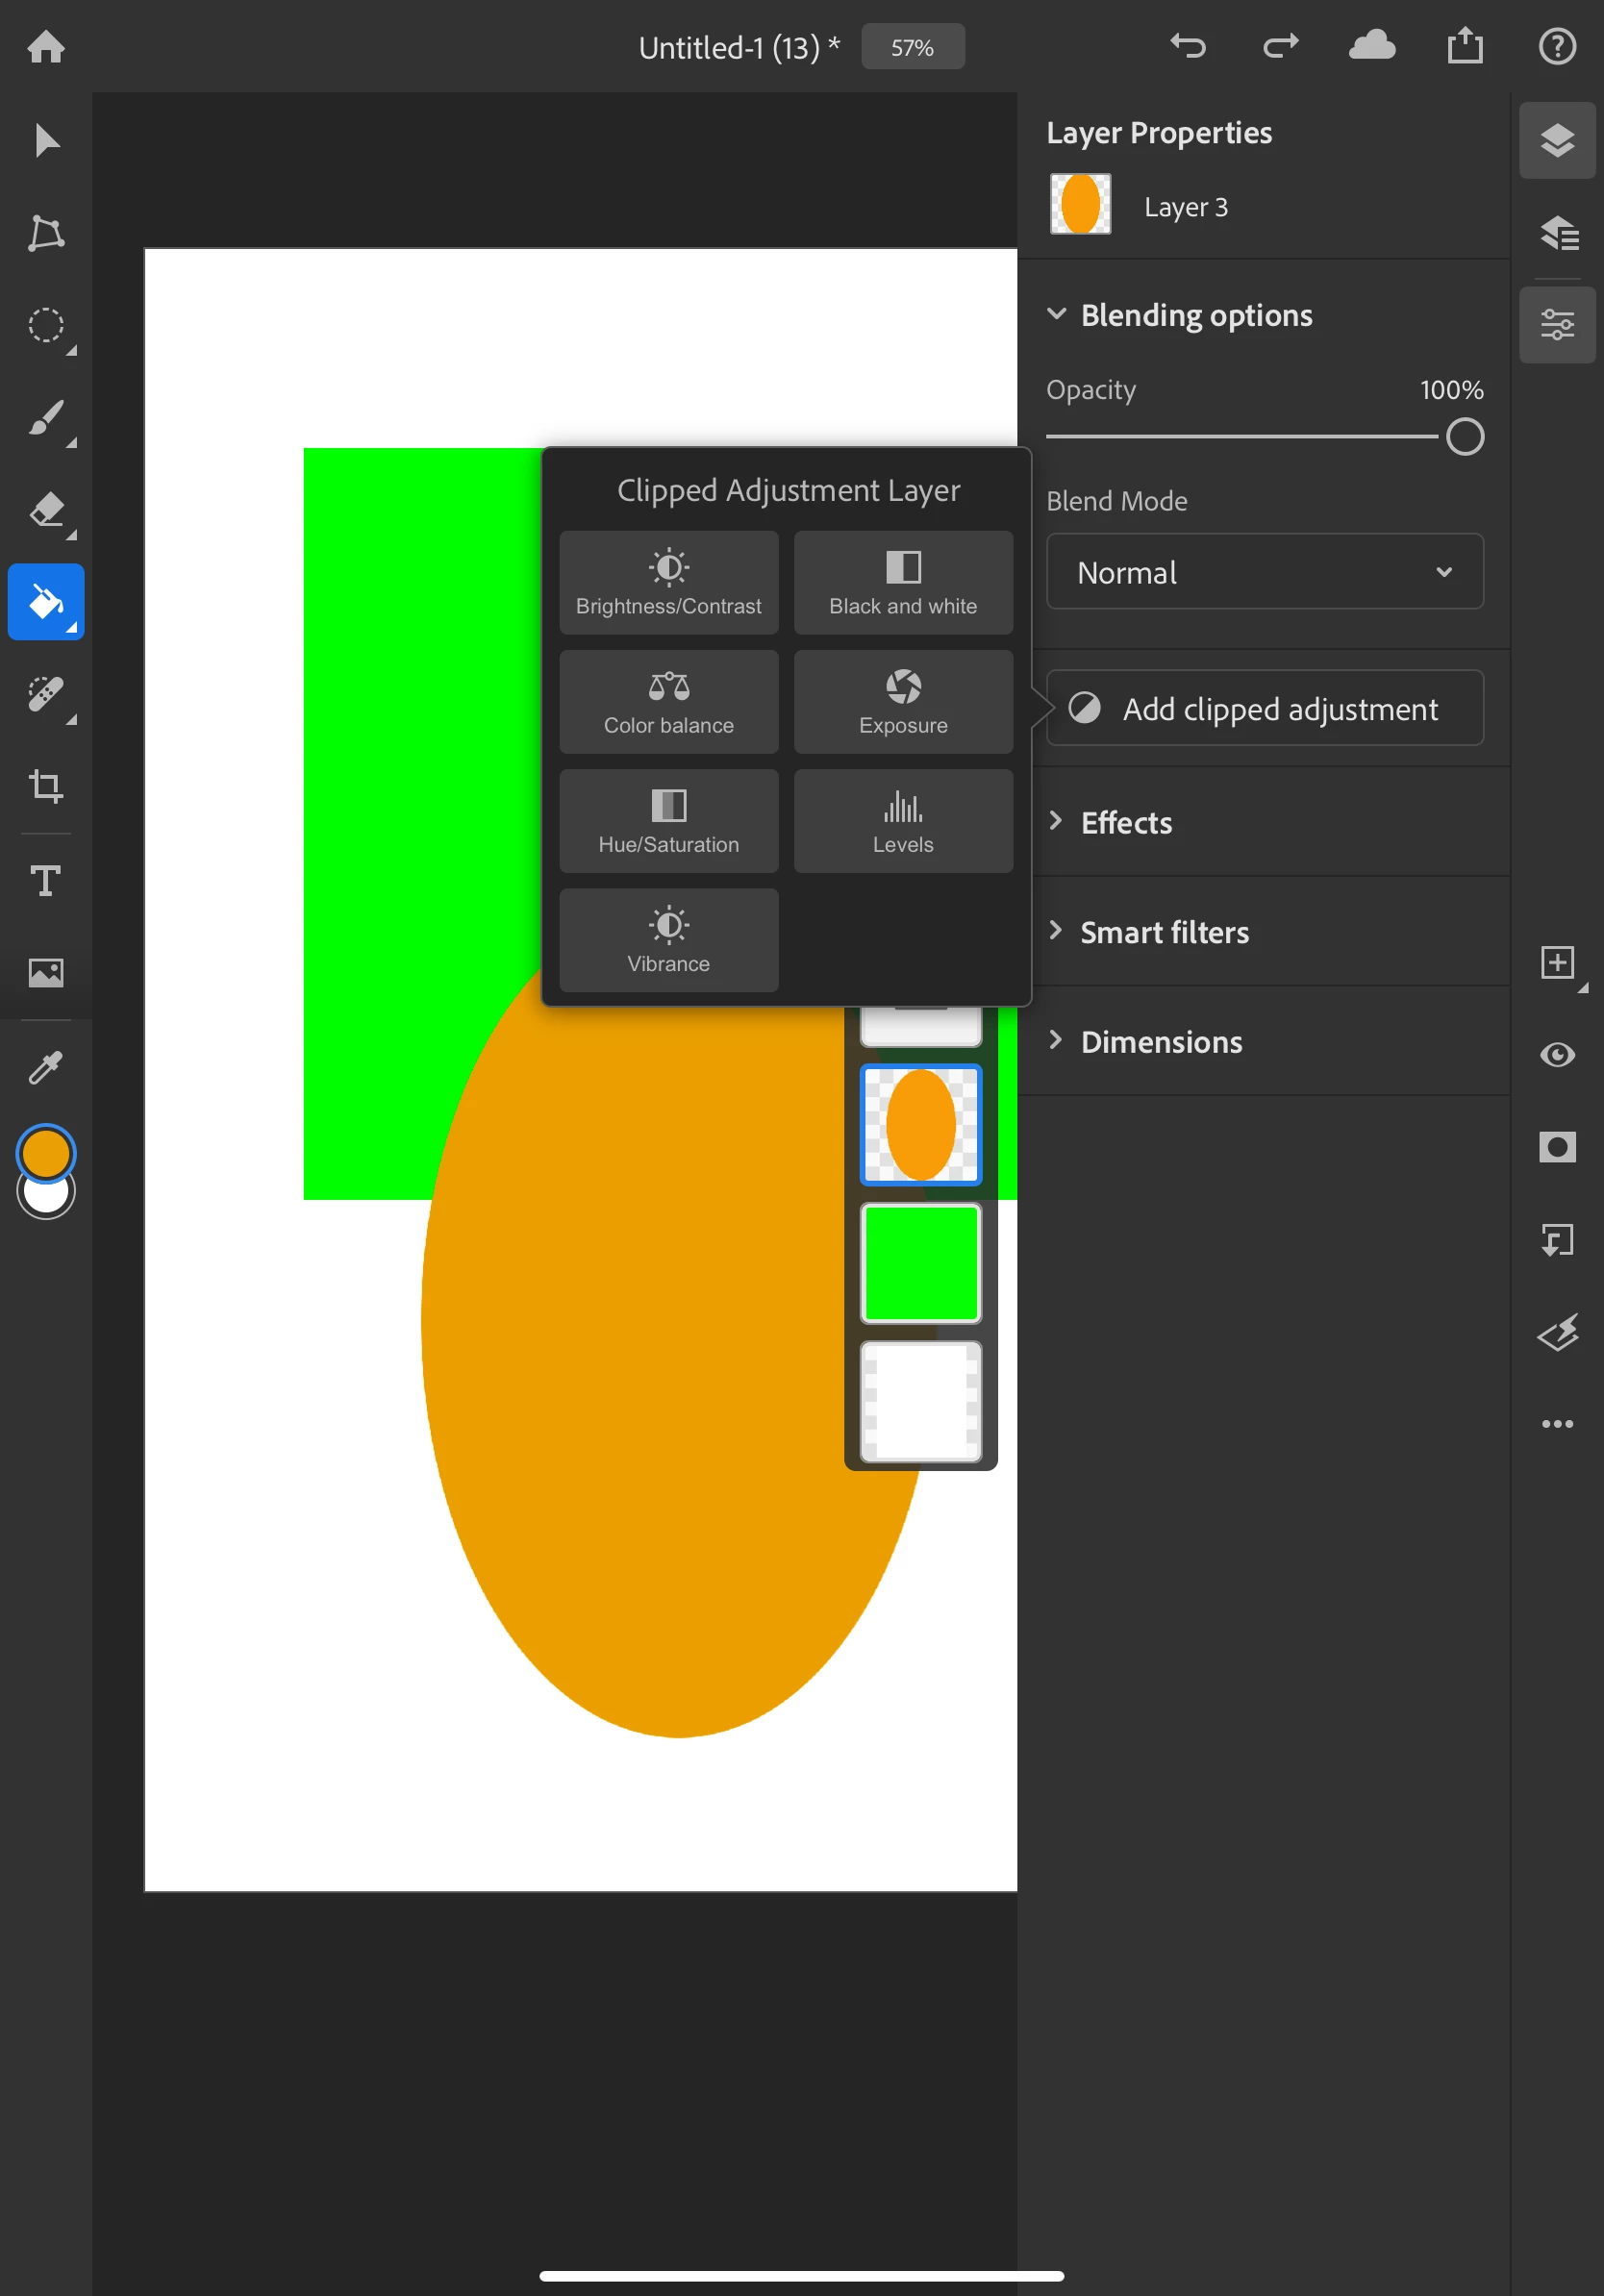
- Select Hue/Saturation.
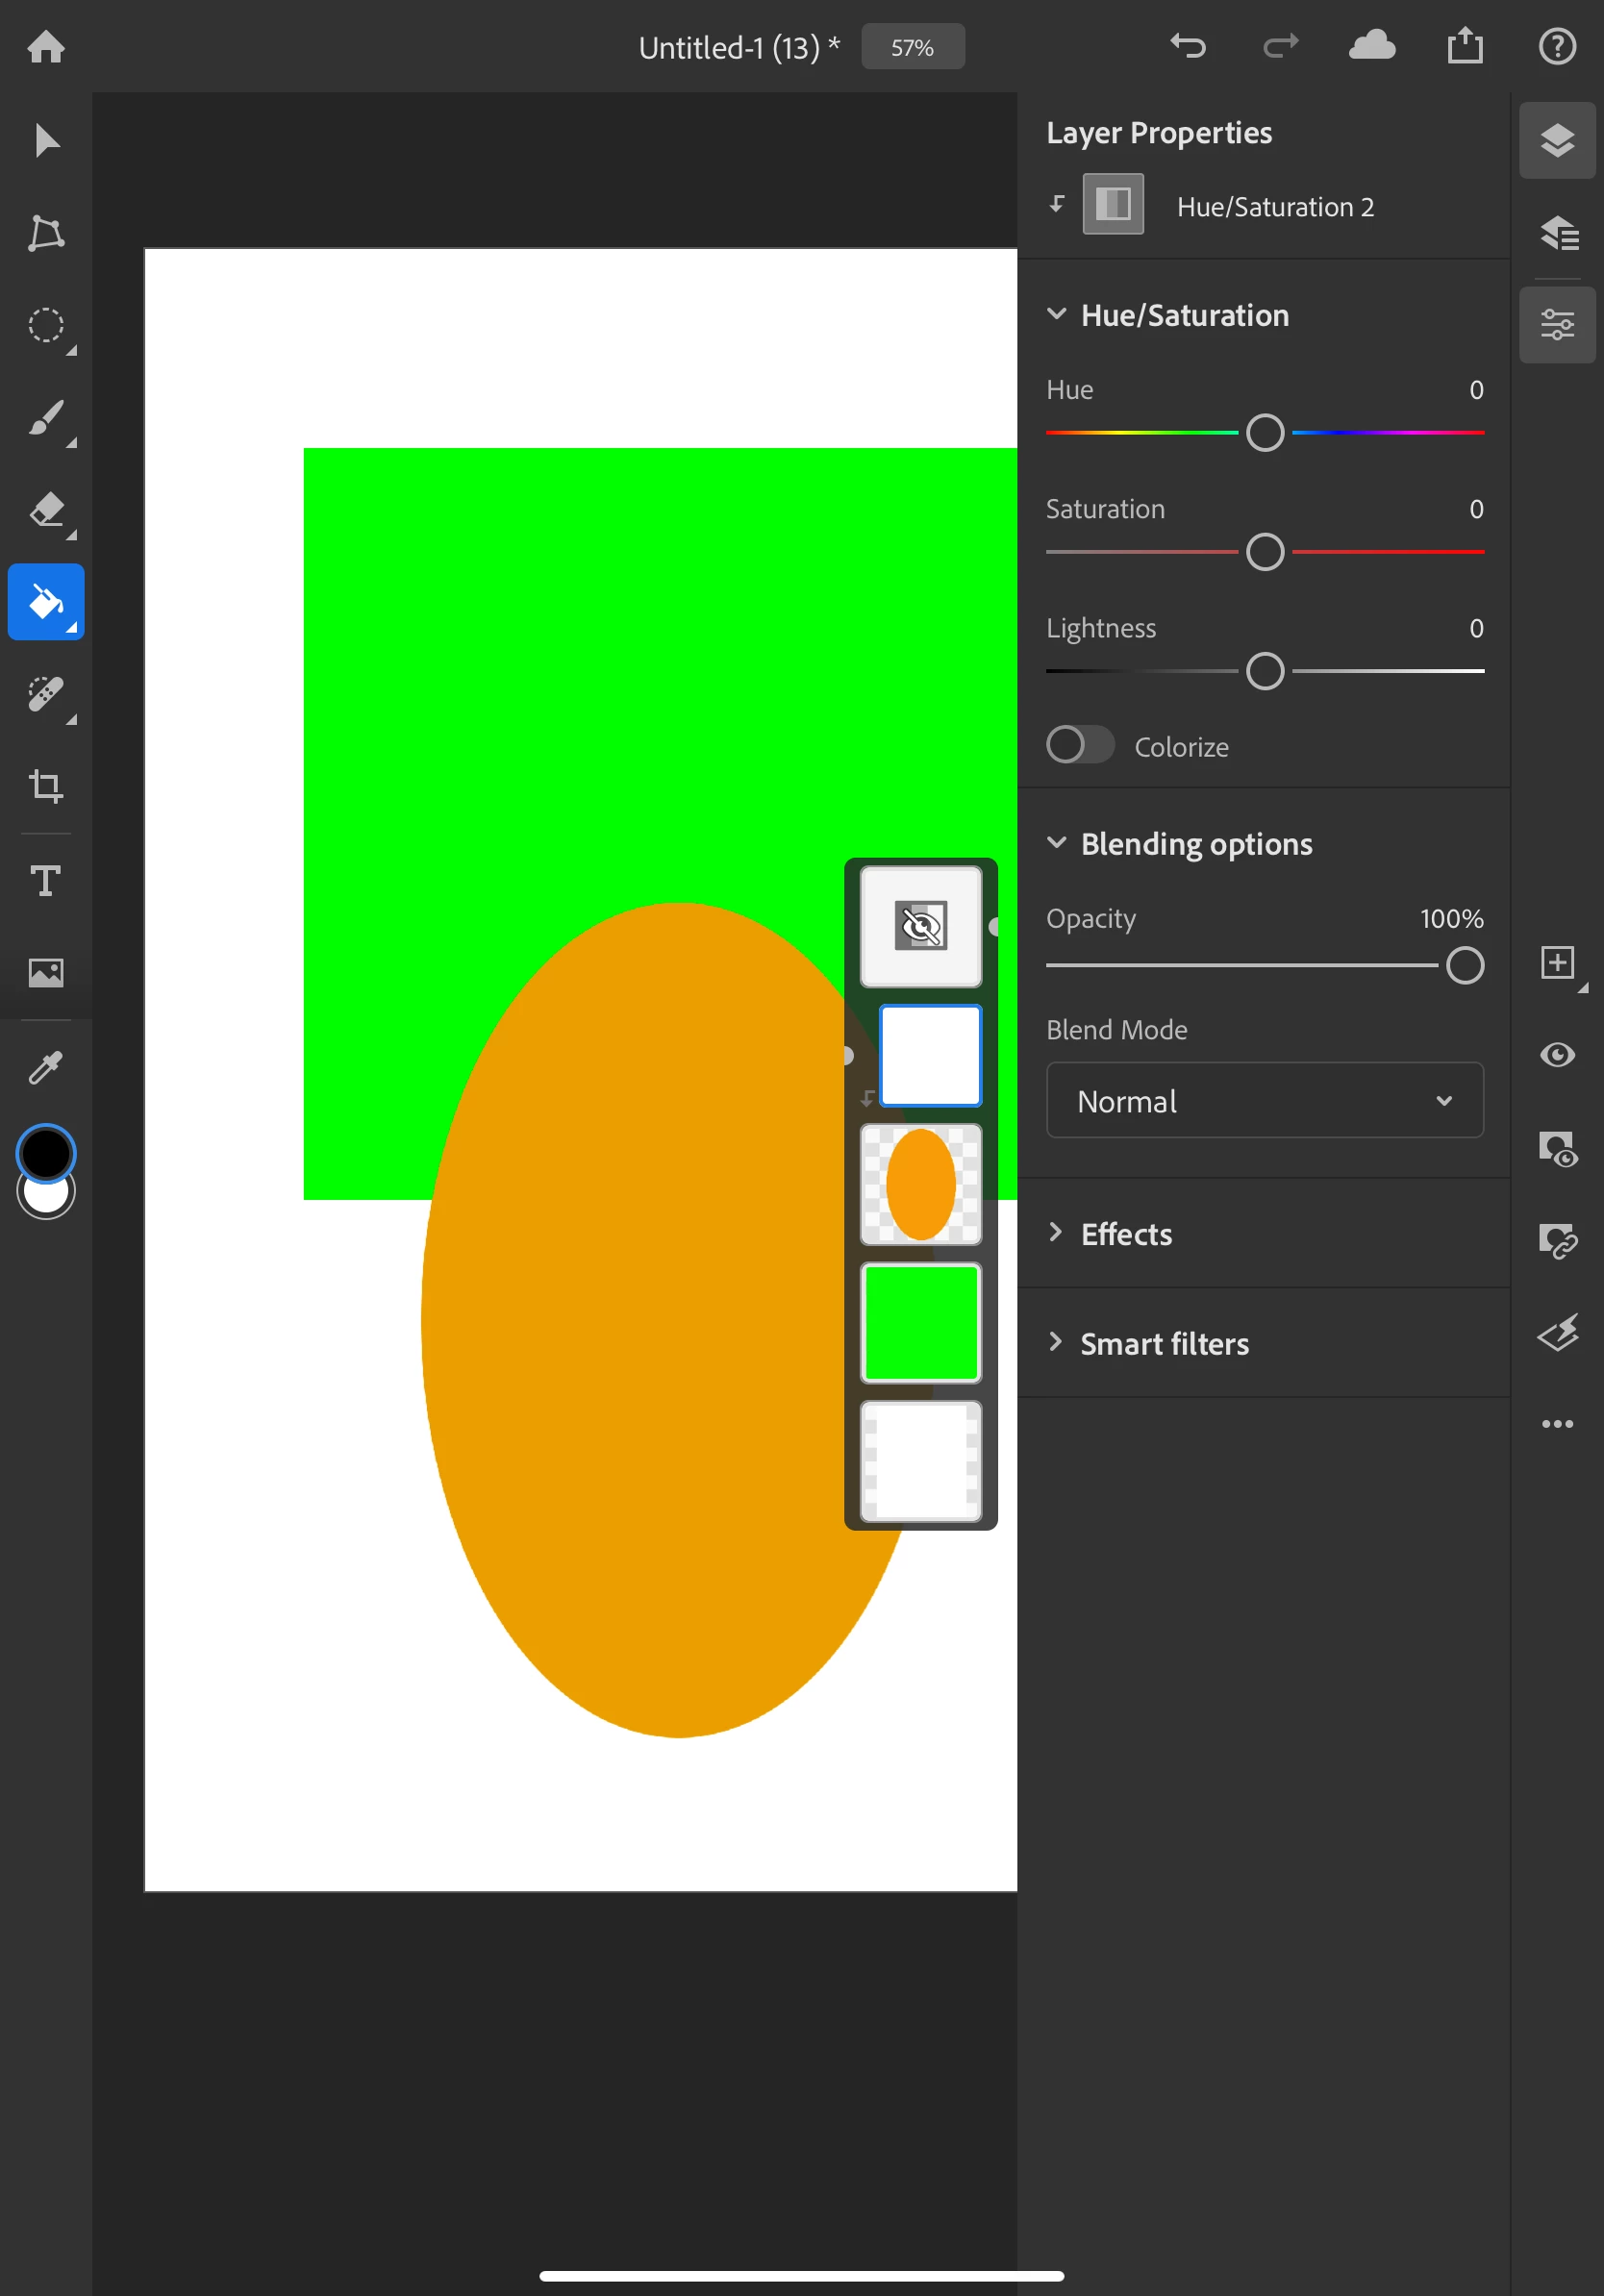
- Slide the saturation slider down to desaturate the layer. As you slide it left, the shape will desaturate until it is grey. This time, only the layer with the clipped adjustment will desaturate.
- This is what my composite looks like using a clipped adjustment layer to turn only the butterfly purple.
(I added a layer, set the blend mode to overlay, and painted in a grey shadow so the butterfly looked more realistic.)
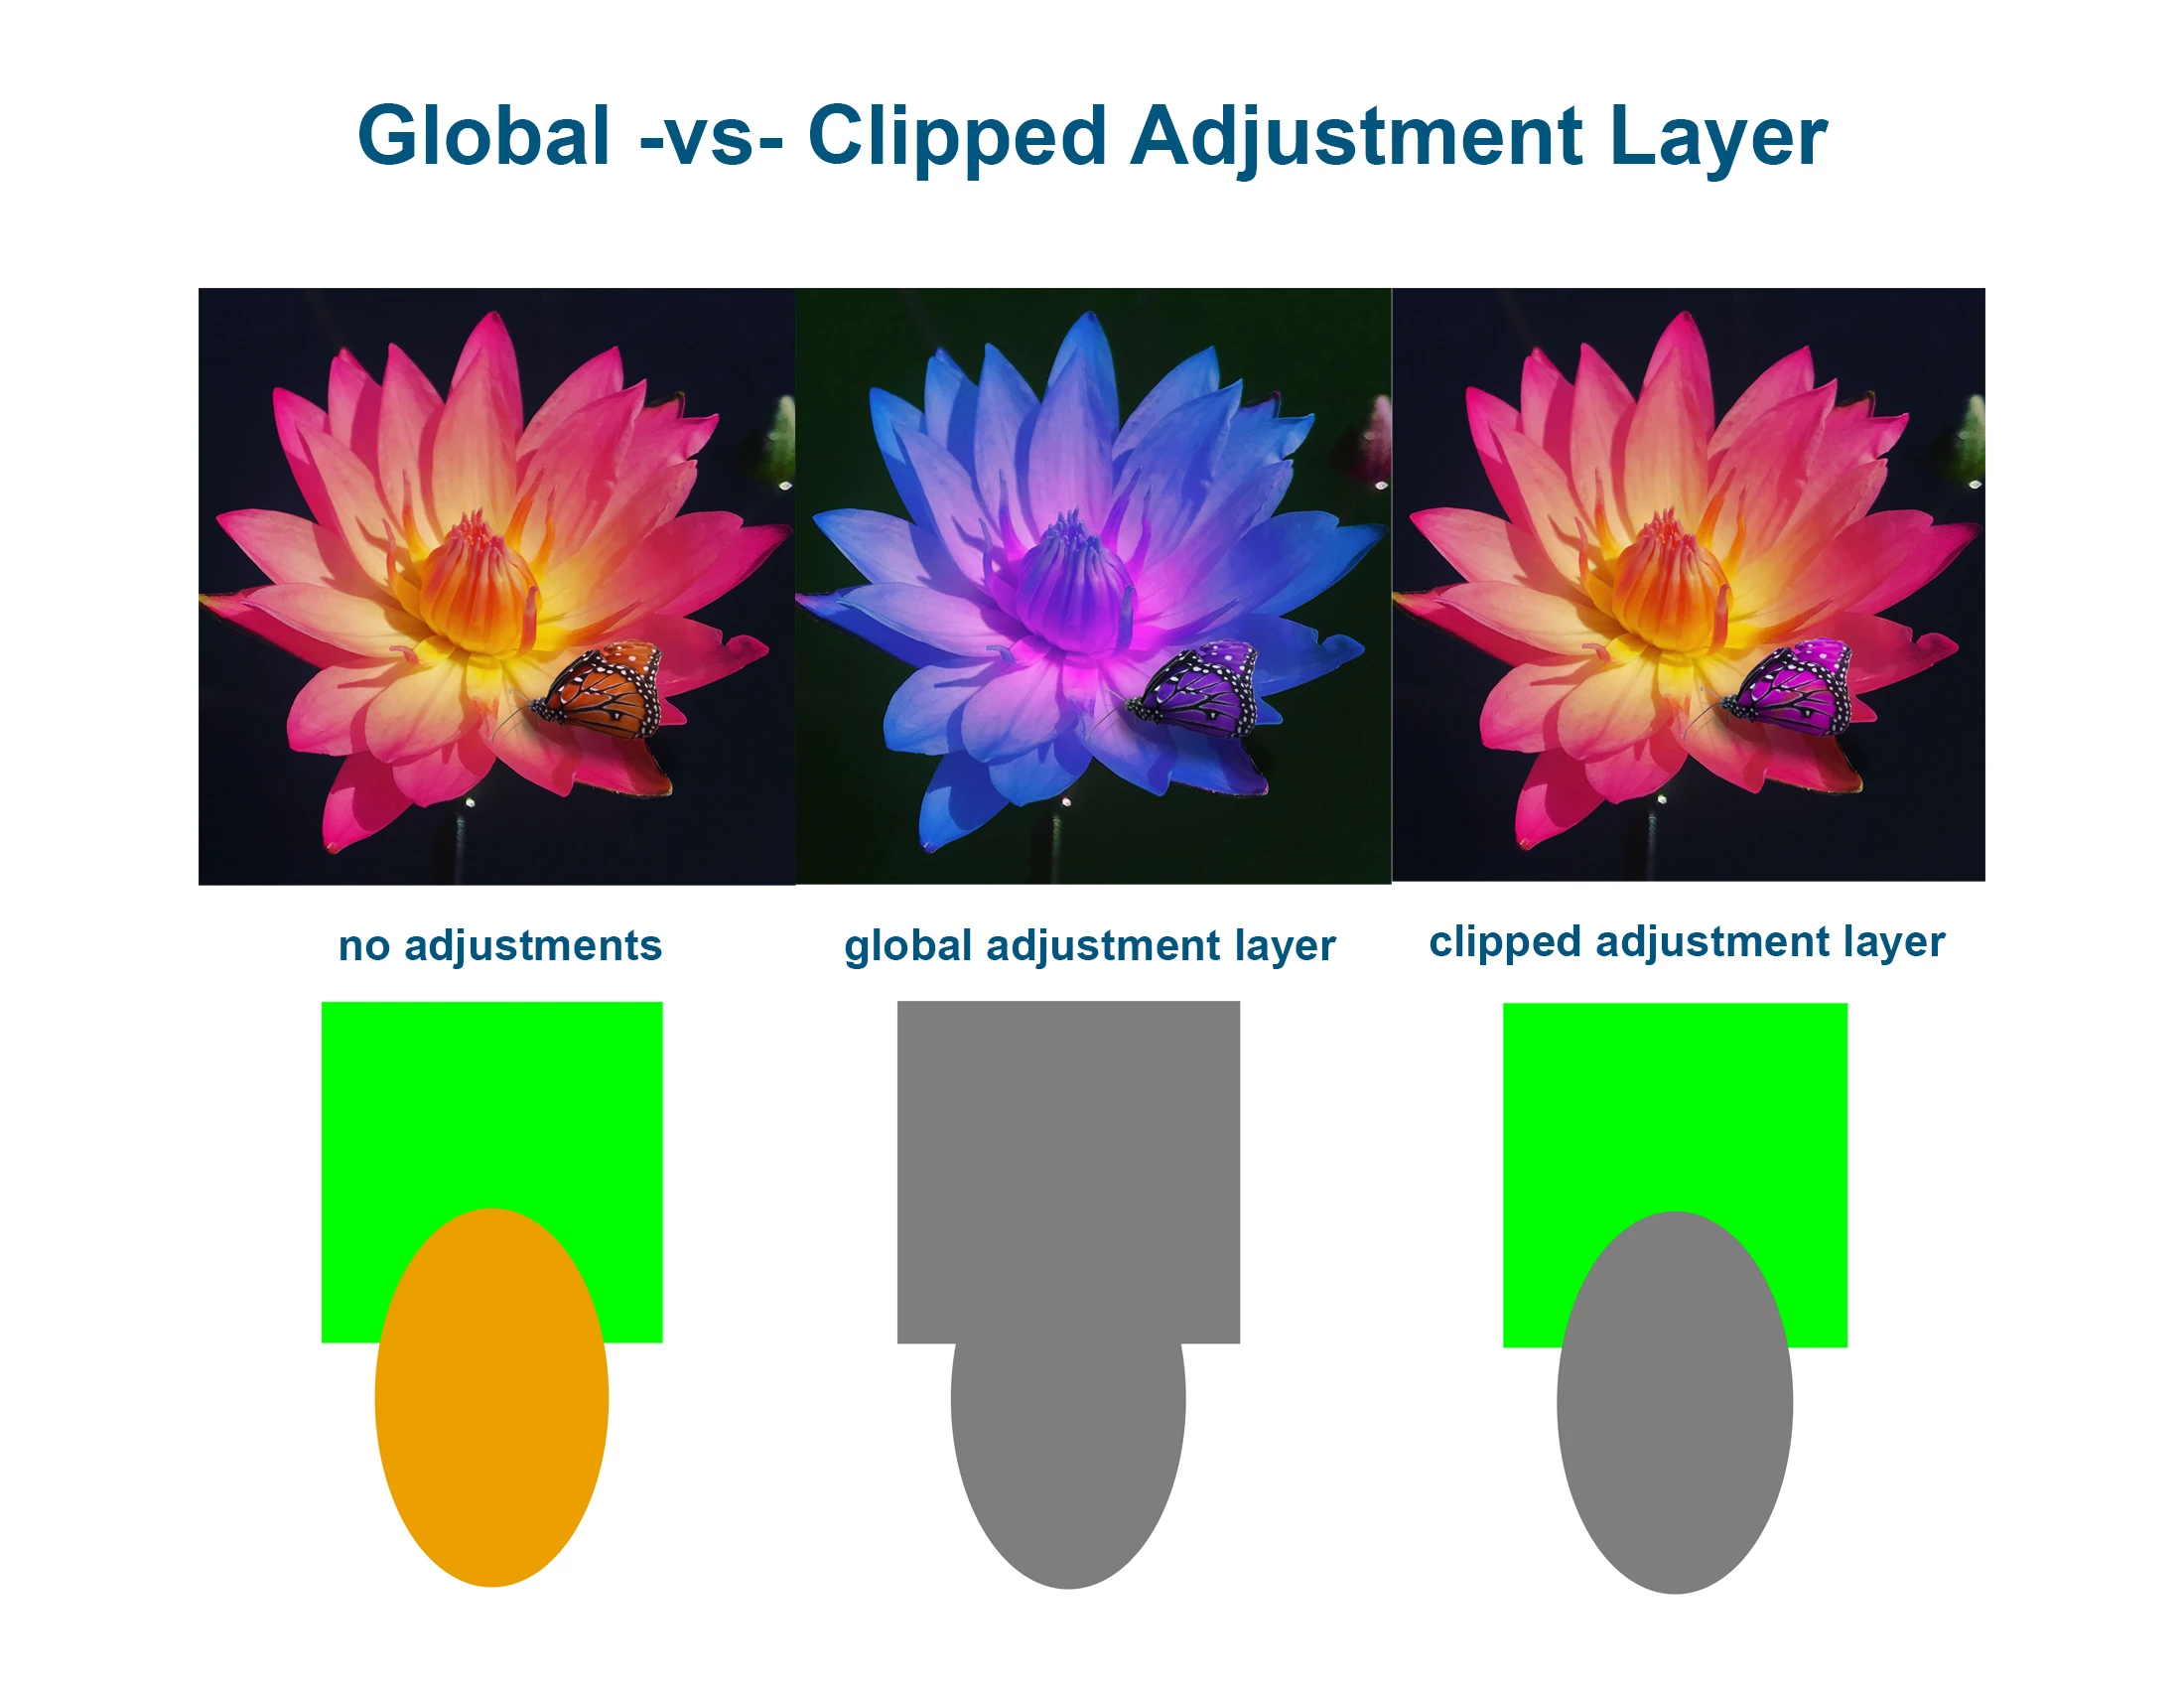
The picture below illustrates the differences between a file with no adjustments, one with global adjustments, and one using a clipped adjustment layer. I hope this helps clarify the difference between global and clipped adjustment layers.
Related Links: