
Question
Frame and publish a photo quickly
Add a photo to a digital frame and share it on social media
If you are new to the Photoshop ecosystem altogether, here is a simple tutorial to introduce you to layers, importing photos, and posting to social from your iPad.
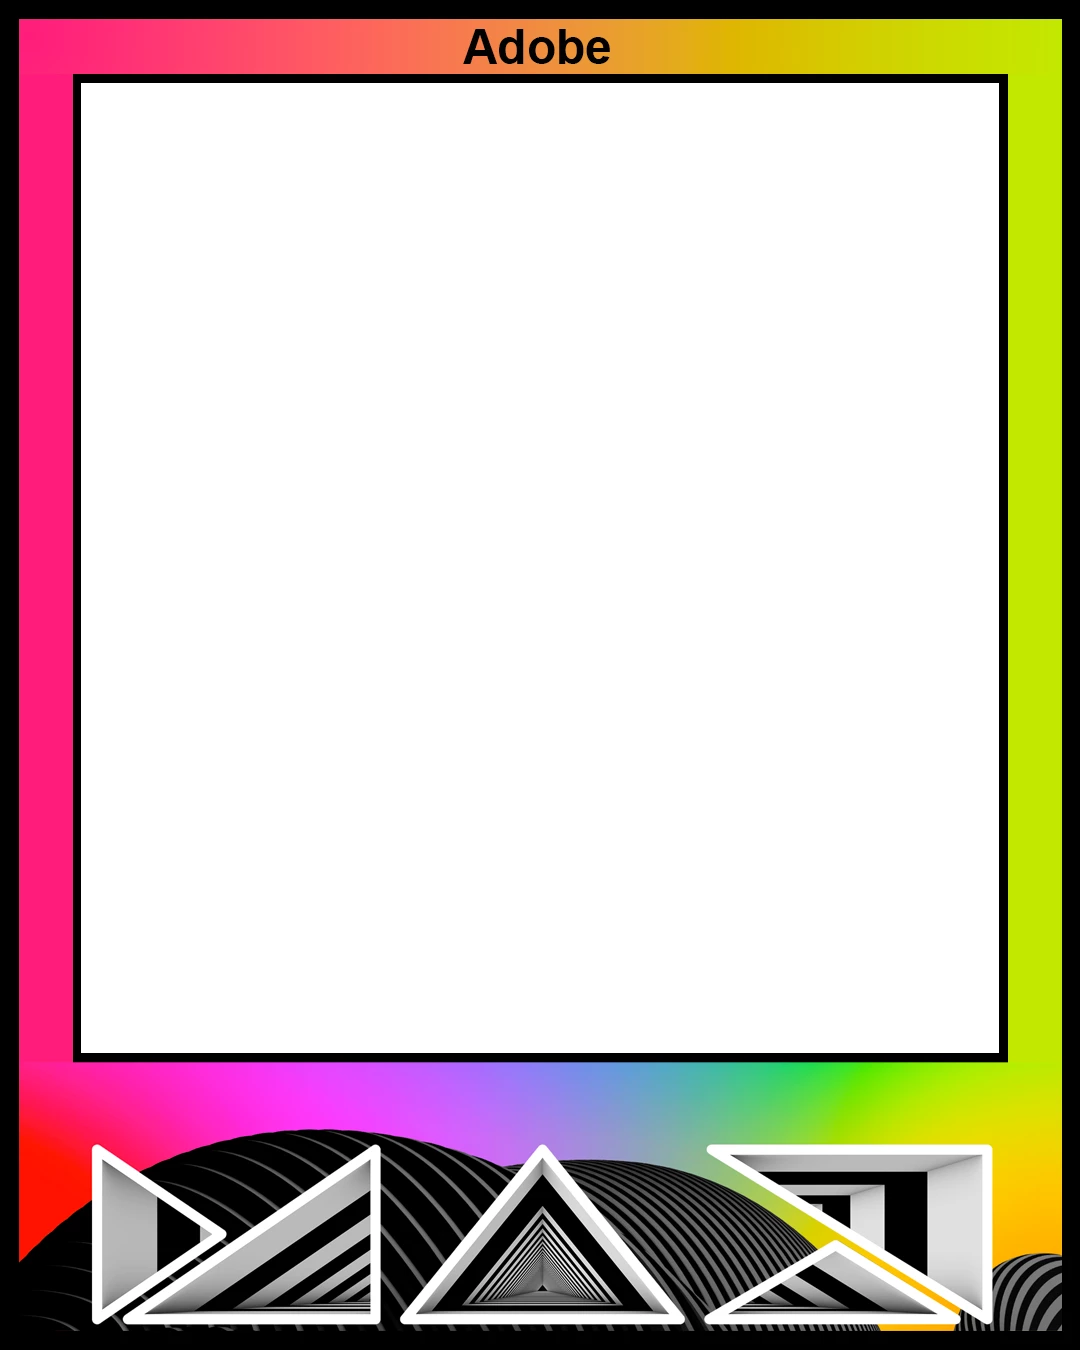
1) Download the frame at the bottom of this post to your iPad
- open this post in a browser on your iPad
- Tap on the link to the attached file at the bottom of this post to download the Adobe Max frame
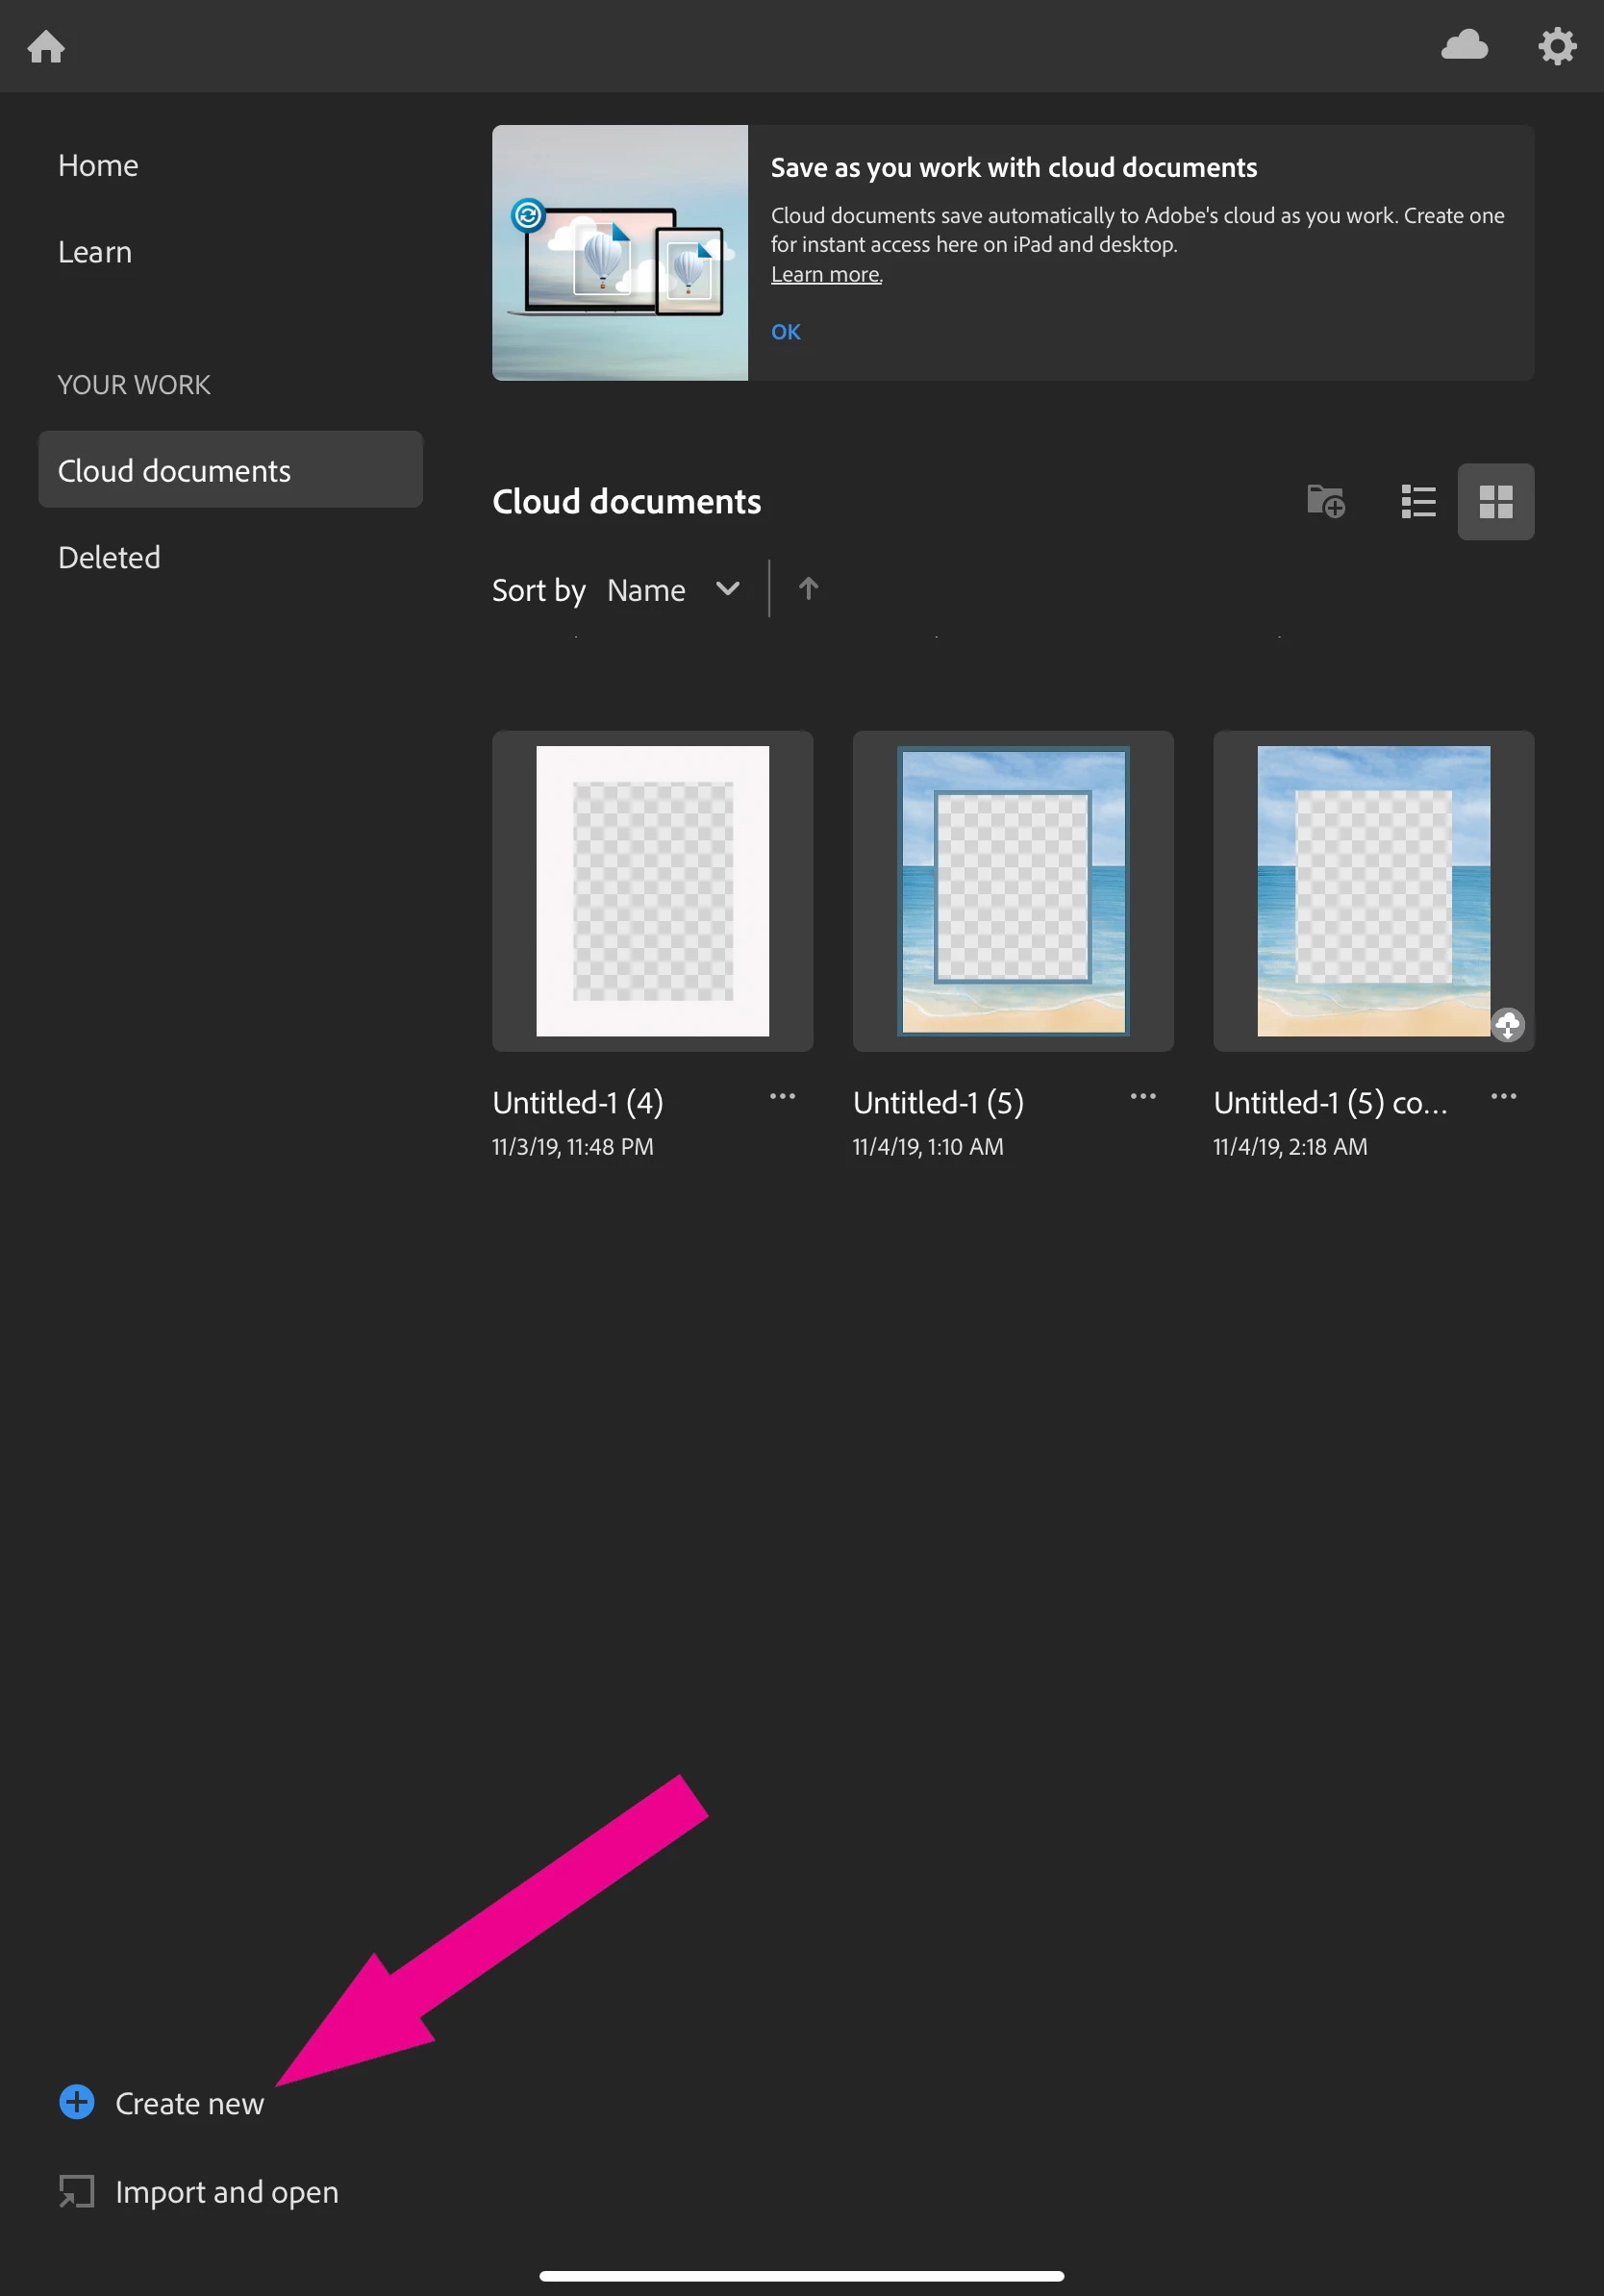
2) Create a new file
- Open Photoshop on the iPad
- Tap Create new to create a new file
- Name your document, if you wish, and then tap the key board icon in the bottom right of the keypad to hide it
- For this frame, set units to pixels, width to 1080, and height to 1350
- Set resolution to 300
- Set background to transparent
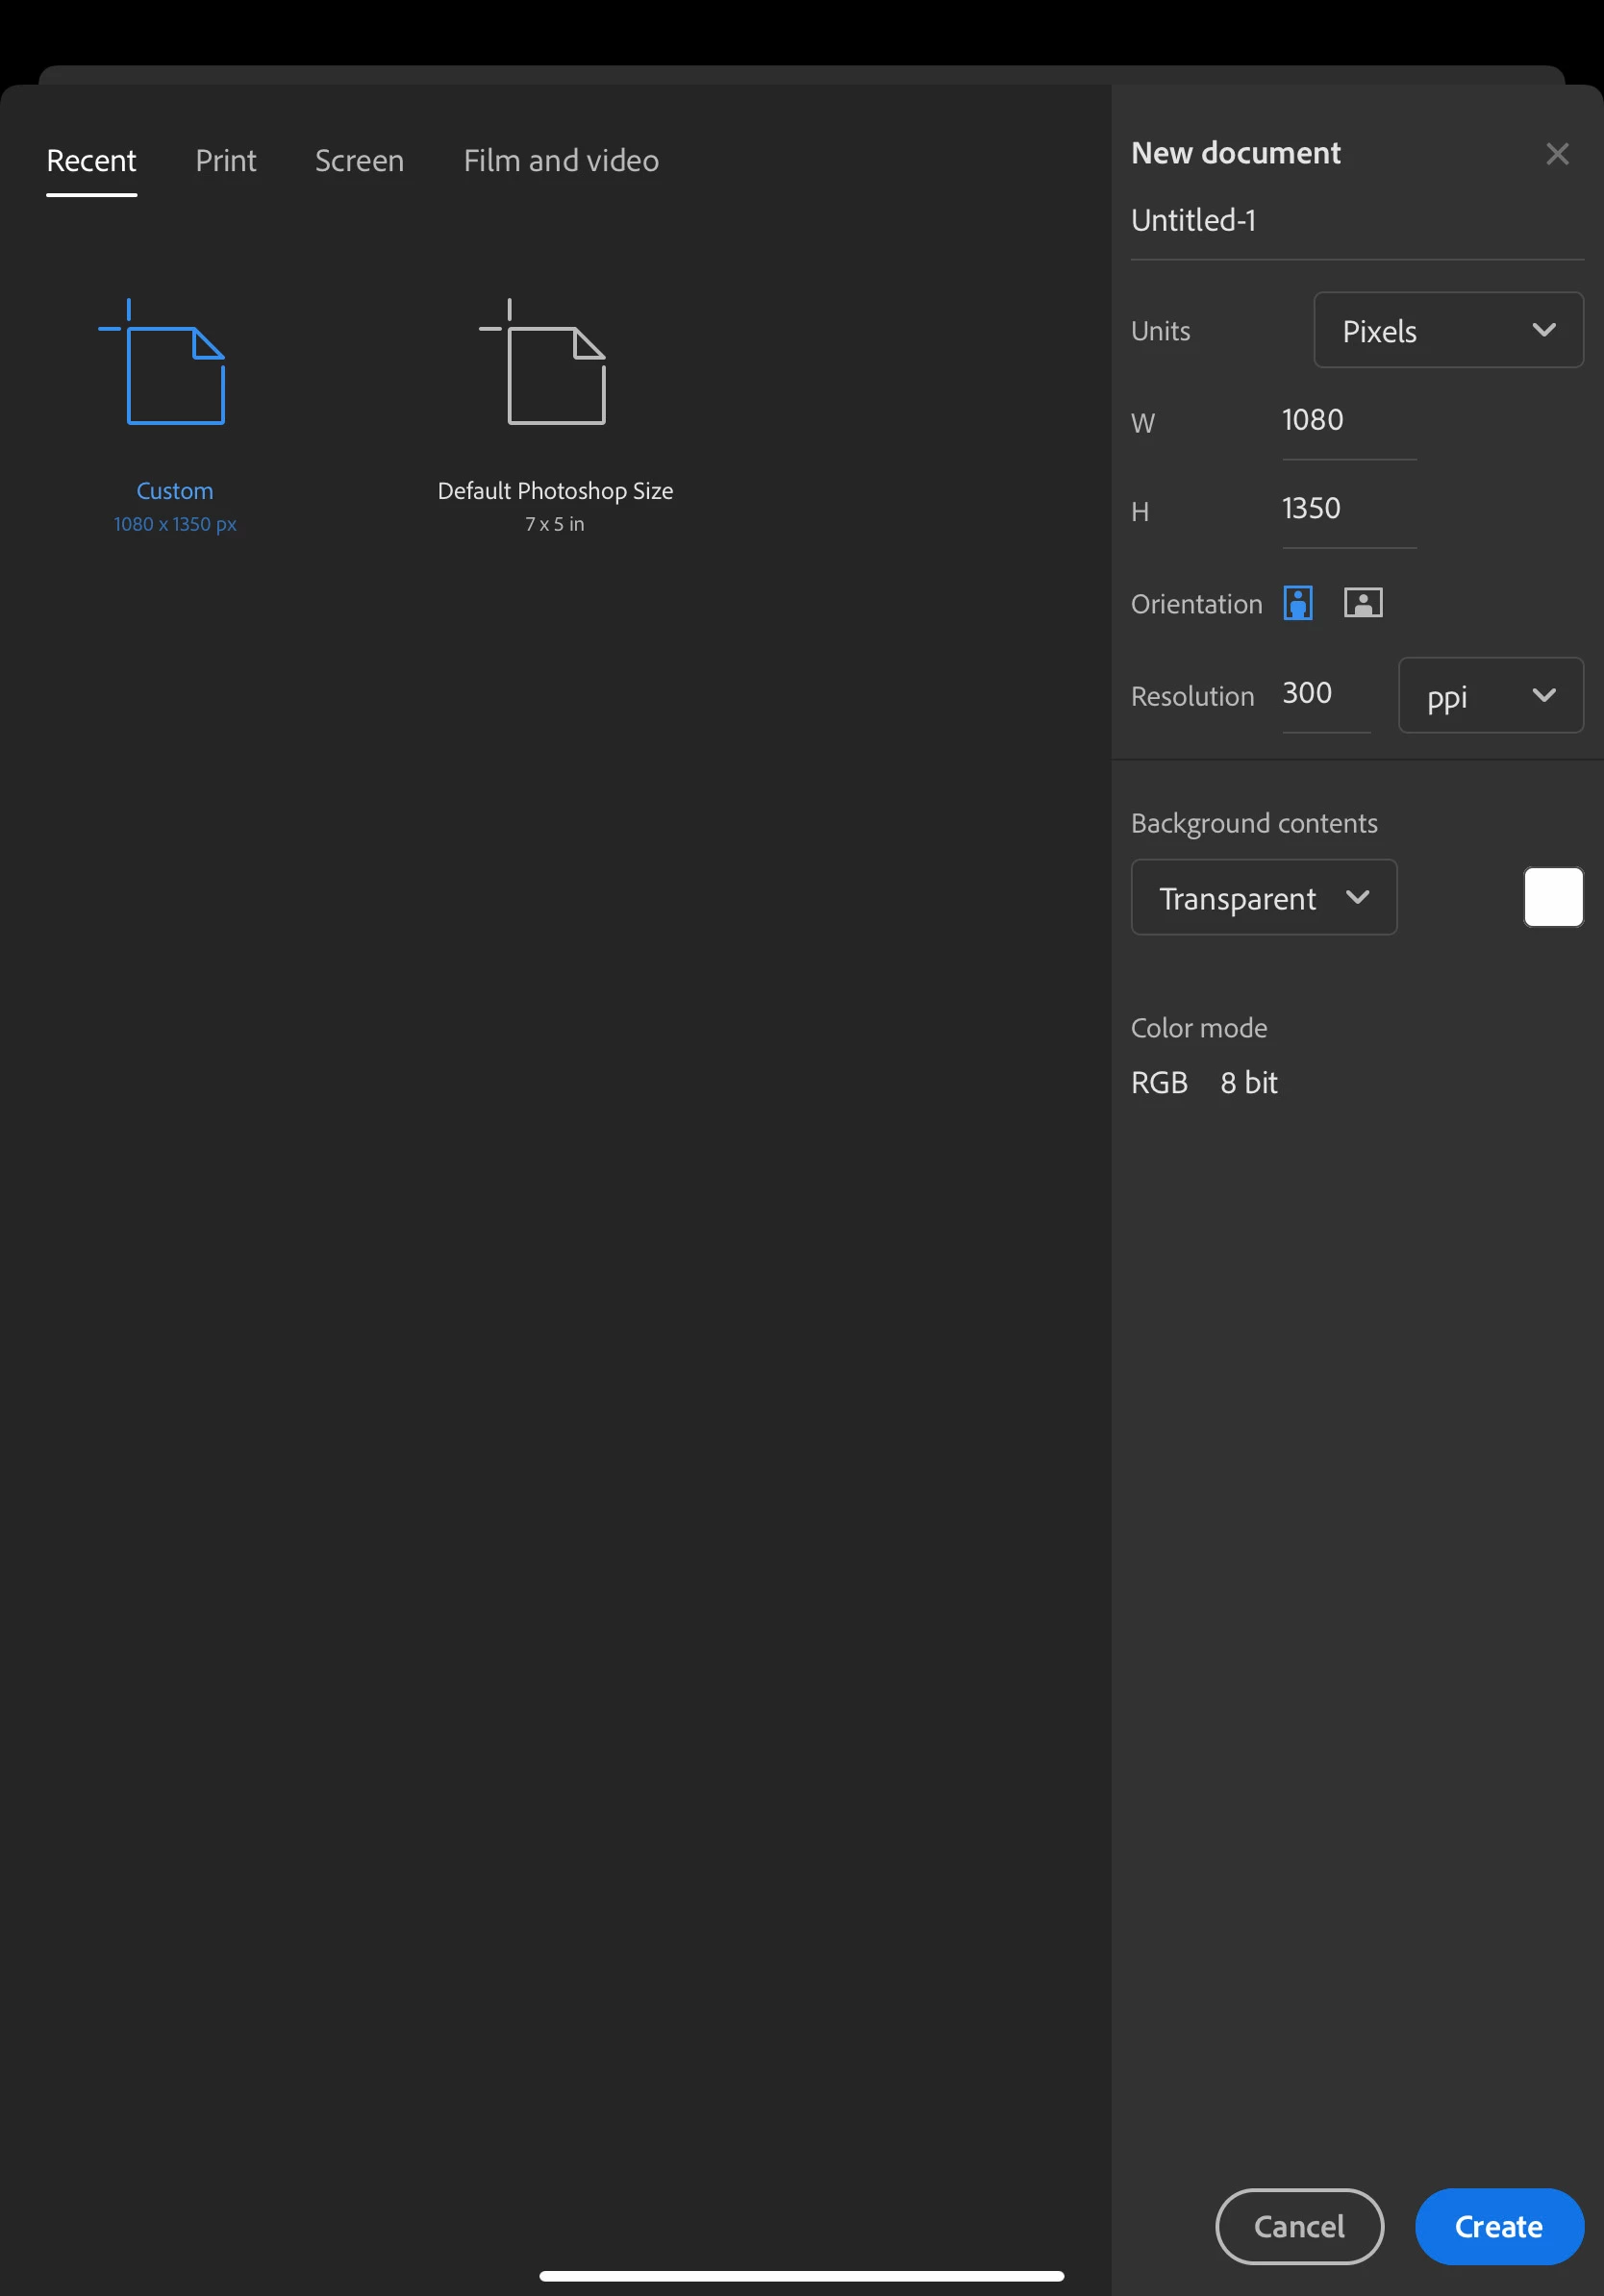
- Tap Create
3) Add the Frame
-
Tap the photo icon on the toolbar on the left side of the canvas and select the location of your photo.
- My downloaded file from this forum went to files, downloads in my iCloud, yours may be different depending on settings in your iPad
- Choose the frame you downloaded
- Tap done
- Tap the photo icon if the flyout is still there
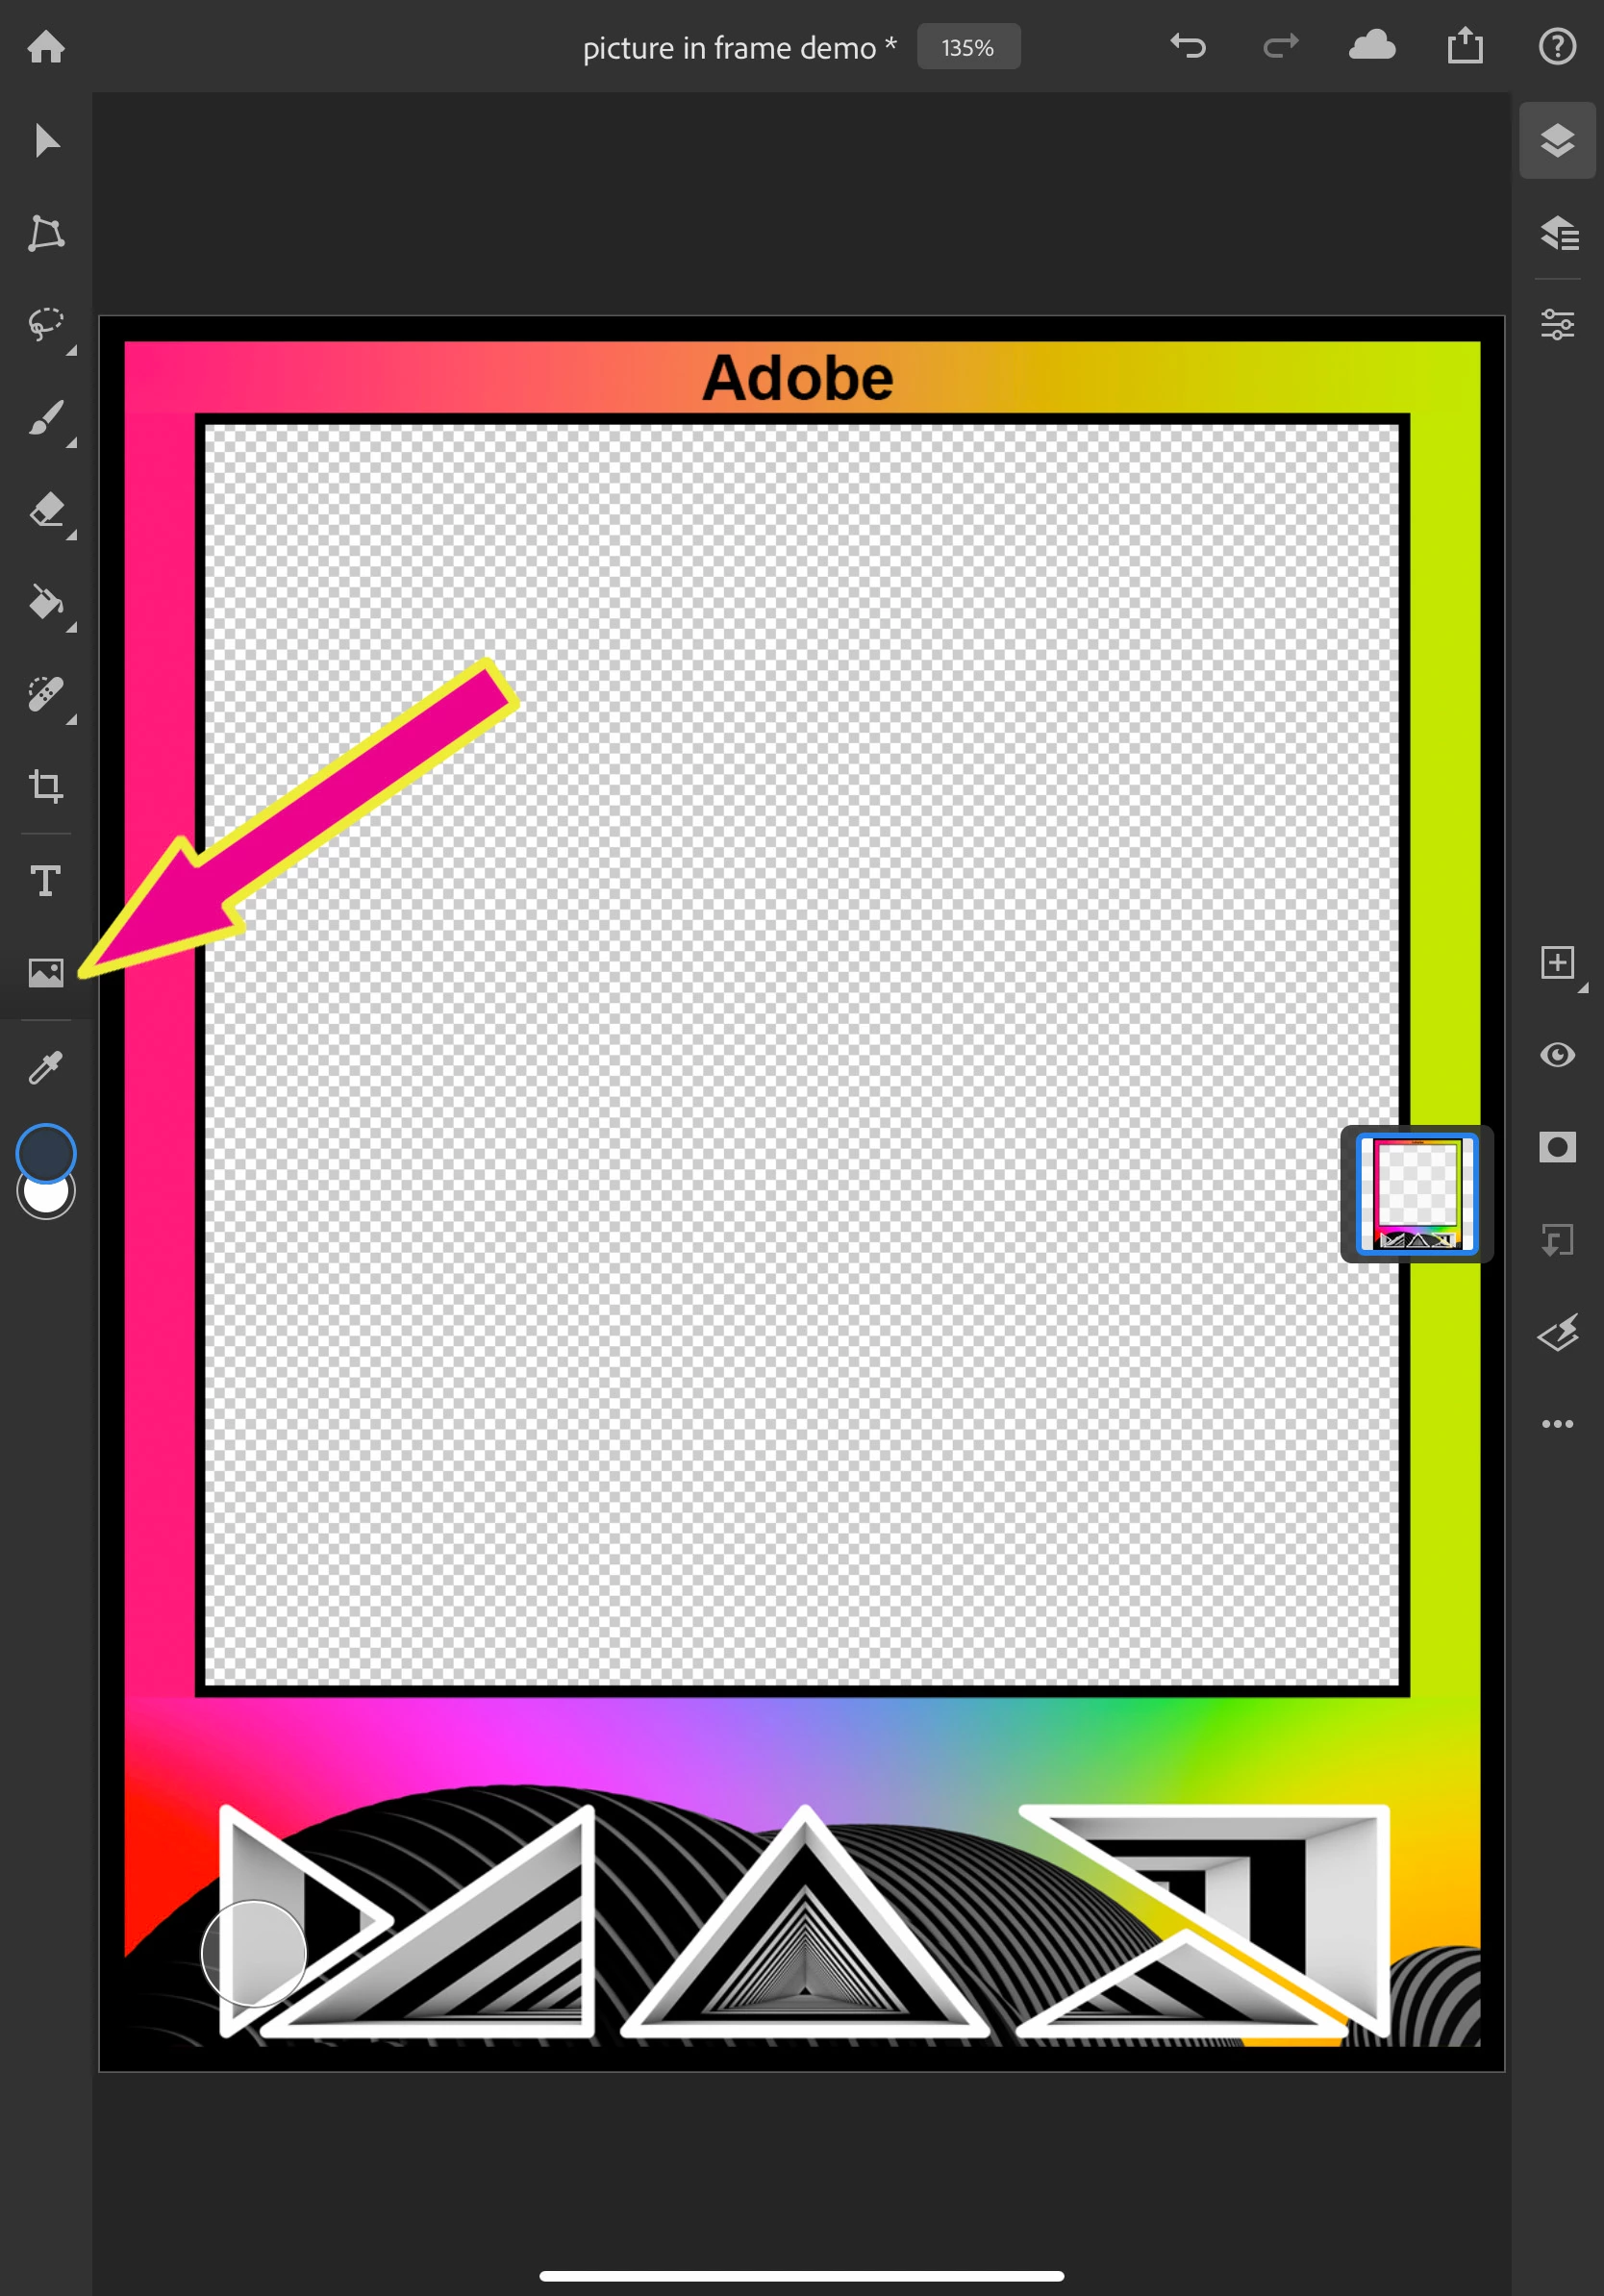
- Tap + to add a new layer
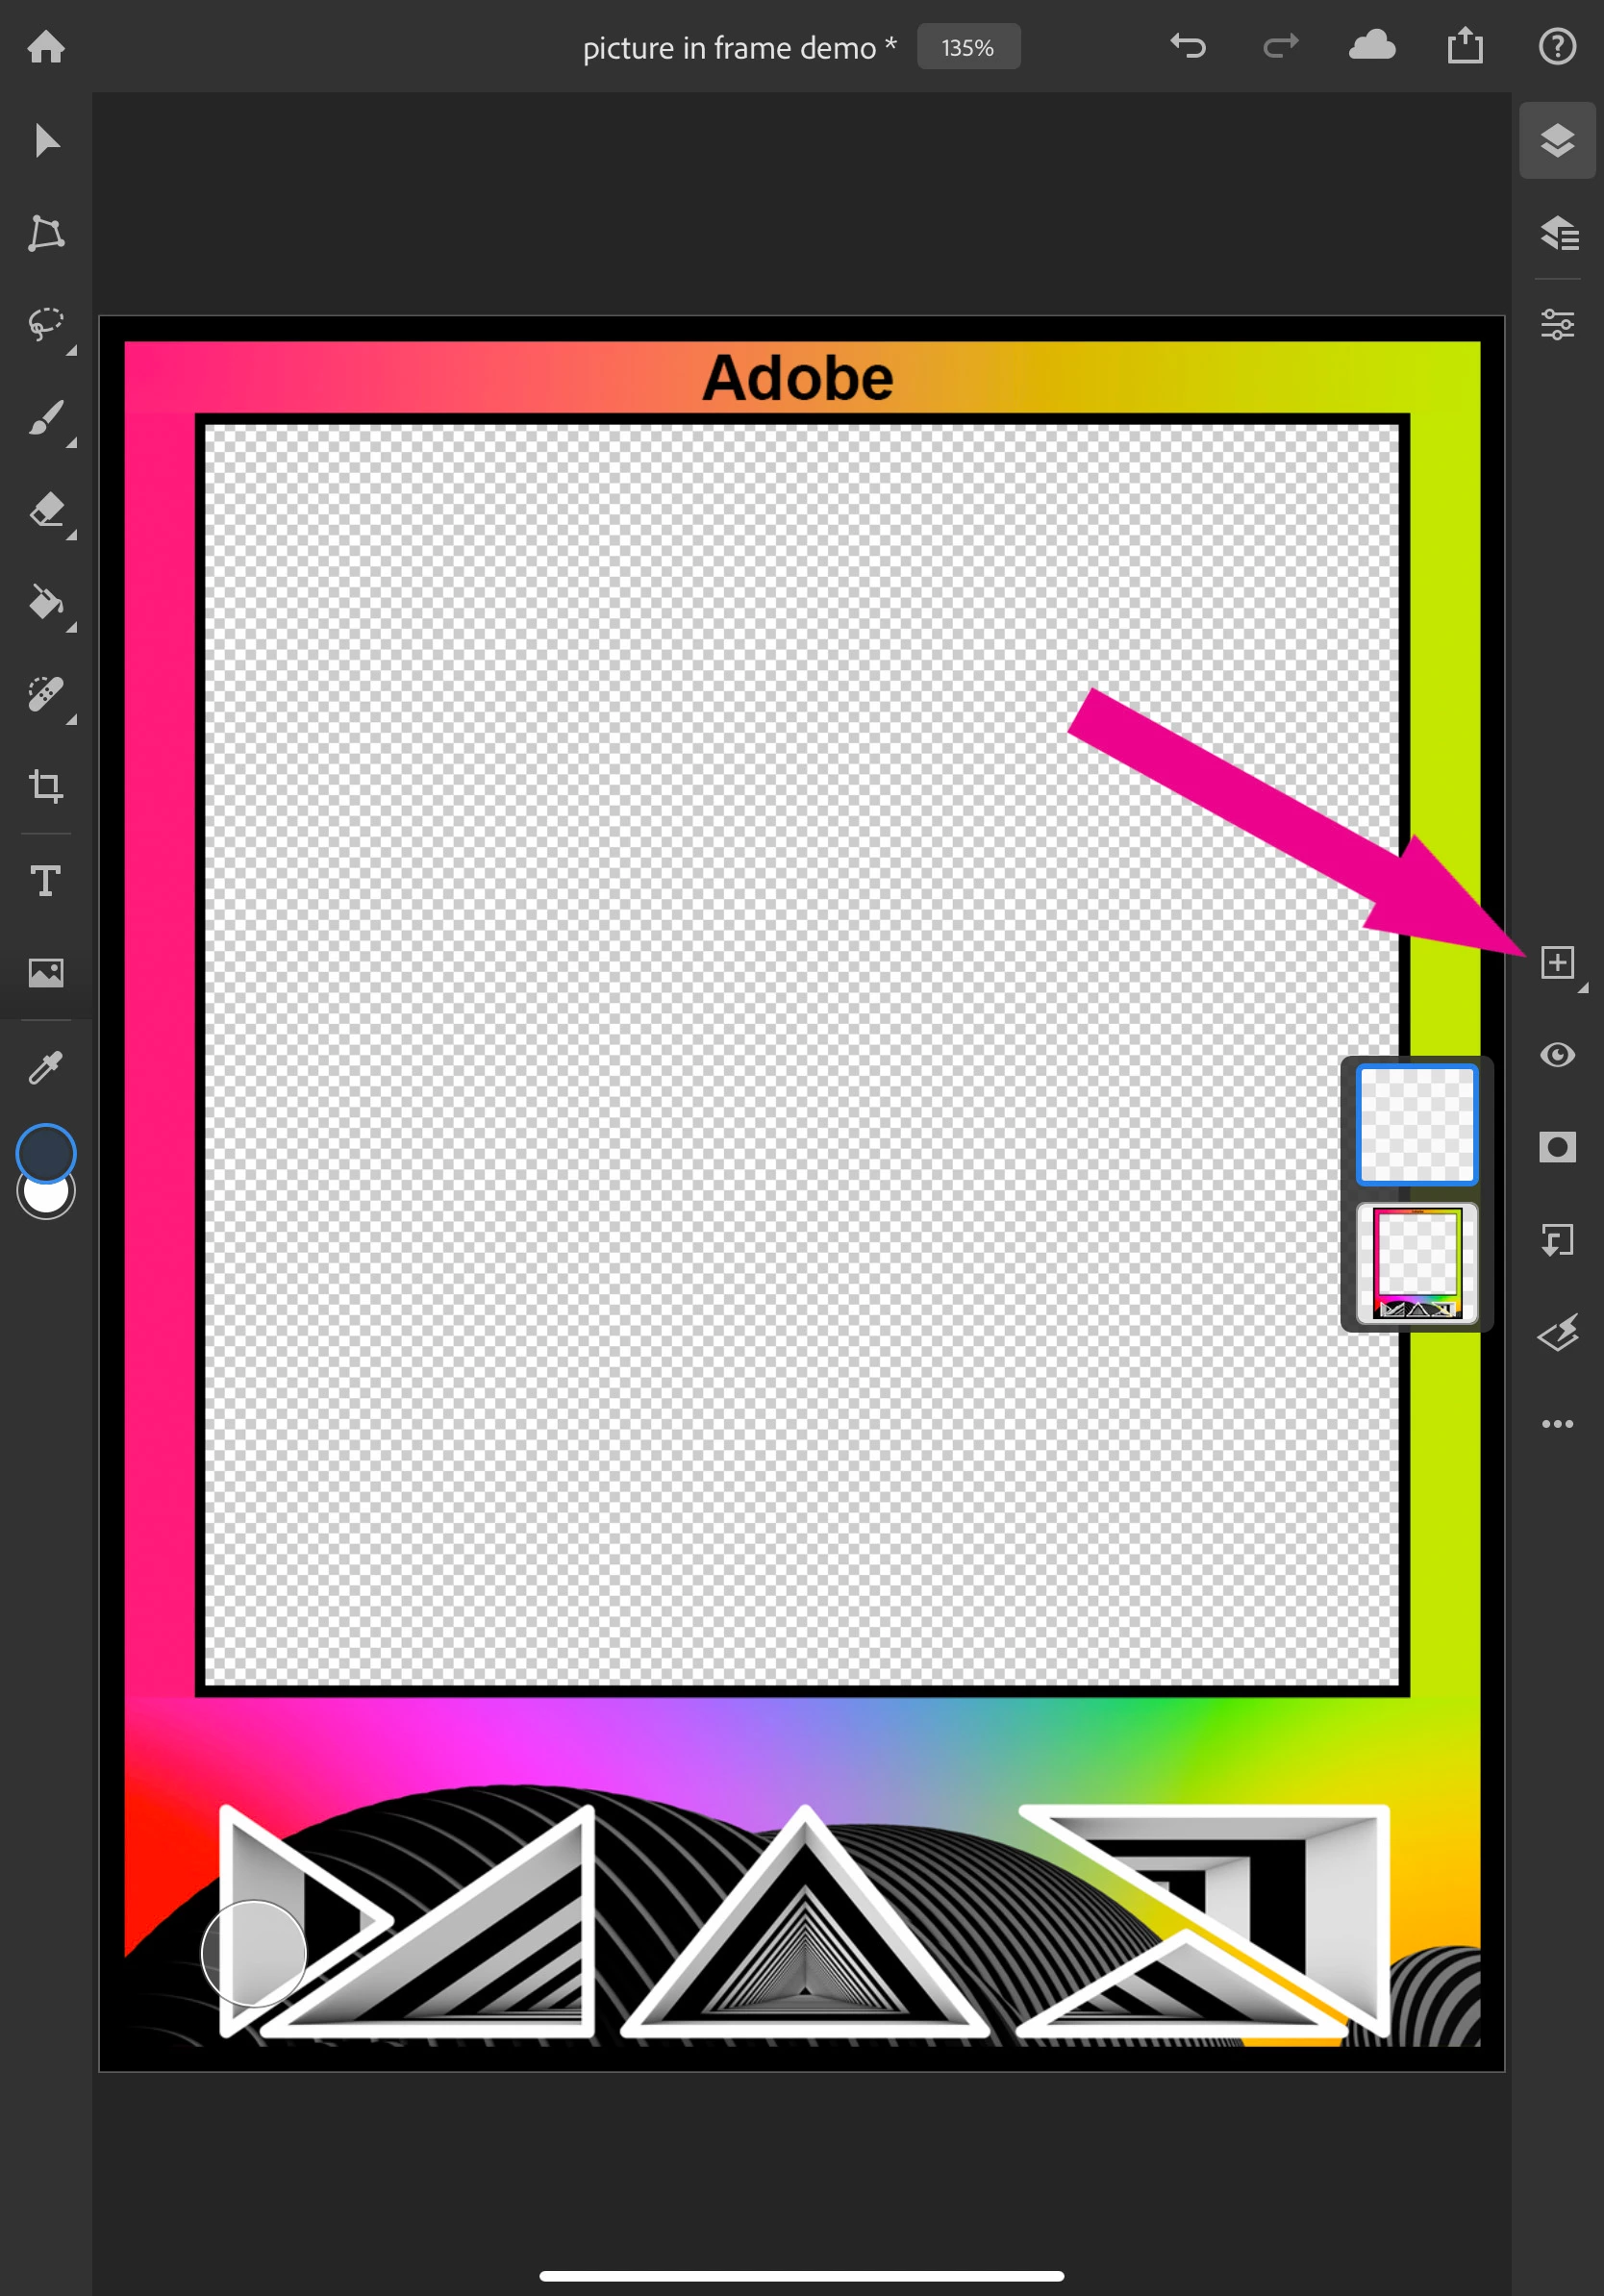
- Long press the frame layer and move it above the blank layer
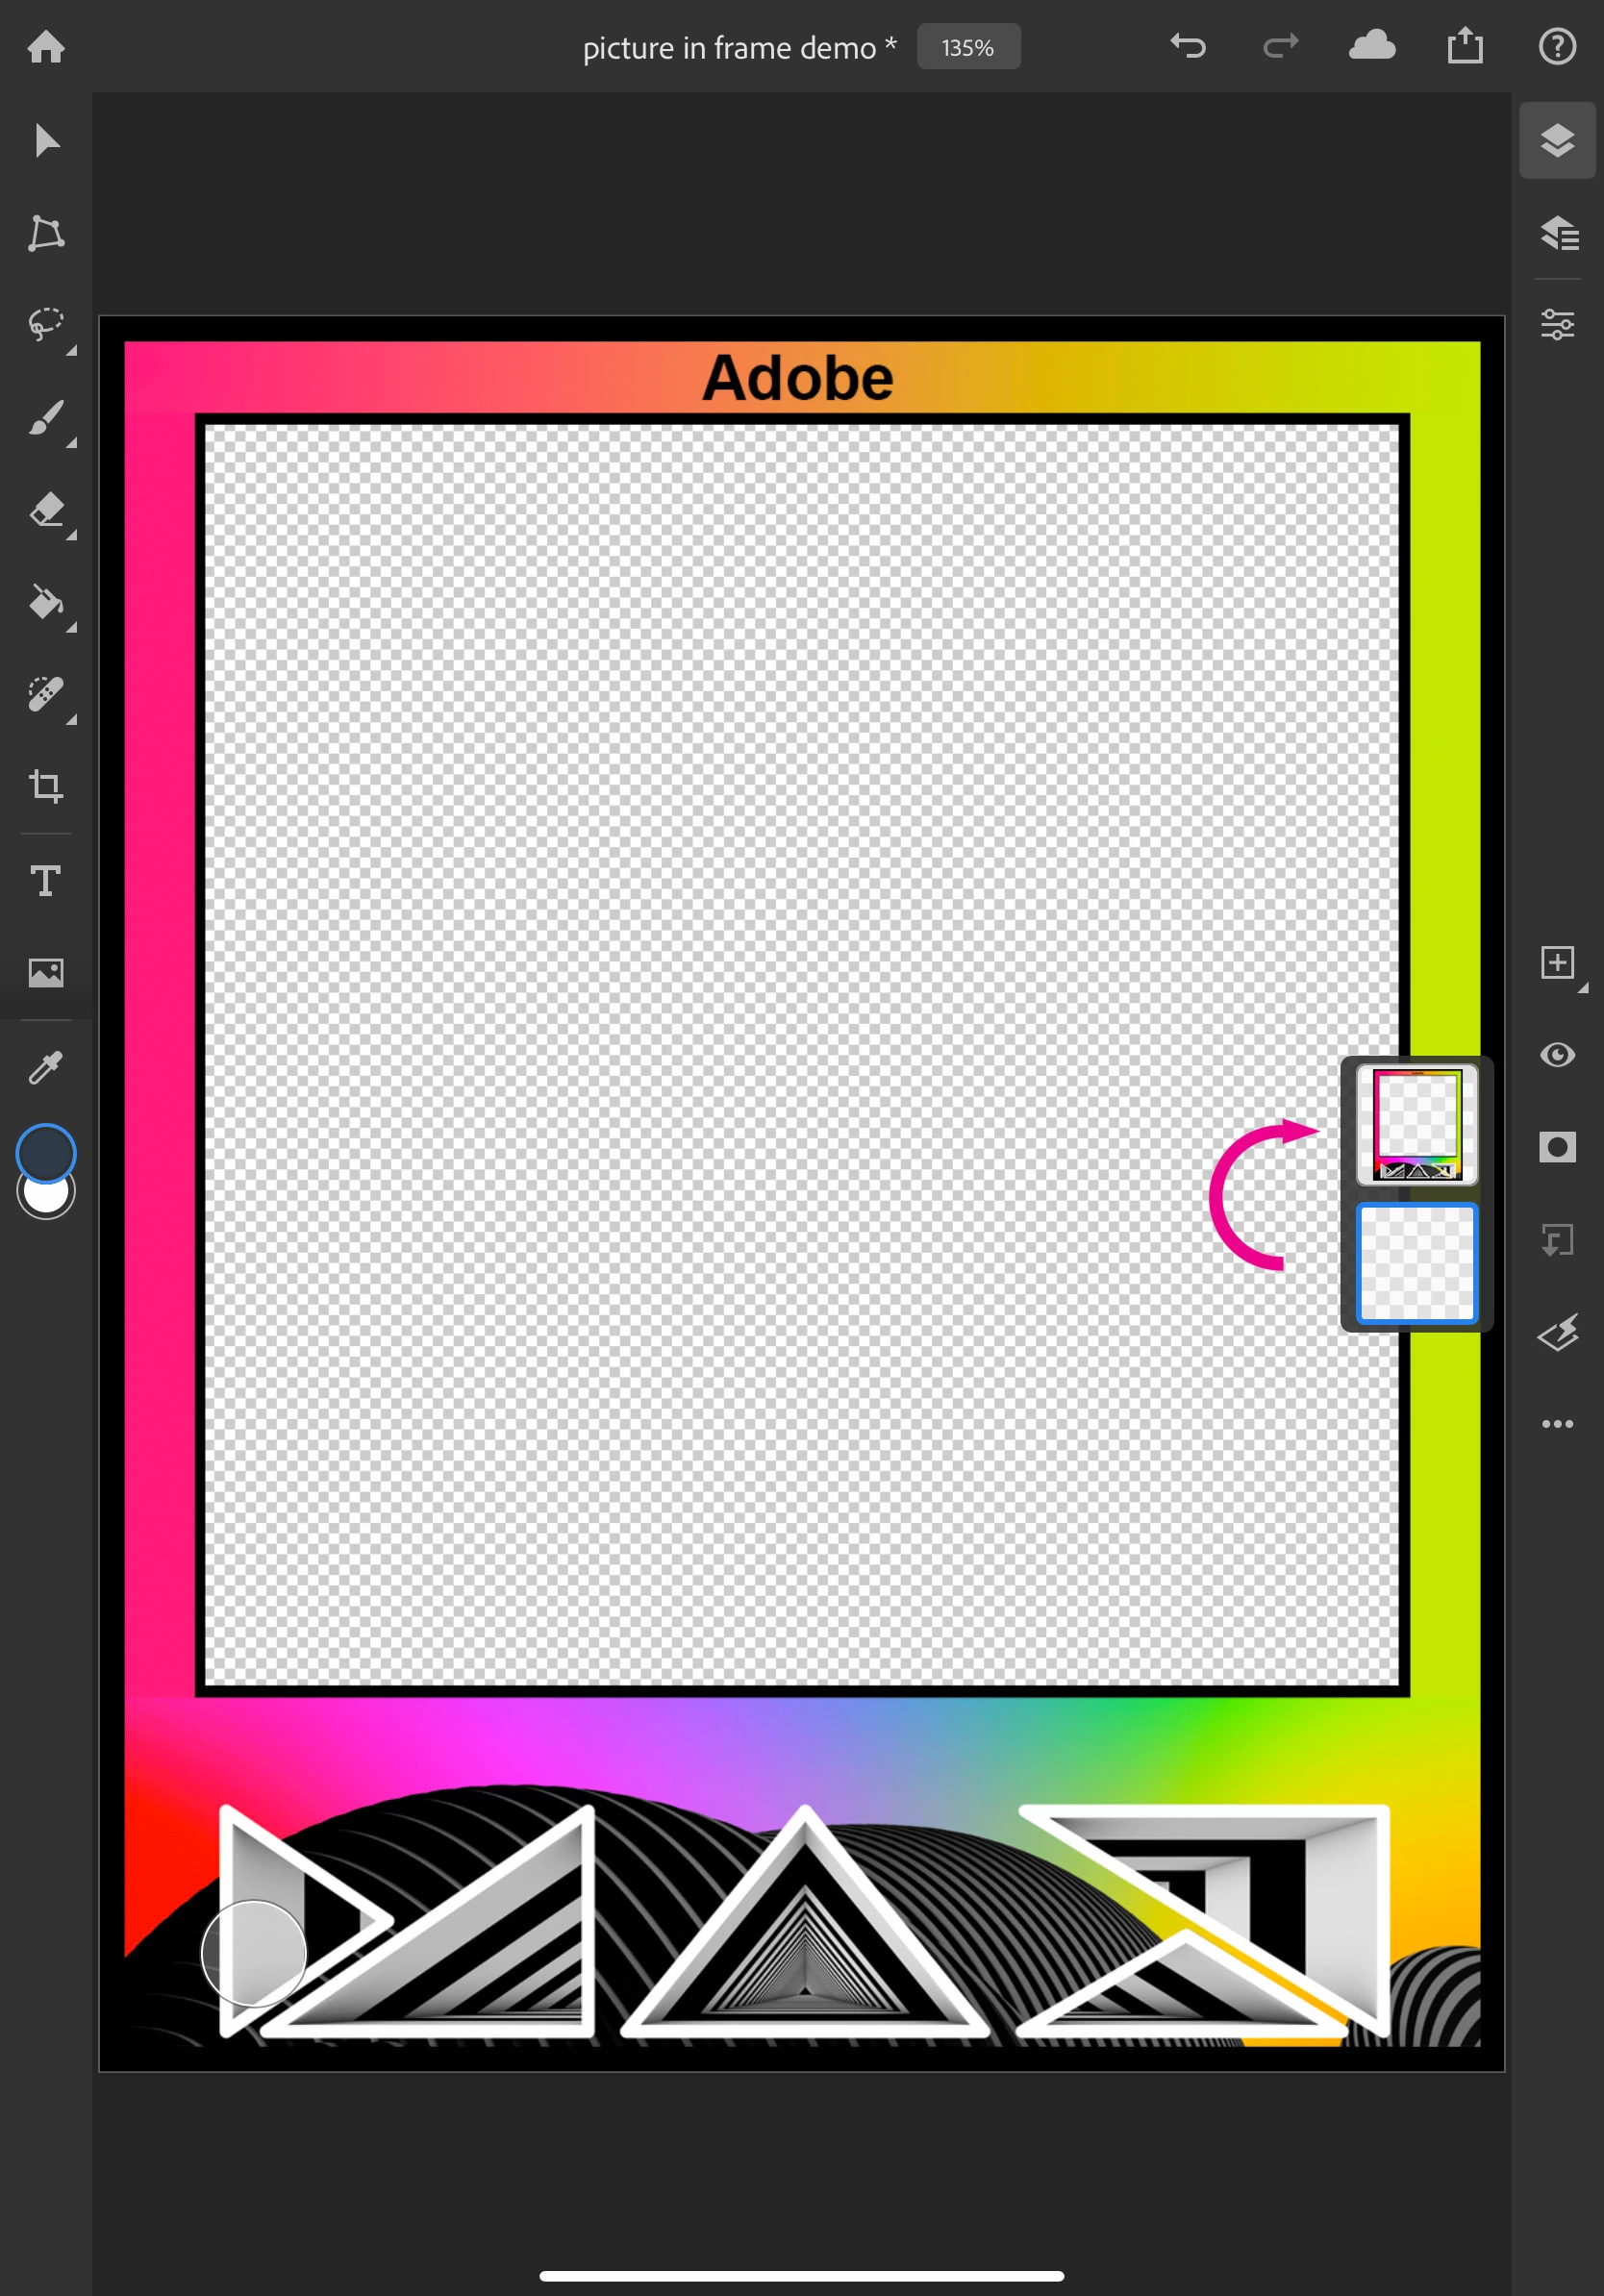
- Tap the blank layer below the frame. This will ensure the next photo goes behind the frame
4) Add a picture to the frame
- Tap the photo icon
- Next, tap camera roll or other location where you have a photo saved
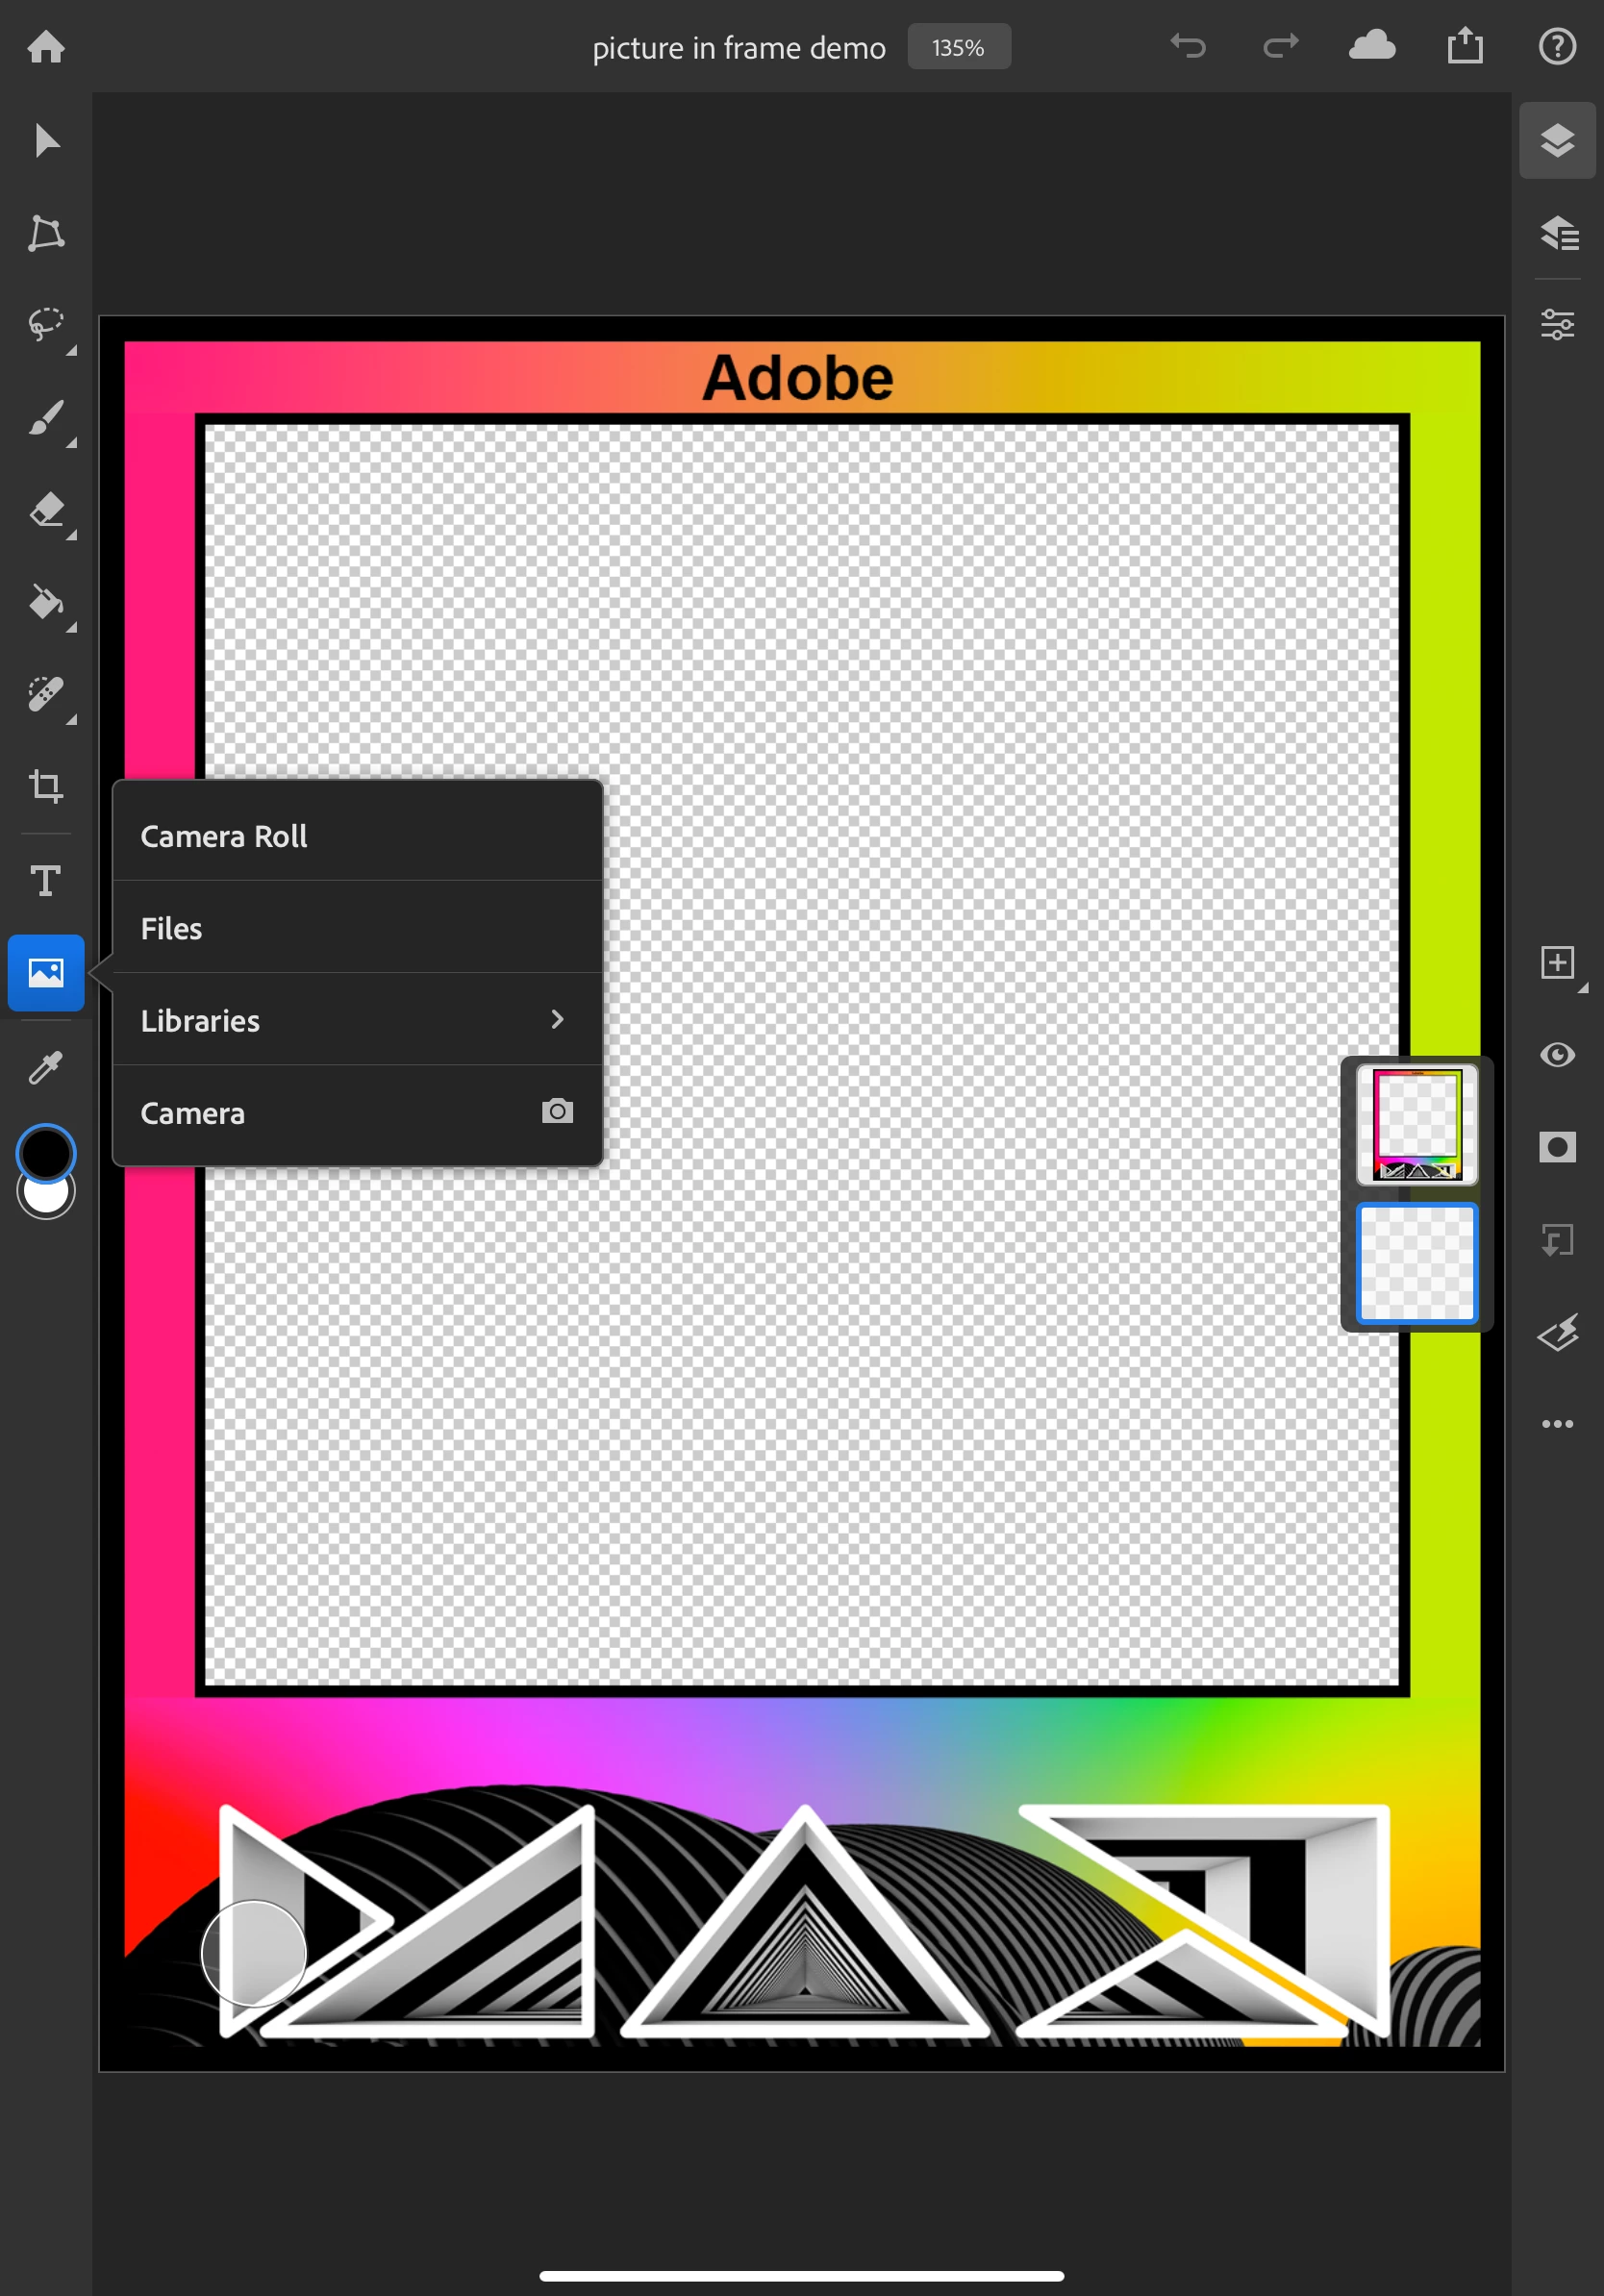
- Select a photo to put in the frame
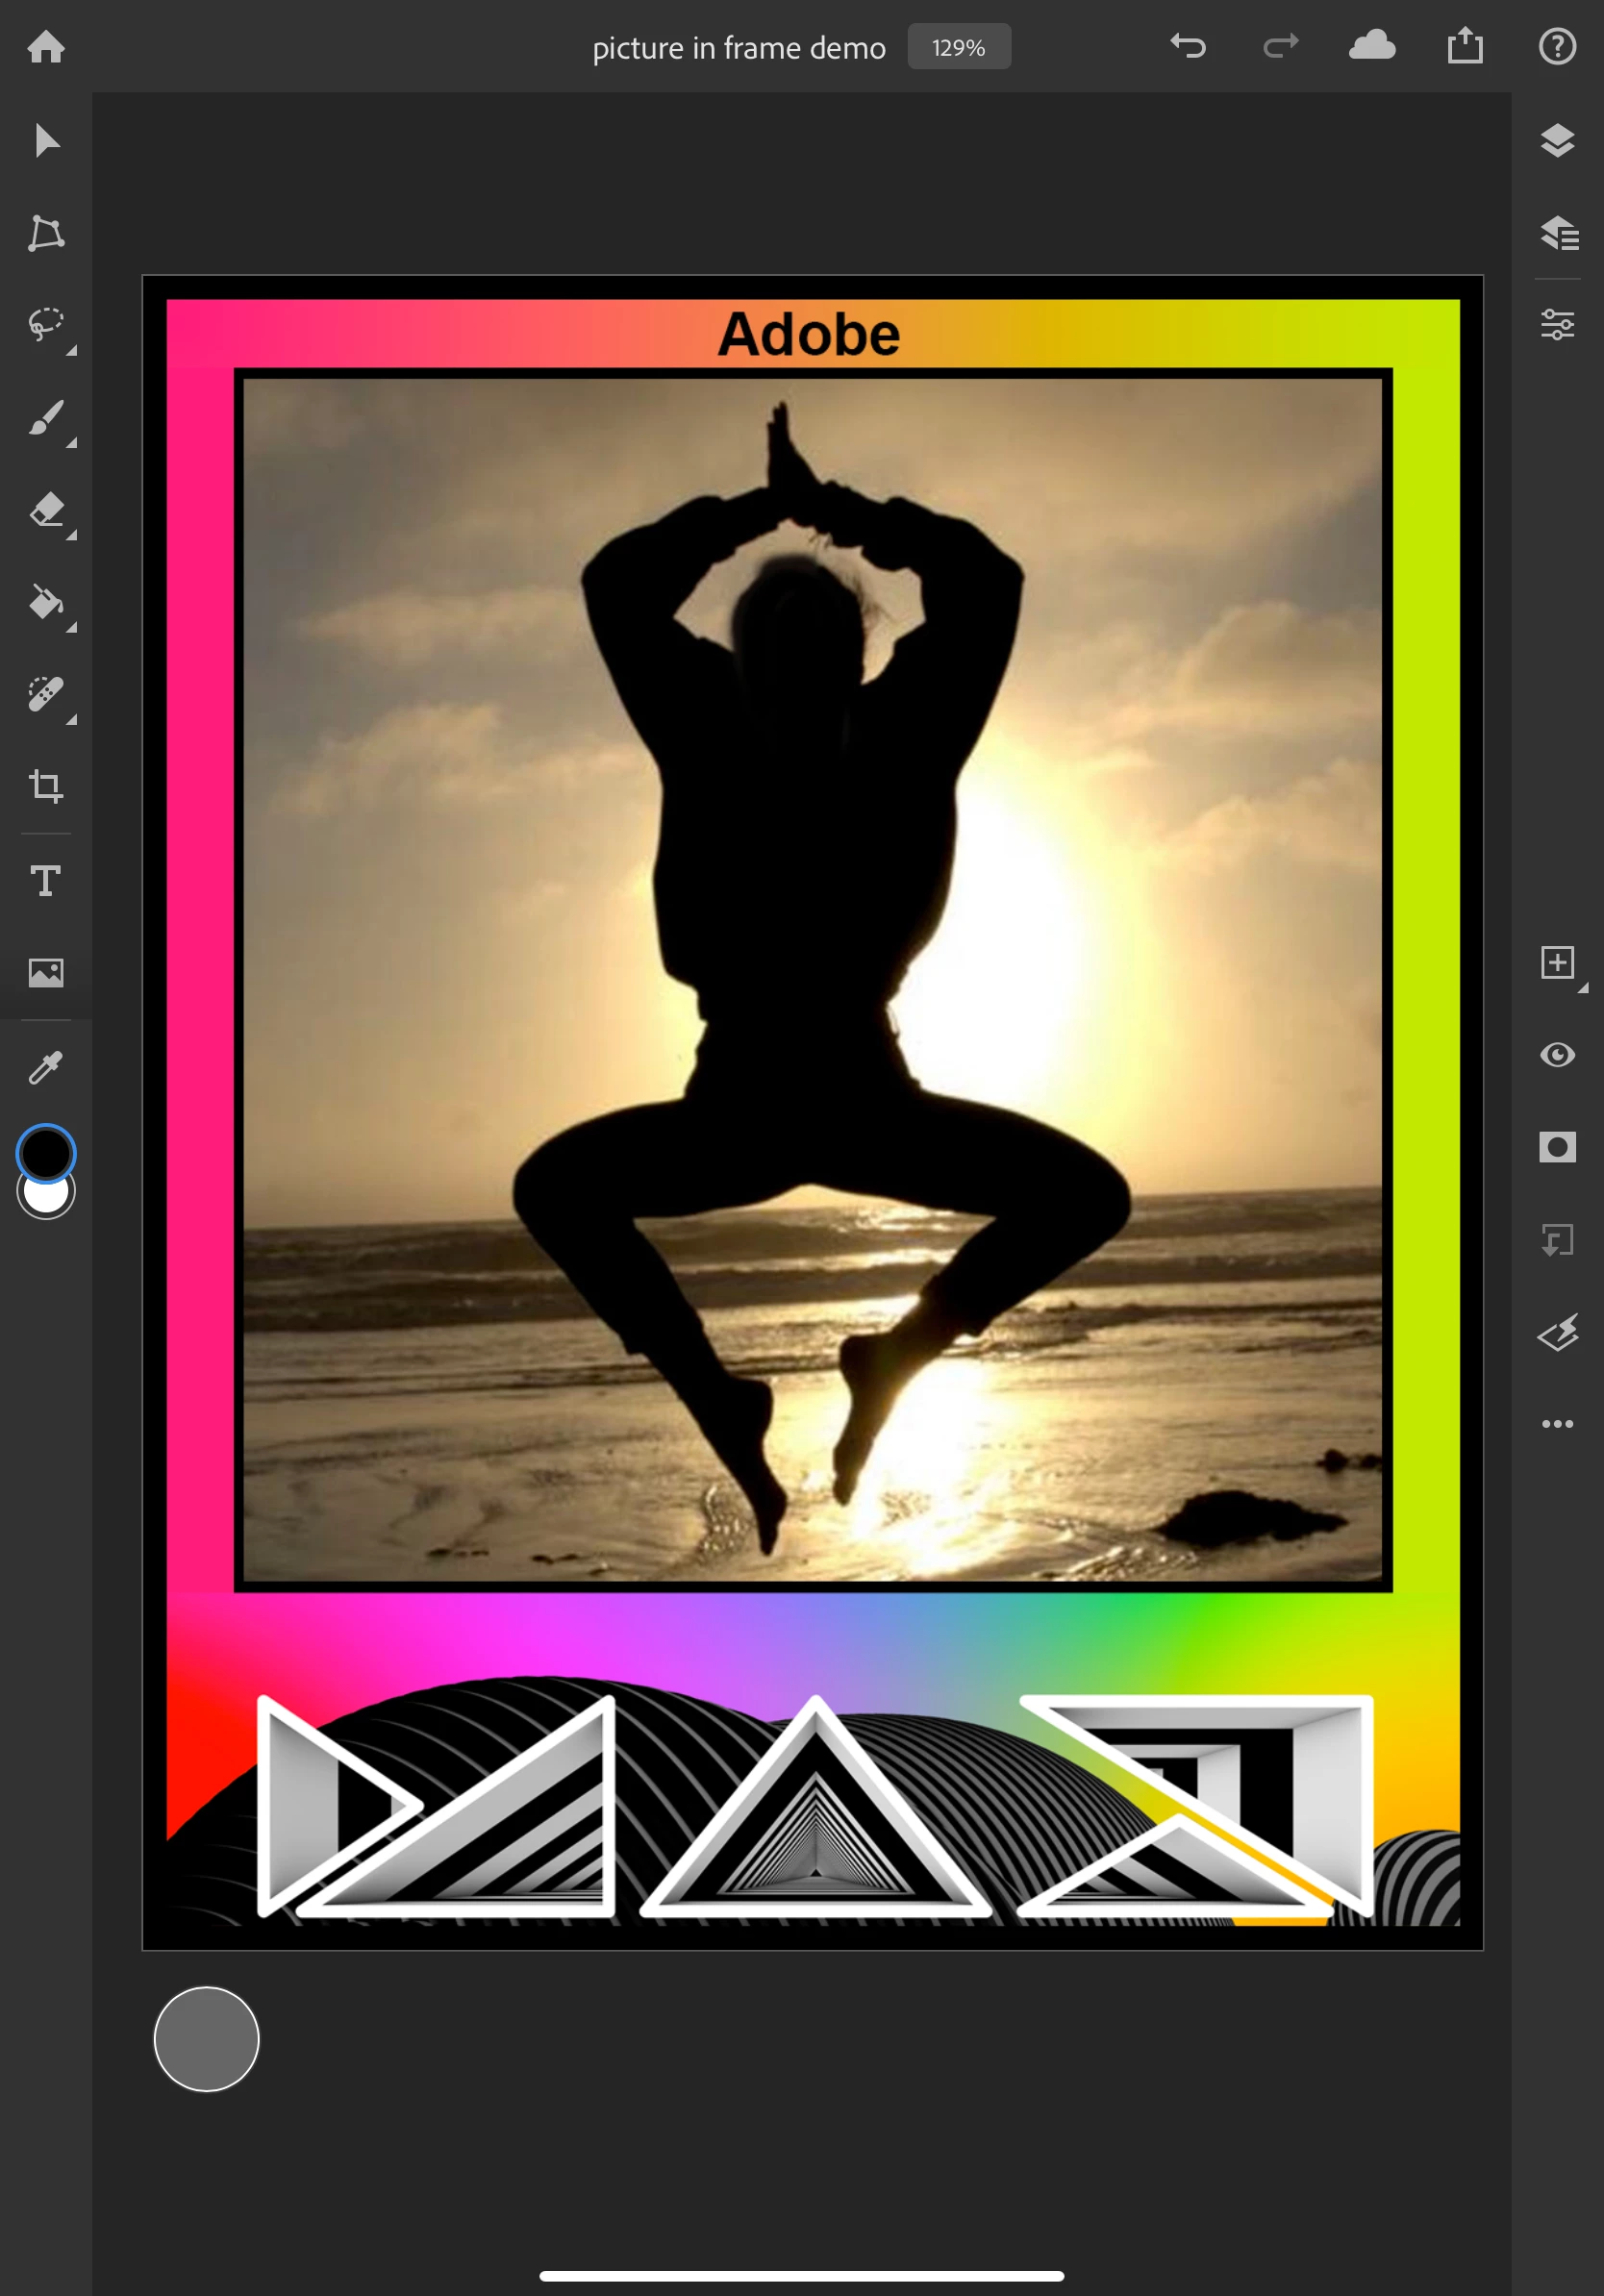
- Resize the photo to fit the frame
- Tap done
- Tap the photo flyout to hide it
- Tap the compact layer view on the right if you want to hide the layers
- Here's what it looks like now
- For more information about placing photos, see: import your photo
5) Share your creation with the Adobe Community and on Social!
- Tap the share icon in the app
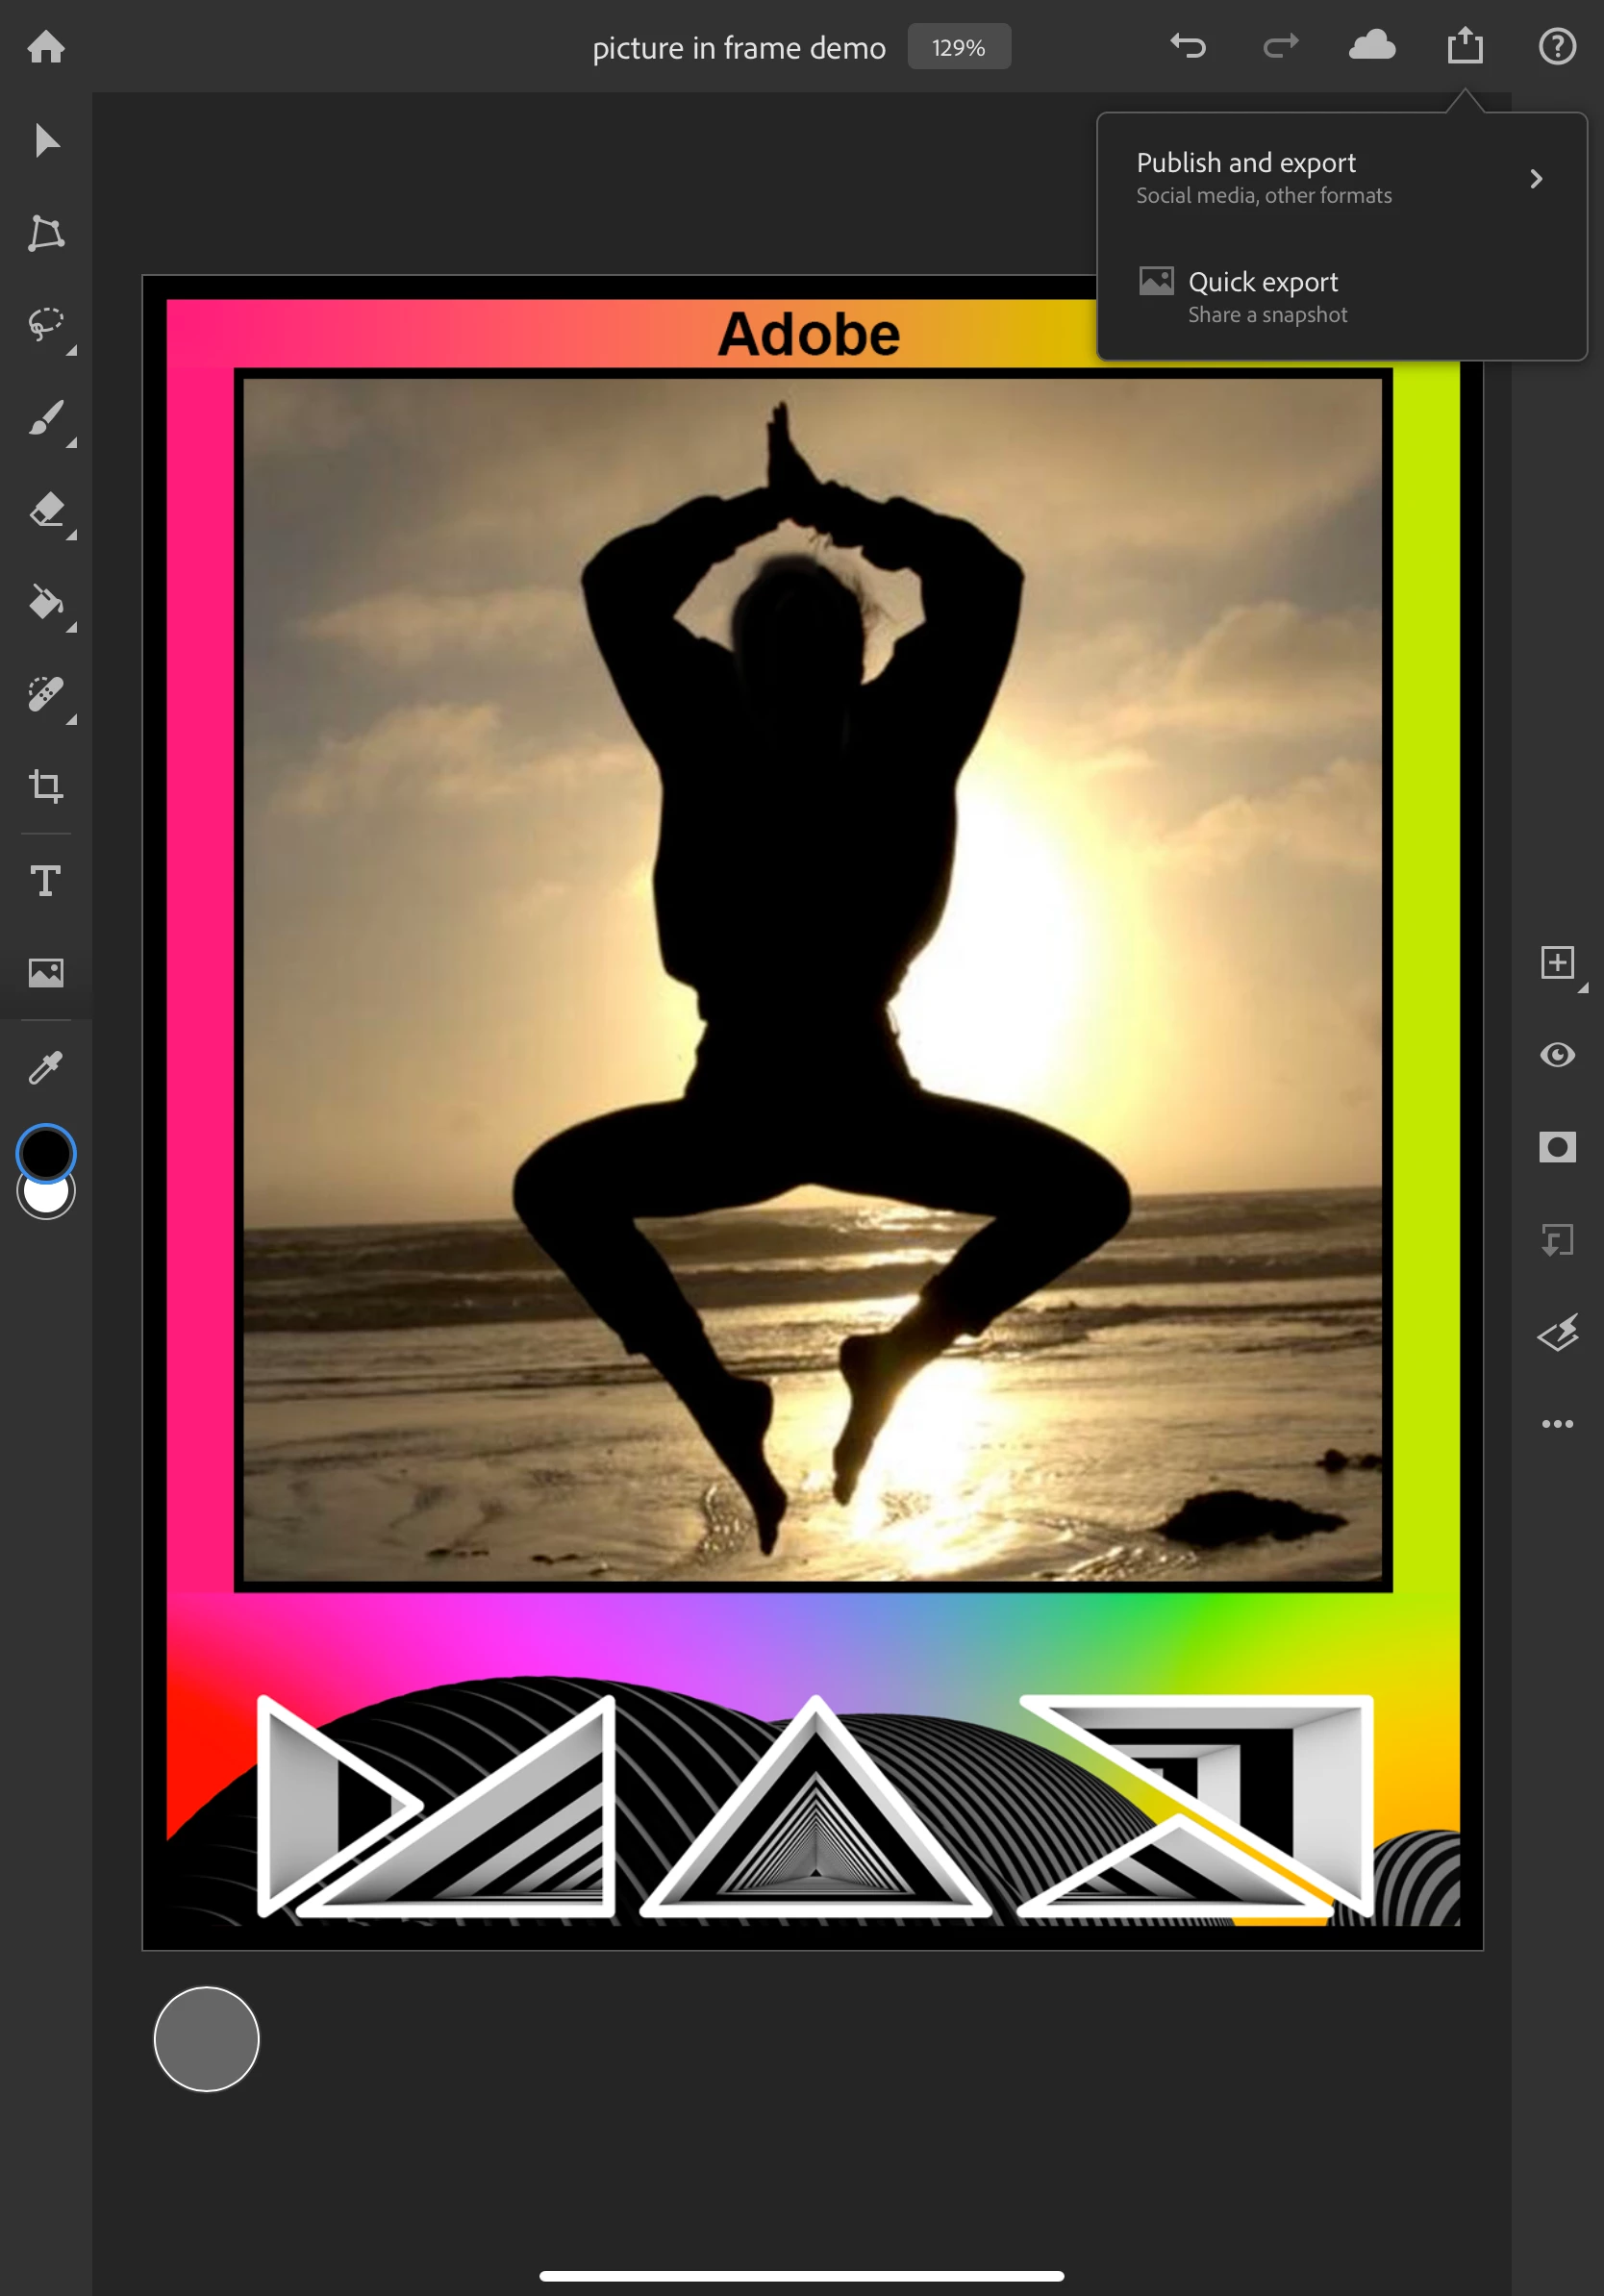
- Tap Publish and export
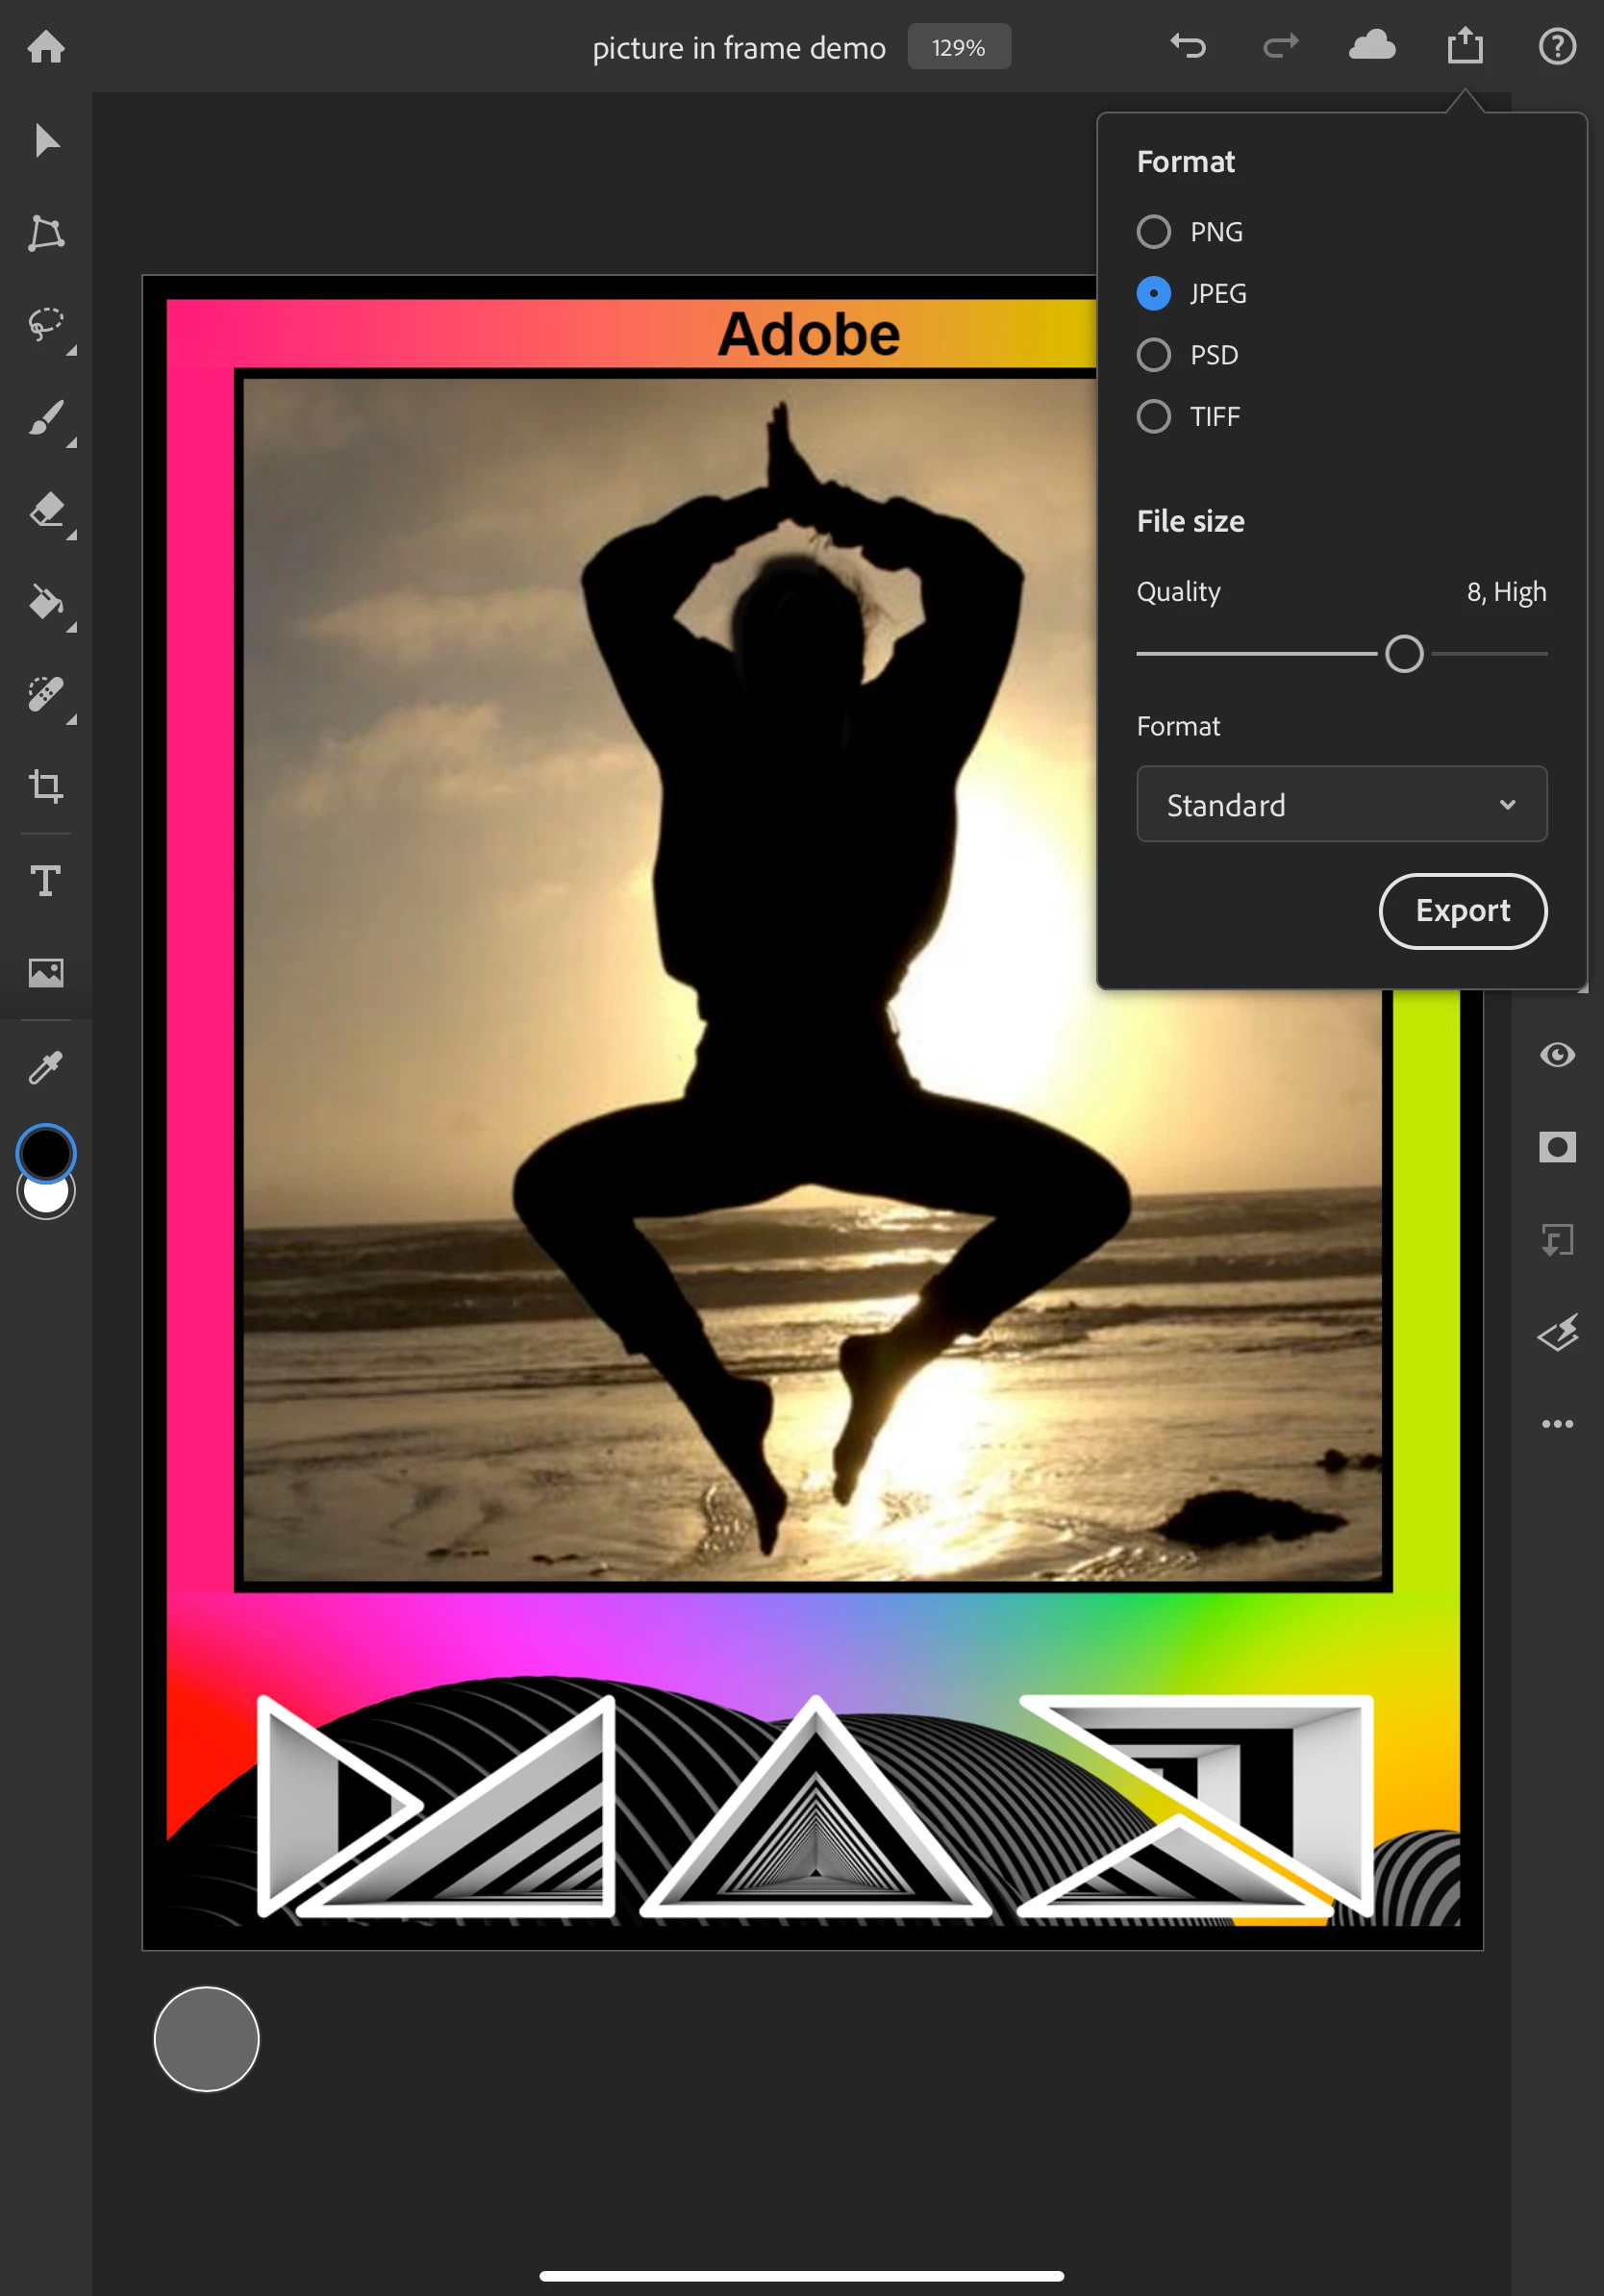
- Choose the file type and quality you wish to use
- Tap Export
- Scroll across the apps to find your favorite app for sharing
- Share it on Facebook, Instagram and Twitter with #MakeIt #FrameIt #PhotoshopontheiPad for a chance to be featured on Adobe's page
- Great! Now you are ready to explore the other things you can do in Photoshop on the iPad.
Check out these links to learn more:
- Create, open, and save documents
- Get to know the workspace
- Managing layers
- Draw and paint with brushes
- Touch gesture shortcuts
- Keyboard shortcuts
- Managing cloud documents
6) Try making your own frame
- Make a frame in Photoshop on the iPad, or try painting one in Adobe Fresco!
- See this tutorial for details
Make it! Frame it! Use Fresco and Photoshop on the iPad to design a creative photo frame
