 Adobe Community
- Home
- Photoshop ecosystem
- Discussions
- Adjusting many black and white pictures
- Adjusting many black and white pictures
Adjusting many black and white pictures
Copy link to clipboard
Copied
Hi all, whishing you're all fine I have a question I couldn't find. Web is full of tutorials about how to get a great single black and white picture; but none about to balance different pictures. I have a printing project with several black and white pencil drawings from different authors (that also used different scanning ways). I have to equalize/balance all these drawings in order to get a equalized/balanced overall look. Seems easy due to one single color channel, but I'm having a hard time.
I'll really appreciate any advise on that.
Best;
Carlos Abellanosa
Explore related tutorials & articles
Copy link to clipboard
Copied
"Seems easy due to one single color channel"
Actually grayscale is a minefield and I usually advise people to avoid it and use monochrome RGB instead.
The reason is that proper grayscale color management is almost non-existent outside Photoshop. Yes, grayscale is subject to standard color management just like RGB and CMYK - obviously not because of the color, but because of the tone response curve. This is mapped in the grayscale profile, and in Photoshop always correctly handled whatever it is. But not in other applications!
How to approach this depends on circumstances and intended use. In any case, you need to have all your files in the same grayscale profile, and Photoshop's default of Dot Gain 15% or 20% is no good for anything.
For screen use, convert everything to Gray Gamma 2.2. This is the tone response curve that most closely matches an "ideal" monitor, so it should display consistently everywhere.
Printer color management, outside Photoshop, will most likely not treat grayscale correctly. Convert to RGB first.
For offset print, chances are your grayscale file will end up on the black plate only. That gives very weak blacks and a muddy/undefined look as a result, but if that's OK, you can set the grayscale profile to reflect that and ensure consistency ("Black ink - <CMYK profile used>"). For best results in offset print, convert to RGB so that it will print on all four plates (rich black).
---
Then there is another, unrelated matter. Pencil drawings usually resolve into very fine/crisp texture. When working on these files, it is critical that you always judge any adjustments at 100% view. This is extremely important!
Again, there's a reason. All adjustment previews are calculated on the basis of the on-screen image. Zoomed out, this is a downsampled, softened and blurred version where crisp pixel transitions are blended into middle values. In other words, you get a misleading preview and a different result when the adjustment is committed.
At 100%, exactly one image pixel is represented by exactly one screen pixel. This is what 100% means.
Copy link to clipboard
Copied
If the mode of the line drawings is RGB they will convert to 4 color CMYK for press output, and in most cases that will cause registration and color cast problems on press.
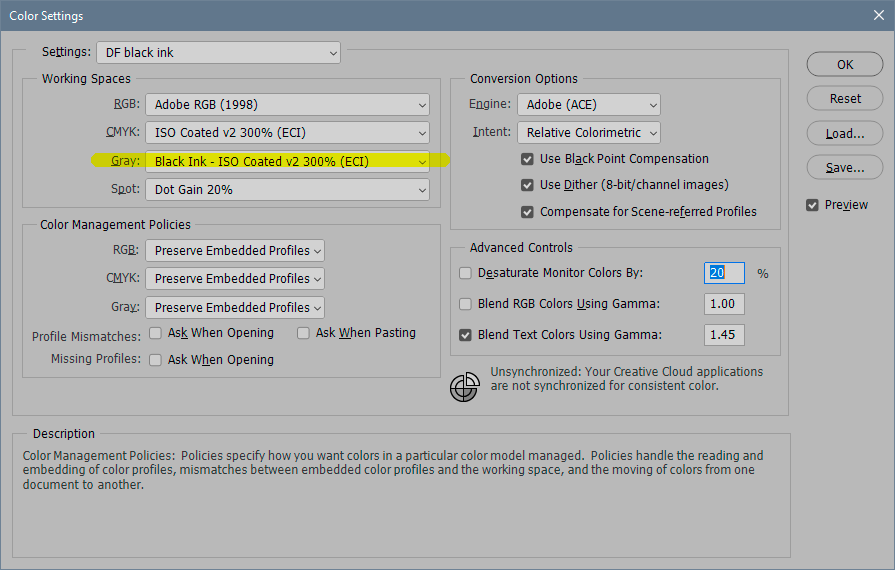
Photoshop lets you create Black Ink profiles from your destination CMYK press profile, which can be used as the Gray profile for grayscale images. If you search the forums for Black Ink profiles there are a number of posts on how to create and use them.
Copy link to clipboard
Copied
Yes, that's what I said, but on second thought I was probably thinking more about photographs than pencil drawings. Black ink alone doesn't produce a very deep black - more charcoal gray than black, in fact. That is a problem with photographs where you want a black with a punch. But for delicate pencil drawings it is possibly just right. And yes, you avoid registration issues.
Setting up that profile in Photoshop Color Settings is very simple: click "load gray" under working gray, and navigate to the CMYK profile you want.
When it's set up like this, the black ink profile becomes selectable everywhere, including under "convert to profile" and "assign profile".
Copy link to clipboard
Copied
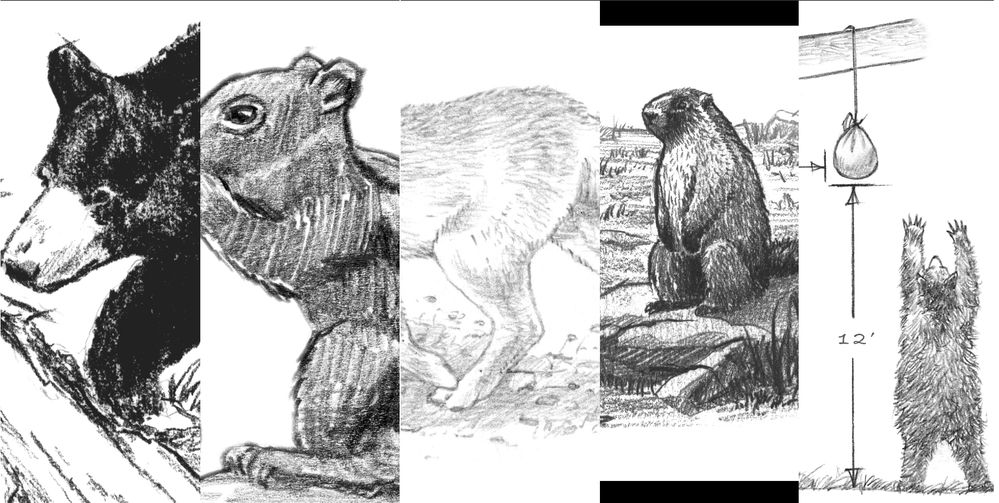
Hi all, I really appreciate your time an thoughts; here an example of some of the dozens pictures I have and the Indesing screen. I'm pretty much forced to use grayscale due to printed project is based on a 2-tones Pantone. And as far as I know mixing CMYK for a 'strong' black only combining 40-60% cyan + 100% black; adding more inks turns to dirty brown and printer will not be really happy: innecesary ink use and extended dry time. I do understand each drawing has it 'nature' and it would have been simpler if all of them came from the same hand; but this is a re-re-edition case...
I'm working on profiles as you suggested.
Thnks again
Copy link to clipboard
Copied
Load your InDesign document’s assigned CMYK profile as the Color Setting’s Gray Working Space as @D Fosse is showing. If you make a conversion to Grayscale either via Convert to Profile... or Image>Mode>Grayscale the Black Ink version of the CMYK profile will be assigned to the image. You can then color correct the different grayscales to match.
Save the files as .PSDs—embed the profile when you save in case you want to make additional corrections in the future. InDesign will ignore the Gray profile and display the grayscales on the CMYK black plate—you’ll need to turn on Overprint Preview in order to get a color managed soft proof of the grayscales.


