Known Participant
November 17, 2019
Answered

Adjustment Layers Not Saving to Image

  • November 17, 2019
  • 2 replies
  • 8835 views

Hello,

I'm using CS6 to edit an image. I've added some adjustment layers (contrast, brightness, saturation.) When I save the image, only some of the layers (or maybe just some degree of the adjustments) are saving to the image. When I open the saved image, the contrast and saturation are much different than they look in photoshop before saving. It's not quite the original, un-adjusted image, but it's also not the fully adjusted image. It's almost like it's halfway in between.


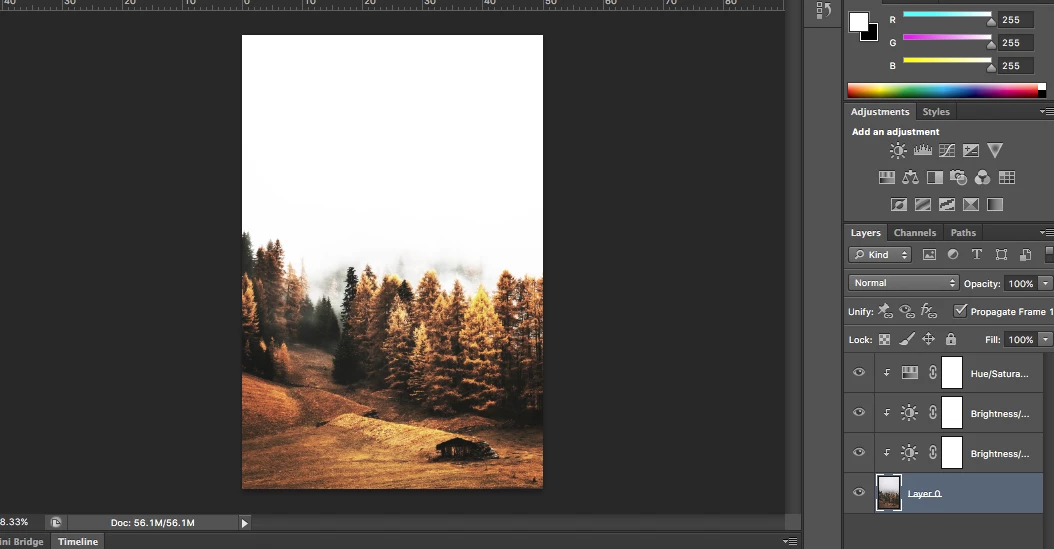
Here's how the adjusted image looks right before I click save.


Here's how the saved image looks.


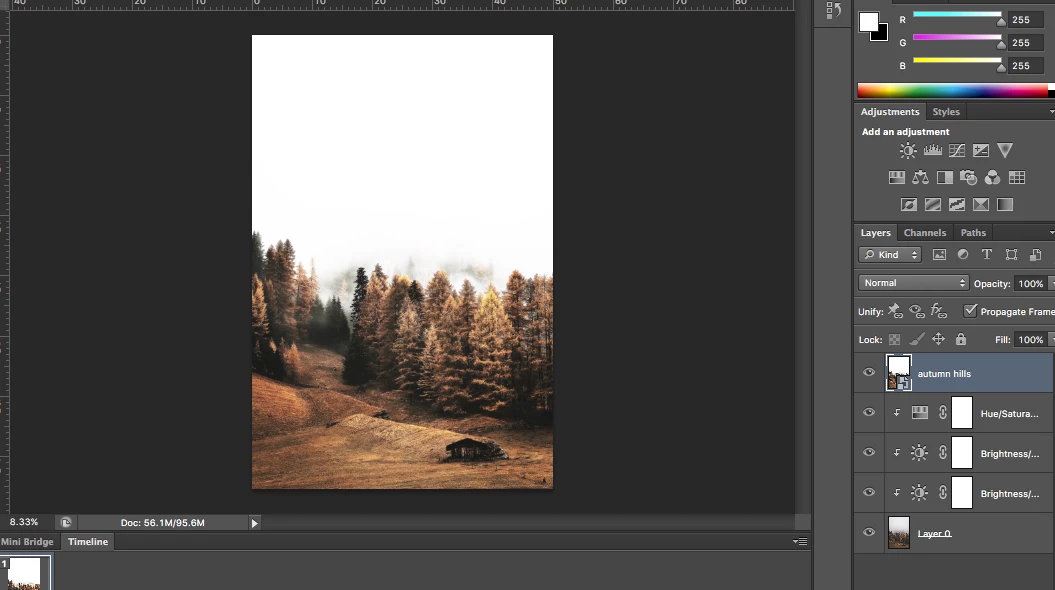
You can see the saved image has lost some saturation and/or some contrast.
I edit images frequently, and have never had this issue. Could it be a problem with the original image itself? 

Thanks

This topic has been closed for replies.
Correct answer D Fosse

Hard to say without more information, but there are two possibilities.


My guess is that this is a noisy image, which means that the adjustment preview is unreliable unless you view at 100%. For performance reasons, the preview is calculated based on on-screen zoom ratio - in this case a downscaled and therefore softened version. This means that sharp pixel transitions are lost, and a lot of intermediate values introduced - but these intermediate value aren't there in the original data.


So when the final calculation is done, the effect of the adjustment appears to get lost. But in fact it was never there, it was just an unreliable and inaccurate preview.


Always check at 100% view with noisy images. With "normal" images this isn't an issue.


The other possibility is that you're saving without an embedded color profile. This can happen if you make changes to Photoshop's color settings without knowing what you're doing. Never do that. It can also happen with Export/Save For Web if you don't check "embed profile".


But try 100% first.


2 replies

D Fosse
Community Expert
D FosseCommunity ExpertCorrect answer
Community Expert
November 18, 2019

Hard to say without more information, but there are two possibilities.


My guess is that this is a noisy image, which means that the adjustment preview is unreliable unless you view at 100%. For performance reasons, the preview is calculated based on on-screen zoom ratio - in this case a downscaled and therefore softened version. This means that sharp pixel transitions are lost, and a lot of intermediate values introduced - but these intermediate value aren't there in the original data.


So when the final calculation is done, the effect of the adjustment appears to get lost. But in fact it was never there, it was just an unreliable and inaccurate preview.


Always check at 100% view with noisy images. With "normal" images this isn't an issue.


The other possibility is that you're saving without an embedded color profile. This can happen if you make changes to Photoshop's color settings without knowing what you're doing. Never do that. It can also happen with Export/Save For Web if you don't check "embed profile".


But try 100% first.


Known Participant
November 19, 2019

Thank you. Looks like we have a winner! It was the first explanation (not viewing at 100%.) If I zoom to 100% it looks much different. And you're correct, it is a very "noisy" image. When zoomed in, it is very grainy/lots of little details, specks, etc.


Participant
October 24, 2021

Please change the image resolution from image size, maz of 200 DPI/ INCH It should works Inshallah.

The pic is already digitally saturated with white due to bad scanning or image resolution is higher than the expected by the program logics.


Change the resolution lower it, it works.

Chuck Uebele
Community Expert
Community Expert
November 18, 2019

Your screen shots are too small to read. What is that layer that looks like a smart object at the top of the layer stack in the after saved screen shot. It's blocking all your corrections. Where did that come from?

Known Participant
November 18, 2019

The top layer in the second screenshot is the saved image that I dragged and dropped from my desktop. I dropped it in the same PSD for the screenshot, but this didn't affect its appearance. It looks the same regardless of where I open it (a new photoshop window, Preview, a browser window, etc.)

The next three layers are the adjustment layers (Hue/Sat & two Brightness/Contrast layers) followed by the original image as the bottom layer.

JJMack
Community Expert
Community Expert
November 18, 2019

How did you save the image and how are your Photoshop Color setting set.  Export and Save for Web can convert images colors to sRGB colors and yous Photoshop colors settings control how color mismatchs are handled.

JJMack