Participant
November 4, 2017
Answered

Boy Scout Hike Map - Marking The Route

  • November 4, 2017
  • 2 replies
  • 1149 views

I am a new Photoshop user - trying to memorialize a great Boy Scout hike my son and I took. 

I have a high-quality scan of a 2-foot by 3-foot map and want to lay down a line to follow our trek.

Should I use the line tool?  Brush?  -and once i lay out the plot, I want to be able to change the color, width, and solid/dash look of the hike's trace until it looks right.

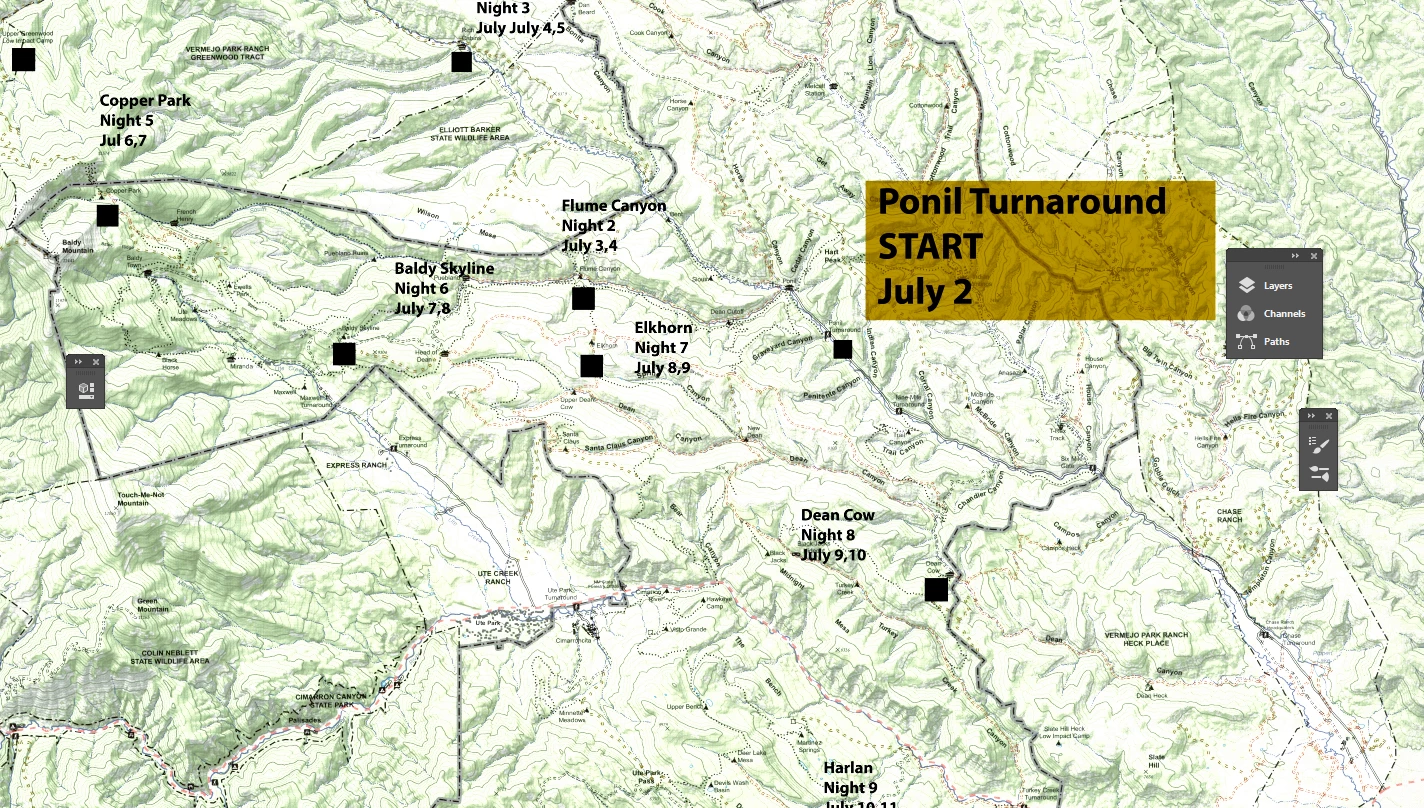
The screen shot is a partial view of the full map.  A sample segment would go from Ponil Turnaround to Flume Canyon, then from Flume Canyon to the Baldy Skyline.

Can anyone help guide me here?  Many thanks in advance  -bw

This topic has been closed for replies.
Correct answer Barb Binder

The Pen tool has two modes: Shape and Path. In this case, you want to choose Shape before you start. This creates a new Shape layer in the Layers panel, and draws an editable path on that layer.

Take another look at my first screen shot. Do you see the word Shape outlined in orange at the top left? Once you start drawing, the new Shape layer appears as in my second screen shot. You can change the line look as soon as you finish drawing, or use the Selection tool to click on the line—in either case, the formatting commands are visible on the Options bar as per the 2nd screen shot.

~Barb

2 replies

Barb Binder
Community Expert
Community Expert
November 4, 2017

Sorry about that. This is a confusing area in Photoshop for a lot of people, but it sounds like you figured it out. And that trip looked amazing!

~Barb at Rocky Mountain Training
Barb Binder
Community Expert
Community Expert
November 4, 2017

I would use the Pen tool—it gives you the most flexibility.

To get started, click on the Pen tool, and then choose Shape from the Tool Mode Preset menu on the Options Bar.

To add lines, just click where you want to start and click where you want to end. If you want the entire trek to be one continuous line (all the same color, width, dashed or solid) just click in the center of each black square. If you would prefer to be able to work with each hike individually, after you complete a segment, Ctrl/Cmd click on an empty part of the page to signal that you are finished with the path, and the you can start a new one. 

You can manipulate the paths after you finish with the Selection too (black arrow) and the Direct Selection tool (white arrow). Use the Selection tool to select the path and change the Stroke color, Stroke Width and Stroke Type (solid or dashed). Use the Direction selection tool to drag the start and end anchor points to a new position.

~Barb at Rocky Mountain Training
Participant
November 4, 2017

Barb -

Thanks for the quick and detailed reply.  I greatly appreciate it.  The Pen works great!

But for the life of me...i can't figure out how to modify the pen's properties once i've drawn it.  The first time I tried the Pen, it came out as a Path and not a Layer.  So I made a new layer and then used the pen.  But in either case, i can't figure out how to make the line a different color, shift from solid to dashes, etc.

Can you help me clarify your last point on that?

Again - thanks so much!

bw

Barb Binder
Community Expert
Barb BinderCommunity ExpertCorrect answer
Community Expert
November 4, 2017

The Pen tool has two modes: Shape and Path. In this case, you want to choose Shape before you start. This creates a new Shape layer in the Layers panel, and draws an editable path on that layer.

Take another look at my first screen shot. Do you see the word Shape outlined in orange at the top left? Once you start drawing, the new Shape layer appears as in my second screen shot. You can change the line look as soon as you finish drawing, or use the Selection tool to click on the line—in either case, the formatting commands are visible on the Options bar as per the 2nd screen shot.

~Barb

~Barb at Rocky Mountain Training