Here, I'll be a bit more specific. Do things in exactly this order:
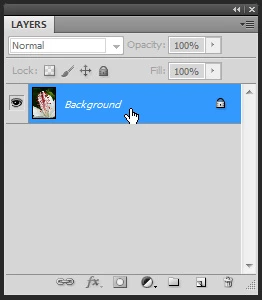
>1. Make the image a layer (not Background).
To do this, make the LAYERS panel visible, hold down the Alt key, and double-click the Background. It should become Layer 0. If it is not the Background to start with, you can skip this step.
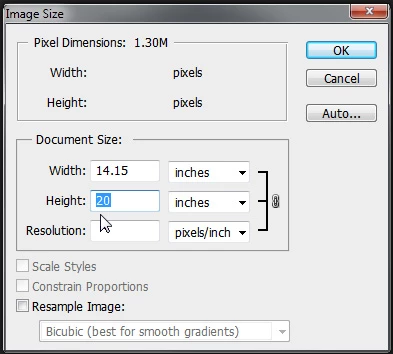
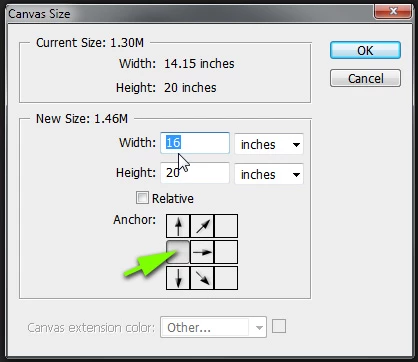
>2. Increase the canvas size to 16 x 20 ratio, opening new space on the right.
Image - Image Size, UNcheck Resample Image, and make the image 20 inches tall. Then Choose Image - Canvas Size, and expand to the right as follows:
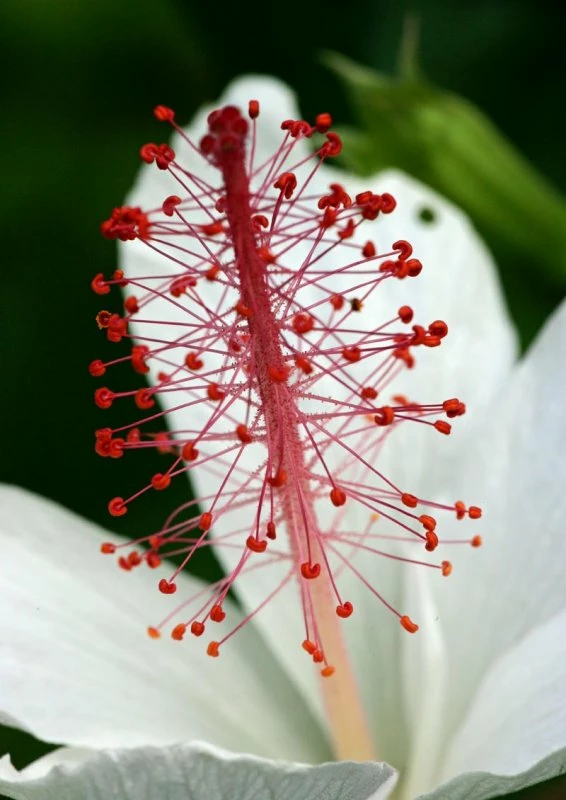
>3. Do a rectangular selection excluding most of the red parts.
You should have, at this point, an image with some checkerboard showing on the right side. Choose the Rectangular Marquee tool as I noted above in post 5 and drag it around the area shown in post 1, including a few of the red parts.
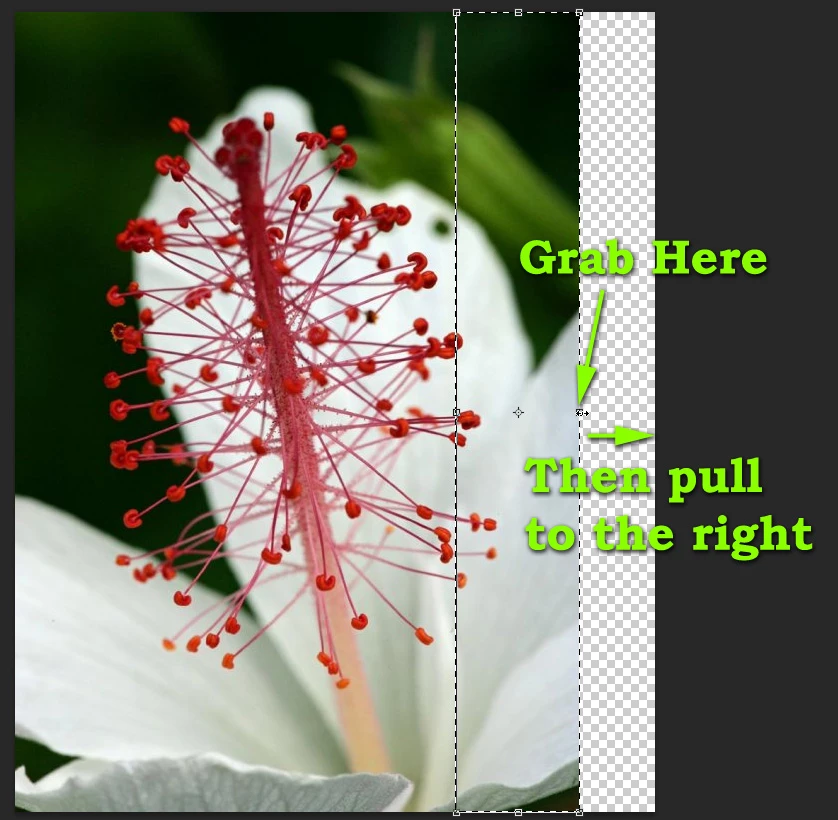
>4. Edit - Content Aware Scale and drag the right edge handle to fill the canvas.
Click Edit - Content Aware Scale from the menu. You'll get a set of little square handles all around the portion of the image that you selected. Grab the one at the right edge and pull to the right, as shown here:
>5. Touch up (e.g., lightly blur) any edges that have become noisy because of the operation.
After the Content Aware Scale operation, I saw that the flower petal edge was a bit rough looking, so I thought it might be a good idea to select the Blur tool and brush over the edge lightly.
-Noel