- Home
- Photoshop ecosystem
- Discussions
- Curve an design to fit a tapered label template
- Curve an design to fit a tapered label template
Curve an design to fit a tapered label template
Copy link to clipboard
Copied
Hi Everyone
I am looking for some help. I am doing some work on labels and the designs that I get are rectangular, but the final label print needs to be curved as it is going on a bucket that is tapered. see the below image.

I'm looking for a quick way to get the design to match the curve of the template, once the design is complete and going to print
Thanks for any help you can give
Explore related tutorials & articles
Copy link to clipboard
Copied
This might help you Three Ways to Curve Text in Photoshop — Medialoot
Copy link to clipboard
Copied
Two ways to try.
Warp the text:
Select the text. Click the text warp icon in the Options bar.

Adjust the curve amount.
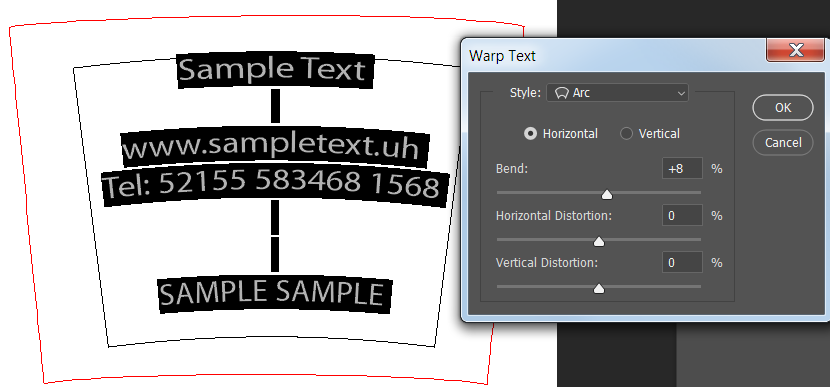
The down side of this method is that the text will get distorted, but since you have a very gentle curve that may not be an issue.
Second method is type on a path:
You will need separate paths for each line of text and each line of text will be on a separate layer.
Using the Pen tool, draw a path with the same curvature of the shape.

Select the regular horizontal Type tool. When your cursor is close to the path you should see the icon change so that there is a wavy line through the I-beam. When you see that, click on the path and start typing. I used Center alignment for the text.

To move the text on the path, select the path selection tool.

Hover over the path and you should see a double arrow icon. Then drag the text left or right.

Copy link to clipboard
Copied
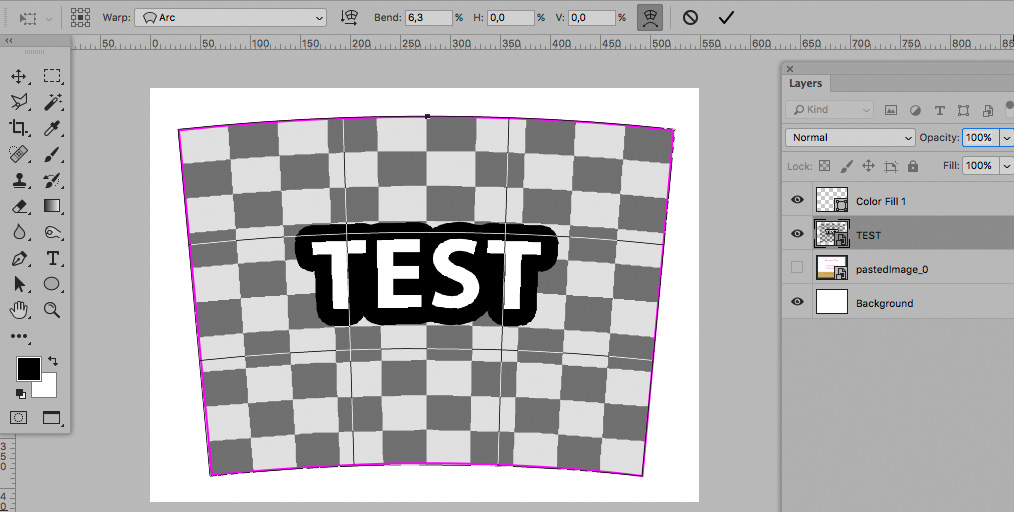
Another option could be Warping a Smart Object of the whole layout with »Arc« but naturally if a bleed is necessary that would have to be included.
Also this would result in pixel output, so depending on the source material it might be better to do do it in Illustrator.
Copy link to clipboard
Copied
Hi
Thanks for your help.
Its not just text, that was just a quick sample. The designs have images in too, so I usually combine all they layers to make them into 1. I have been using the warp tool, but not sure I'm getting it right and just wondered if there was a quick way and if I can do a Hotkey to save? Would it be easier to do it in Illustrator, if so how?
Copy link to clipboard
Copied
Would it be easier to do it in Illustrator, if so how?
Not easier but one could get vector output.
Edit: If the original material contains vector data, that is.
Copy link to clipboard
Copied
Illustrator can handle both raster and vector content with it’s warping/envelope distortion tools.
Then there is also this plugin for Illustrator:
Not to mention a few other “very expensive” stand alone packaging software tools.

Copy link to clipboard
Copied
Maybe in Illustrator, using Envelope Distort > Make with Top object
I just got a concern about the distortion of the element and don't have enough experience with curved label.
But this can help to convert an image from "2D space" to "label curved space".
Best !
Copy link to clipboard
Copied
You could do this using Distort > Polar Coordinates, but it's a bit of a challenge to figure out the placement of things.
Copy link to clipboard
Copied
Illustrator would work. However, if you want to stick with Photoshop, this is what you could do:
To keep type editable/vector, convert type layer to a smart object layer. Combine your image and type layers, just as you have been doing. Convert the single layer to a smart object layer (just right click on the layer and choose to convert it). That will help preserve the original image quality. You'll have nested smart layers into a single smart layer.
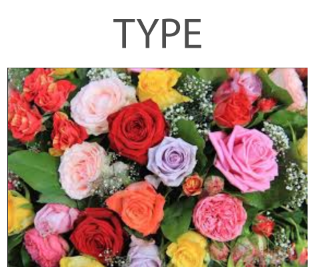
Choose Edit > Transform > Warp.
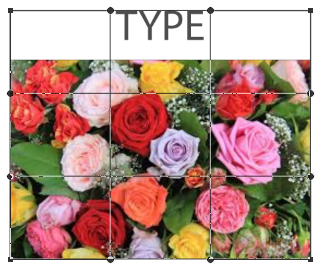
Move the handles and grid lines until the image conforms to the shape you need. It would help to View > Show Grid to make sure its symmetrical.
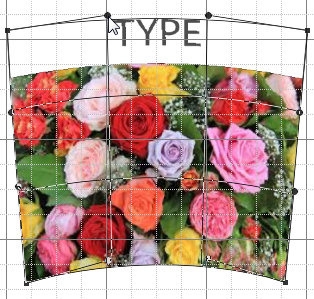
When curving the horizontal lines, make sure to press right in the center of the line.

Copy link to clipboard
Copied
Hi Everyone
Thank you so much for all your help and ideas. I really appreciate your time and effort. I think I have it sorted and created an action with Hotkey so that I can save it for other design.
Copy link to clipboard
Copied
Which solution did you decide to use?

