Exit
  • Global community
    • Language:
      • Deutsch
      • English
      • Español
      • Français
      • Português
  • 日本語コミュニティ
  • 한국 커뮤니티
0

Engine oil effect, need help.

Community Beginner ,
Feb 17, 2019 Feb 17, 2019

Hello all,

This is my first thread. I have a client who into engine oils and lubricants for cars truck etc.

I have been struggling to give that effect attached below on my creatives.

I may lose the client if I don't give him what he is asking for. Any help or links is really appreciated.

49ace7d4122f9fcfbf5db0d0a0f36cde.jpg2e8a6355549ef1c16f06d9c2c8ab5361.jpg

download.jpg

1.1K
Translate
Report
Community guidelines
Be kind and respectful, give credit to the original source of content, and search for duplicates before posting. Learn more
community guidelines
Adobe
Community Expert ,
Feb 17, 2019 Feb 17, 2019

I'd probably start by drawing the shape on a layer (not a background).

Then click the fx icon to apply a bevel and emboss layer style.

Then add another layer and use a soft brush to paint a few highlights.

Might help to lower the layer opacity a bit.

Translate
Report
Community guidelines
Be kind and respectful, give credit to the original source of content, and search for duplicates before posting. Learn more
community guidelines
Community Beginner ,
Feb 18, 2019 Feb 18, 2019

Sadly mine looks very funny.

Is there any way to clip oil texture to this and then merge it?

Translate
Report
Community guidelines
Be kind and respectful, give credit to the original source of content, and search for duplicates before posting. Learn more
community guidelines
Community Expert ,
Feb 18, 2019 Feb 18, 2019

Barbara is definitely on the right track.

Off the top of my head I imagine high contrast and pronounced transparency effects would be effective. The highlights need to be razor sharp, specular - not fuzzy, that makes it look like a muddy fluid. Also mind the color. It needs to be a very rich (slightly reddish) gold. Not copper, but warm gold.

Translate
Report
Community guidelines
Be kind and respectful, give credit to the original source of content, and search for duplicates before posting. Learn more
community guidelines
Community Expert ,
Feb 18, 2019 Feb 18, 2019

This looks like a job for the Plastic Wrap filter. 

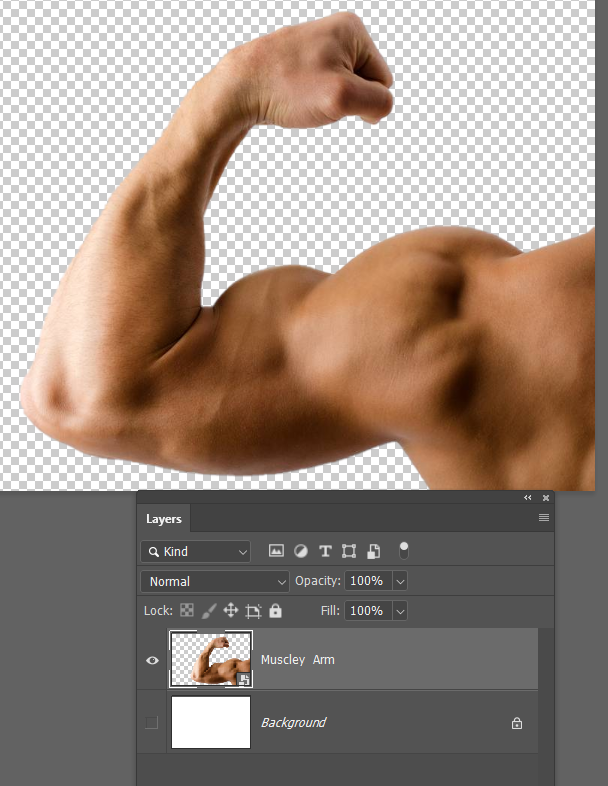
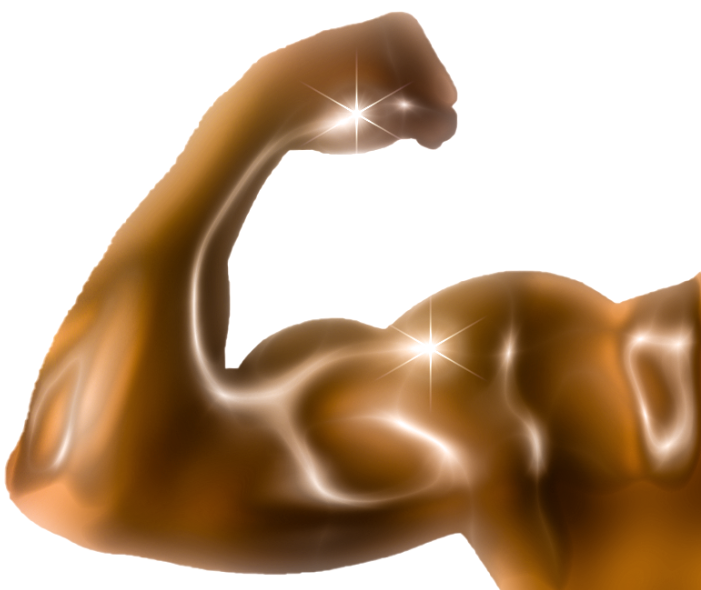
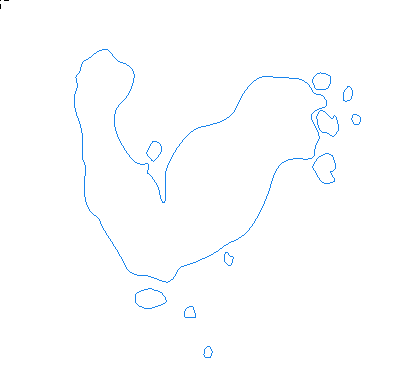
We start with you muscley arm. 

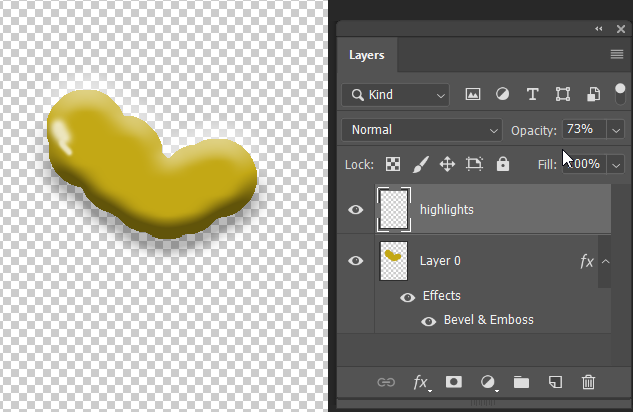
I've selected it, and copied to its own layer.

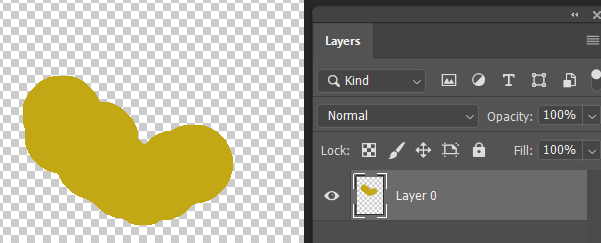
Locked the transparency to keep the outline sharp when we blur it — we'll make it a Smart Object _after_ blurring, or we lose the sharp outline.

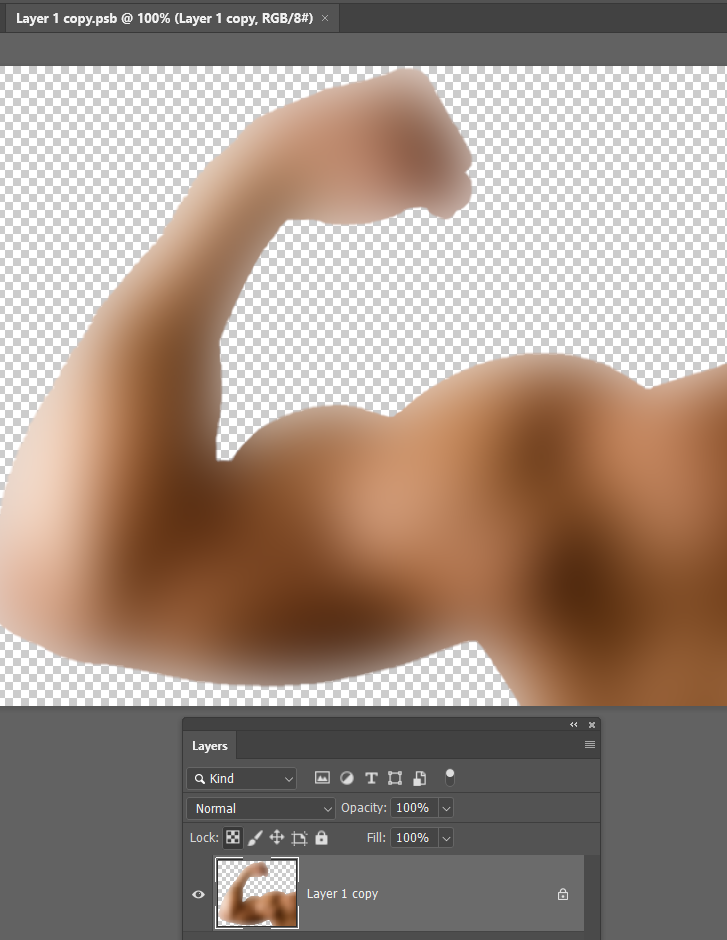
Plastic Wrap needs areas of light and dark tone to work to full effect, but I'll start with this
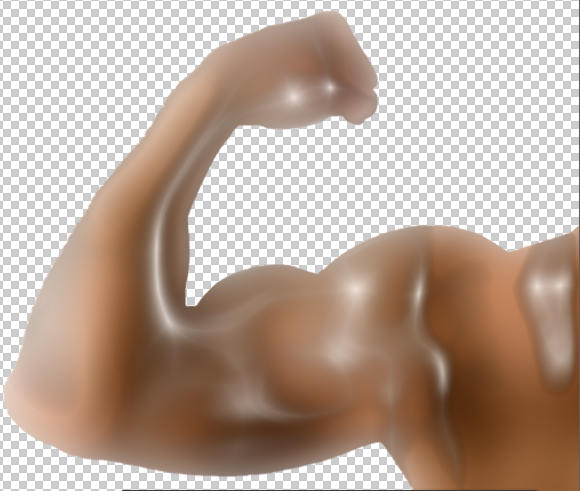
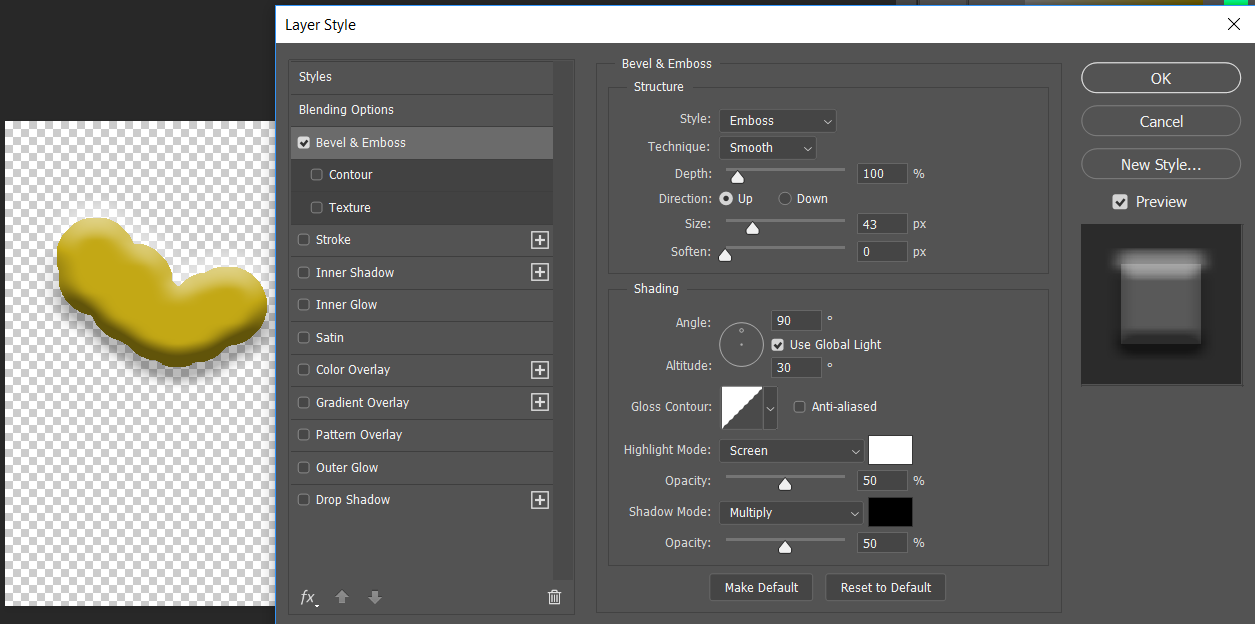
These settings

Gave me this effect

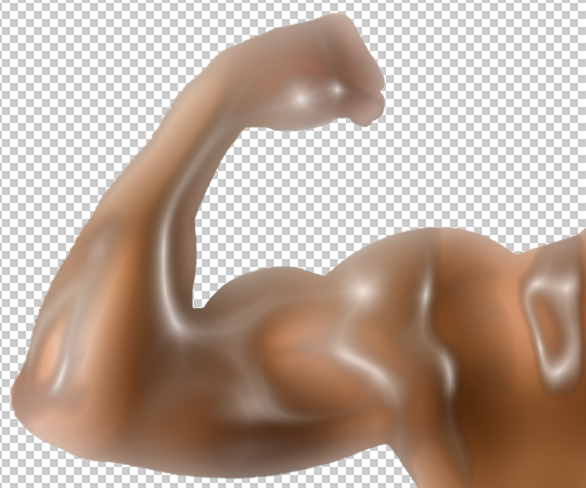
Because we made the layer a Smart Object after locking its transparency and blurring it, we do now have options.

We can double click the layer icon to open in a new window as a PSB file

And use dodge and burn to change the tonal values.  Save the edit, and it will update in the main window

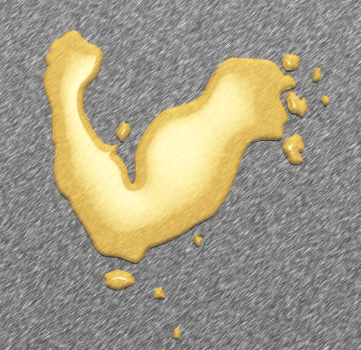
I'm thinking that the Camera RAW filter will make a difference.

Push Clarity all the way right.

Increase saturation, highlights and vibrance.  It's a Smart Object, so if you don't like it, you can go back in and adjust it

Yep. Not rad enough, so push it some more

Translate
Report
Community guidelines
Be kind and respectful, give credit to the original source of content, and search for duplicates before posting. Learn more
community guidelines
Community Expert ,
Feb 18, 2019 Feb 18, 2019

All those tips above are great so far.

The truth is that agencies mostly work with Next Limit's RealFlow​​​ - a fluid simulation application. The downside is that it's not cheap and the rendering of a simulation can take a long time, depending on the complexity and your PC power.

You could also give Blender and its Fluid Simulation a try - it's free:
- https://docs.blender.org/manual/en/latest/physics/fluid/index.html
- Blender Tutorial - Realistic Fluid Simulation - YouTube

Translate
Report
Community guidelines
Be kind and respectful, give credit to the original source of content, and search for duplicates before posting. Learn more
community guidelines
Community Expert ,
Feb 18, 2019 Feb 18, 2019

Agree with mauricep27921461​,

Build your basic fluid sim in a 3D application and then use Photoshop to enhance and get it to pop.

Translate
Report
Community guidelines
Be kind and respectful, give credit to the original source of content, and search for duplicates before posting. Learn more
community guidelines
Community Expert ,
Feb 18, 2019 Feb 18, 2019
LATEST

Hi

I'm a great fan of Blender and its fluid simulations but, in this case, it is much simpler to create an extrusion from a path with a curved bevel for the edges then just render it in Photoshop using some reflection and transparency on the material. That way you can control the outer shape without setting up additional meshes. Quick and dirty example below:

Dave

Translate
Report
Community guidelines
Be kind and respectful, give credit to the original source of content, and search for duplicates before posting. Learn more
community guidelines