Answered
Fixing a crooked bow tie
I'm trying to figure out how to straighten a bow tie. The picture was taken at the prom but they didnt make sure the tie was straight. I'm very new with PS and i don't know the right tools to use. 

I'm trying to figure out how to straighten a bow tie. The picture was taken at the prom but they didnt make sure the tie was straight. I'm very new with PS and i don't know the right tools to use.
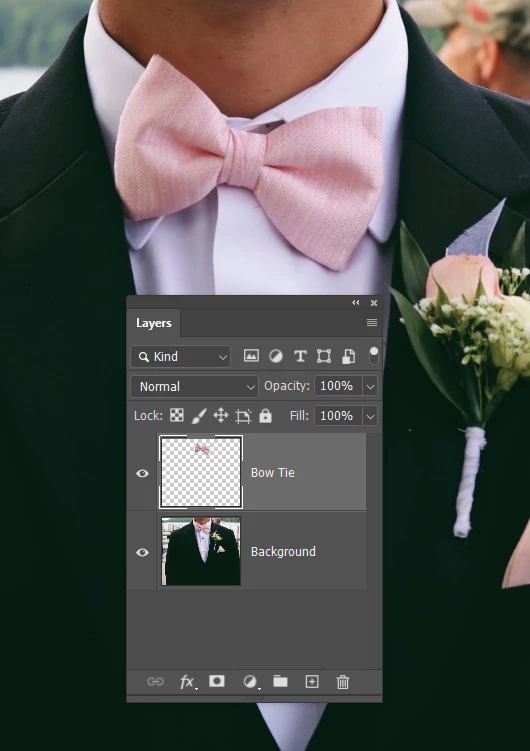
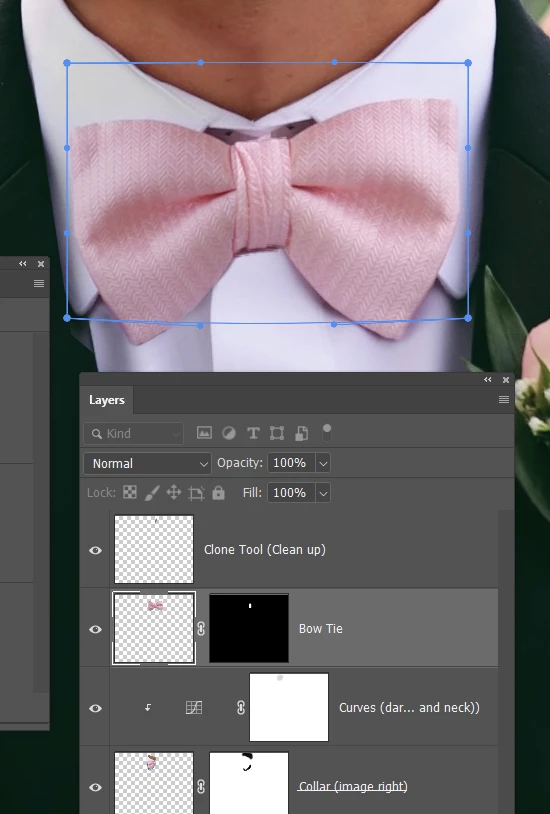
First step is to select the bow tie and copy to a new layer. Dragging a box around it with the Object Selection tool is an easy way to do that. Ctrl J (Cmd J) copies the selection to a new layer
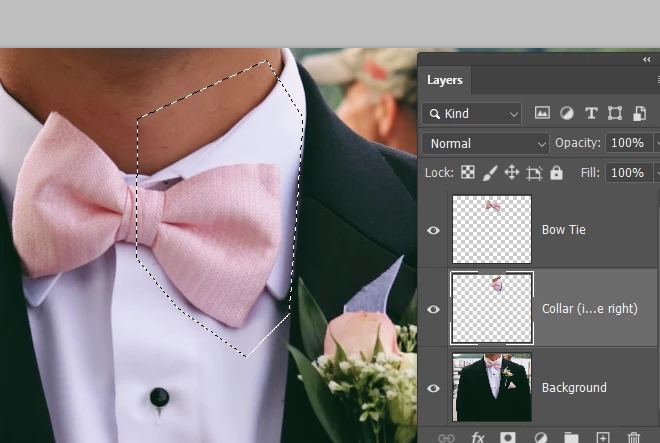
Then you need to clean up (remove the existing bow tie where it is a problem. An easy way to do that is borrow pixels from the right side of the image
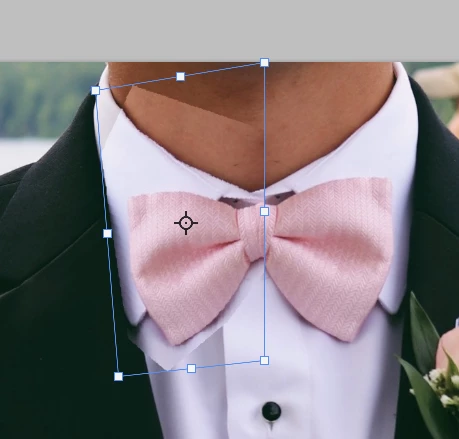
Free transform the borrowed pixels
Flip horizontal
Hold down the Ctrl (Cmd) key and drag the handles to get it to fit
I'm trying to keep is simple as I can for you, but the image is not cooperating.
At this stage I am thinking that the flipped bow tie is easier to match than removing the existing tie with the clone tool, so I have abandoned that layer for now,
The new collar was too bright, and too blue, so I clipped a curves layer to the coppied collar layer and reduced the RGB slope, and I also selected the blue channel from the RGB drop down, and reduced that as well. I decided to finish with the sponge tool set to Desaturate sneaking up with a value of just 1 or 2.
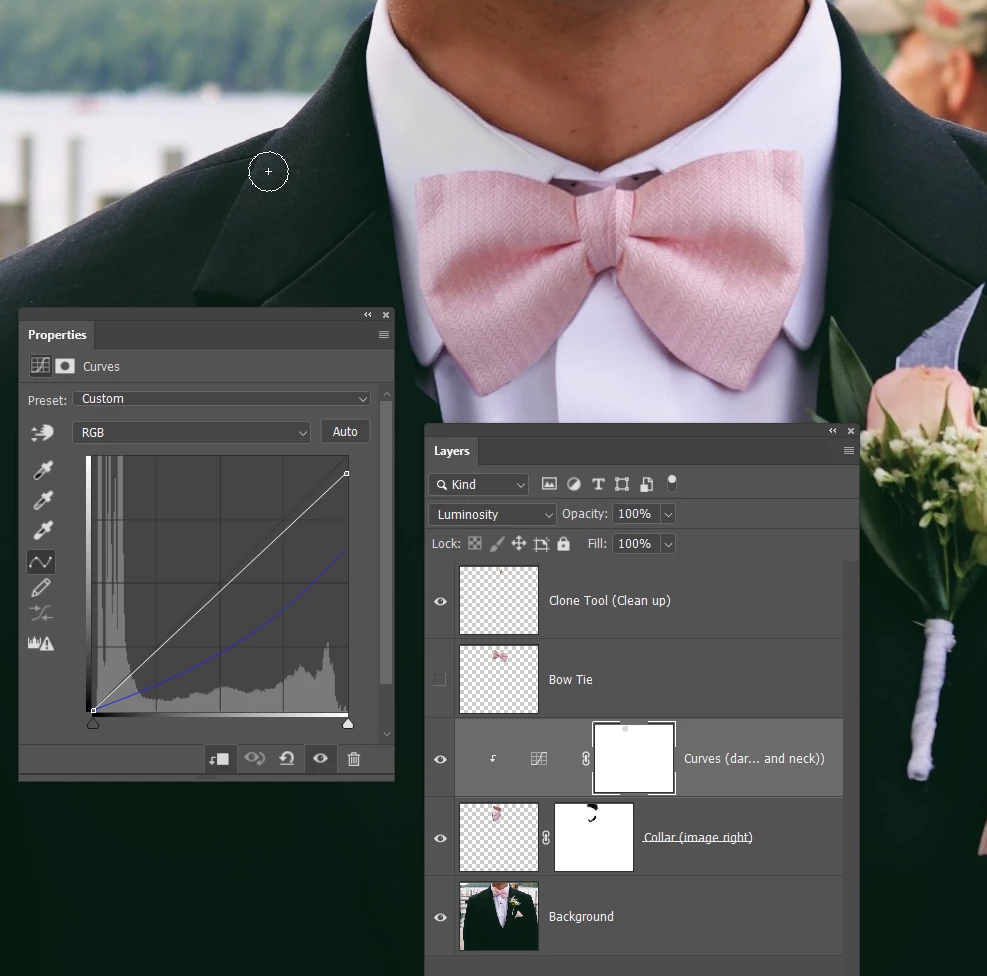
That leaves it close, but I used the clone tool to clean up lines around the collar/neck interface.
Theww center of the bow tie also has an obvious cut line, so I am going to use the copied bow tie after all.
So I used a layer mask to mask everything but the knot.
Used free transform to straighten the tie, and switched to Warp (by right clicking) to styretch the knot to fit better.
Note this is not how I would have done it, but I have >20 years experience and use Photoshop every day. But to do a perfect job, it was probably not easy for a complete beginner. If you want to have a go, then use the clone tool to hide problem areas of the original tie. Use masking (lasso or pen tools) to select where you need clean lines to clone into.
I hope that helps at least a bit.
Already have an account? Login
Enter your E-mail address. We'll send you an e-mail with instructions to reset your password.