dmb_87
Participating Frequently
January 29, 2019
Answered

Gallery Wrap Edge - 3D Canvas Mockup (Help Needed)

  • January 29, 2019
  • 2 replies
  • 7251 views

Hi All,

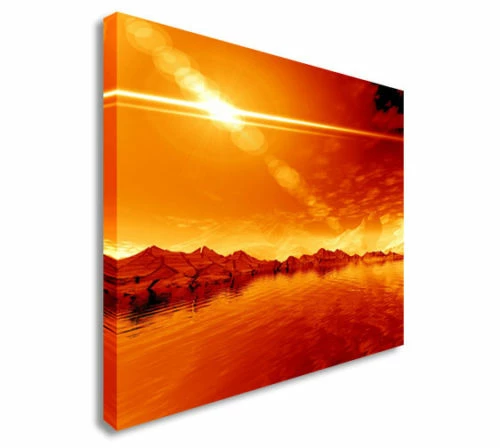
I have been searching for a solution to create 3D canvas mockups as per the below image for some time and am having some problems.


I have looked through the forums and although there seems to be a few topics asking similar questions, along with various sources to wrapping actions, I am struggling to actually follow the process of how an image similar to the below is actually created in Photoshop (whether this be with smart objects or otherwise).

Would anybody be kind enough to provide me with a step by step guide as to the actual process for this? I would be forever grateful!

Many thanks!

Correct answer davescm

Hi

1. I did this at camera resolution so around 4500px x 3000px. Even that is too high if for web use - remember the image in the smart object can be higher resolution than the main document so no need to resize it

2. You can drag guides from the rulers and snap to those

3. I just move the corner handles to where I want them (as above use guides)

4. No need to make an action - just open the smart object by double clicking and replace the contents. On closing and saving your new image will be in the same place

Dave

2 replies

Ussnorway7605025
Legend
January 30, 2019

just to be clear, the point of making an image into a smart object is that you don't lose any info when you resize it smaller

dmb_87
dmb_87Author
Participating Frequently
February 1, 2019

Thanks for clarifying

davescm
Community Expert
Community Expert
January 29, 2019

Hi

There are many ways - including using 3D to model the shape and apply the image as a texture to the surface. However a simple way to simulate the 3D look is shown below.

1. Start with the image and right click in the layers panel then convert to smart object

2. Use Edit transform Scale to reduce the size so you have some background around it.

3.Go to edit Perspective Warp and drag out two rectangle planes as shown - they will snap together so you have one at the left edge and one covering the rest of the image

4. Change to warp mode in the options bar and drag the left and right corner handles so that you have your canvas shape

Click the tick in the options bar

5. Select the left hand part of teh image up to the fold

6. Add a new fill layer in black using Layer > New Fill layer Solid Colour. This will be masked so it only affects the left side. Set the blend mode to multiply and turn down the opacity to around 35%
7. Alt click on the border between the two layers so a small arrow appears and that new layer clips to the image layer below

8. Right click the image layer and choose Blending options. Add a drop shadow :

9. You can leave the background transparent or add a Solid colour Fill layer - I used white

Dave

dmb_87
dmb_87Author
Participating Frequently
February 1, 2019

Hi David,

Hope you are well

Many thanks for providing your detailed instruction, that's really helpful!

I have been following the steps and am having some problems making my images look as professional as yours.


A couple questions if you wouldn't mind?

  • Typically what image size/resolution are you working with when using the perspective warp? My 40" x 30" images (300dpi) are taking a long time to process for even the slightest movement. Are you scaling the images down before skewing?
  • Is there a way to snap the perspective warp tool? Currently I am having to draw out the scaling of the edges by hand and match up the perspective by hand (trying to use the side rulers). This would be much easier with a snap.
  • What are the best steps for skewing the perspective. It seems if I move the right handles first this effects the left ones and vice versa.
  • Possibly a completely separate question/conversation, but can the steps listed above be recorded in an action for images of the same size to be converted into a 3D canvas mockup?

Many thanks!


DB

davescm
Community Expert
davescmCommunity ExpertCorrect answer
Community Expert
February 1, 2019

Hi

1. I did this at camera resolution so around 4500px x 3000px. Even that is too high if for web use - remember the image in the smart object can be higher resolution than the main document so no need to resize it

2. You can drag guides from the rulers and snap to those

3. I just move the corner handles to where I want them (as above use guides)

4. No need to make an action - just open the smart object by double clicking and replace the contents. On closing and saving your new image will be in the same place

Dave