Answered
How do I mask/lighten dark bra color under a slightly see through sweater?
Hi, what steps would I take to lighten this bra color to match the sweater? 
{Thread renamed by moderator}

Hi, what steps would I take to lighten this bra color to match the sweater?
{Thread renamed by moderator}
Hi
I would use frequency separation
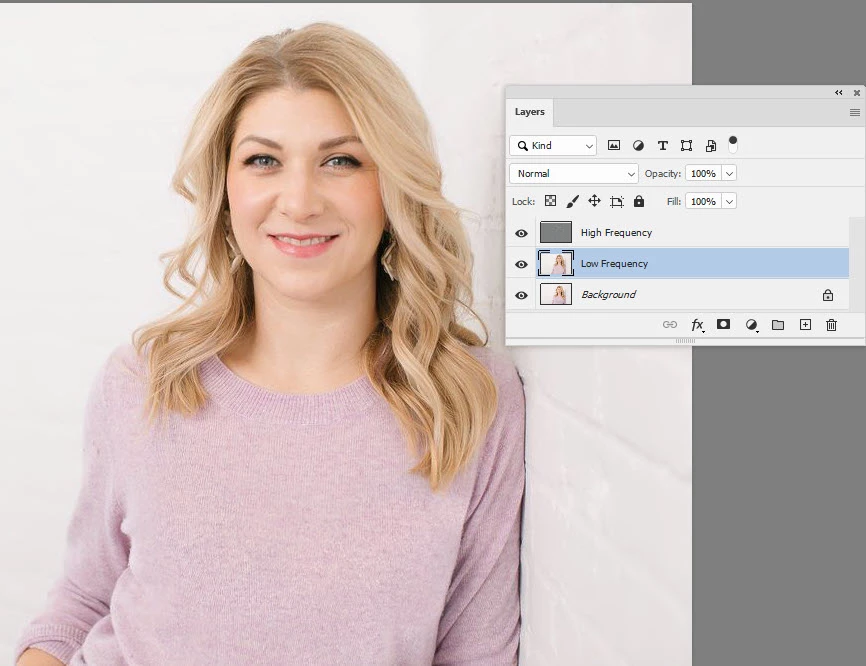
Make two duplicate copies of the image layer
Name the lower copy "Low Frequency" and the upper copy "High Frequency"
Select the lower layer and use Filter Gaussian Blur - with a value around 6.0
Select the High frequency layer and go to Image - Apply Image
In the apply image dialogue set the layer - to "Low Frequency", the Blending to Subtract , Scale to 2 and Offset to 128
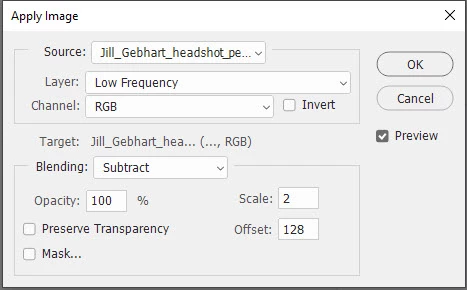
Click OK
Change the Blending mode of the high frequency layer to Linear Light
You now have the fine detail on the high frequency layer and the general colour on the low frequency layer
So select the low frequency layer and alt click with a brush to pick up the wanted colour and brush in where you want to change
Note : The Apply image values are for an 8 bit image . If working in 16 bit, check "Invert" next to the channel and use Blending "Add" , scale 2 , offset 0
Dave
Already have an account? Login
Enter your E-mail address. We'll send you an e-mail with instructions to reset your password.