- Home
- Photoshop ecosystem
- Discussions
- How do I remove red eye in CS6?
- How do I remove red eye in CS6?
Copy link to clipboard
Copied
I have pictures with red eye and white eye. I have watched the tutorials but the directions and screen shots they show are not what I see on the CS6 screen. Please help? ALSO I am a severe newbie to editing photos. Where is the best place to see what you can do that shows you how to do it? I am not that creative when it comes to this so I would not know where to start.
 1 Correct answer
Are you clicking and holding the bandaid icon? You have to hold the button down for a couple seconds to see the menu pop out.
Explore related tutorials & articles
Copy link to clipboard
Copied
Hi idolh,
Russell Brown has a really great, really fast, Photoshop CS6 red eye tutorial:
If that didn't help, can you check to make sure that you do in fact have Photoshop CS6, and not an older version (such as Photoshops 6.0?)
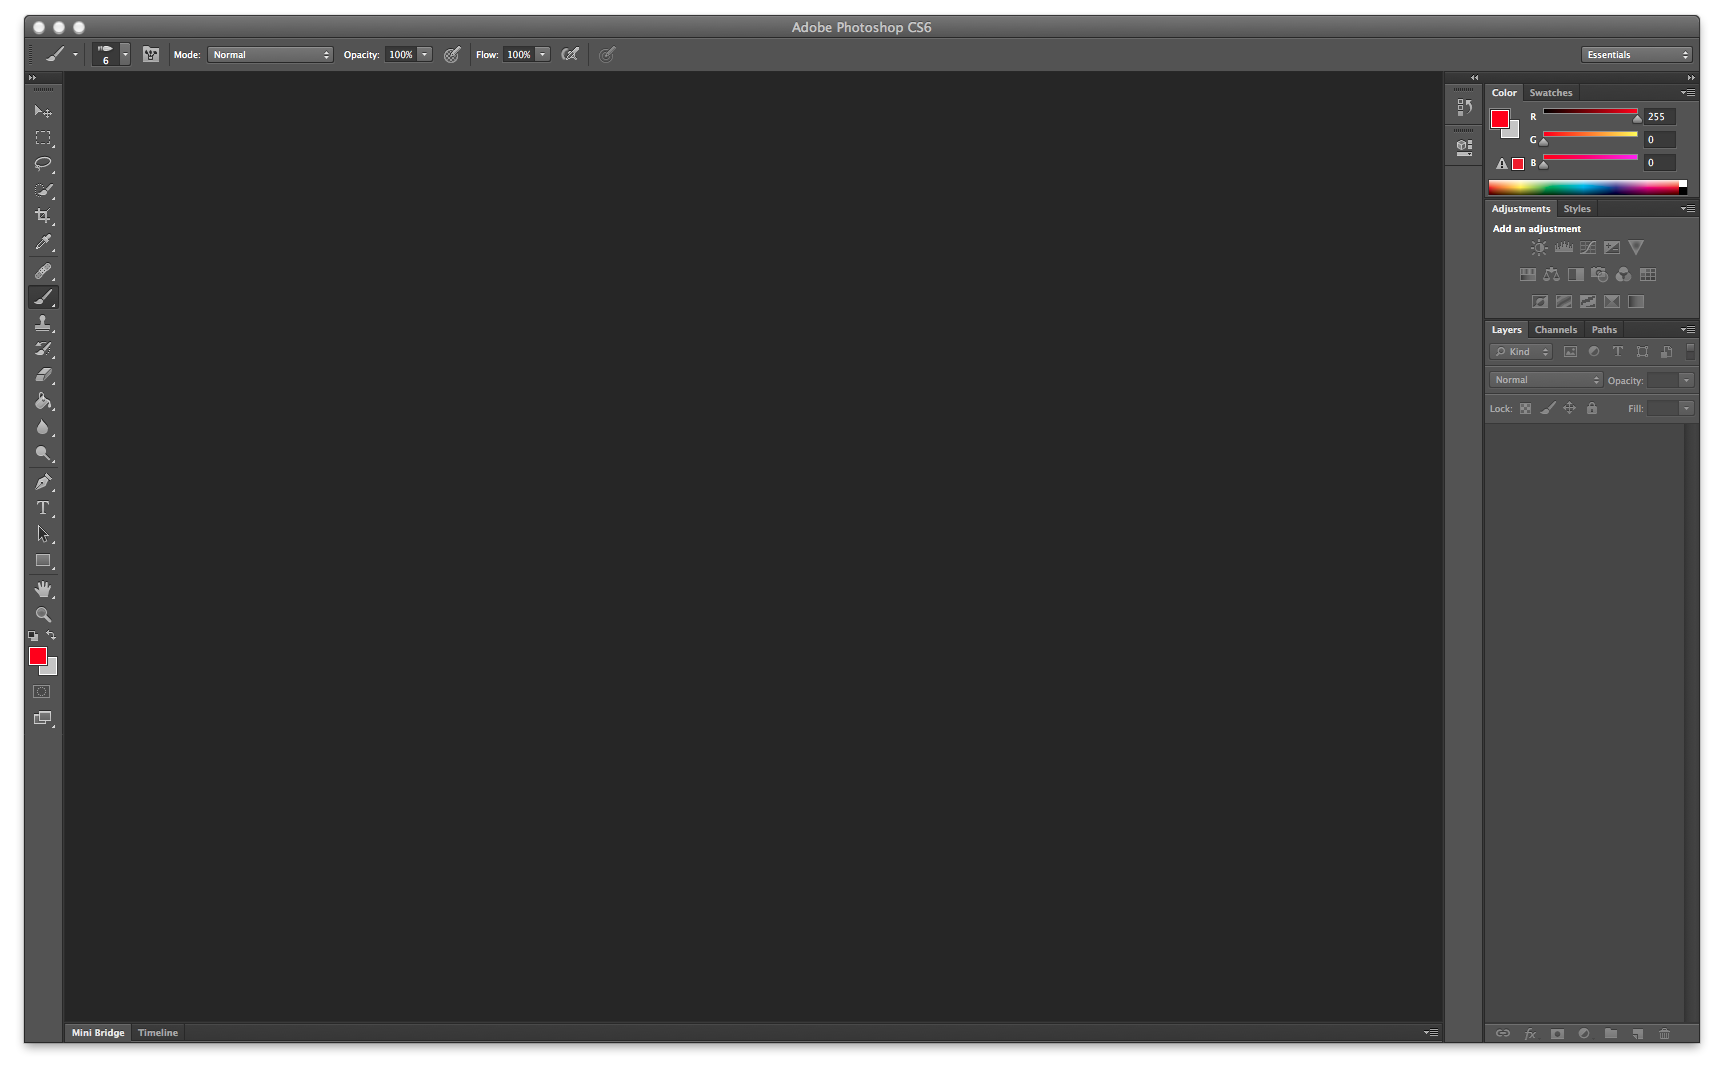
Your screen should look somewhat like this when you open Photoshop CS6 up:
Copy link to clipboard
Copied
My problem is, when I hit the bandaid, no other menu comes up like in the video. It doesn't give me other options like red eye removal. Now I did not mention that I have the trial version. Does that effect it? Are you not able to do the same thing in the trial as you do the full program?
Copy link to clipboard
Copied
Are you clicking and holding the bandaid icon? You have to hold the button down for a couple seconds to see the menu pop out.
Copy link to clipboard
Copied
Well that opened up a whole new world of options! I didn't know that. I was just clicking on it. HUM I see the rest of the icons do the same thing. Thanks. I have fixed the red eye portion but some it will not work. Some of the eye is bright not exactly red. How do you fix that. Some of the eyes are white almost like animal eyes. (This is on a small child)
Copy link to clipboard
Copied
So here's a sample image with red eye and a some white glare.

1. First I select the Red Eye tool and click on the eyes to remove the red.


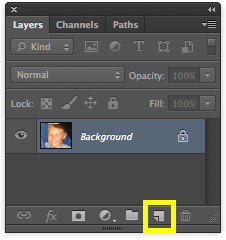
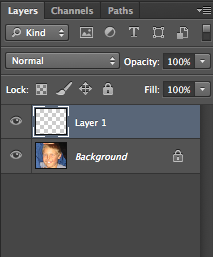
2. I create a new blank layer above the photo.
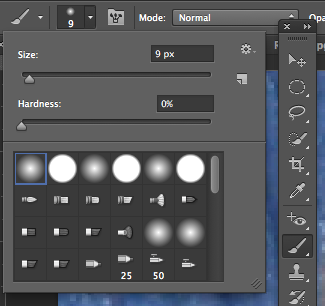
3. I select the paintbrush tool and give it a softer edge from the Brush Settings in the top menu. Change the color to black.

4. With your new blank layer selected, paint a single dot over the white glare on the eyes.
BEFORE
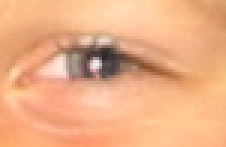
AFTER
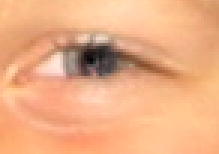
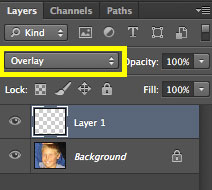
5. Now, I know that looks funny. So now go look at your Layers panel again. The drop down menu for blending options will say Normal. Select that menu and choose Overlay.
8. How does that look? Here is a before and after. The difference is subtle, and that's okay. When you zoom out, the little details make a big difference.
BEFORE
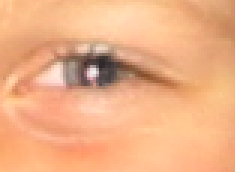
AFTER
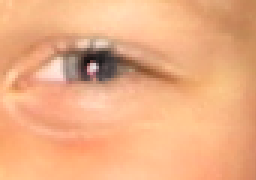
You can adjust the size and color of your brush to tweak it if you're not getting the desired result.
Check out this video, too! The Spot Healing Brush, Healing Brush, and Patch tools are all useful for small touchups like you're doing!
I hope this helps!
Michael
Find more inspiration, events, and resources on the new Adobe Community
Explore Now